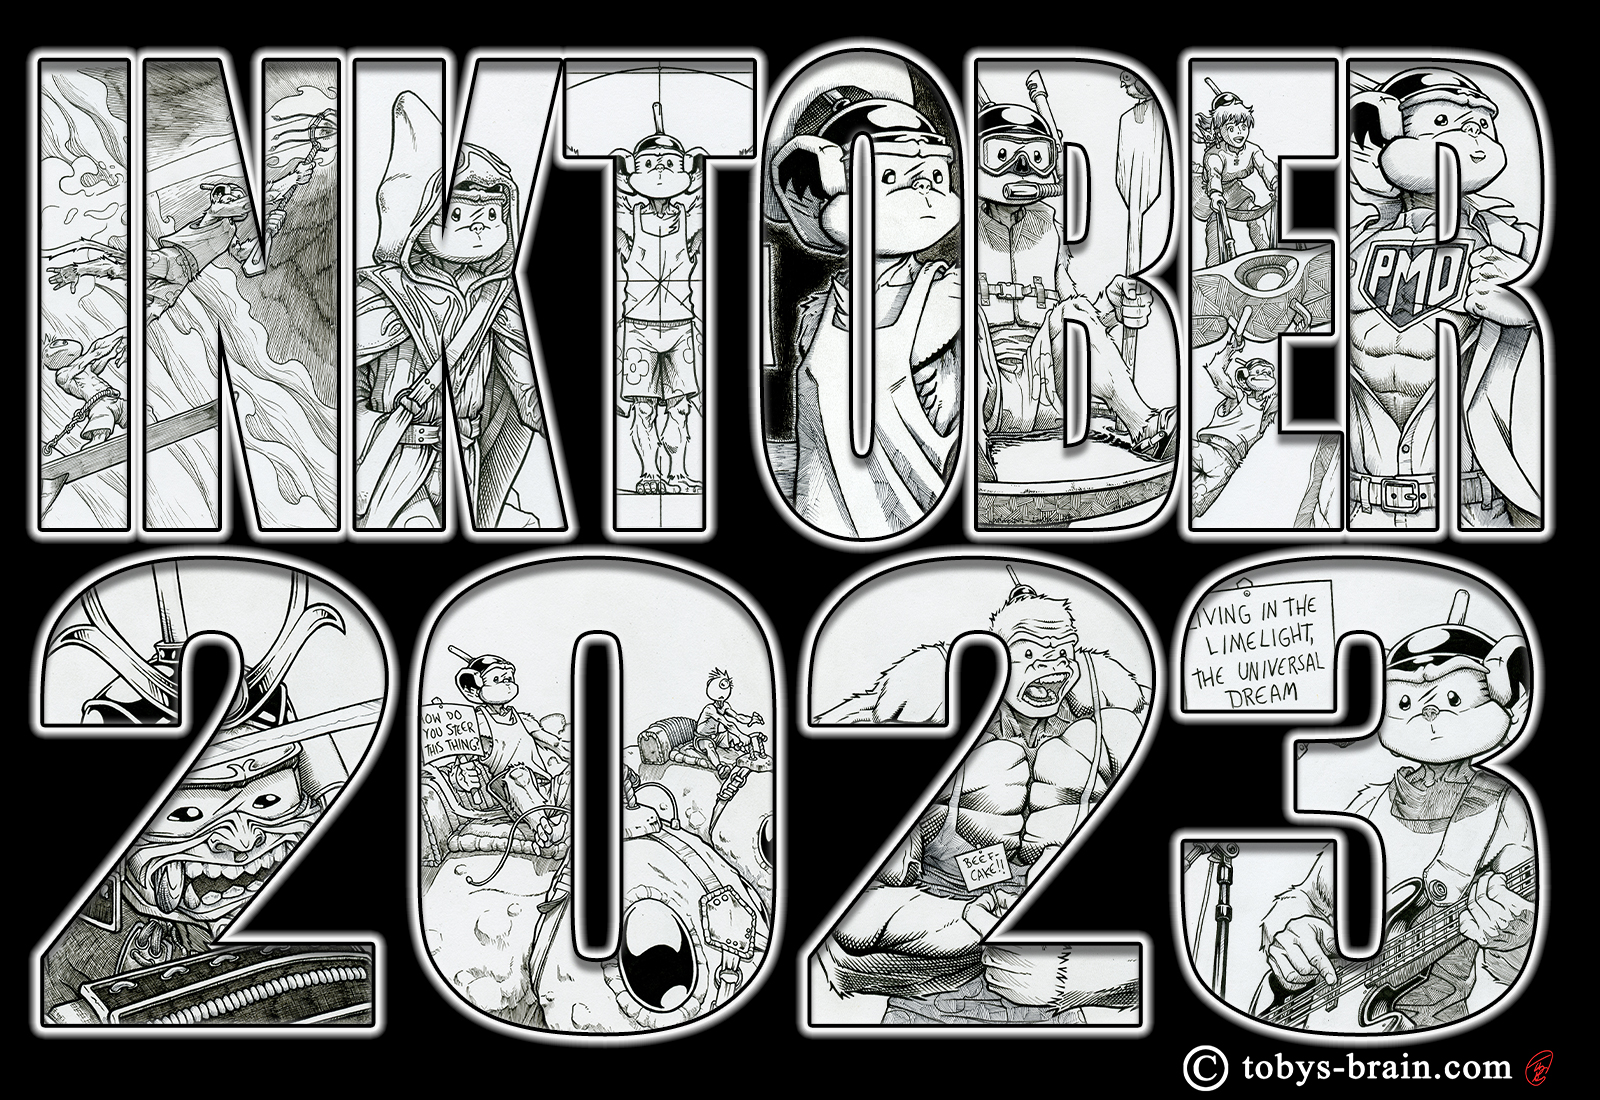
Now that it’s been a month or so since I finally finished and delivered this project to my brother, I figure it’s time to take a closer look at it for those that wish to indulge my obsessive tendency for details.
To recap, sometime around Thanksgiving 2024, my younger brother told me he, as part of his renewed interest in retro games, purchased a table top arcade cabinet kit that he planned to install the buttons and an old laptop and monitor or something to make an all in one old school gaming machine. He asked if I wanted to provide some custom Plunger Monkey art on four of the main pieces. I thought it sounded like a lot of fun, so I said “sure”. He passed along the pieces when we were together at Thanksgiving, and my Brain set about coming up with crazy ideas. With everything else that goes on during the last few months of any year, I didn’t really get started on it until January 2025 (aside from starting to prime the pieces and sketch out a few rough ideas).
The original intent was to design everything in Clip Studio Paint so I would have complete freedom to work out my increasingly complex design ideas and details, then use the old school grid method to transfer those designs onto the physical pieces. I already have paint and brushes, but ended up getting some paint markers to help the process (meaning my wife found and bought some for me after she did a bunch of research. She’s invaluable to some of my insanity).
As I plugged along, things started taking longer and longer. My love of details kicked in, and it soon became very apparent that there wouldn’t be any easy way for me to manually redraw my digital designs in the real world (the zoom function is a blessing and a curse for someone like me), at least not on any reasonable timetable. When I finally forced myself to call the digital designs done, I had spent well over 200 hours on this project. I’m not complaining, it was fun, I developed some new digital workflows, and learned a lot. I started looking into printing everything on custom vinyl decals, which turned out to be not as expensive as I would have thought at a place within driving distance. I made several trips there over the course of a few weeks to work with one of the techs to learn about the process and get things done just right.
An upside to all this work is that I now have a local print place I can work with for future crazy ideas. I also plan to cut up and recompose a bunch of the art to turn into shirts and stickers. Plus, it forced me to refine some aspects of my workflow that I can apply to working on my comics, and I further developed some of the PMD Monkeyverse characters (which I had been planning to do as I work on turning IPMDT into a graphic novel).
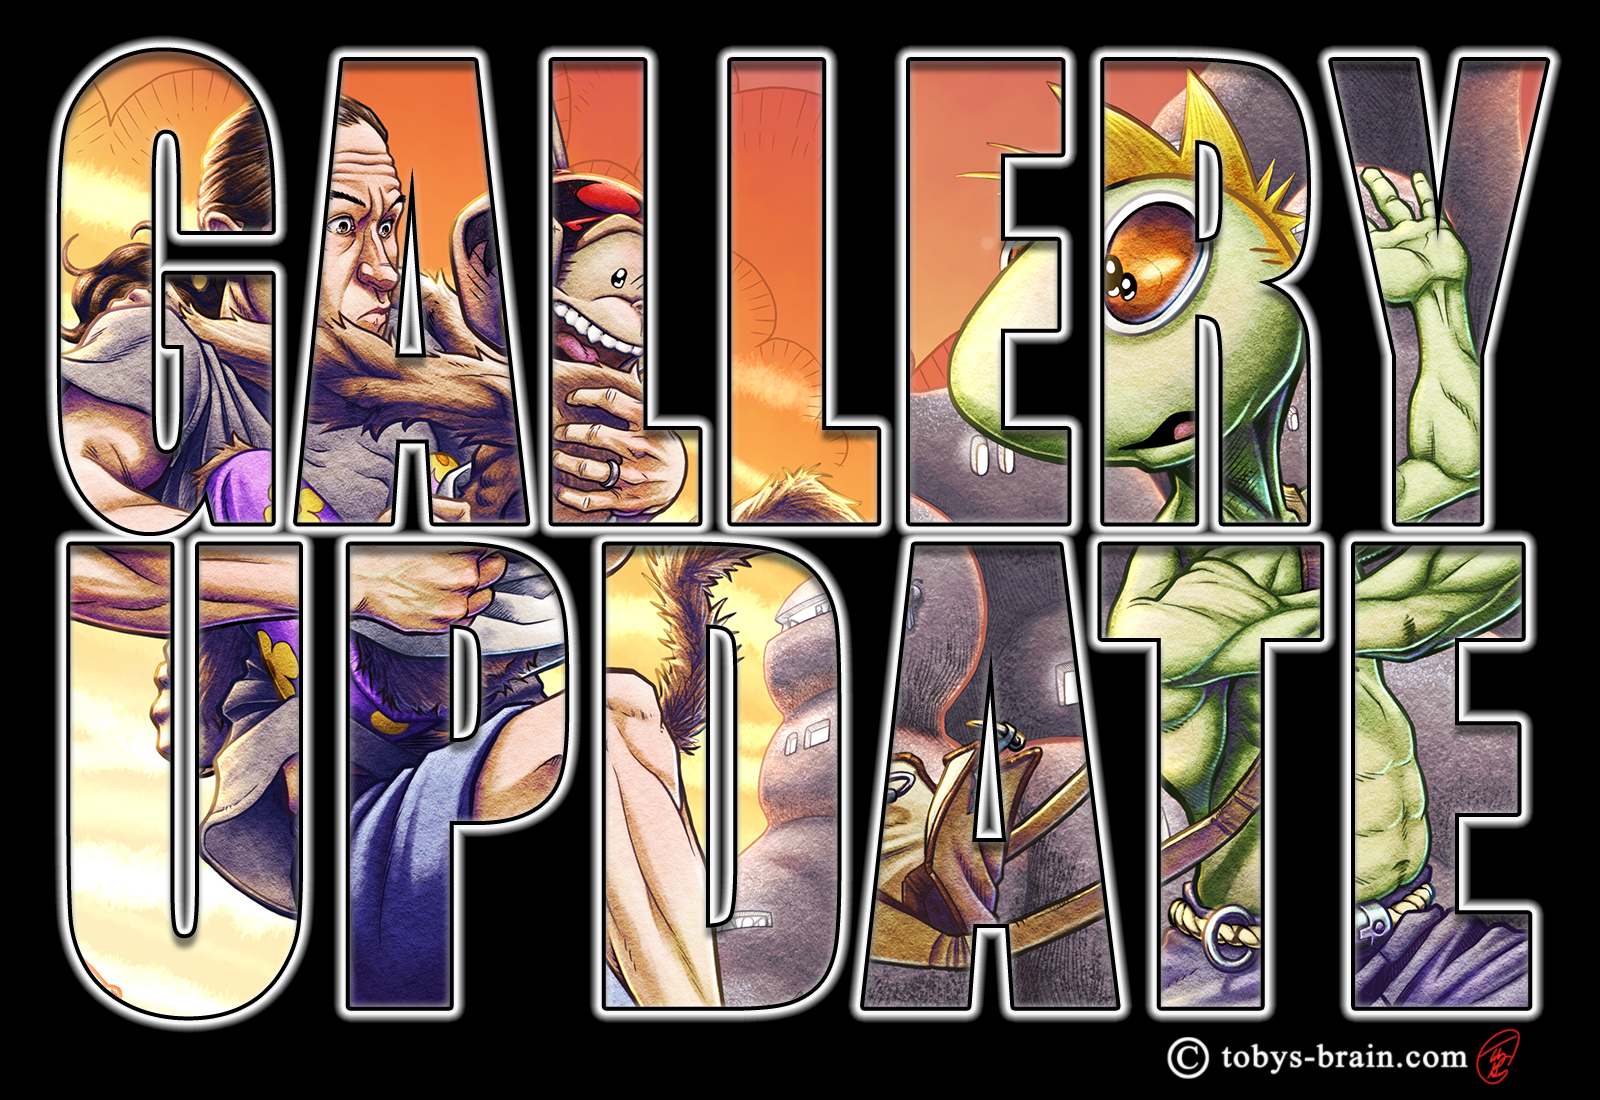
Anywhat, how about a look at the finished art, with my standard close ups of details, and some pics of the finished pieces.

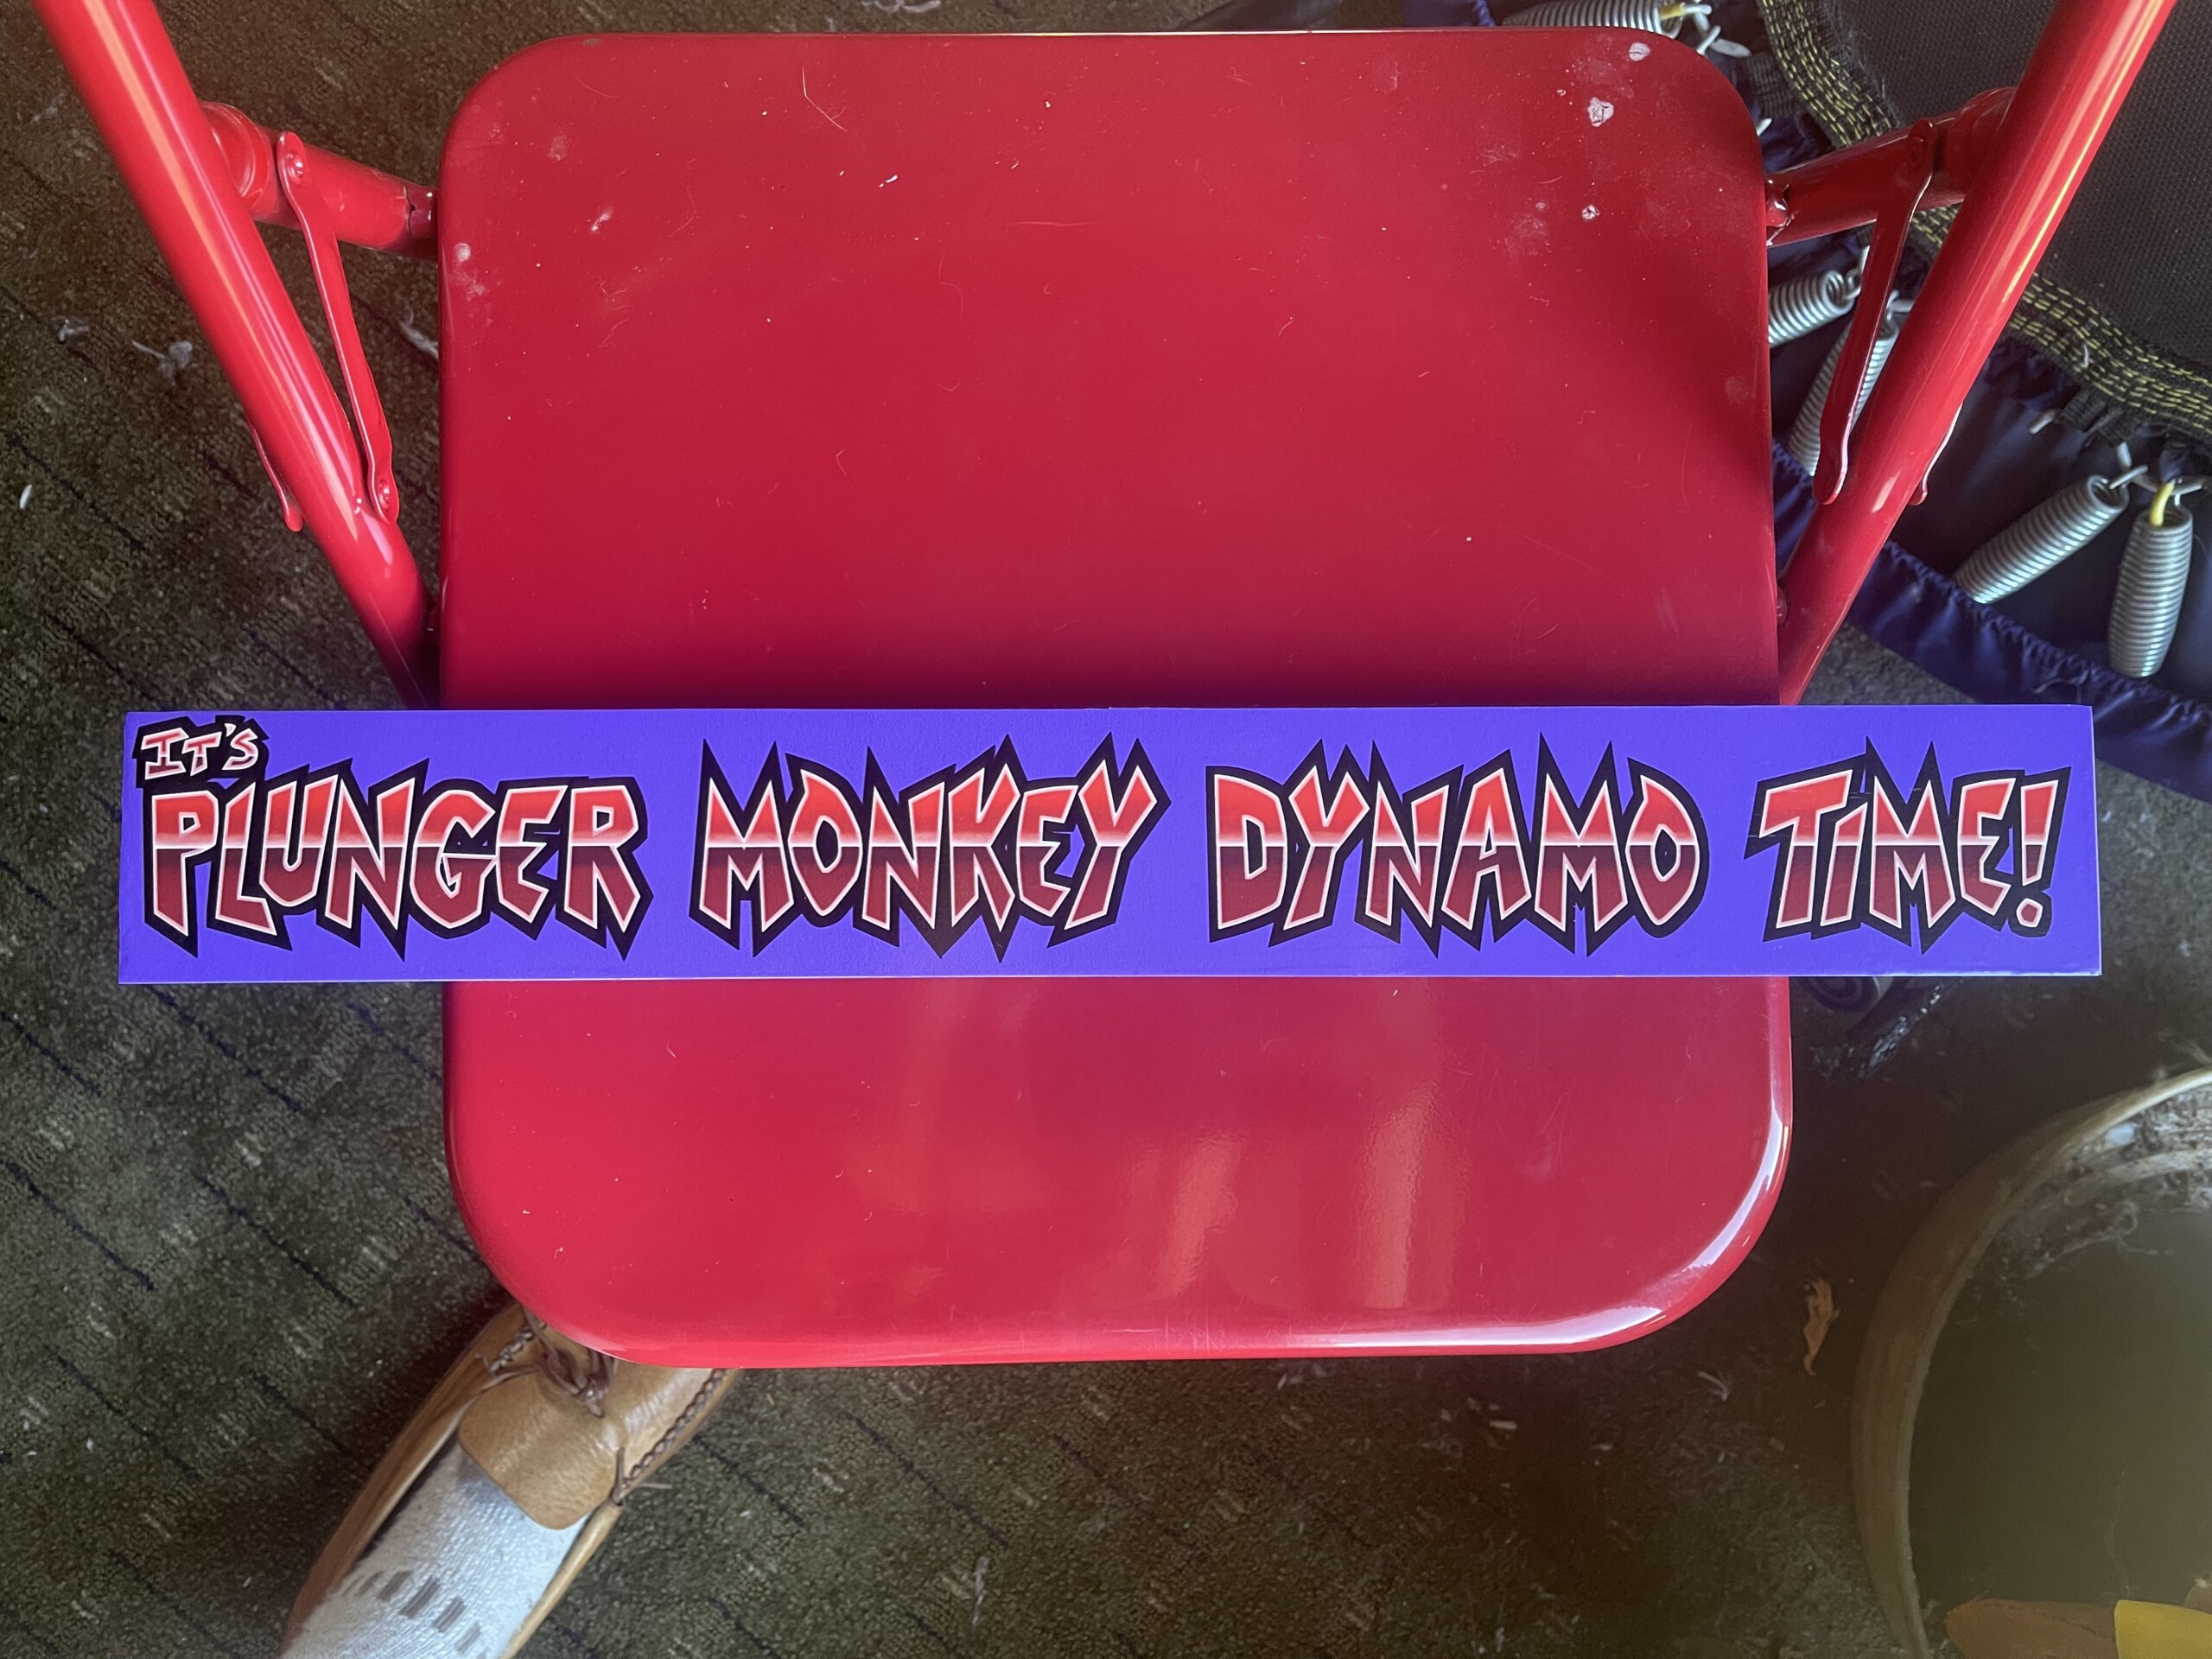
The title bar that sits below the control surface. I can reuse this vector based logo for the “It’s Plunger Monkey Dynamo Time” graphic novel, too. It’s something I had been meaning to put together, the arcade cabinet project was a good excuse to actually finally do it.

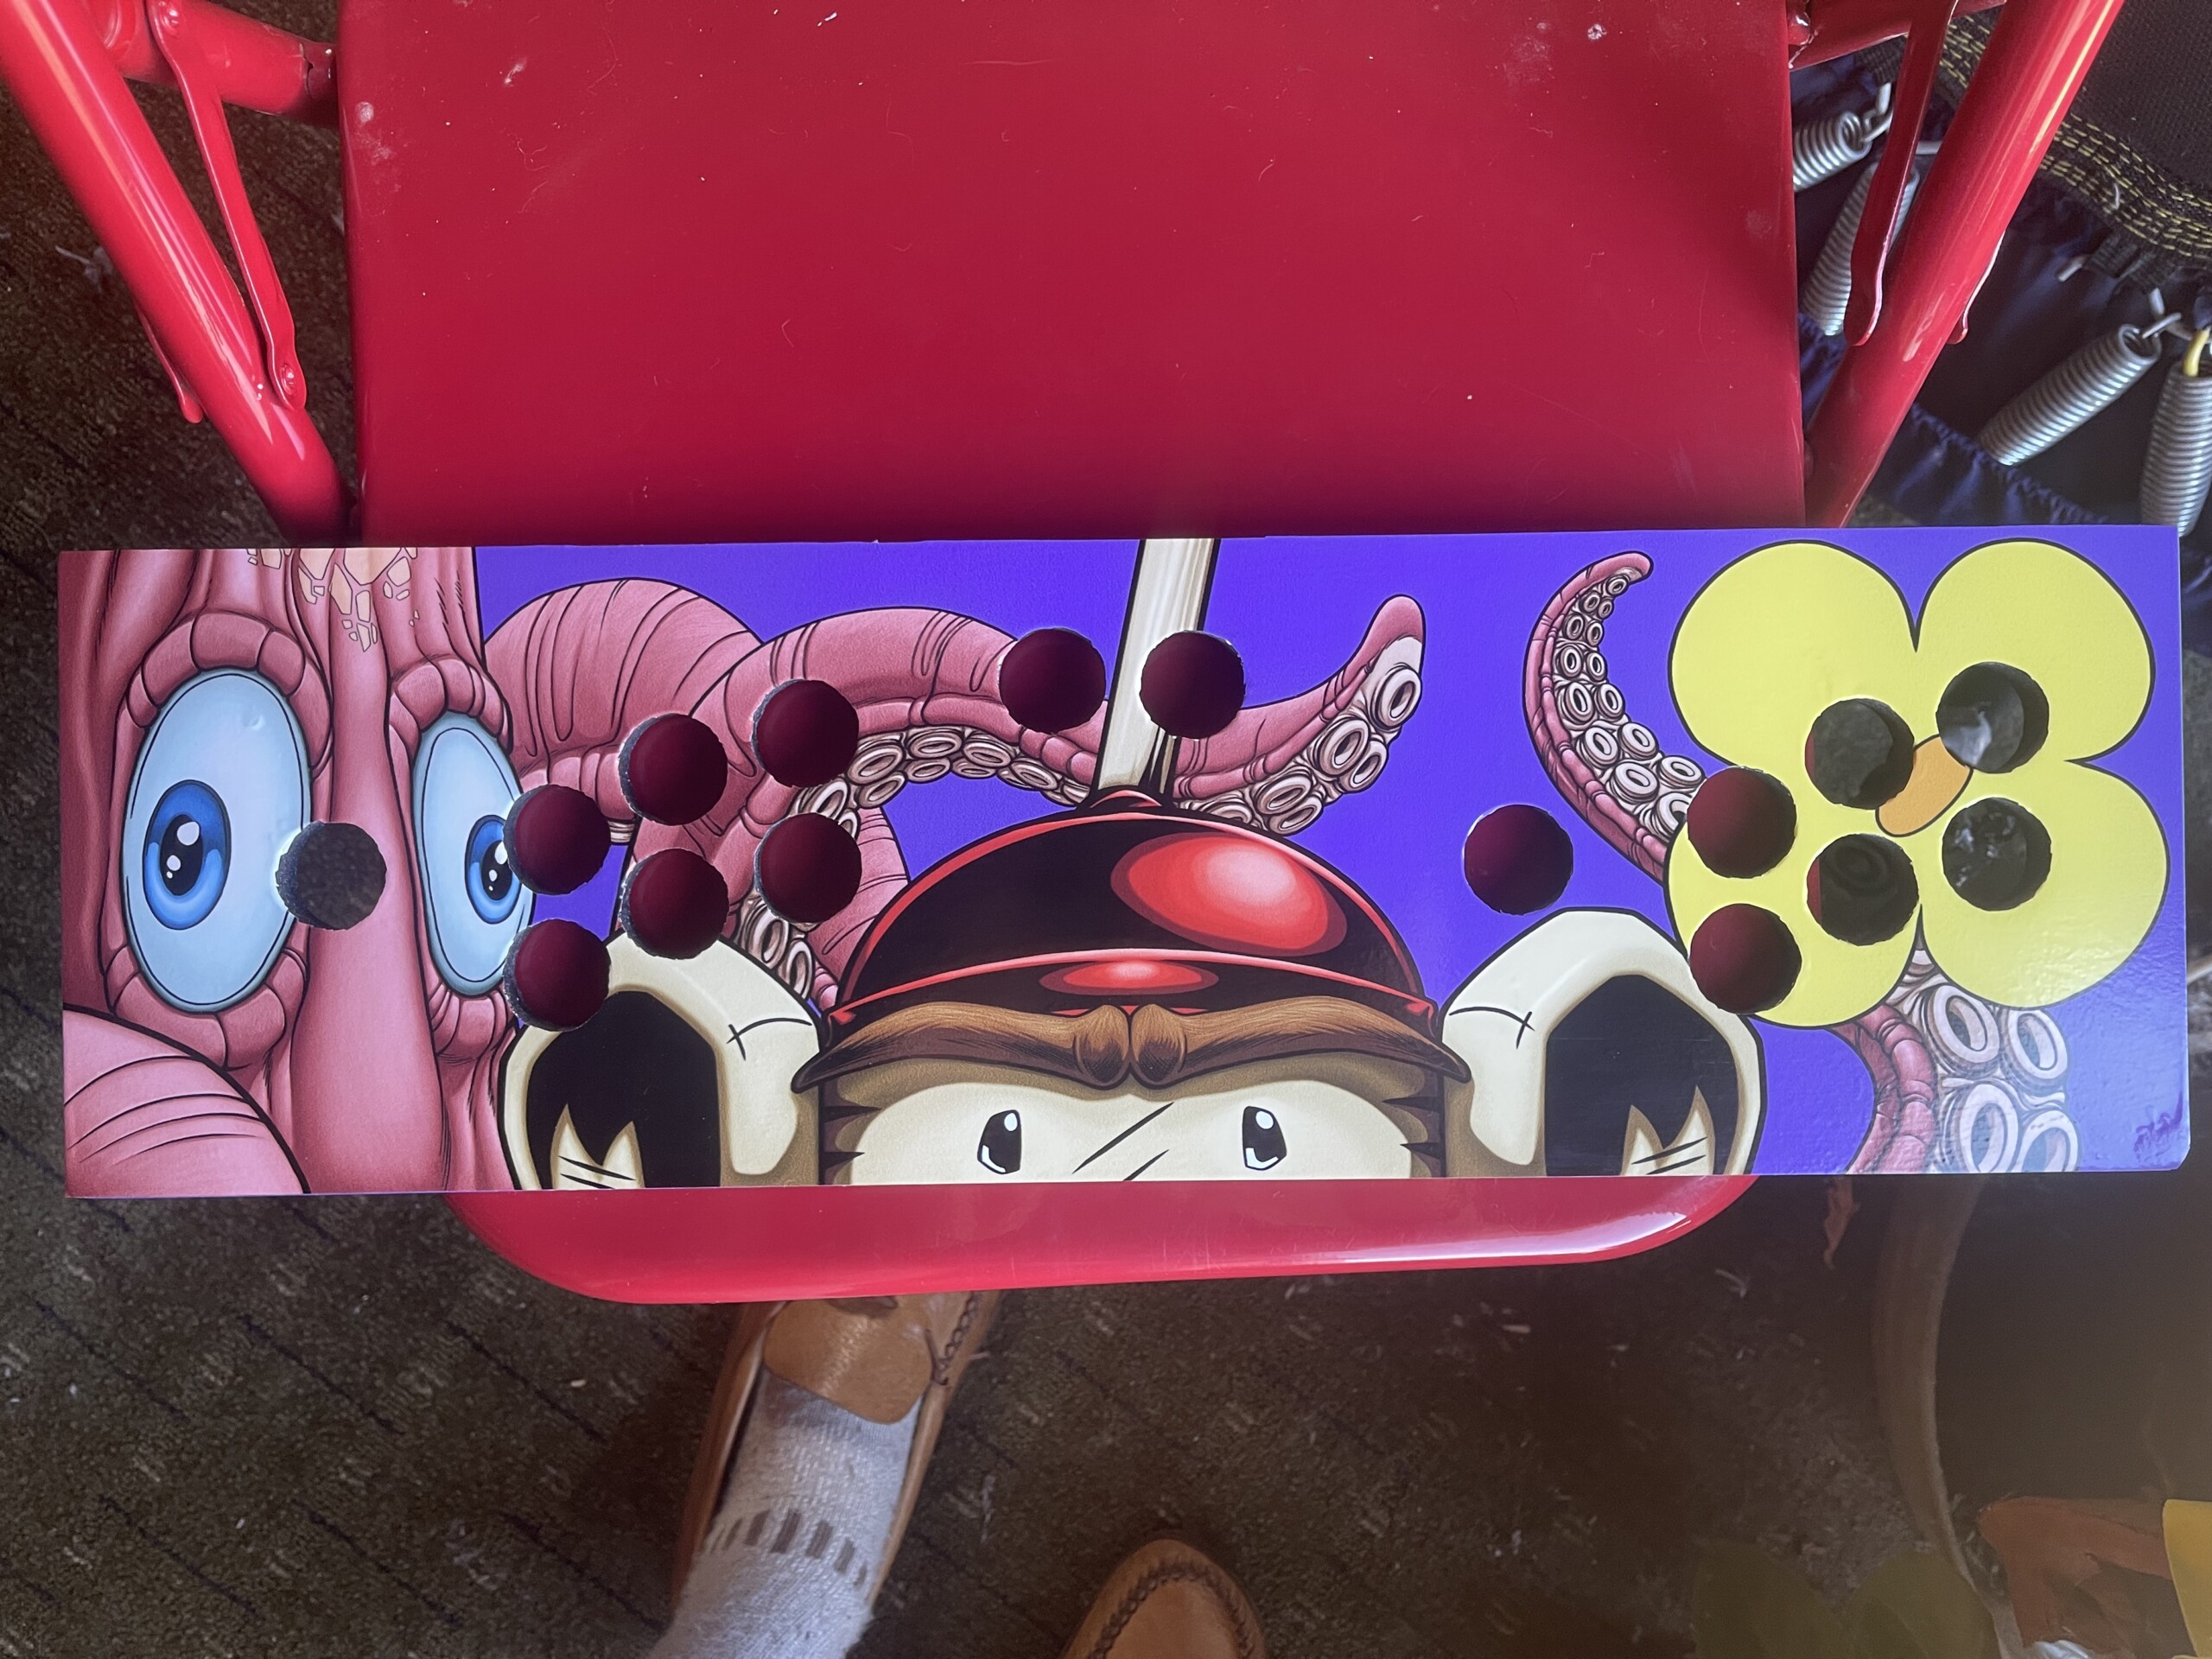
This is the image I designed for the actual control surface. I mostly planned the design around the holes where buttons will be (which obviously aren’t shown here), which posed some interesting challenges.
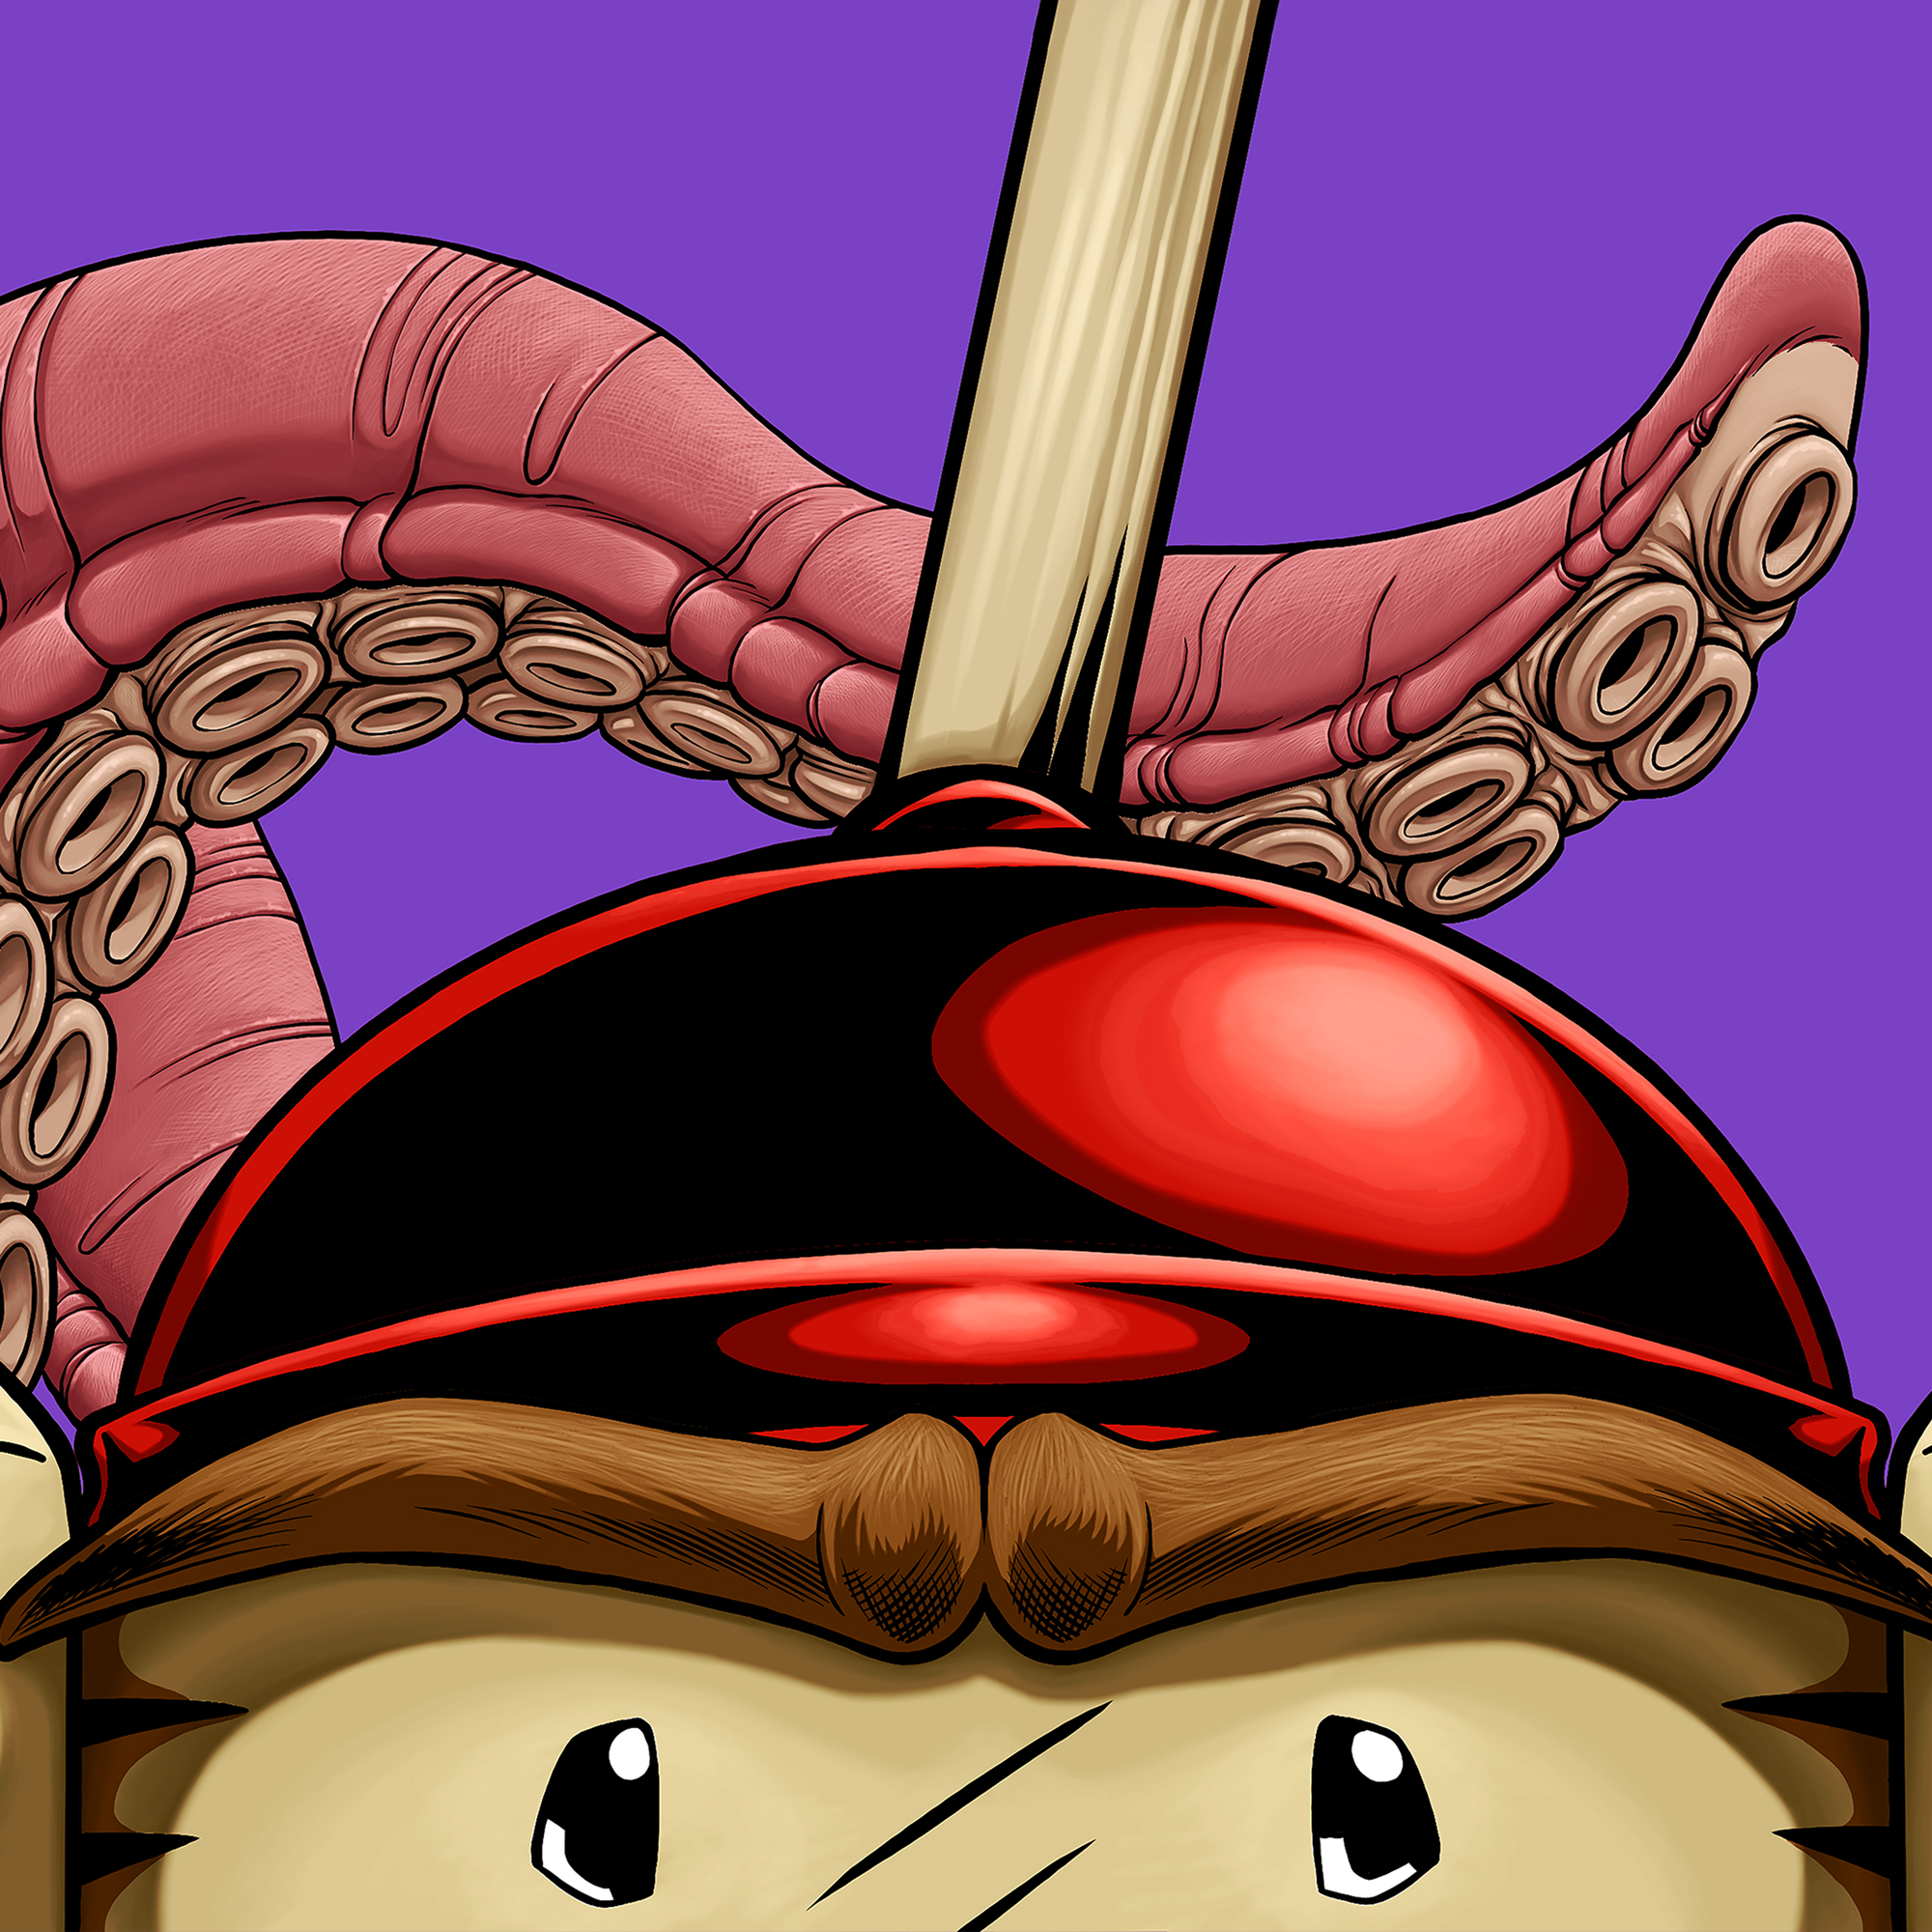
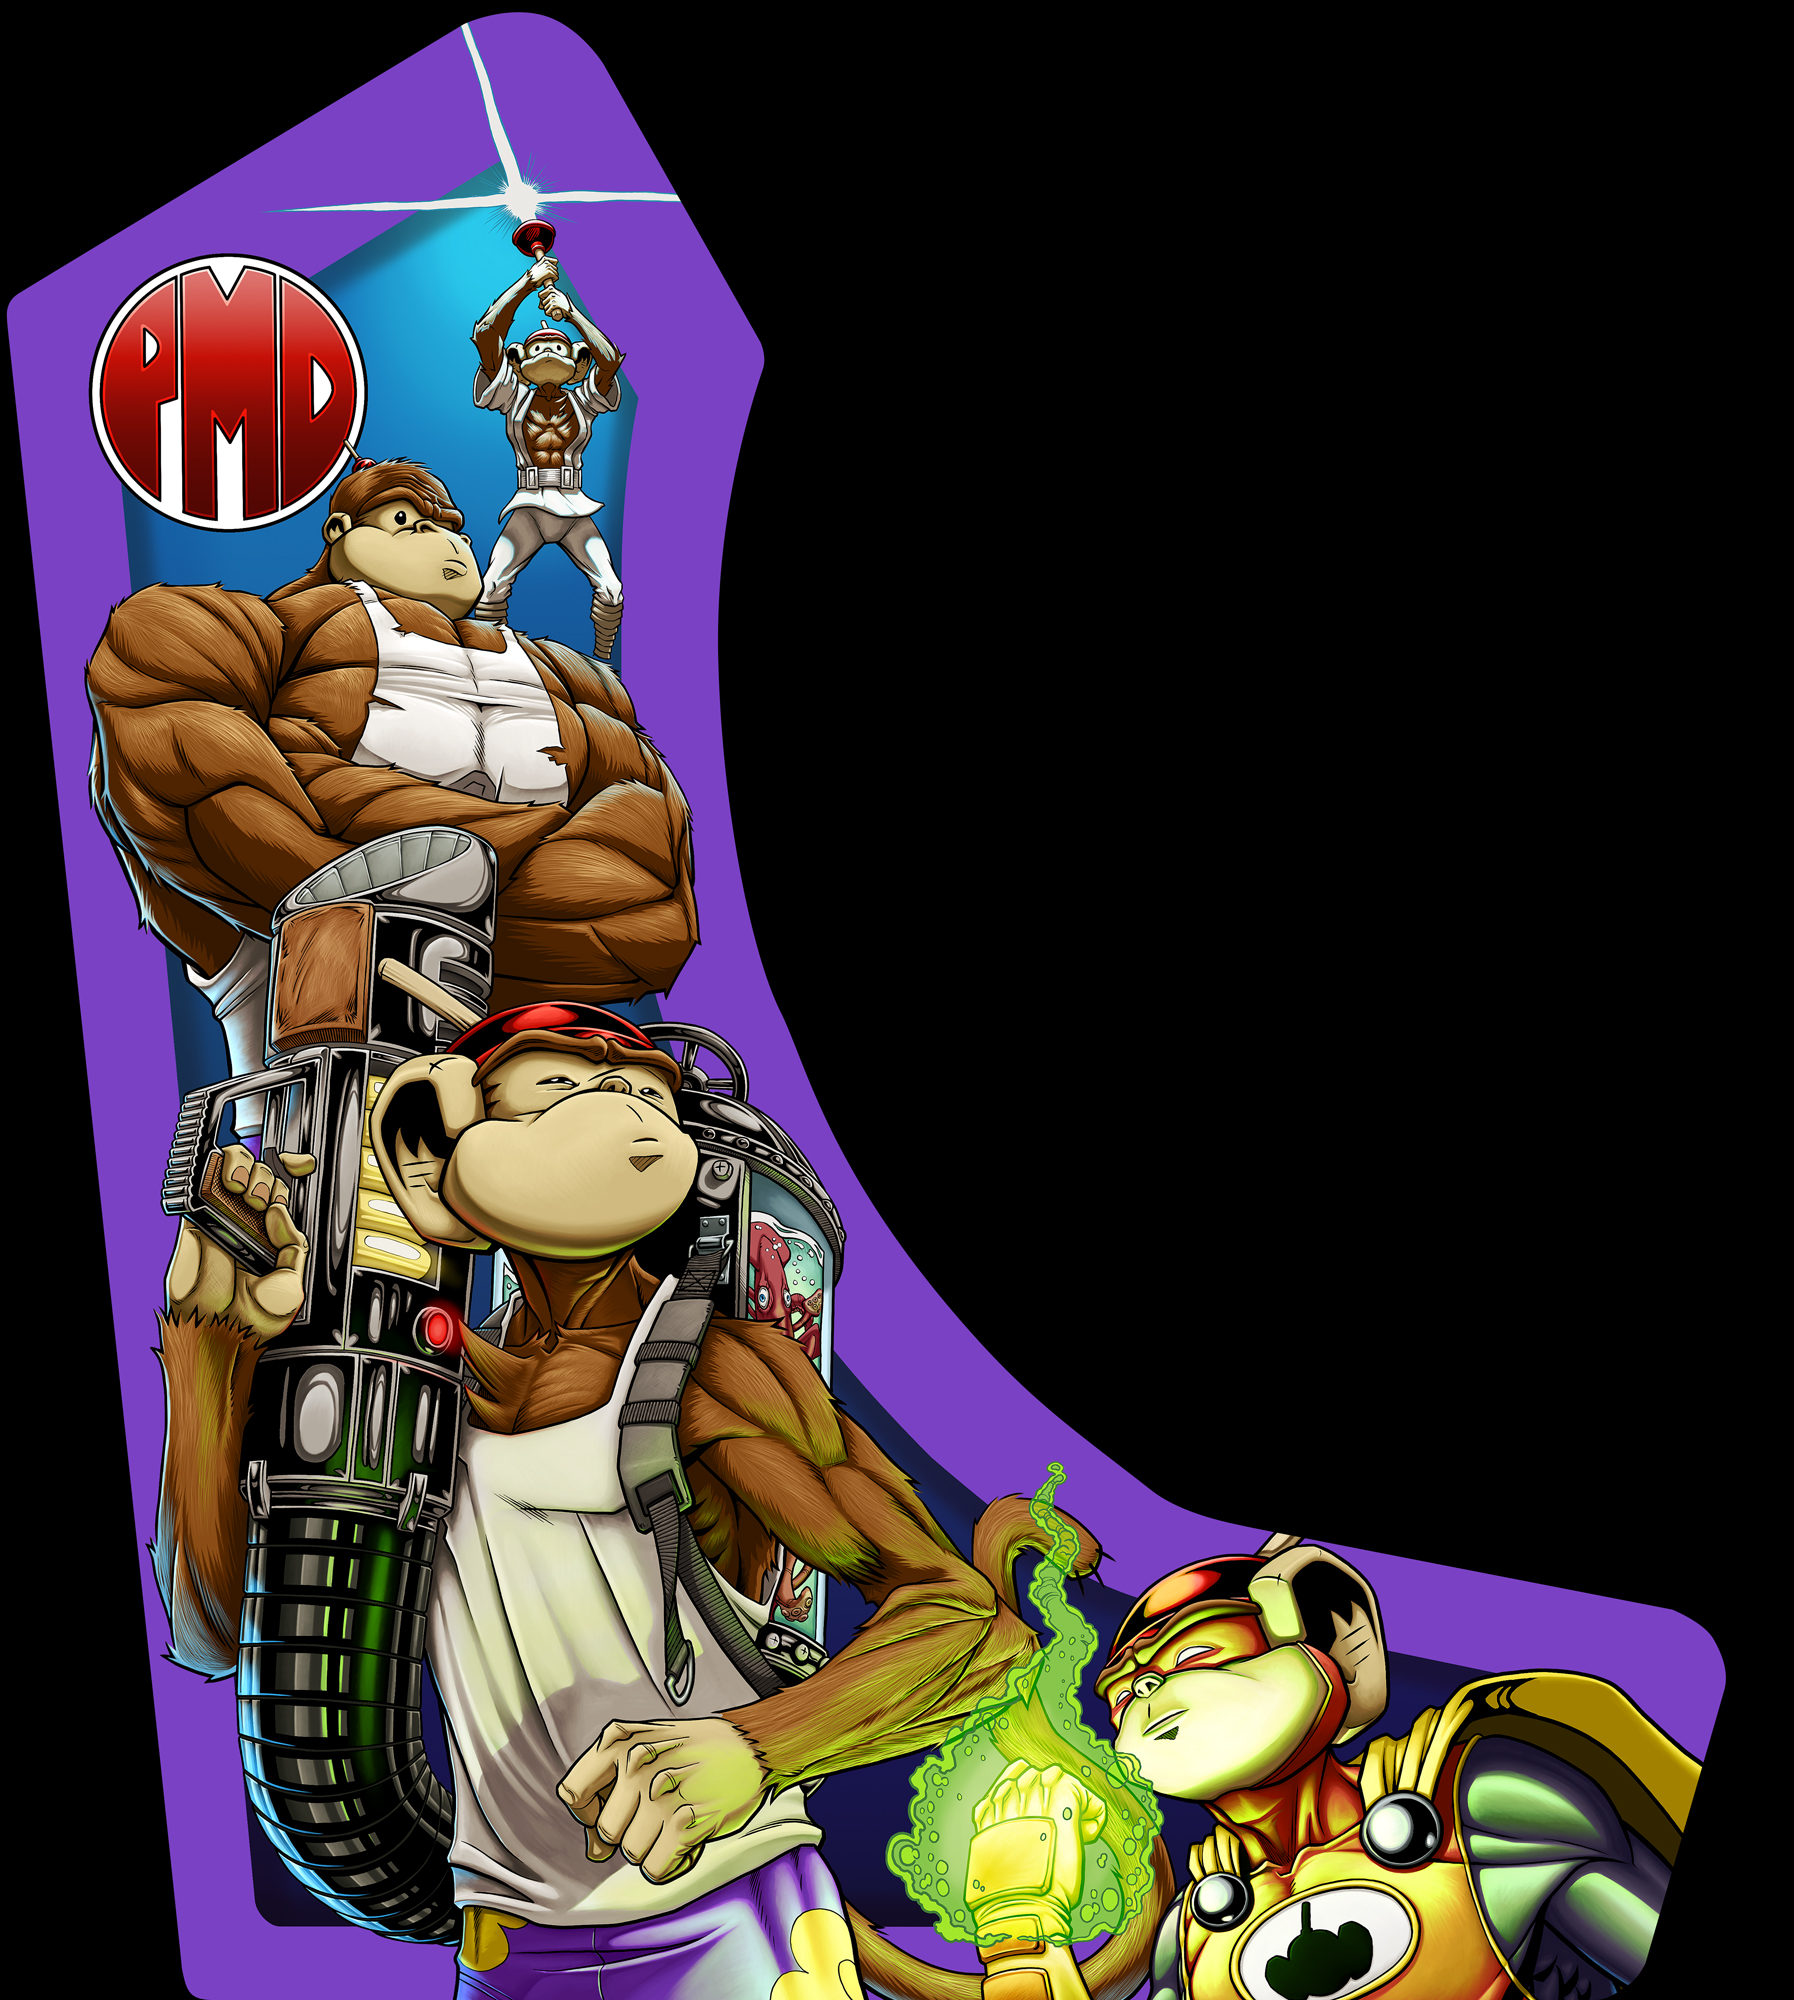
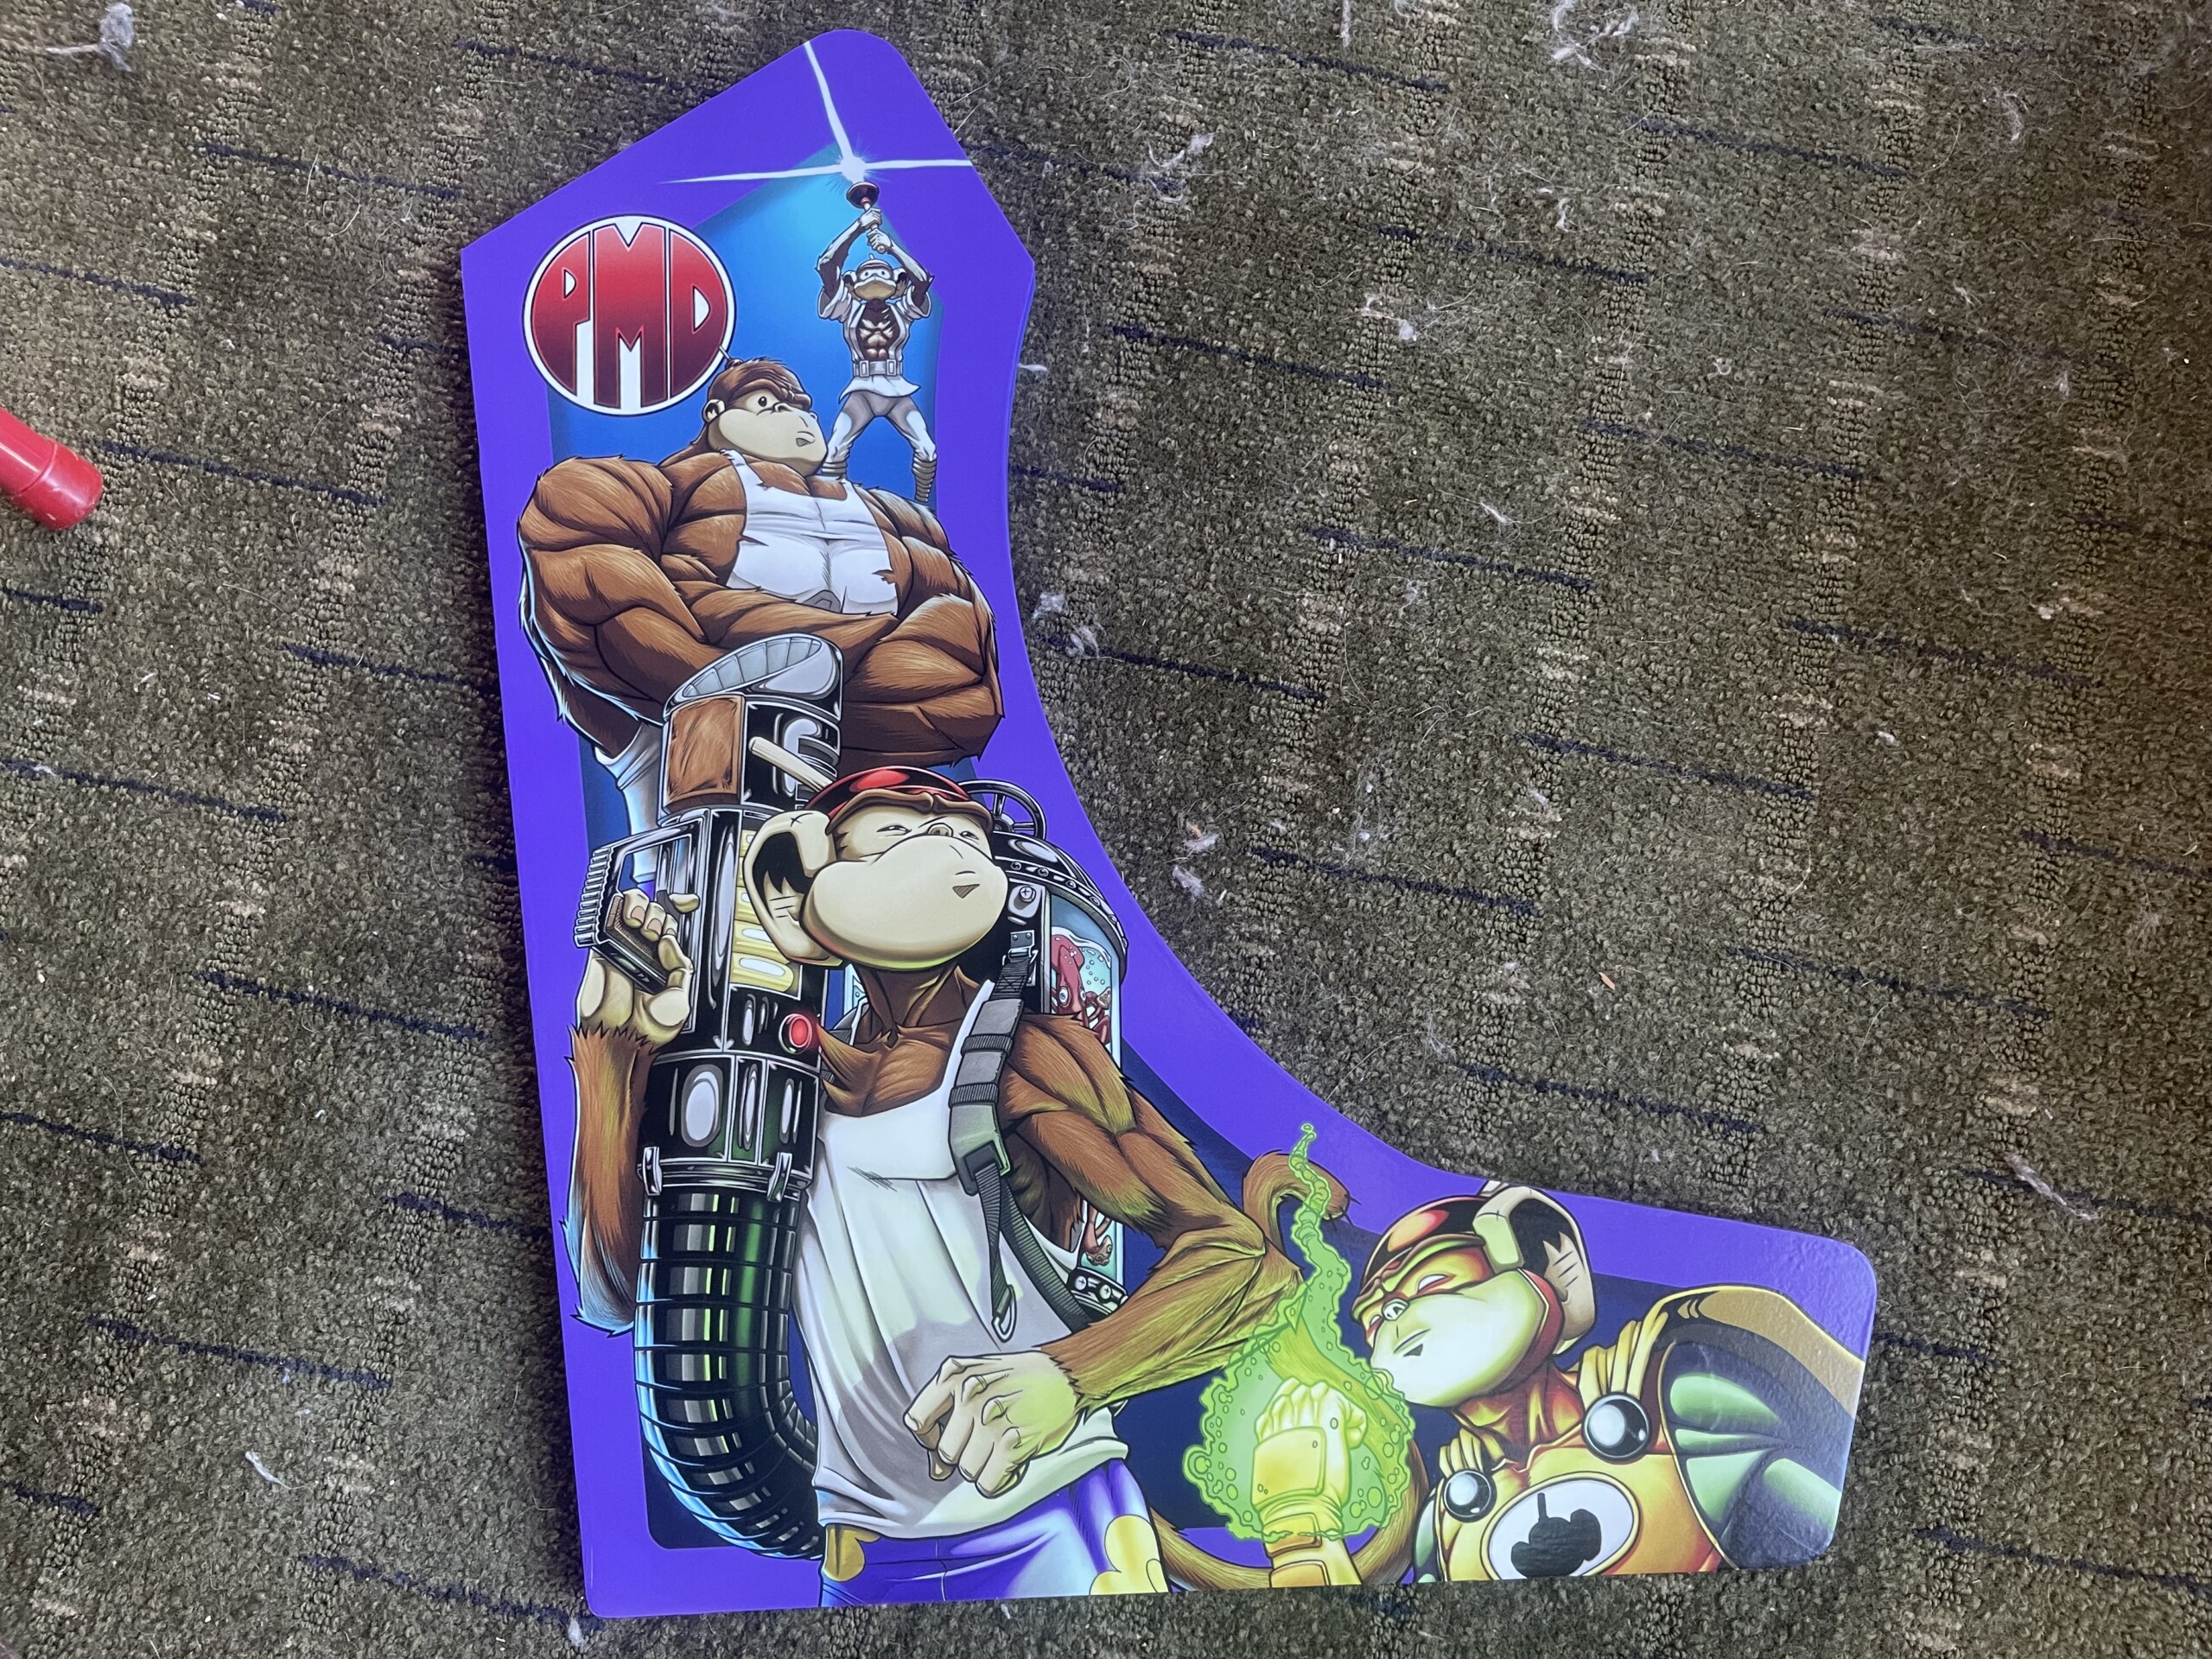
For the left side of the cabinet I decided to showcase some of the more concrete alteregos of PMD: PMD Luke/Jedi, Gorilla Monkey Dynamo, PMD with the Squid Canon (a video game idea just waiting for me to have the time and the skills), and The Masked Plunger (who has shown up in Inktober illustrations as well as an xmas card envelope several years ago). I expect there will one day be quite a few more to add, but these were the ones I’ve developed the most.
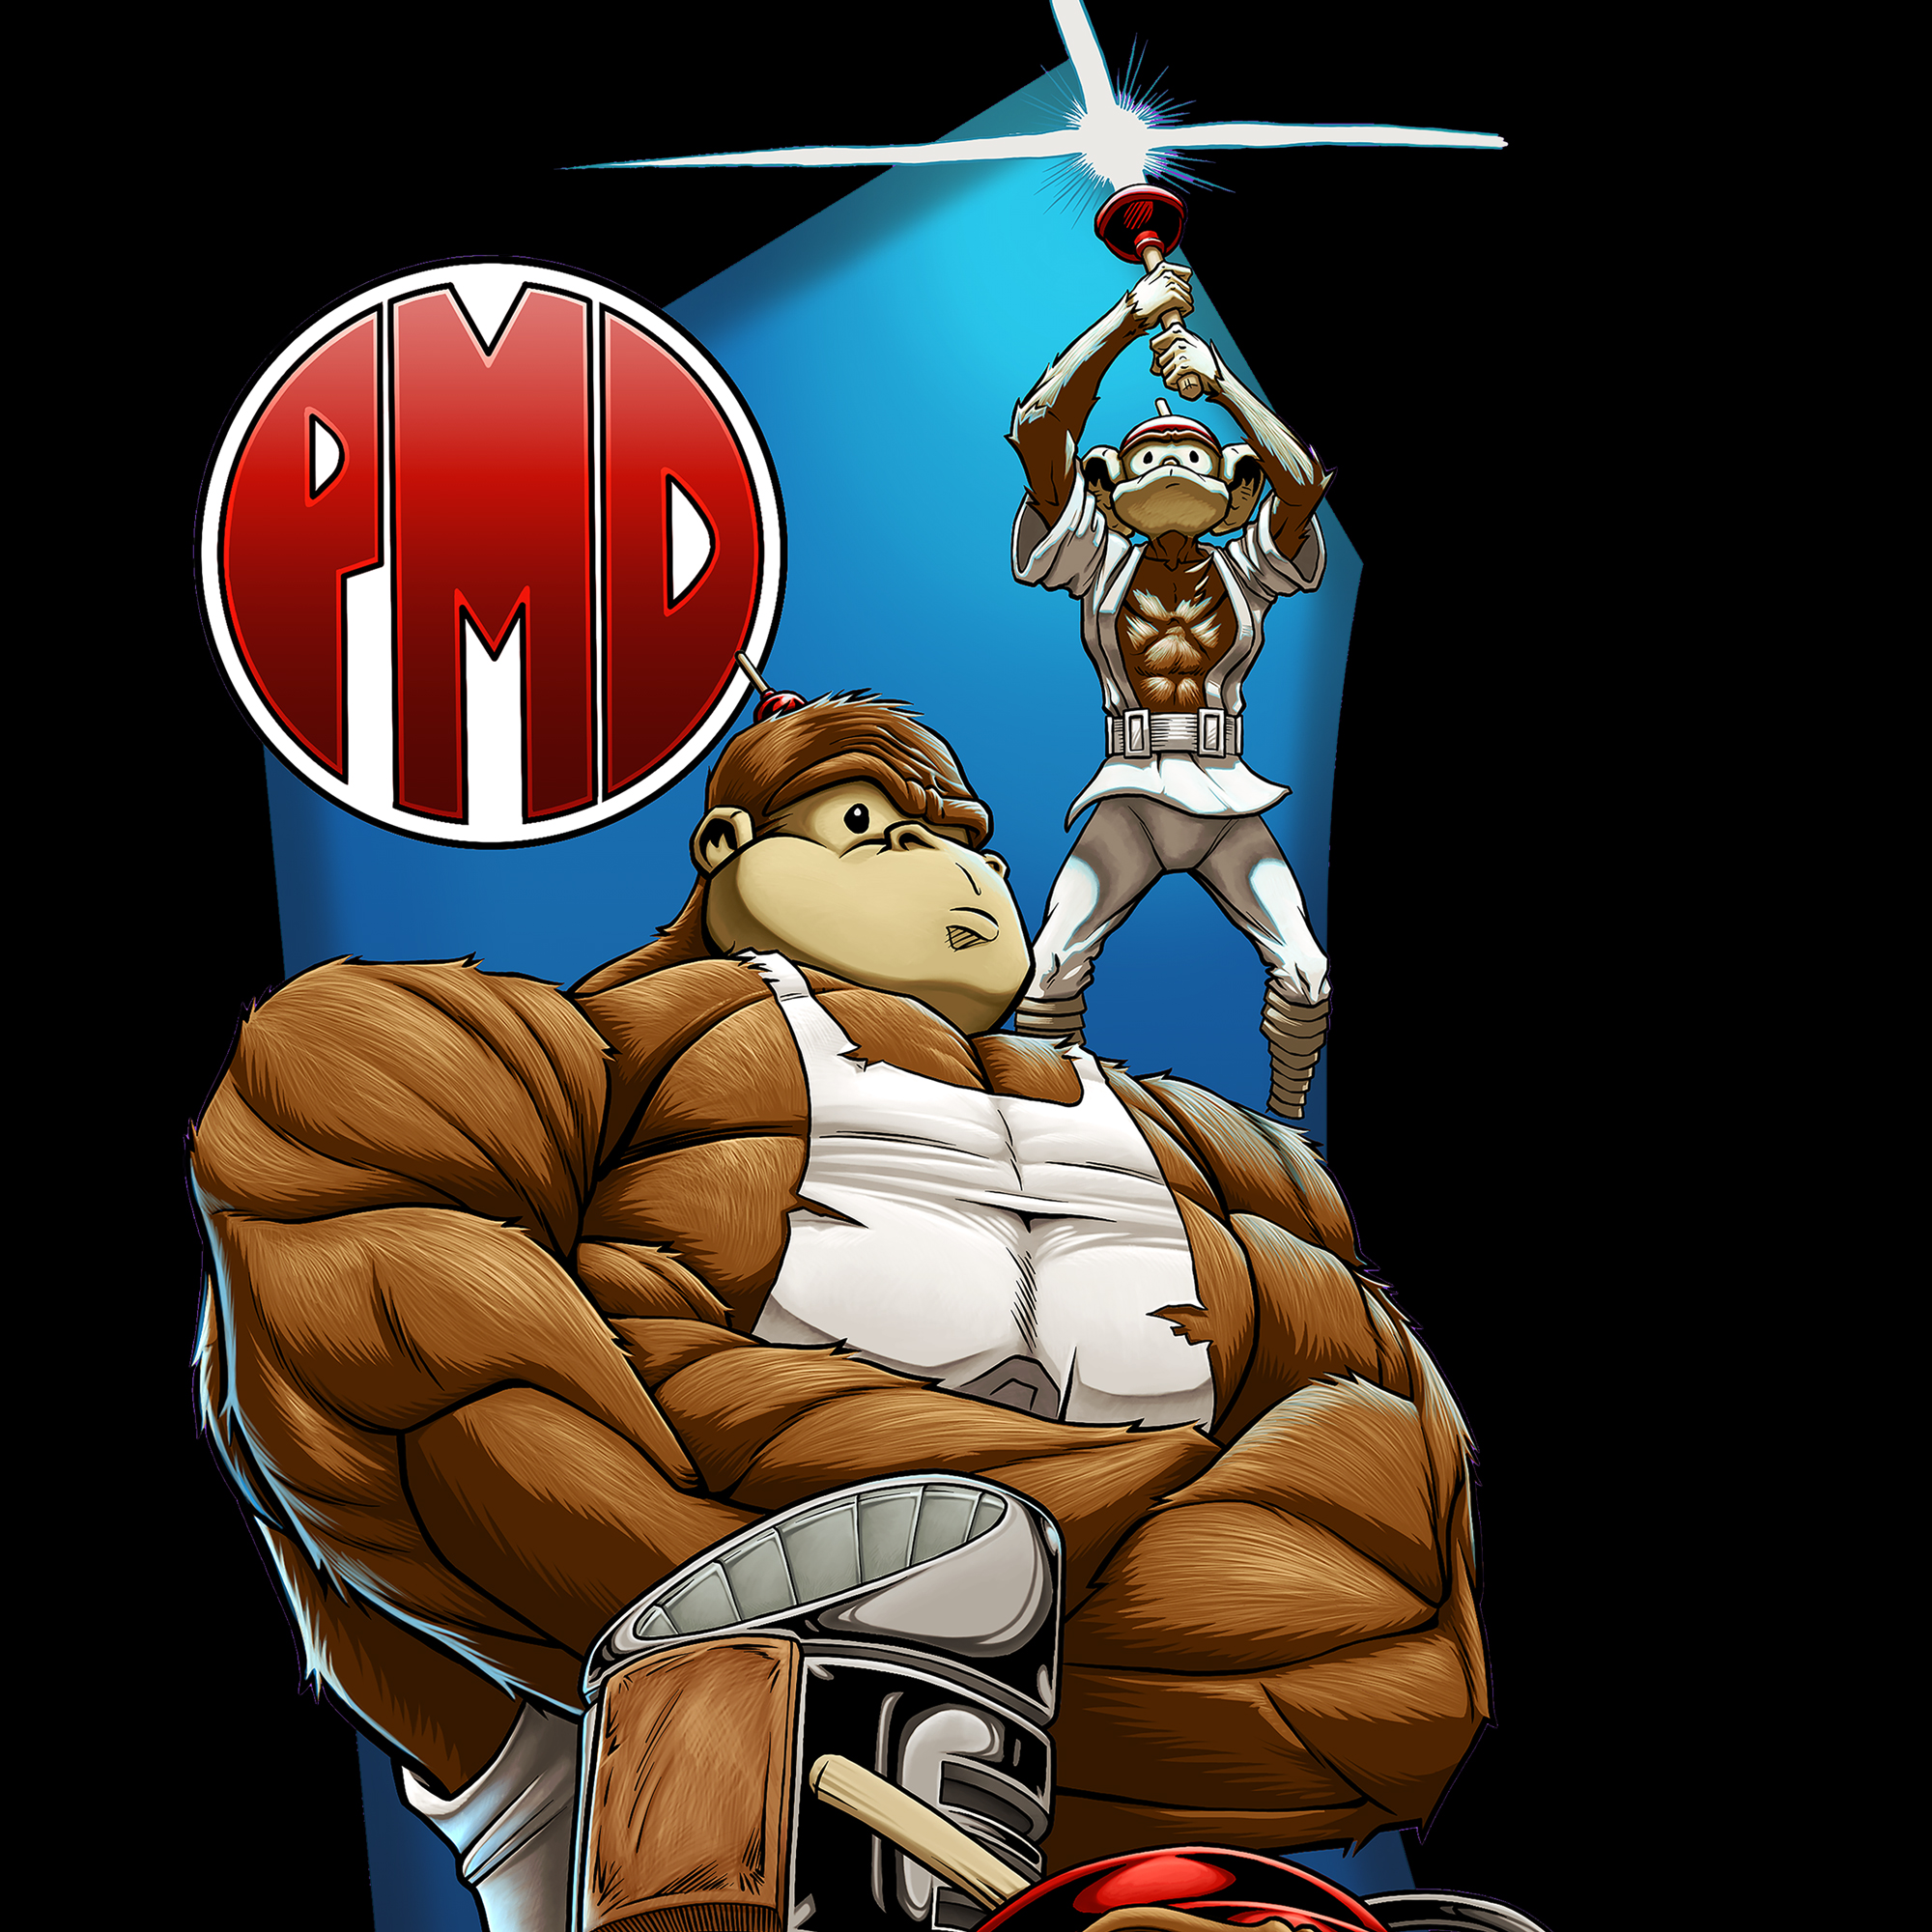
The PMD Luke came from a random Inktober illustration I did that I turned into a shirt. I’m not sure if he’ll ever show up in the PMD Universe otherwise.
Gorilla Monkey Dynamo came about just about as randomly as PMD did originally, and I like the possiblities this alterego has.
I’ve gone through different iterations of logos related to PMD over the years, but I really like how clean and simple this one is. I could see it showing up on shirts or hats or something down the road.

Squid Canon. If there’s ever a Plunger Monkey video game, there will be a Squid Canon.
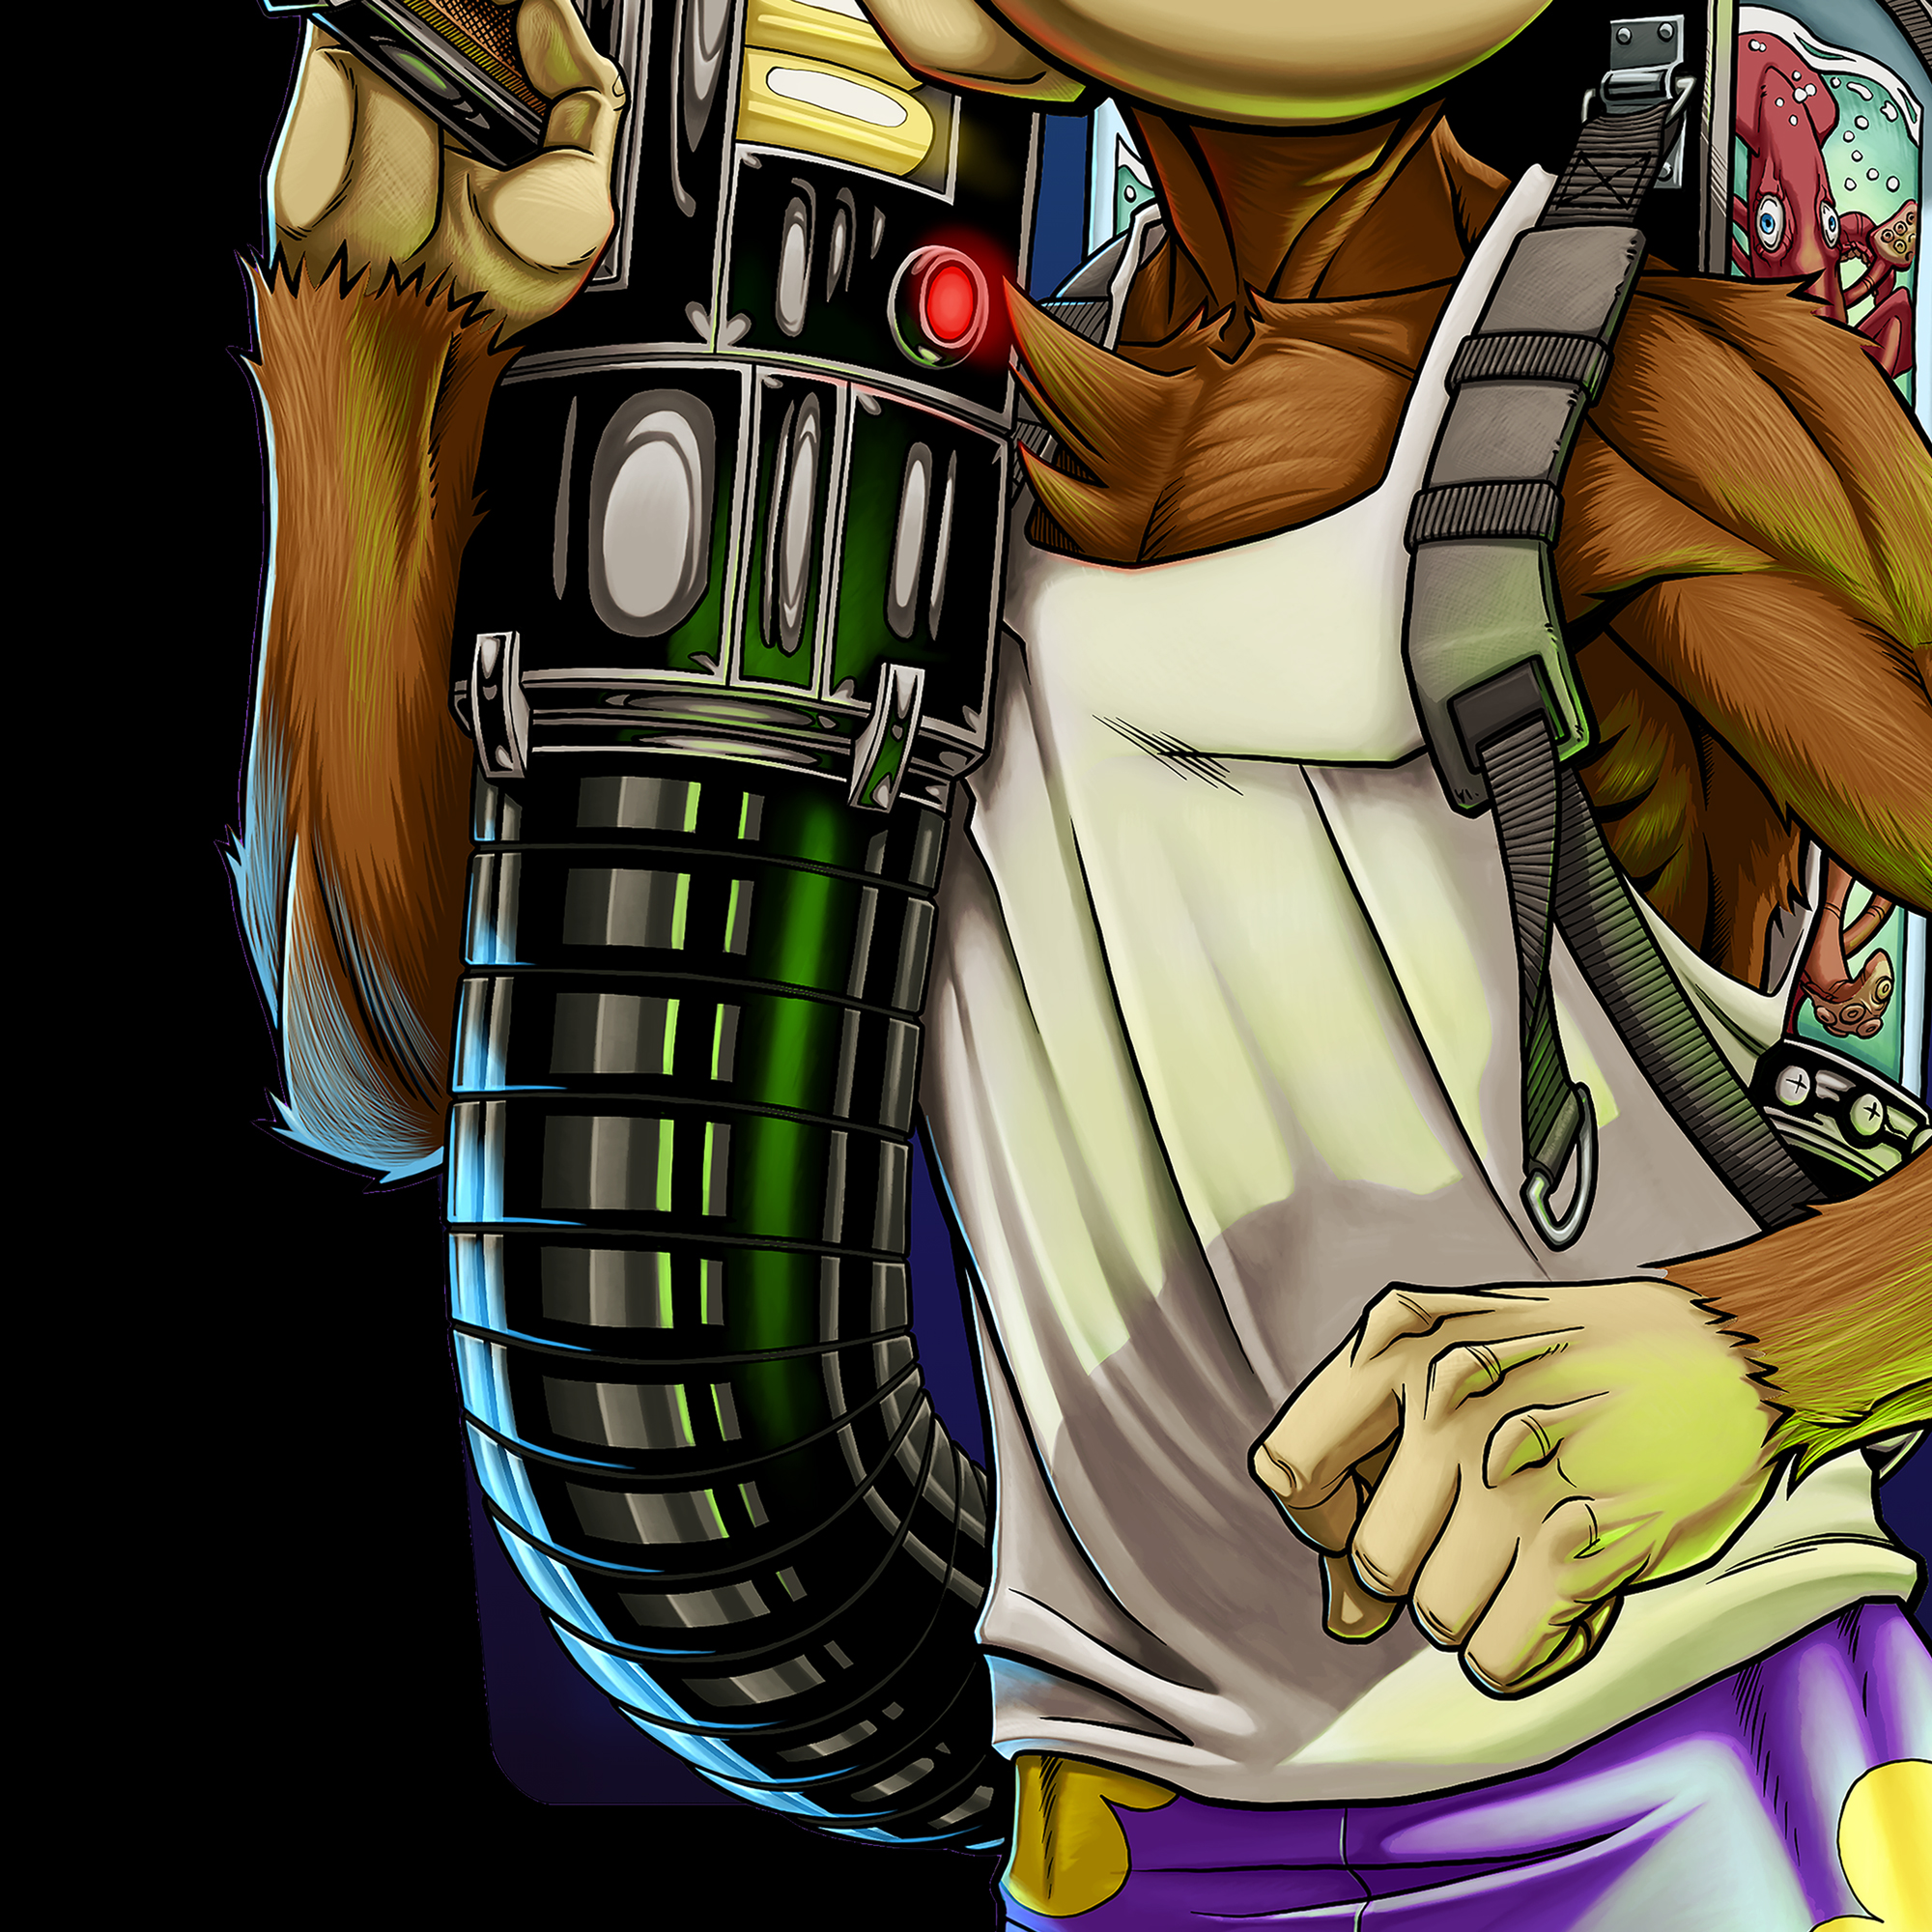
I still need to work on it a lot, but I like some of the lighting effects I managed in this area.
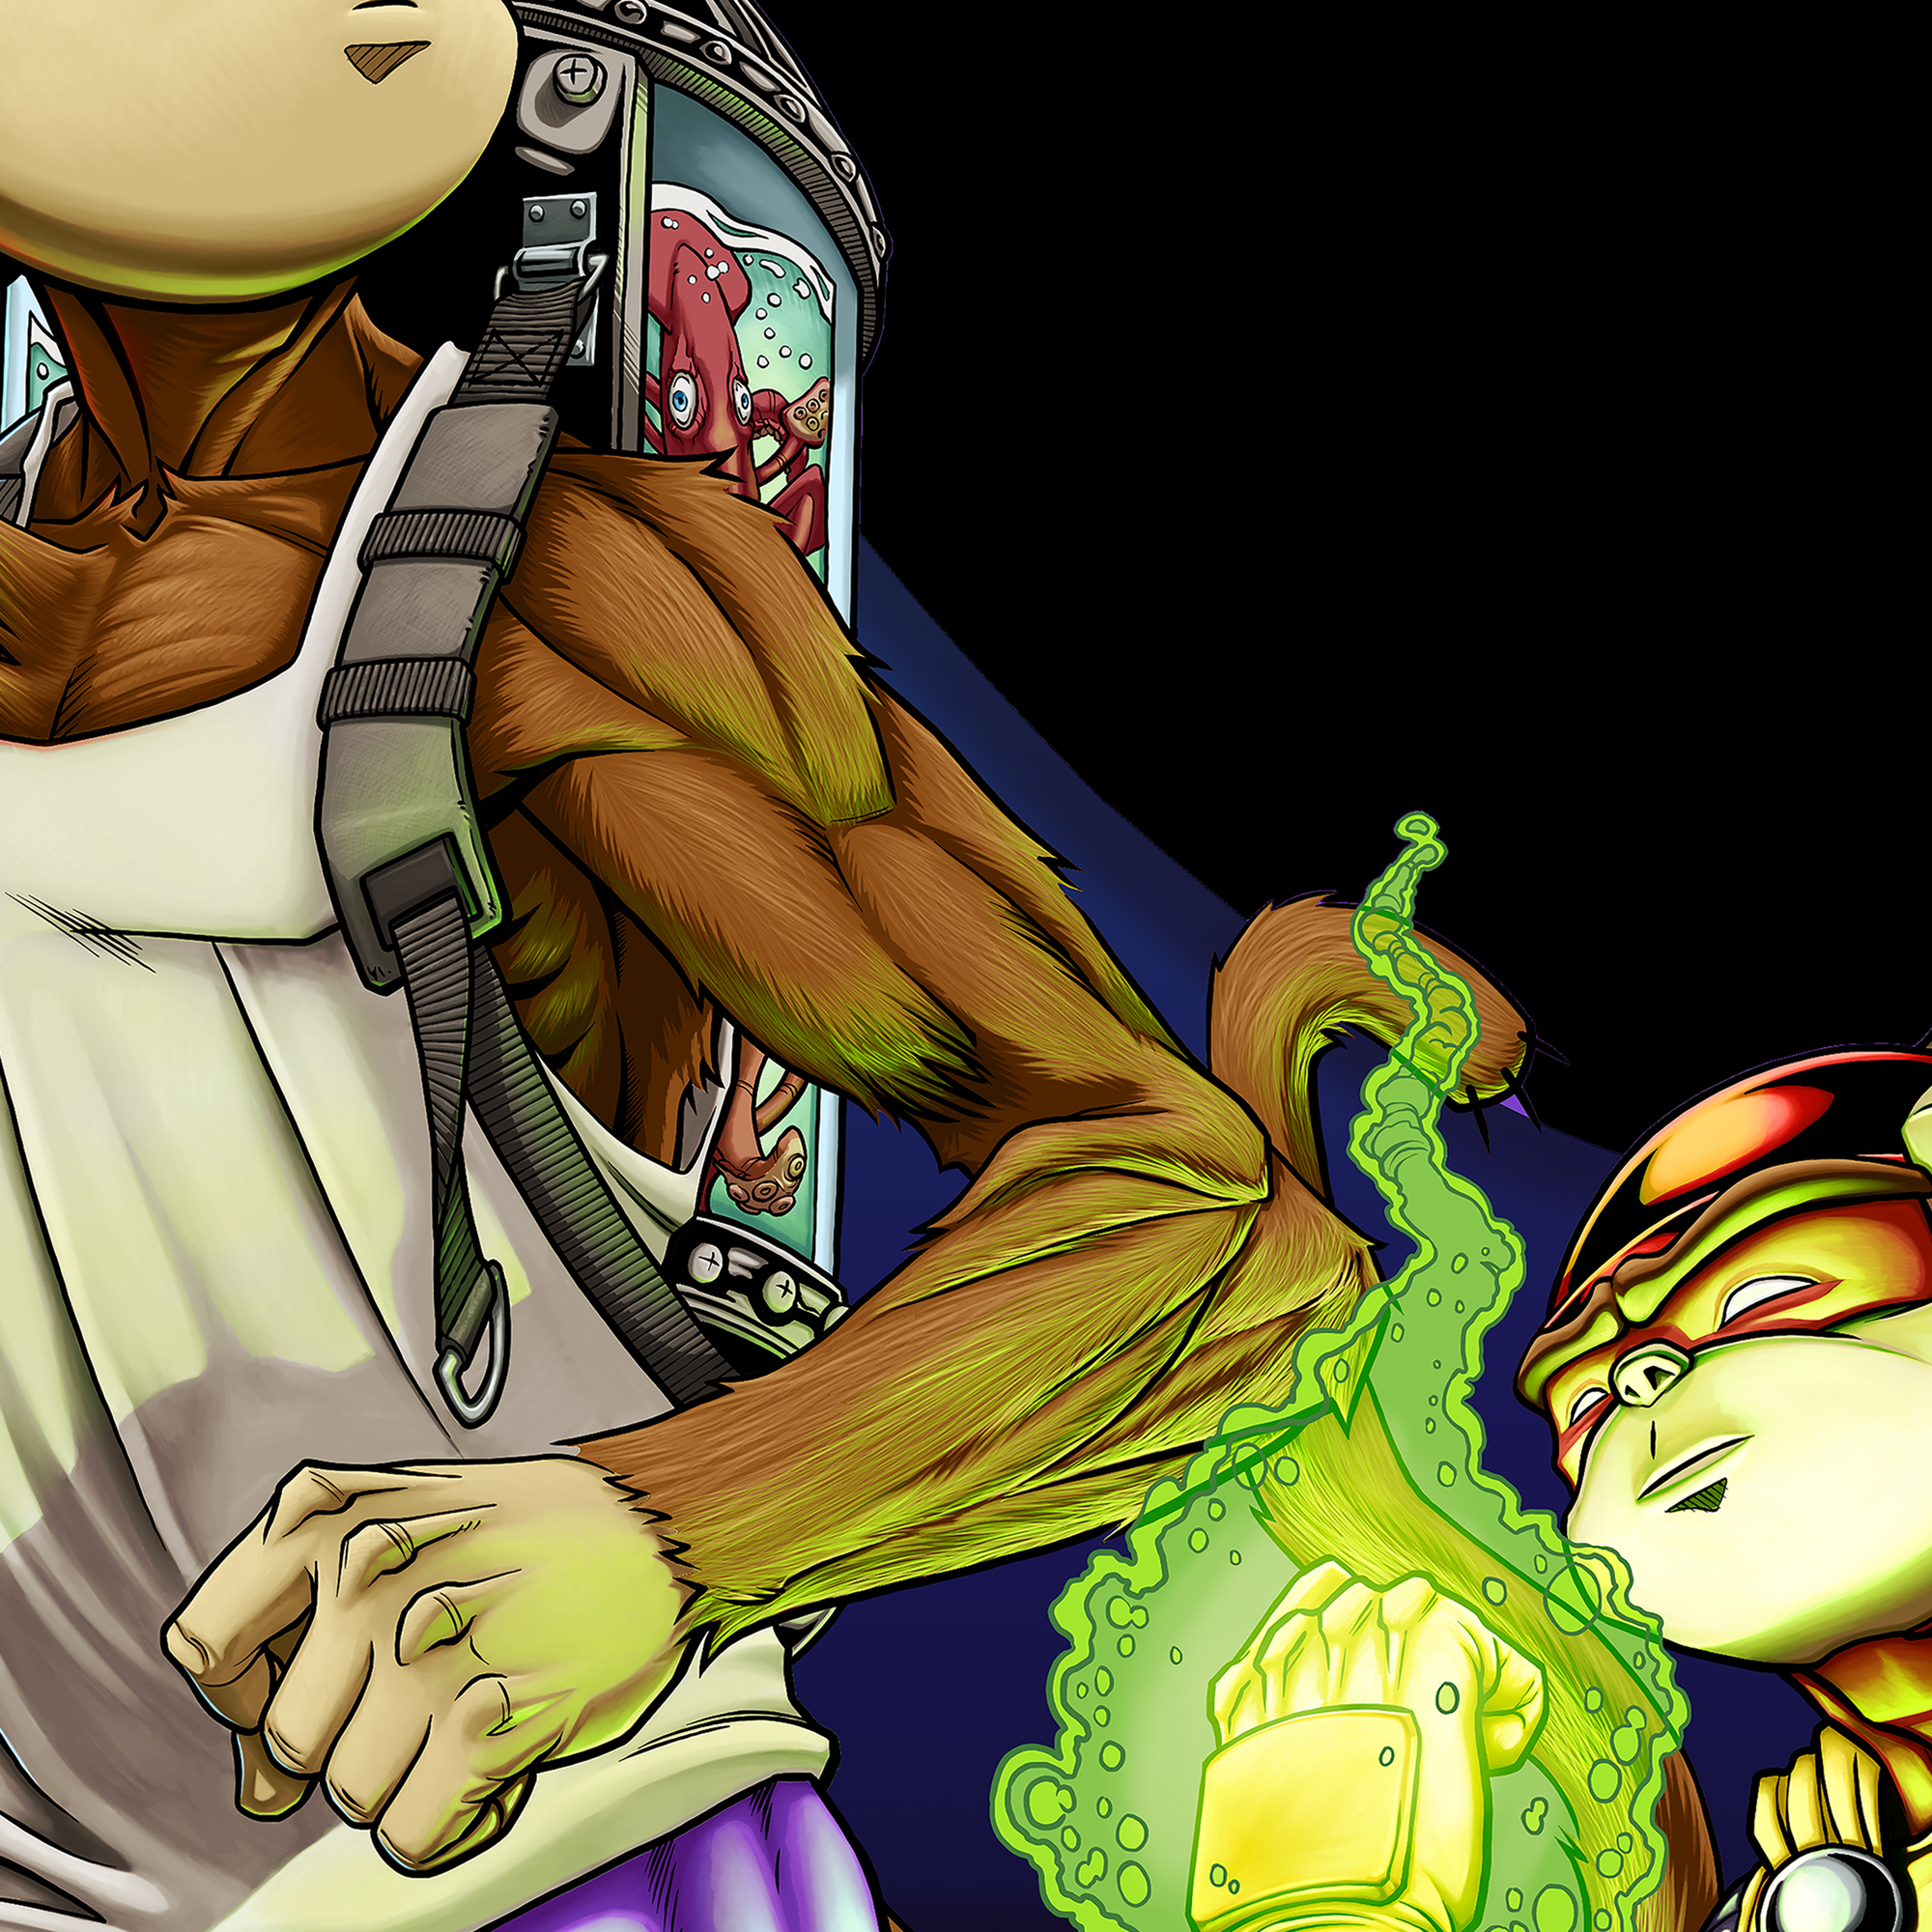
Another example of tedious detail that I like but may not be noticed at the finished viewable size: All the fur textures and light reflections.
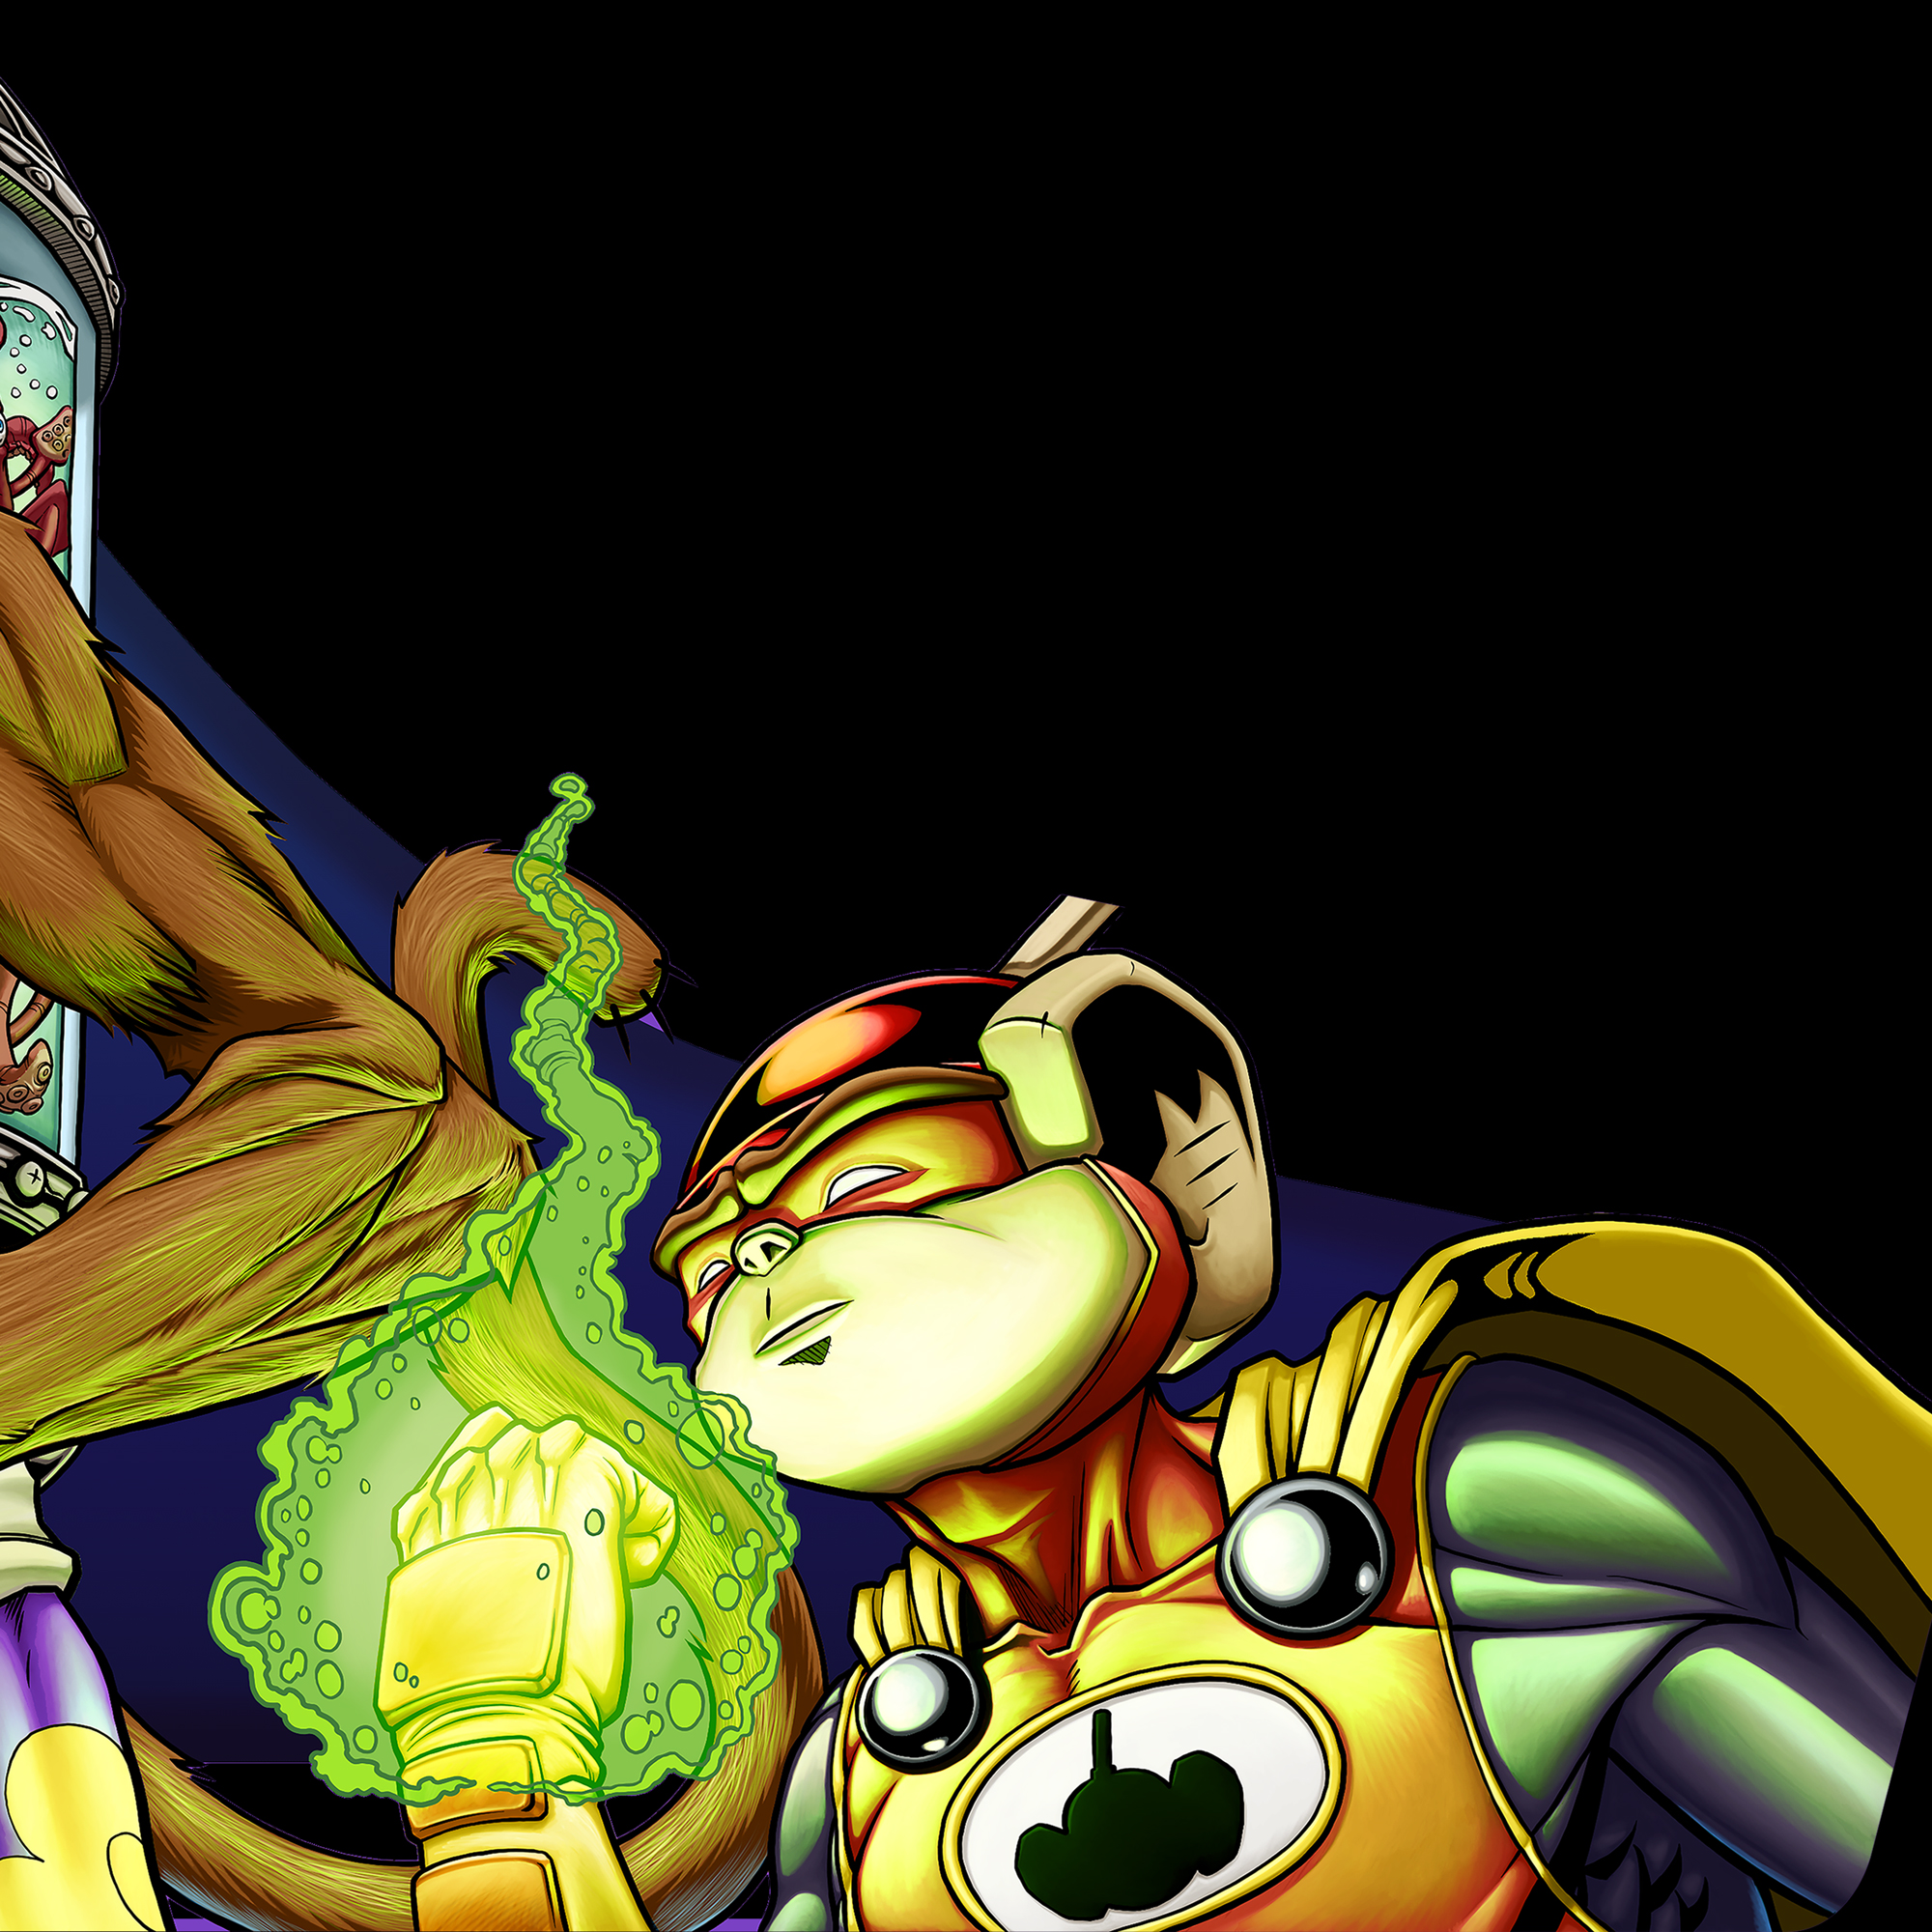
This one gave me headaches. I’m not great with lighting still, especially with PMD’s face. It’s made of relatively simple shapes, but with some weird intersections and changes of form that are just difficult for me to visualize being hit by light from different angles without having something physical (or at least a 3D render) to reference.
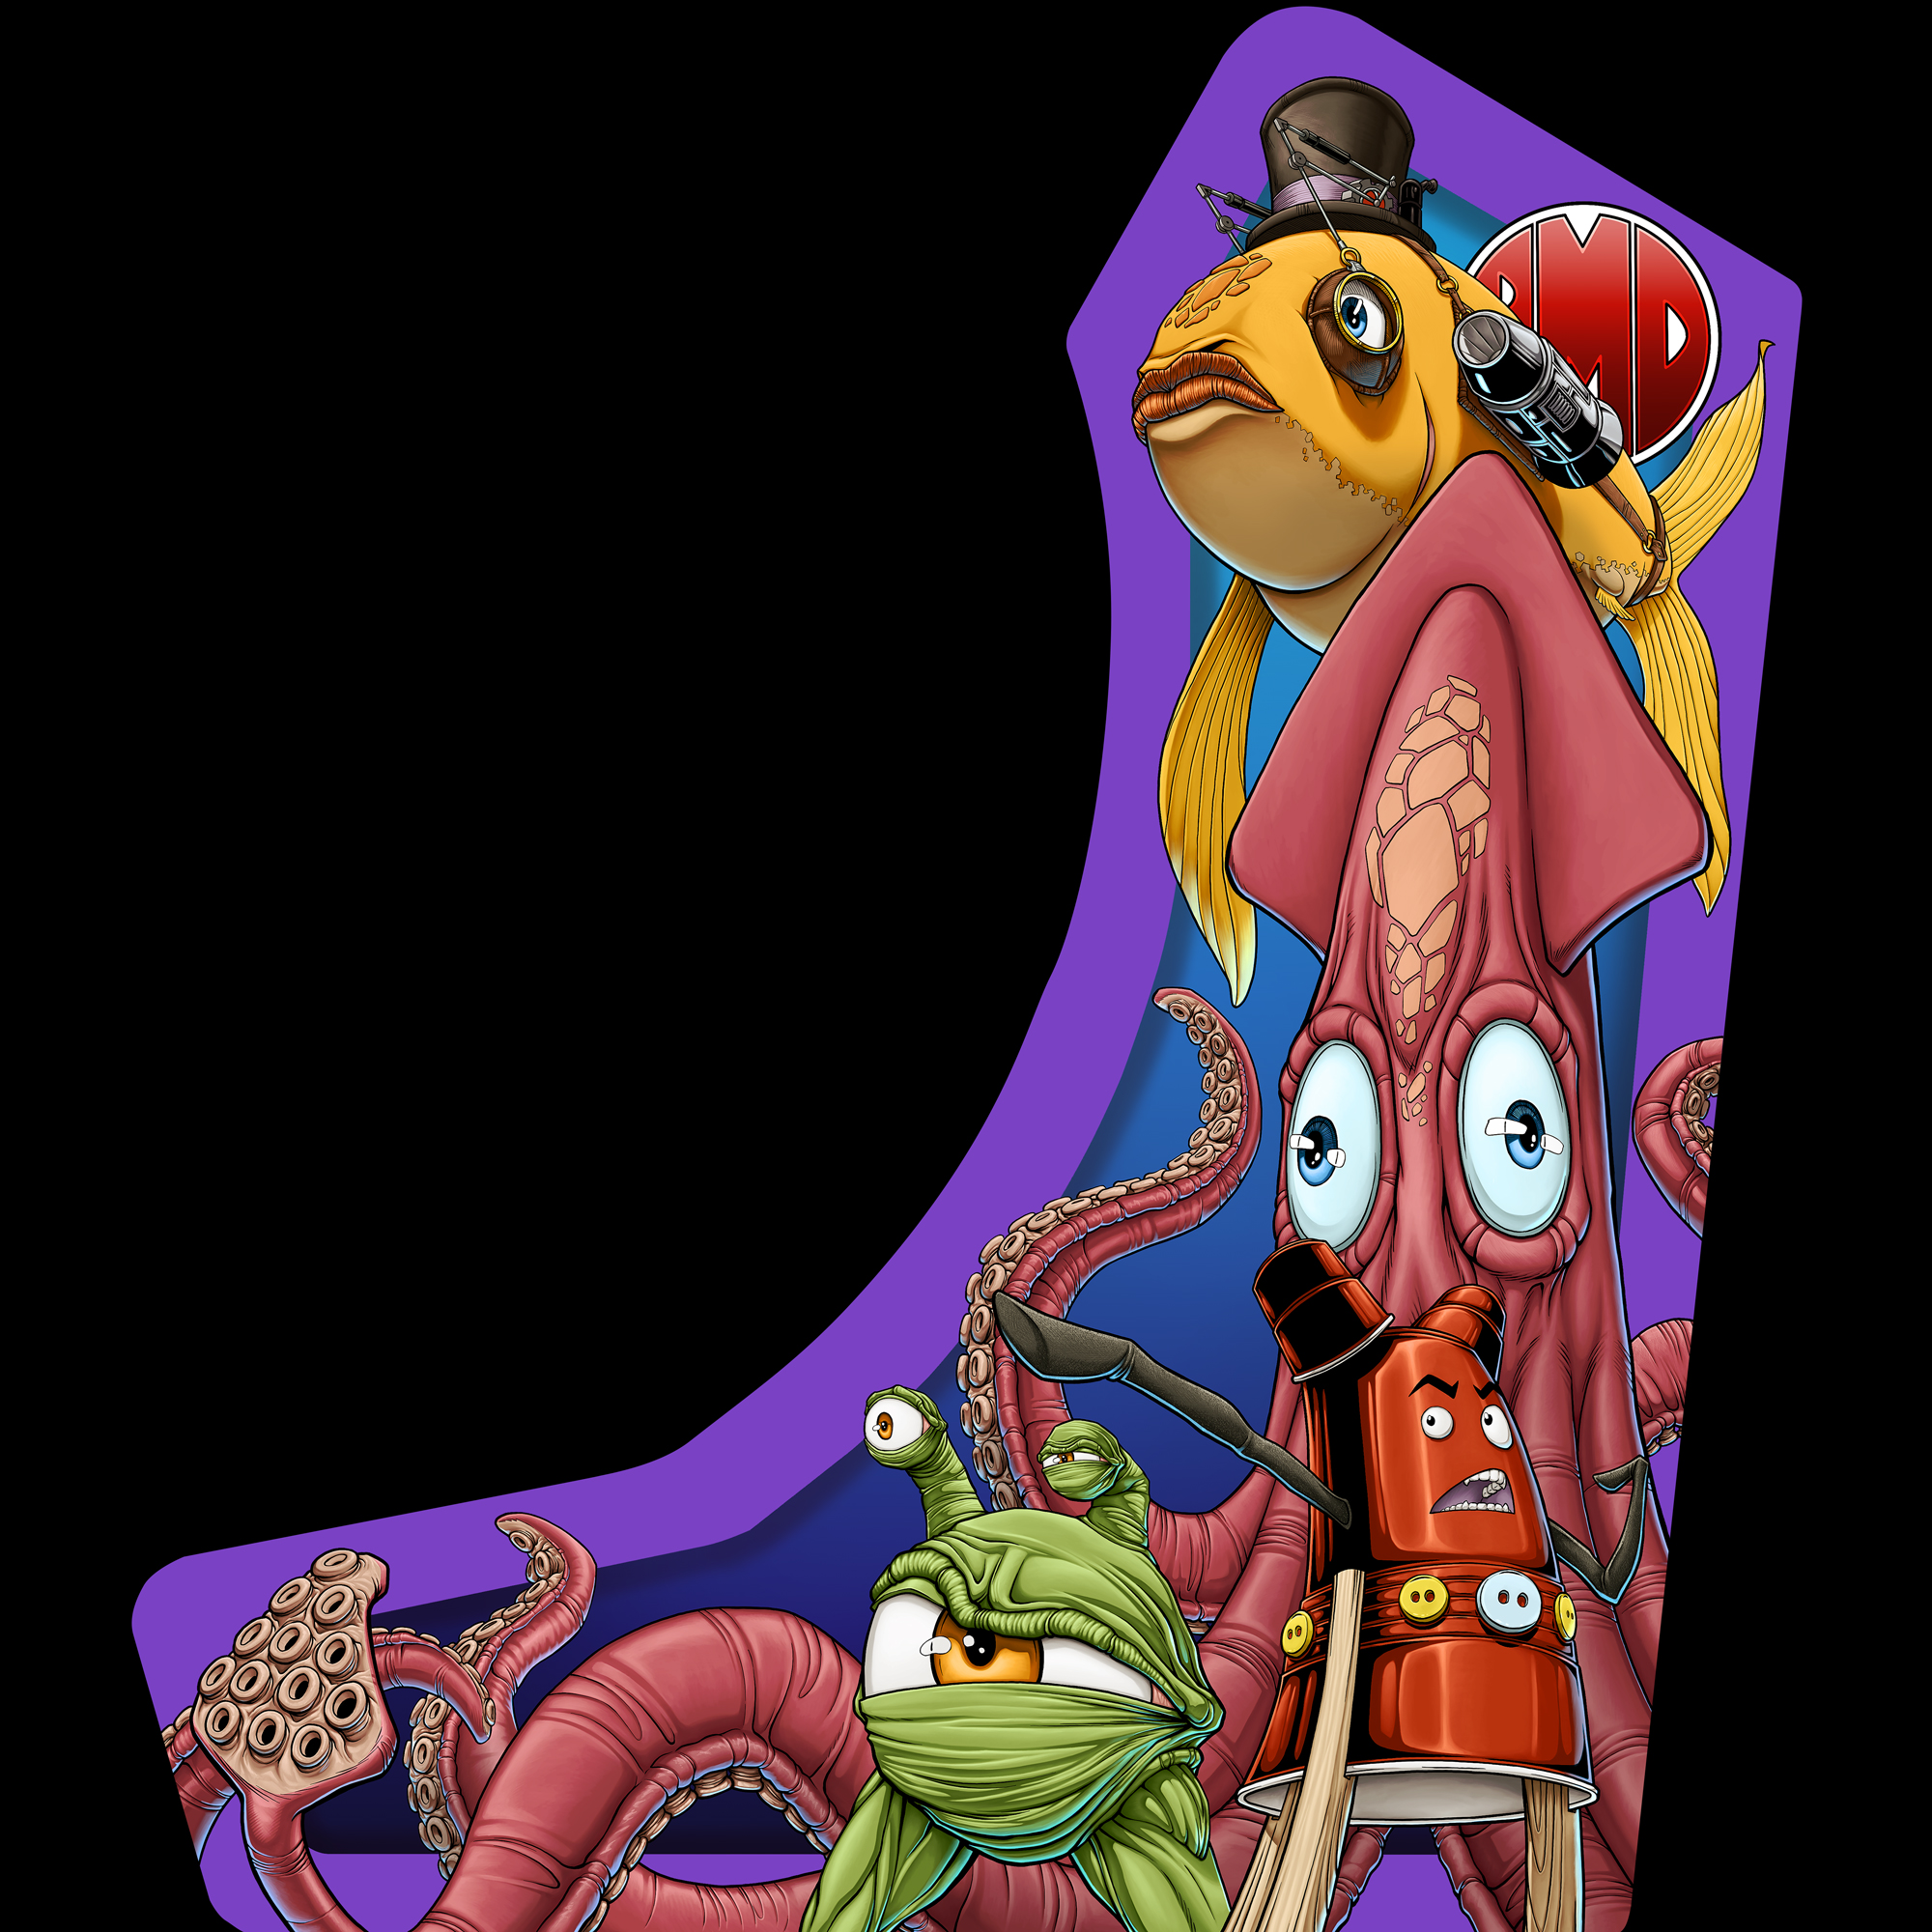
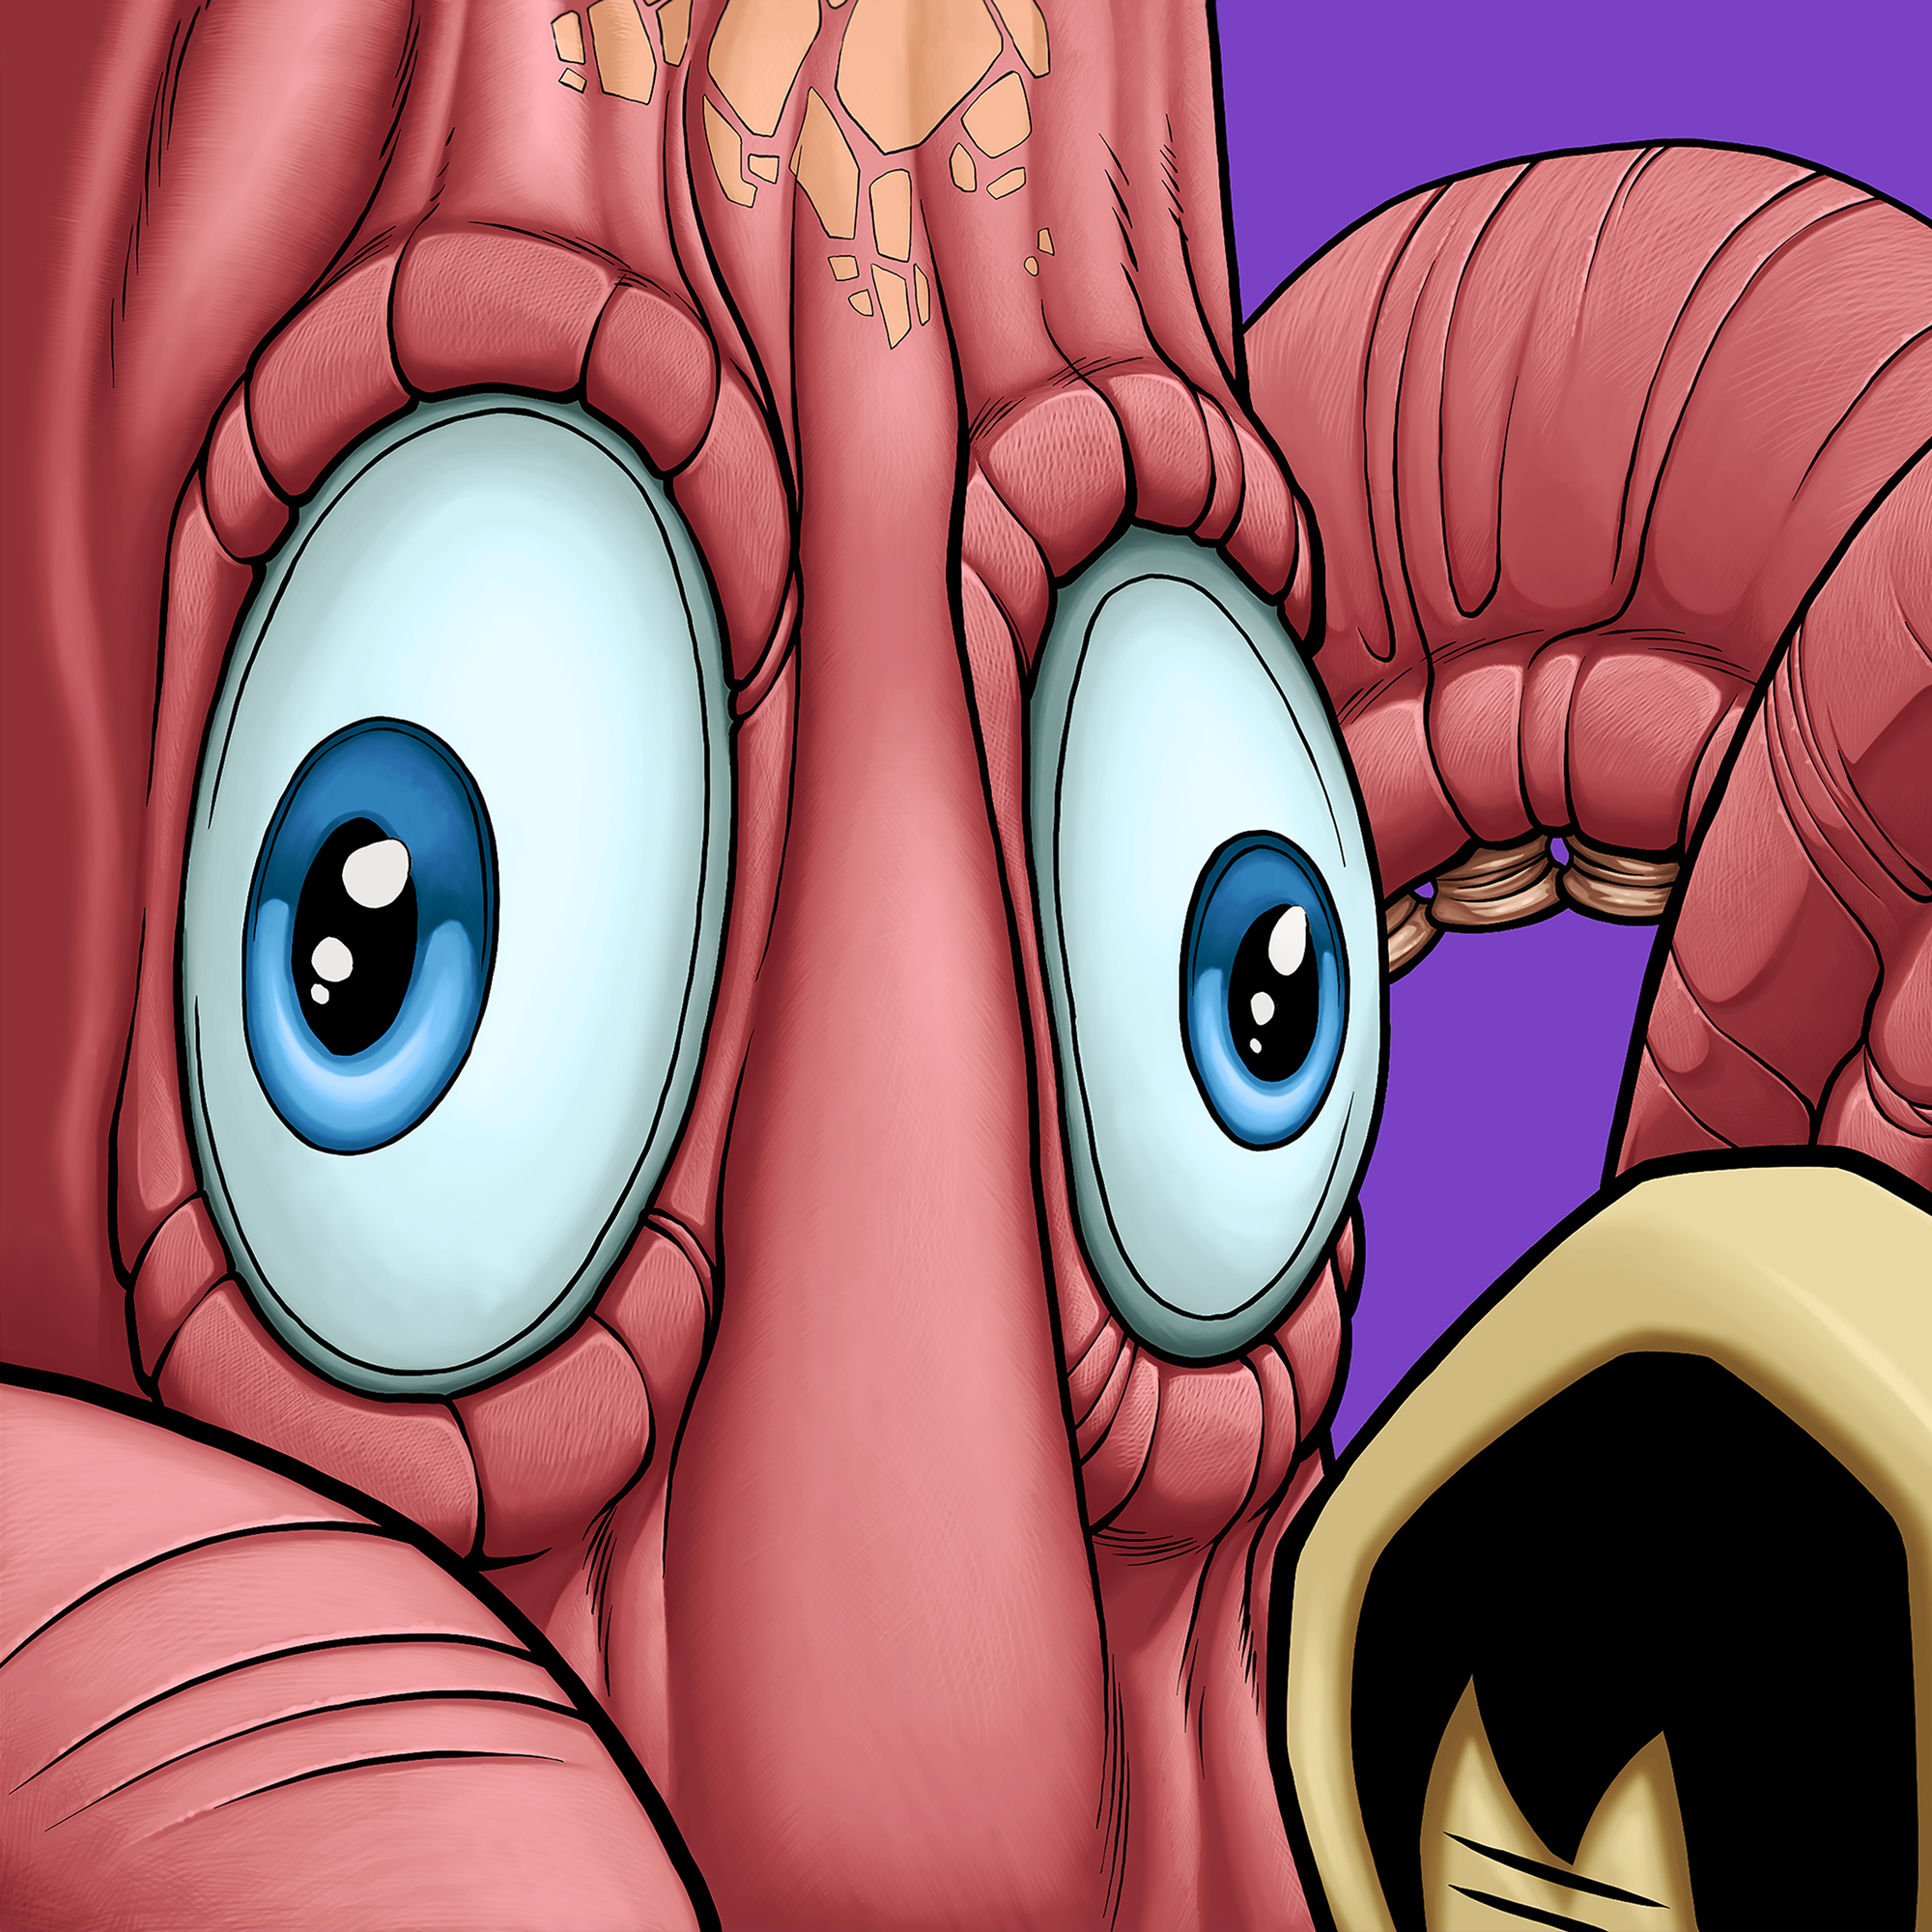
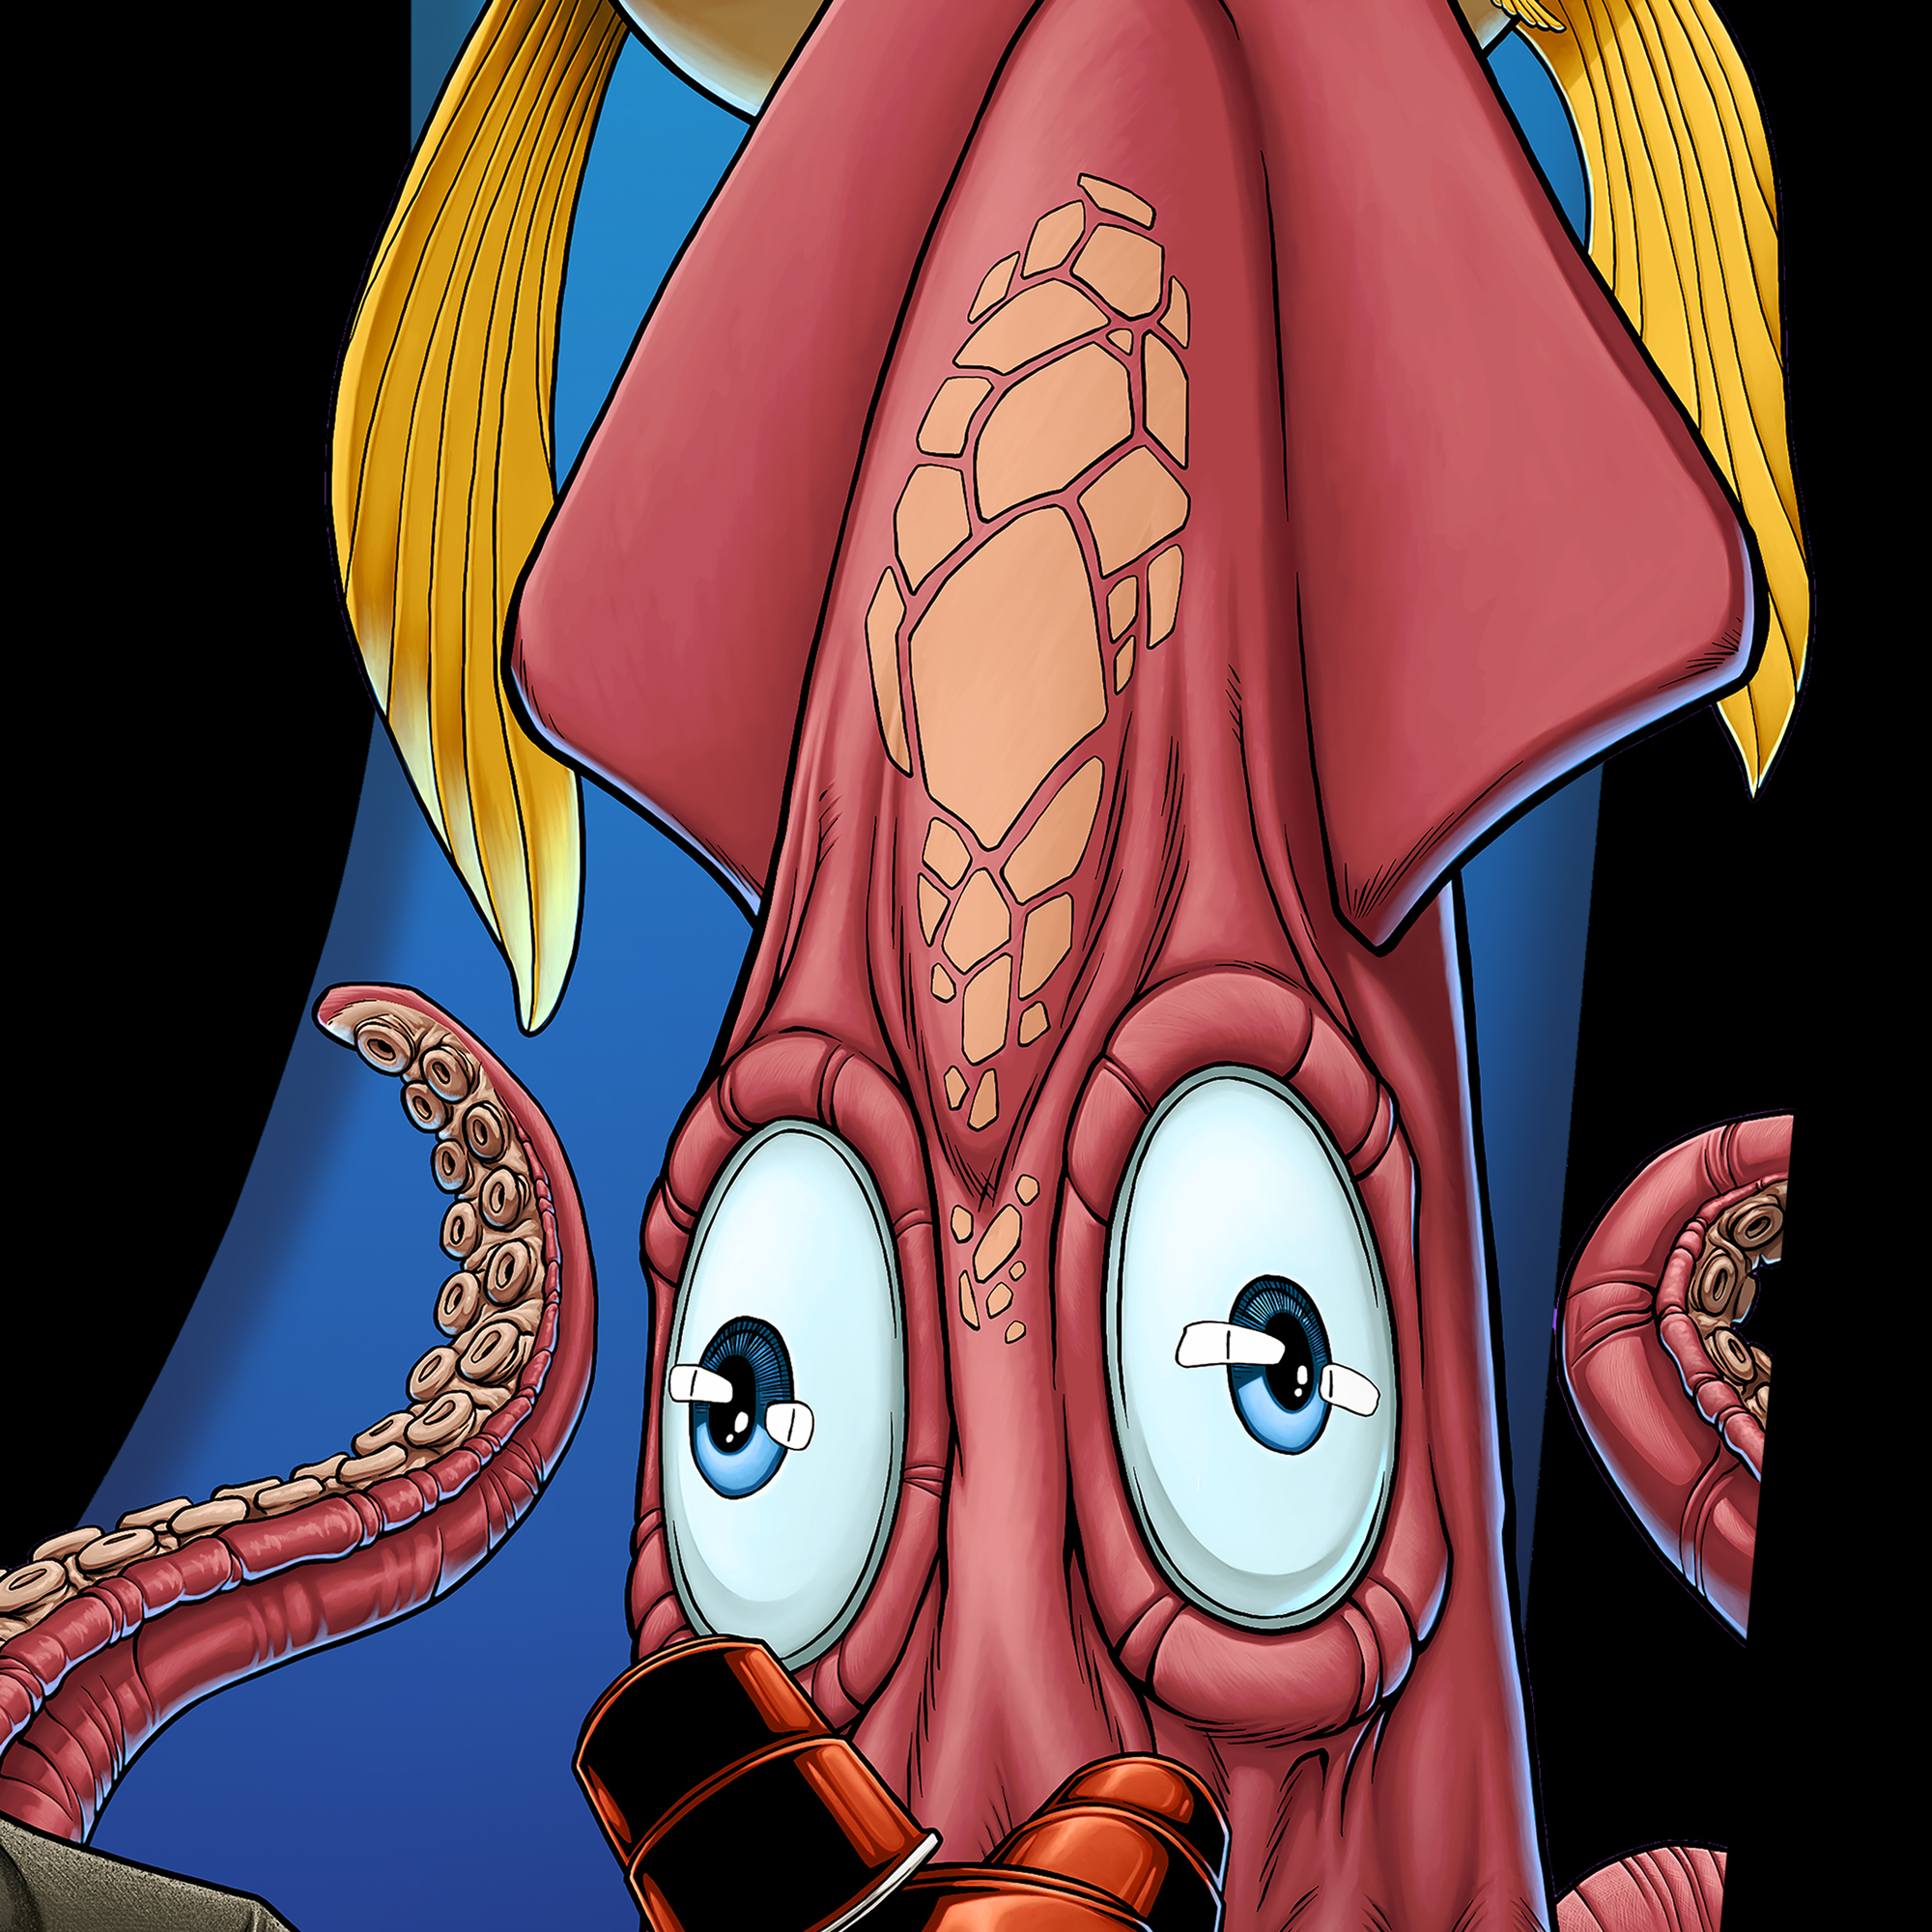
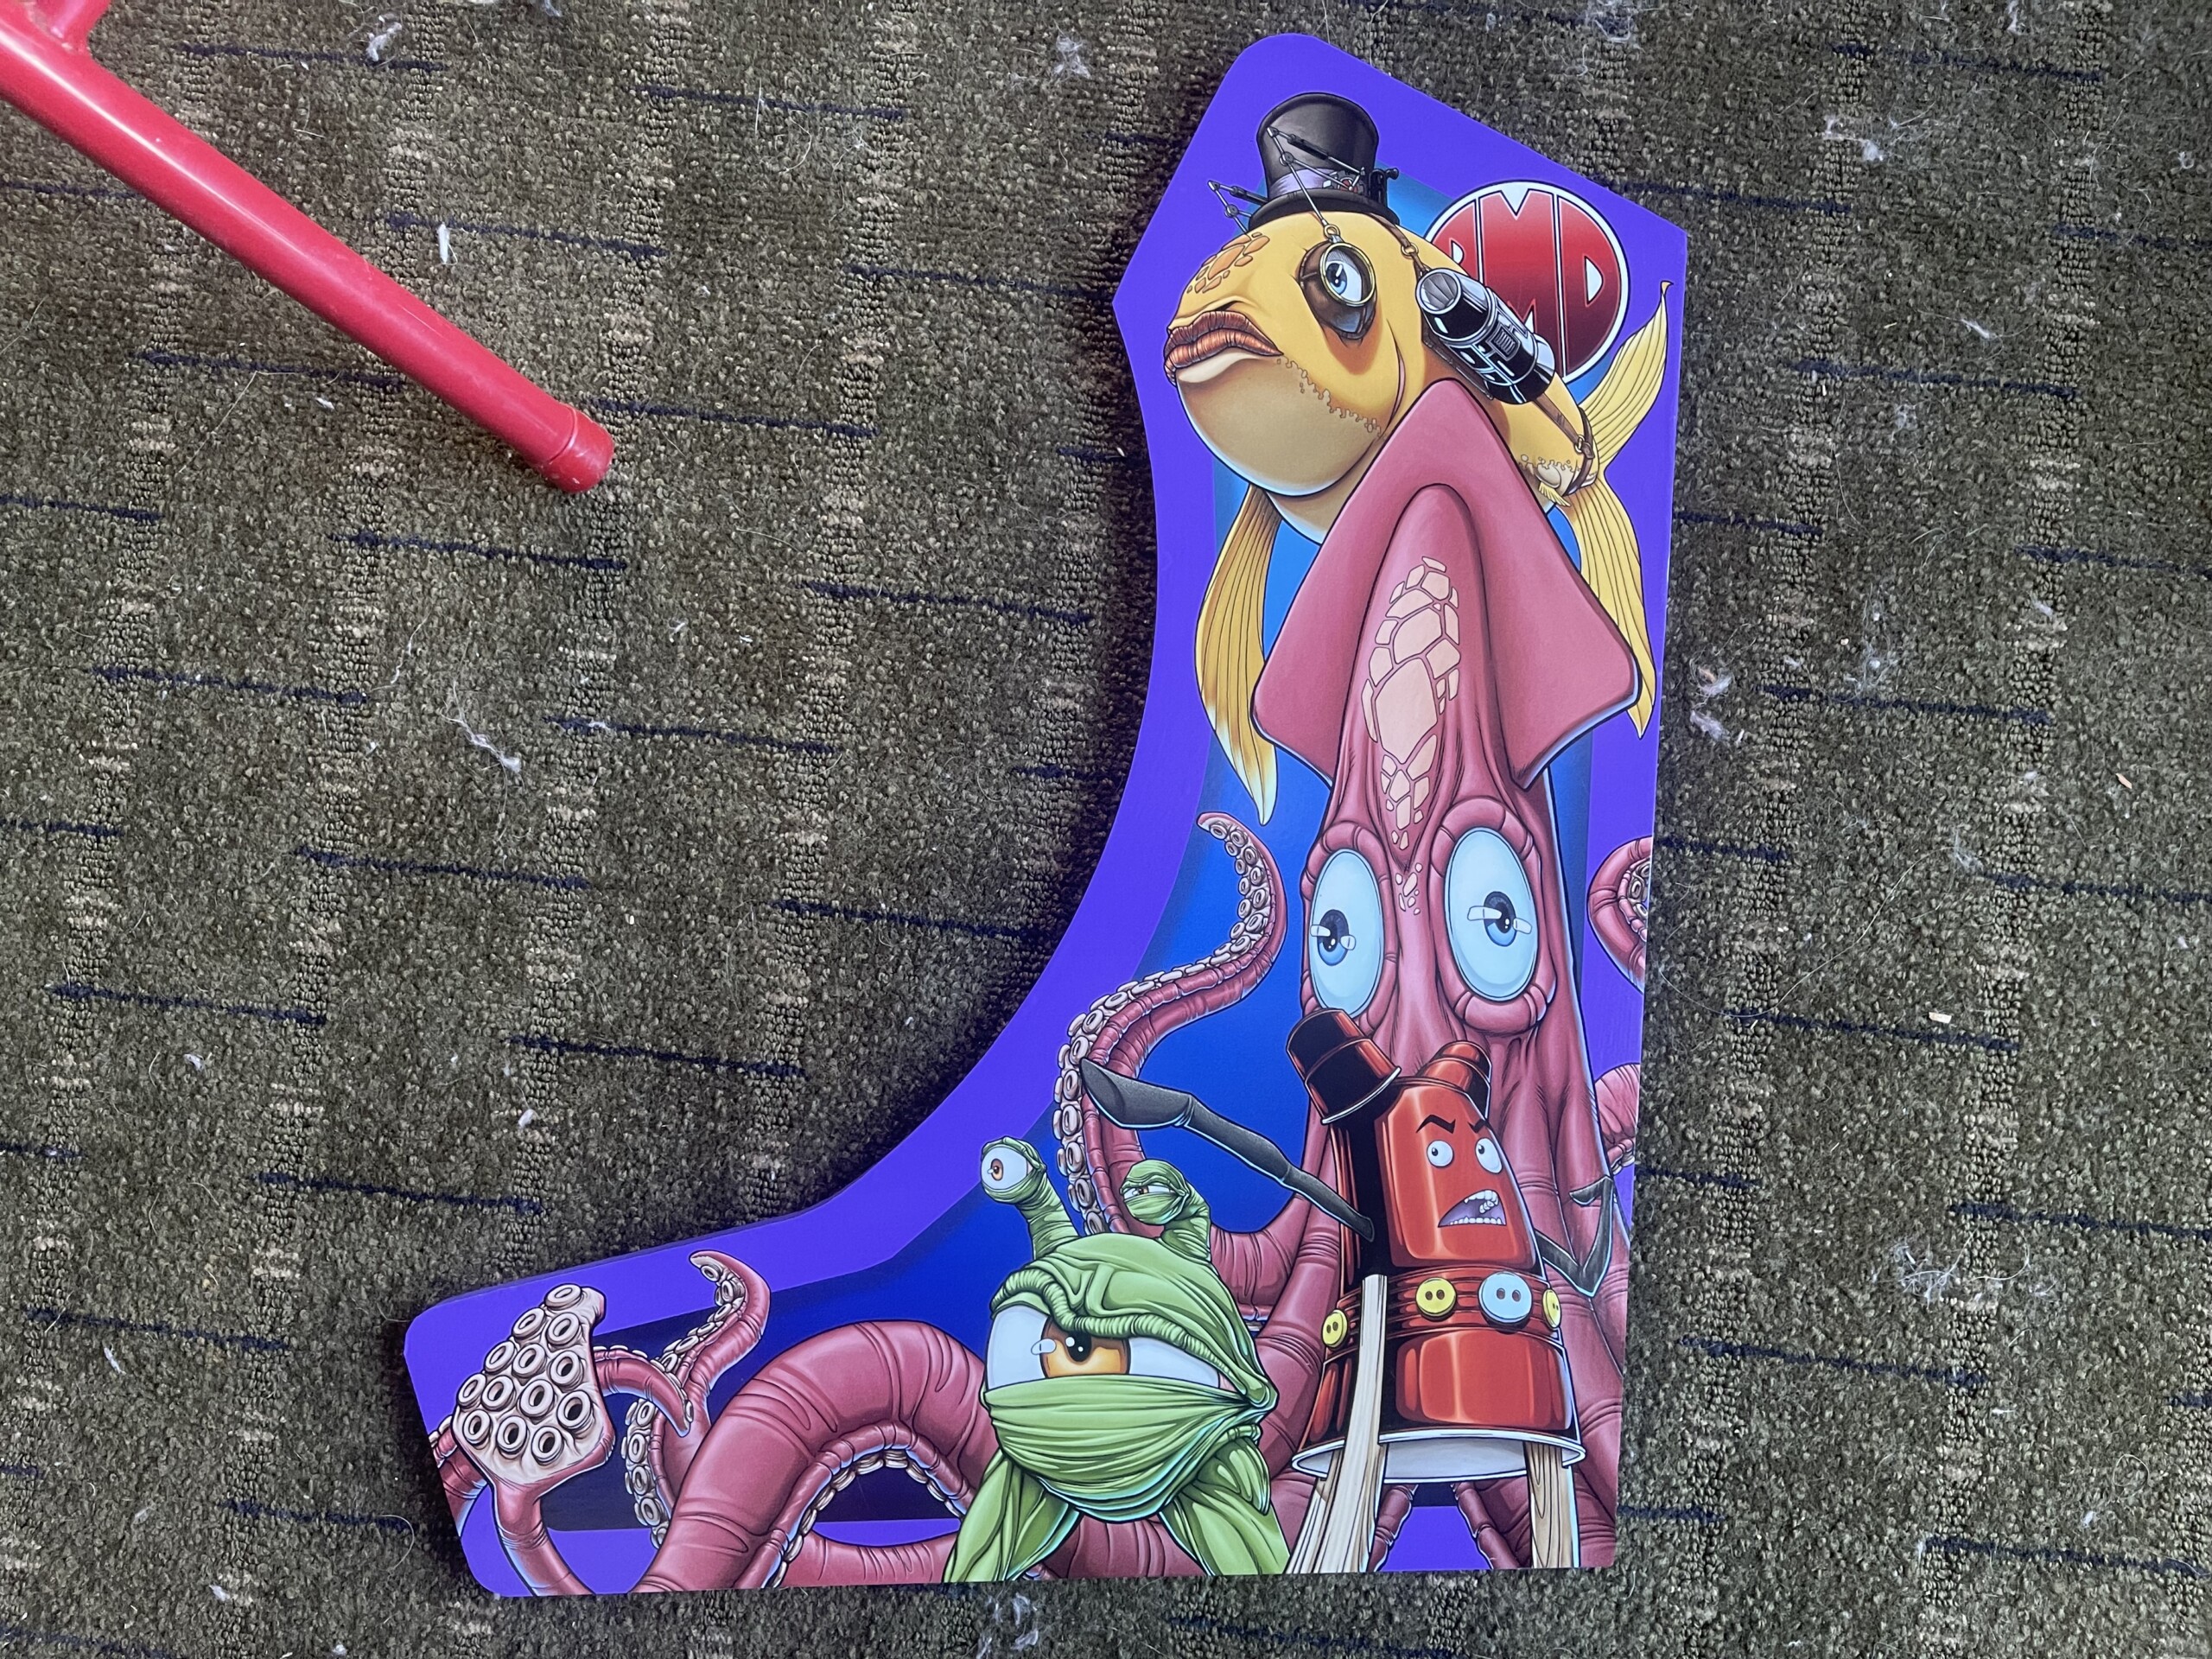
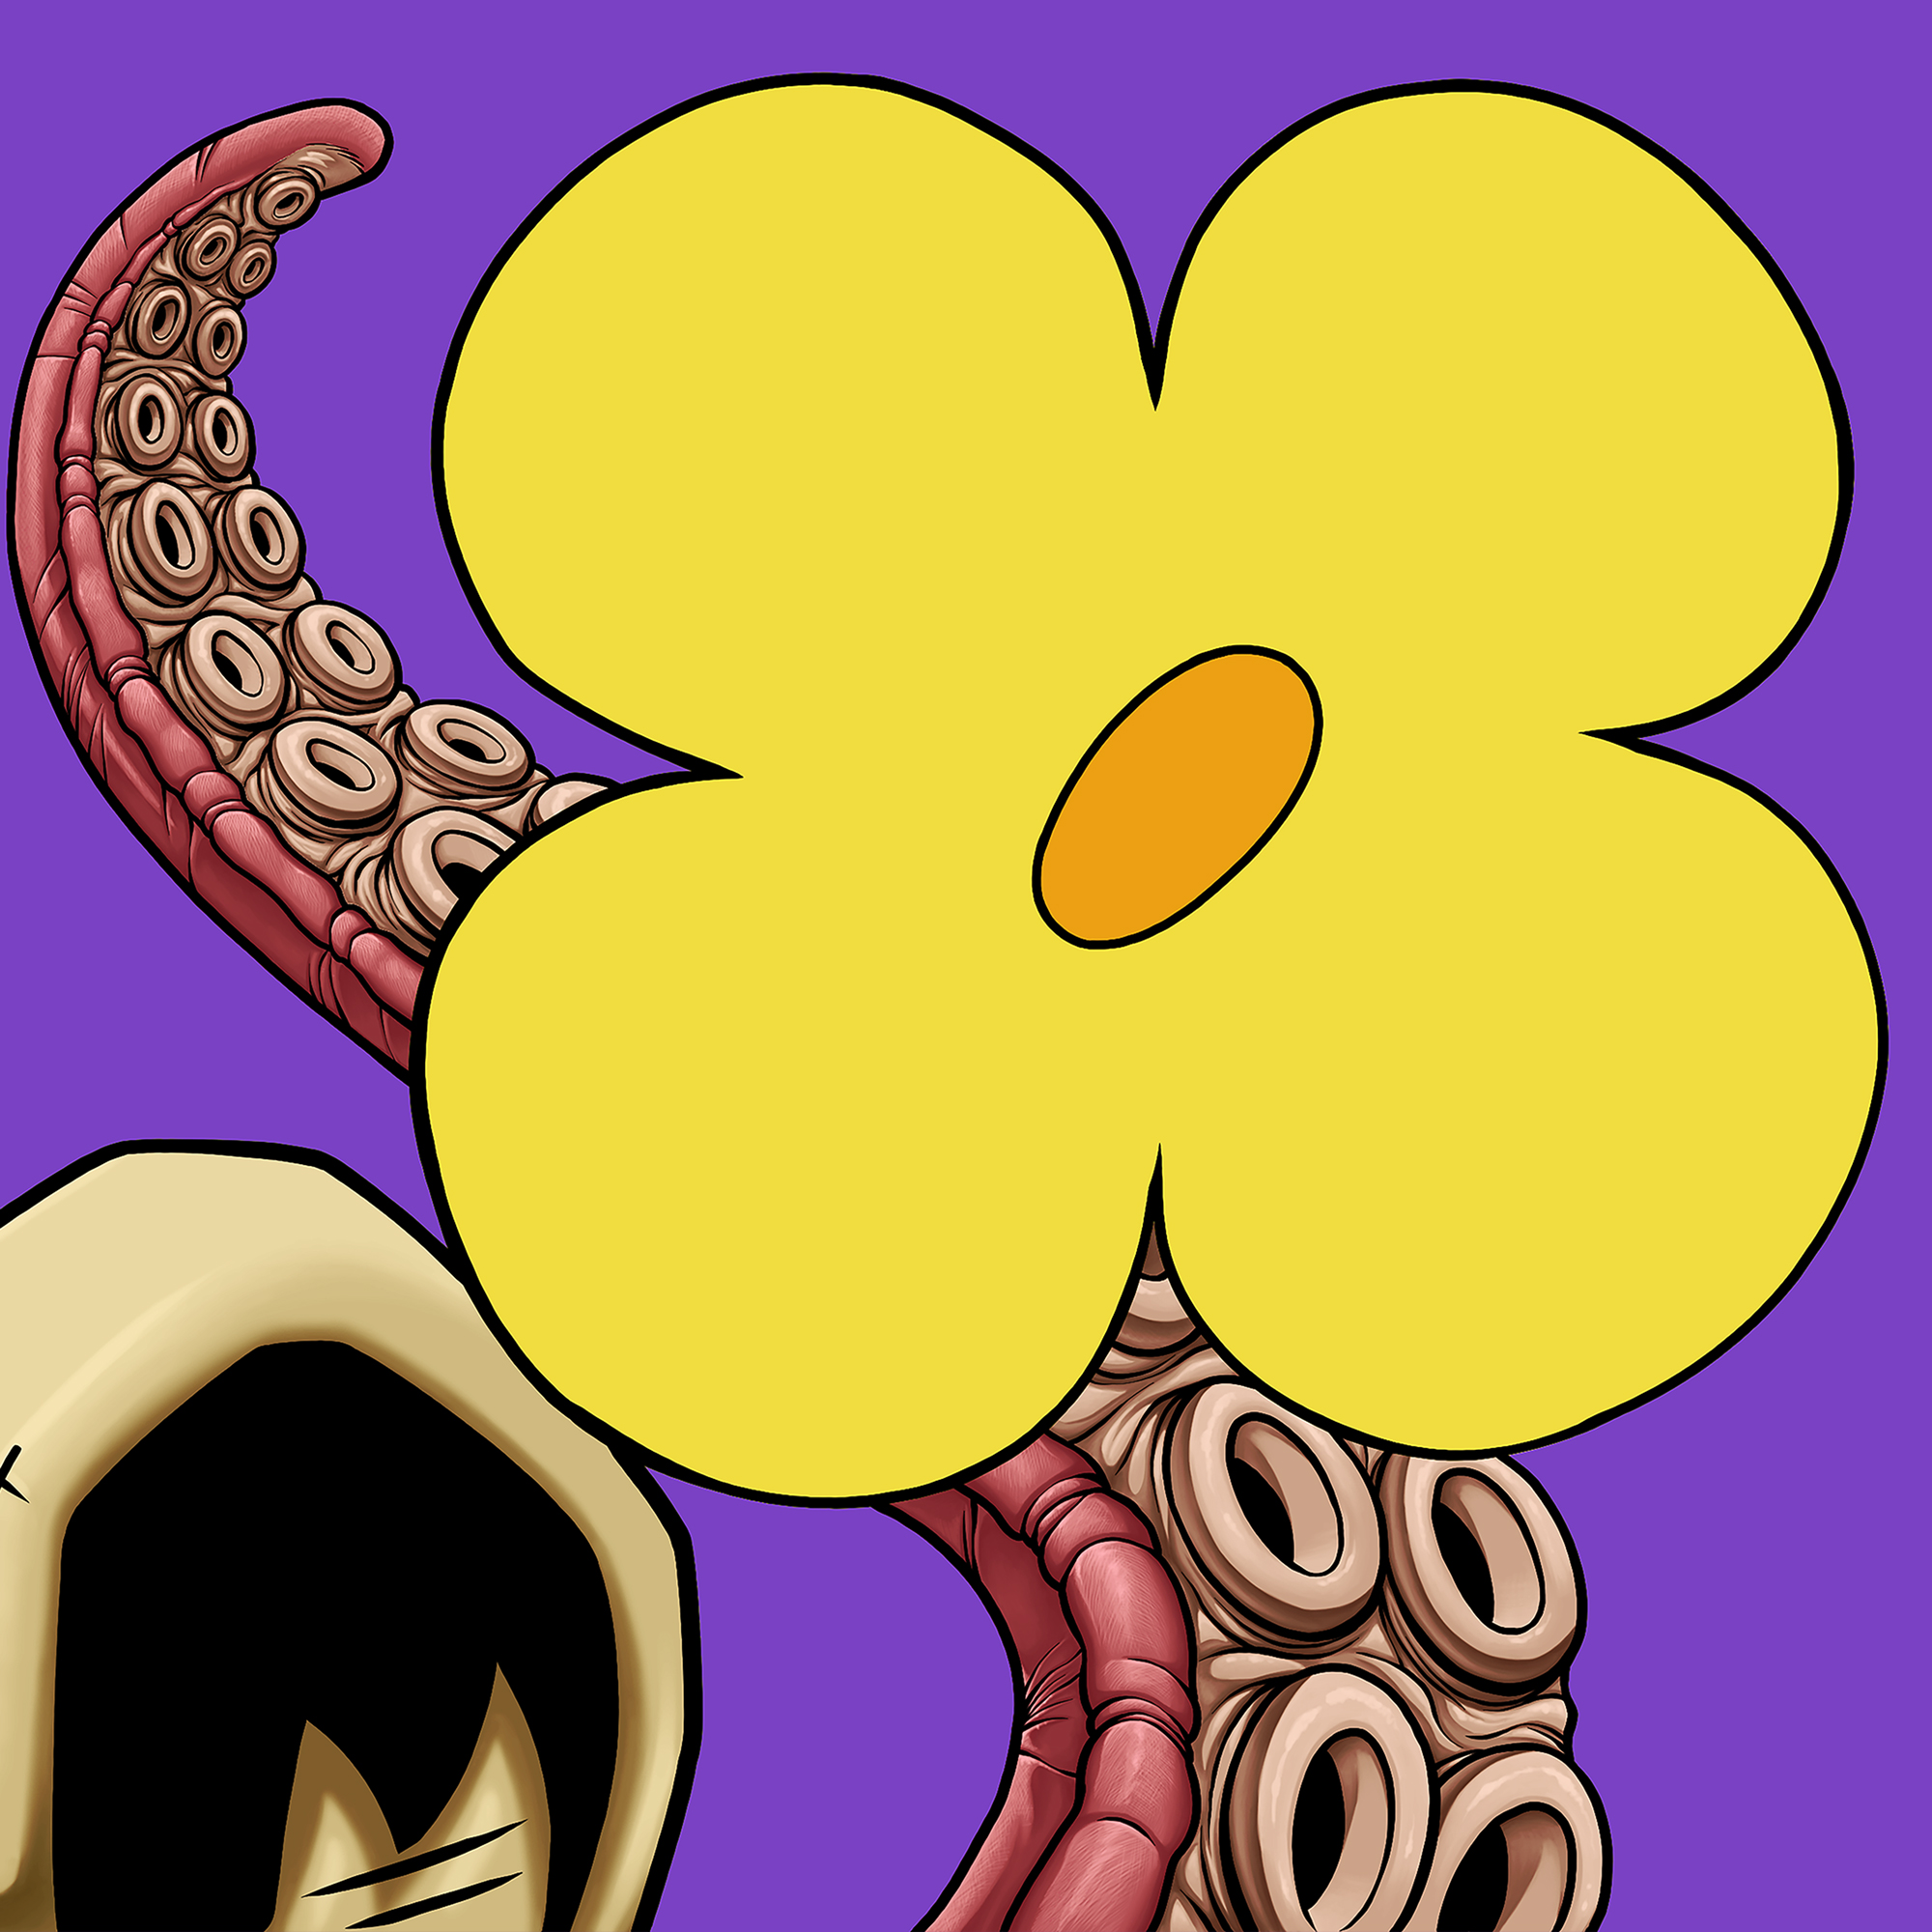
On the right side of the cabinet, I went with the four other characters (who aren’t me or PMD) that I’ve developed enough to draw at this point: Fish McFishington (of the Cloudsworth Fishingtons), The Multi Purpose Novelty Squid (or MPNS), Cuppy, and Eyezak. There are more characters, but none I had reached the stage where I wanted to include them yet.
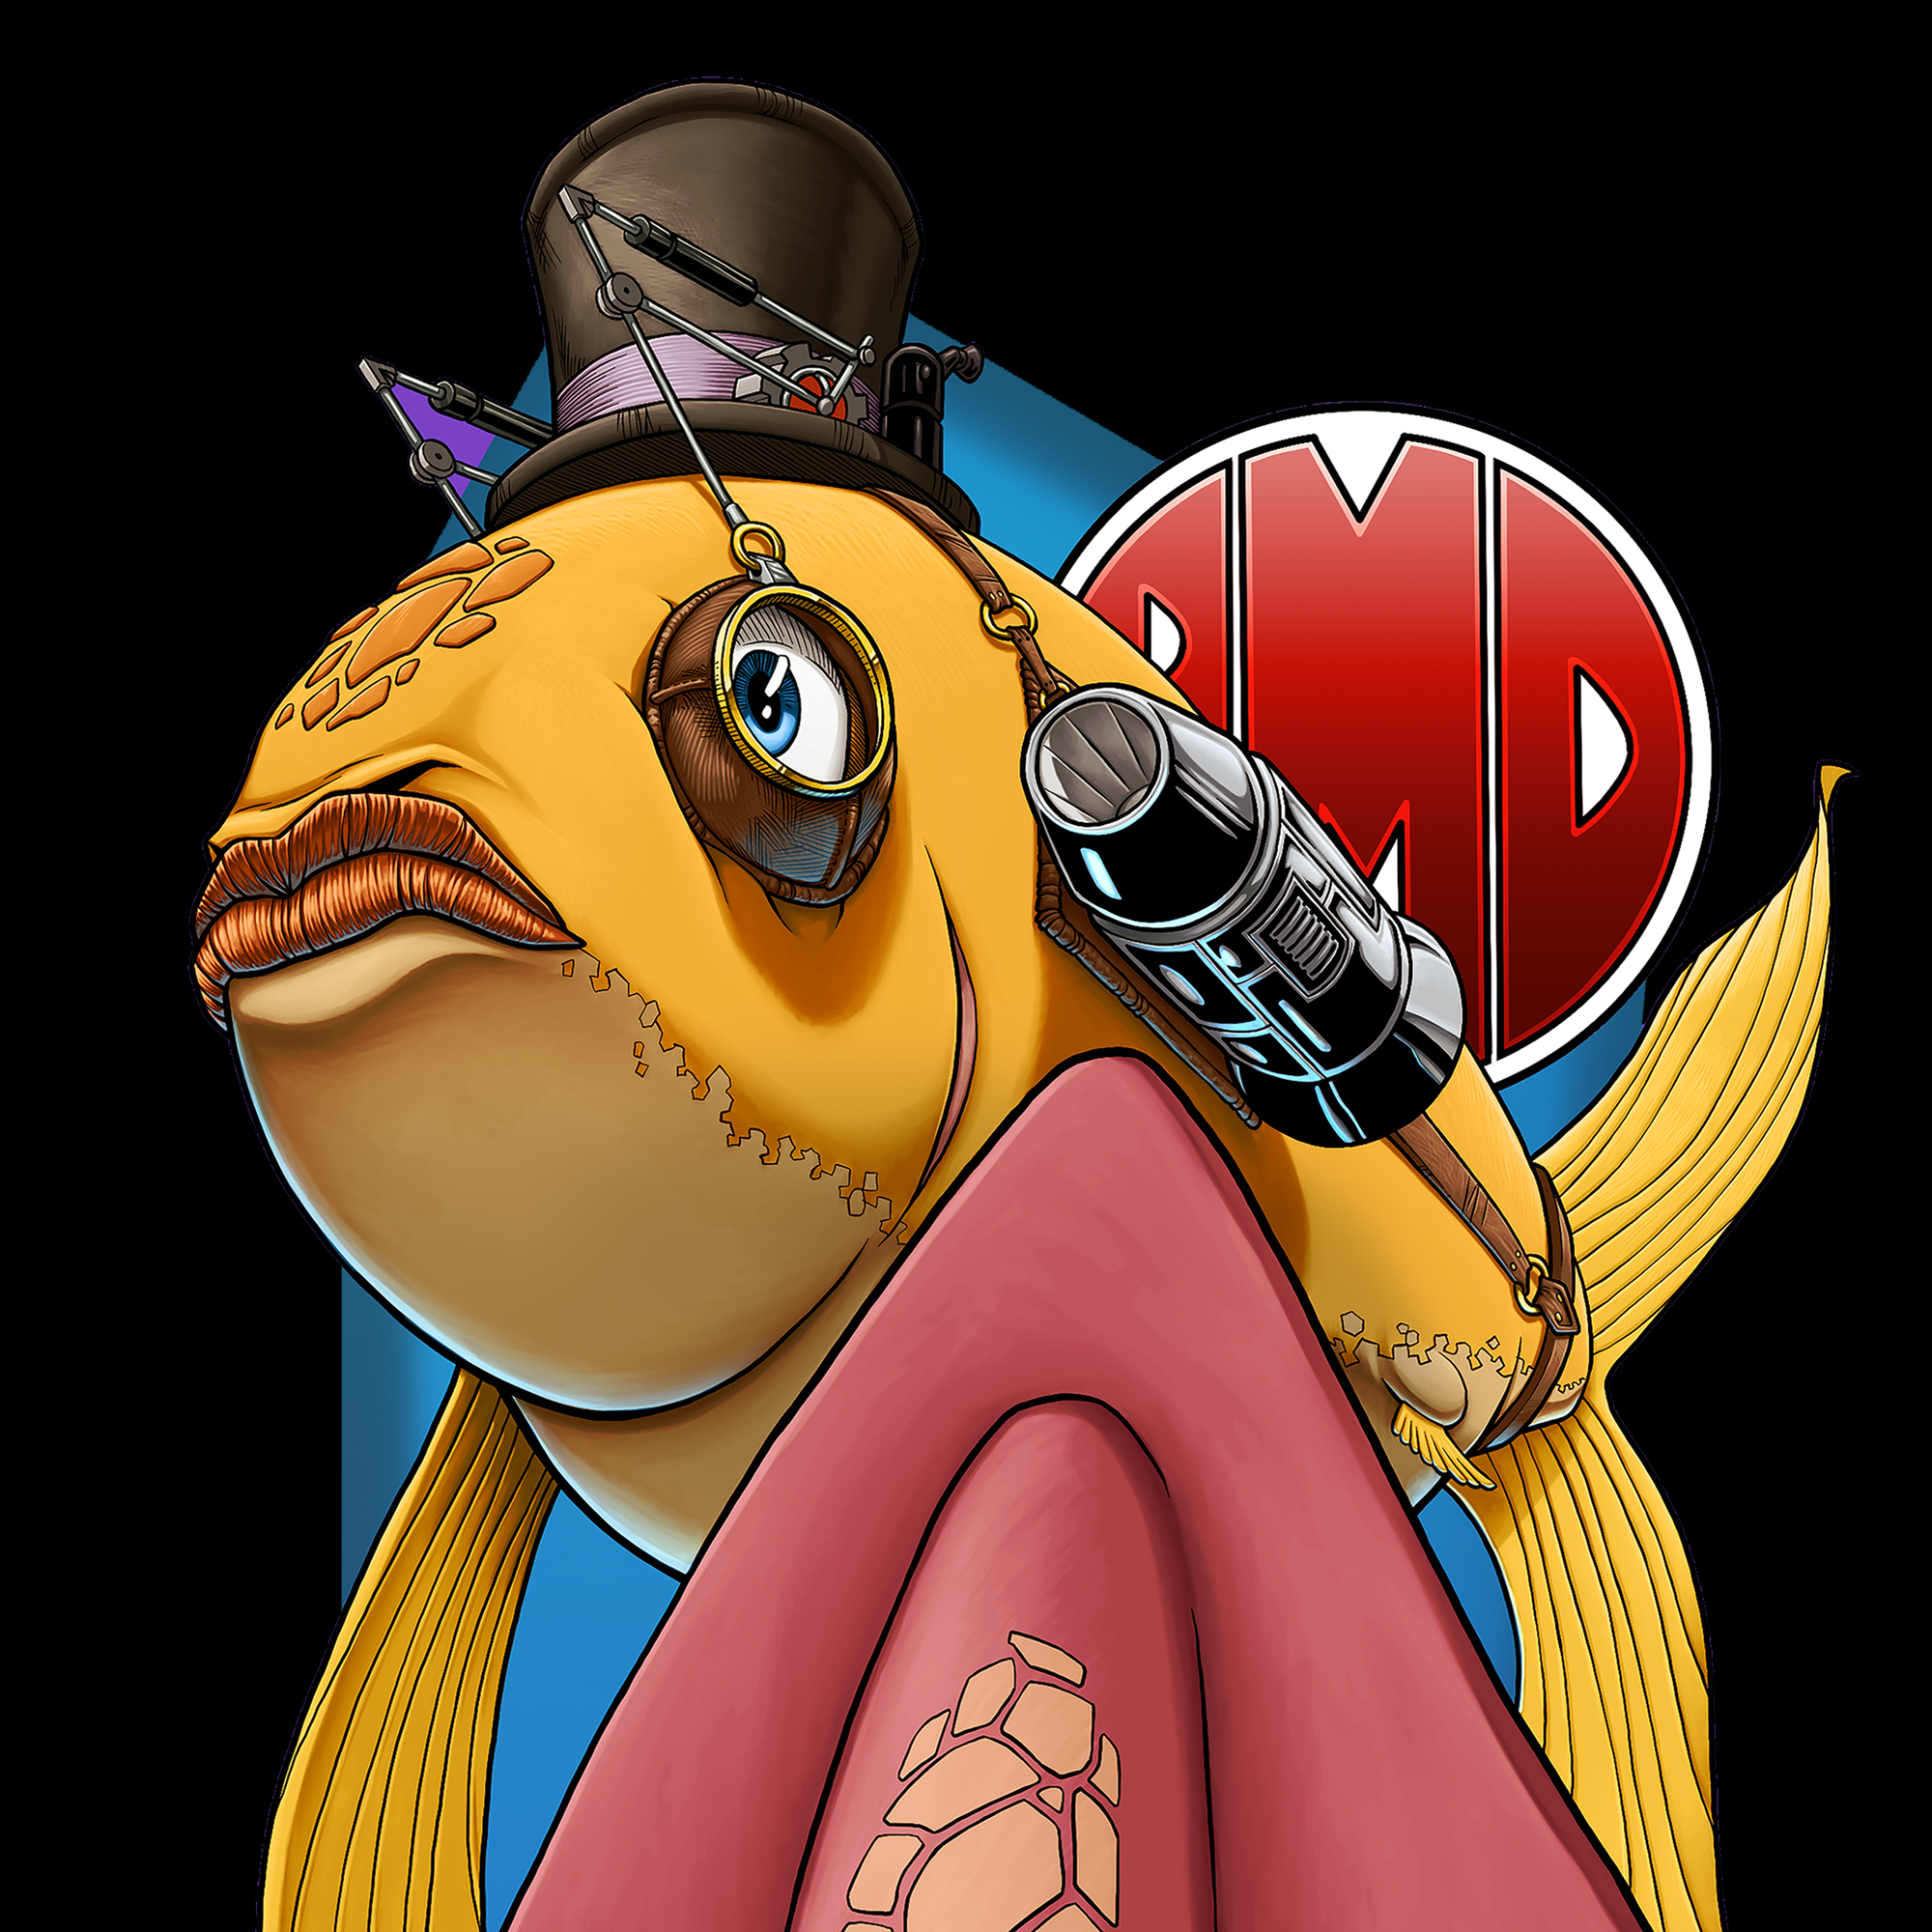
Good ol’ Fishy. His design hasn’t changed much since I originally drew him, I’ve mostly just been trying to get better at drawing him with consistent proportions and capturing his simple but still tricky volumes from various angles.
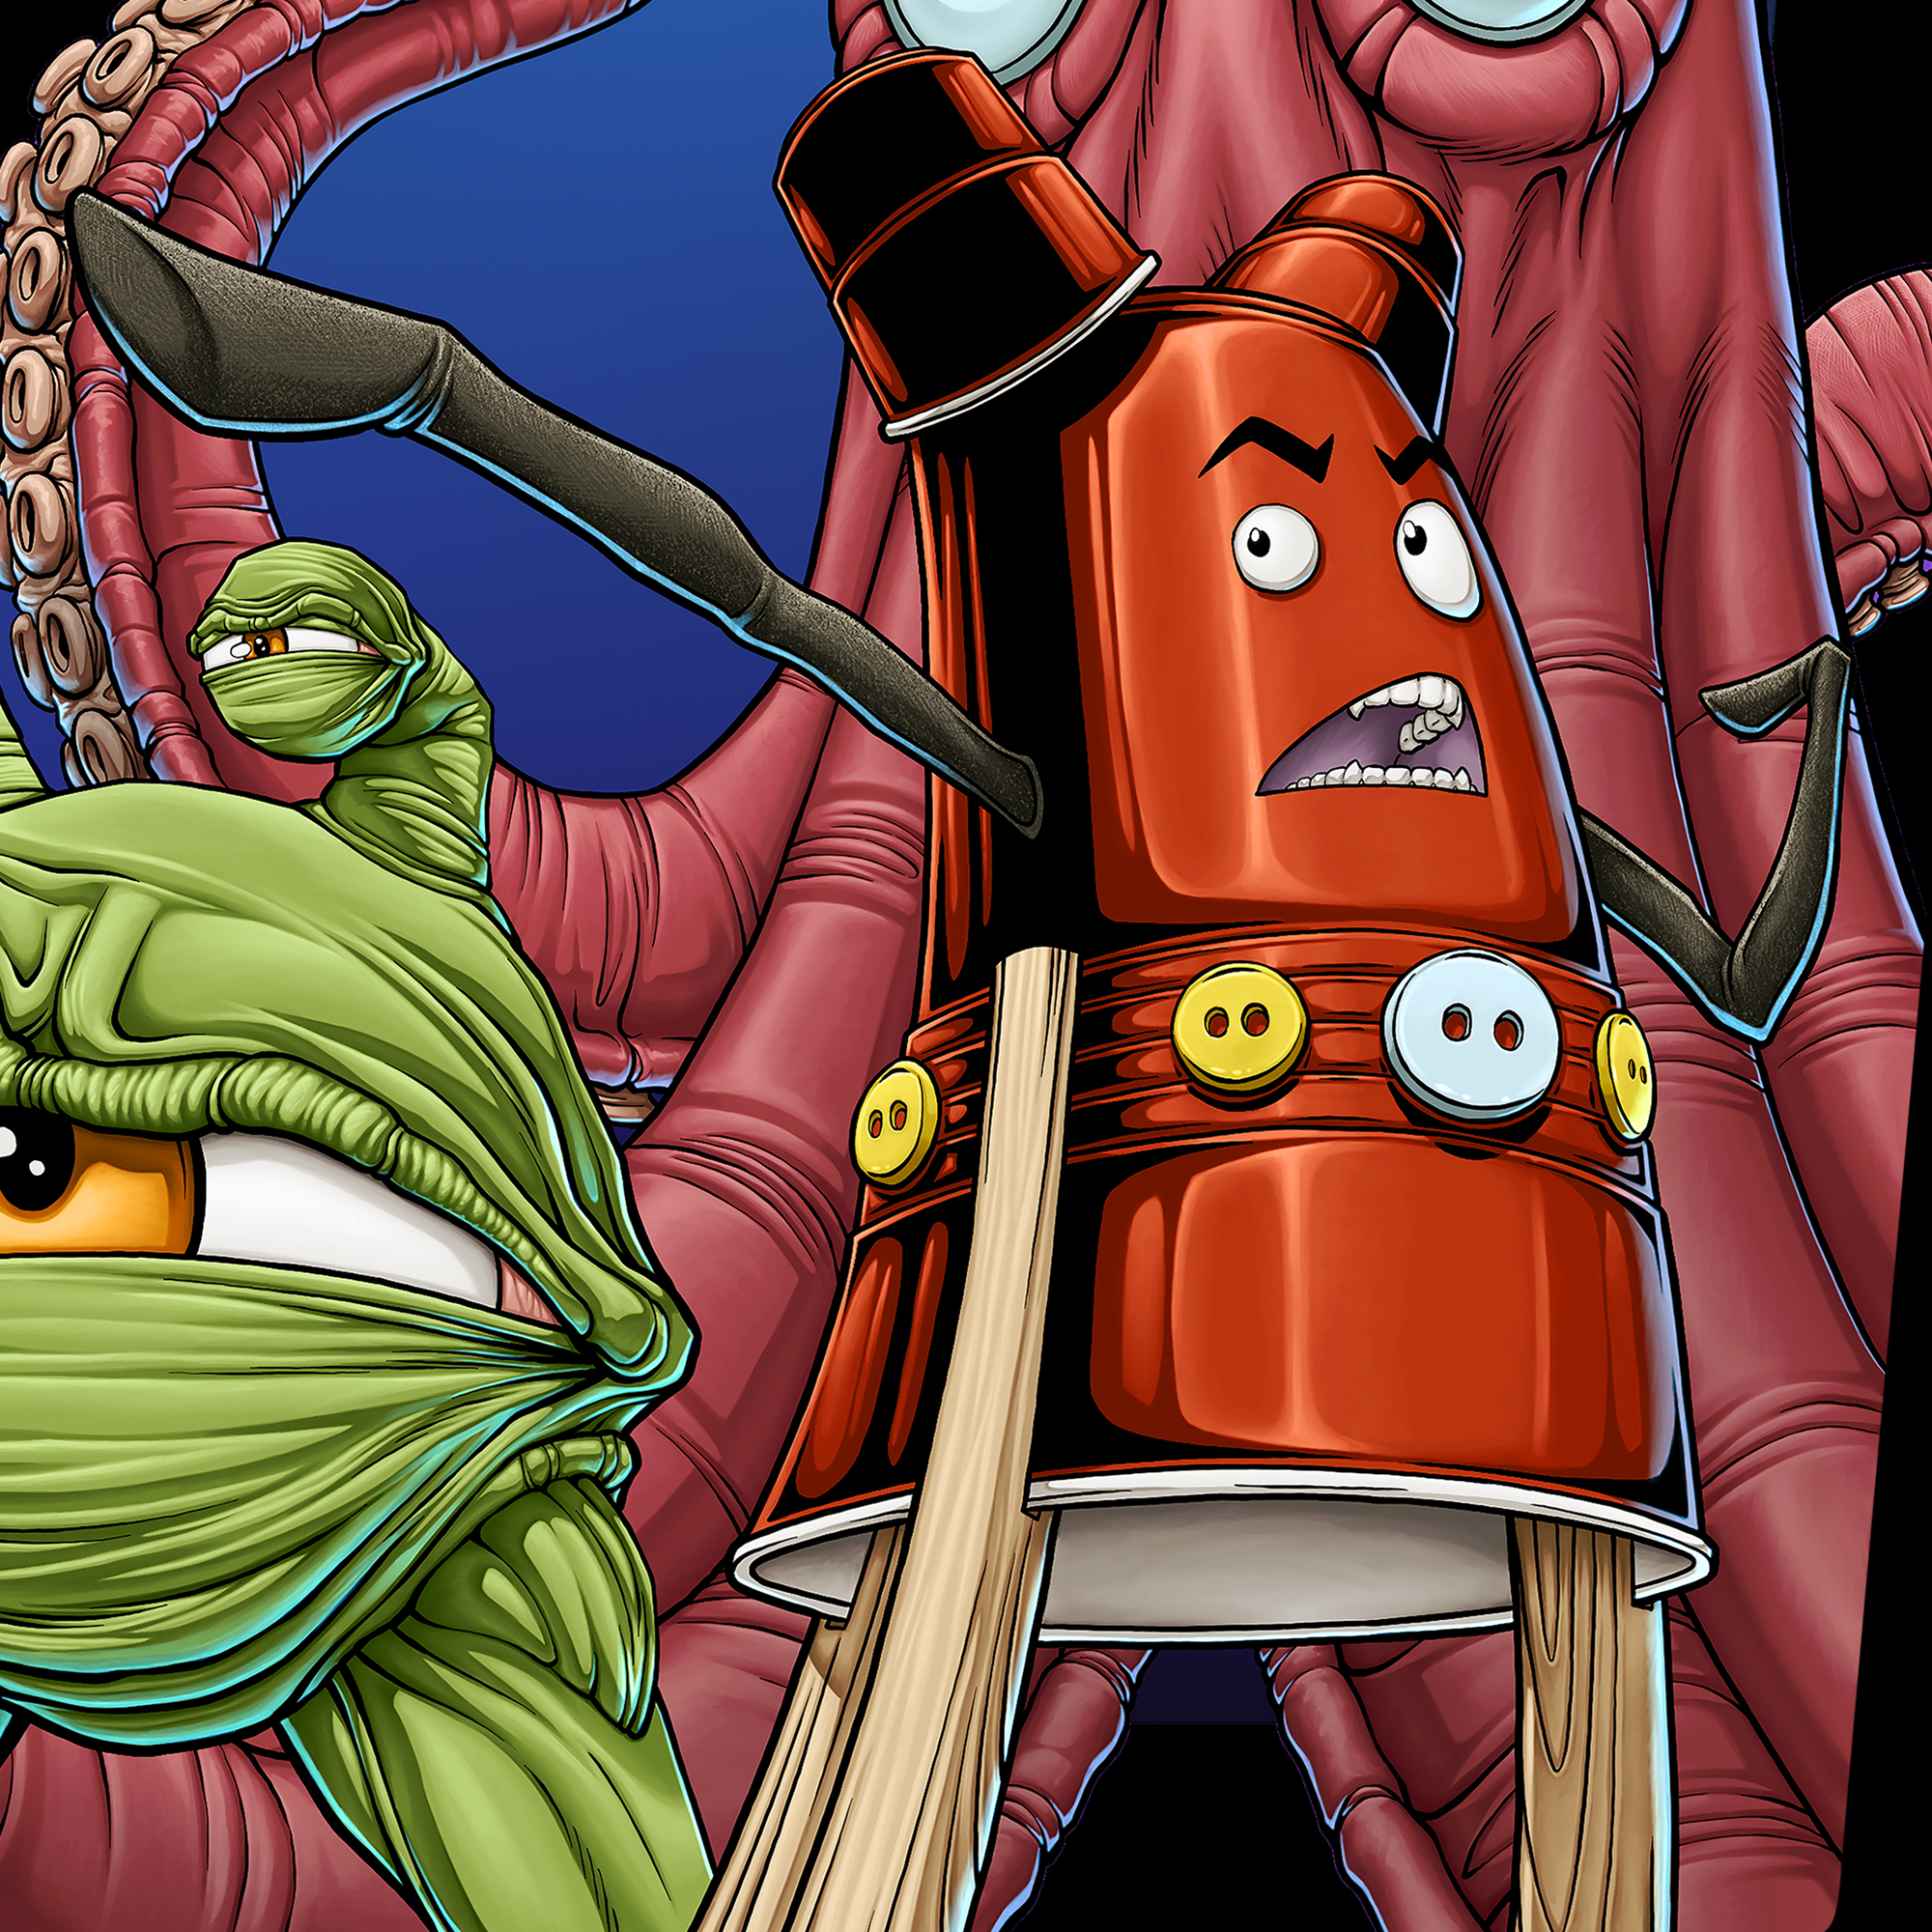
The first fully finished/rendered/colored illustration of Cuppy. Working out the plasticness of his “flesh” was fun and I will probably refine that as I continue developing him.
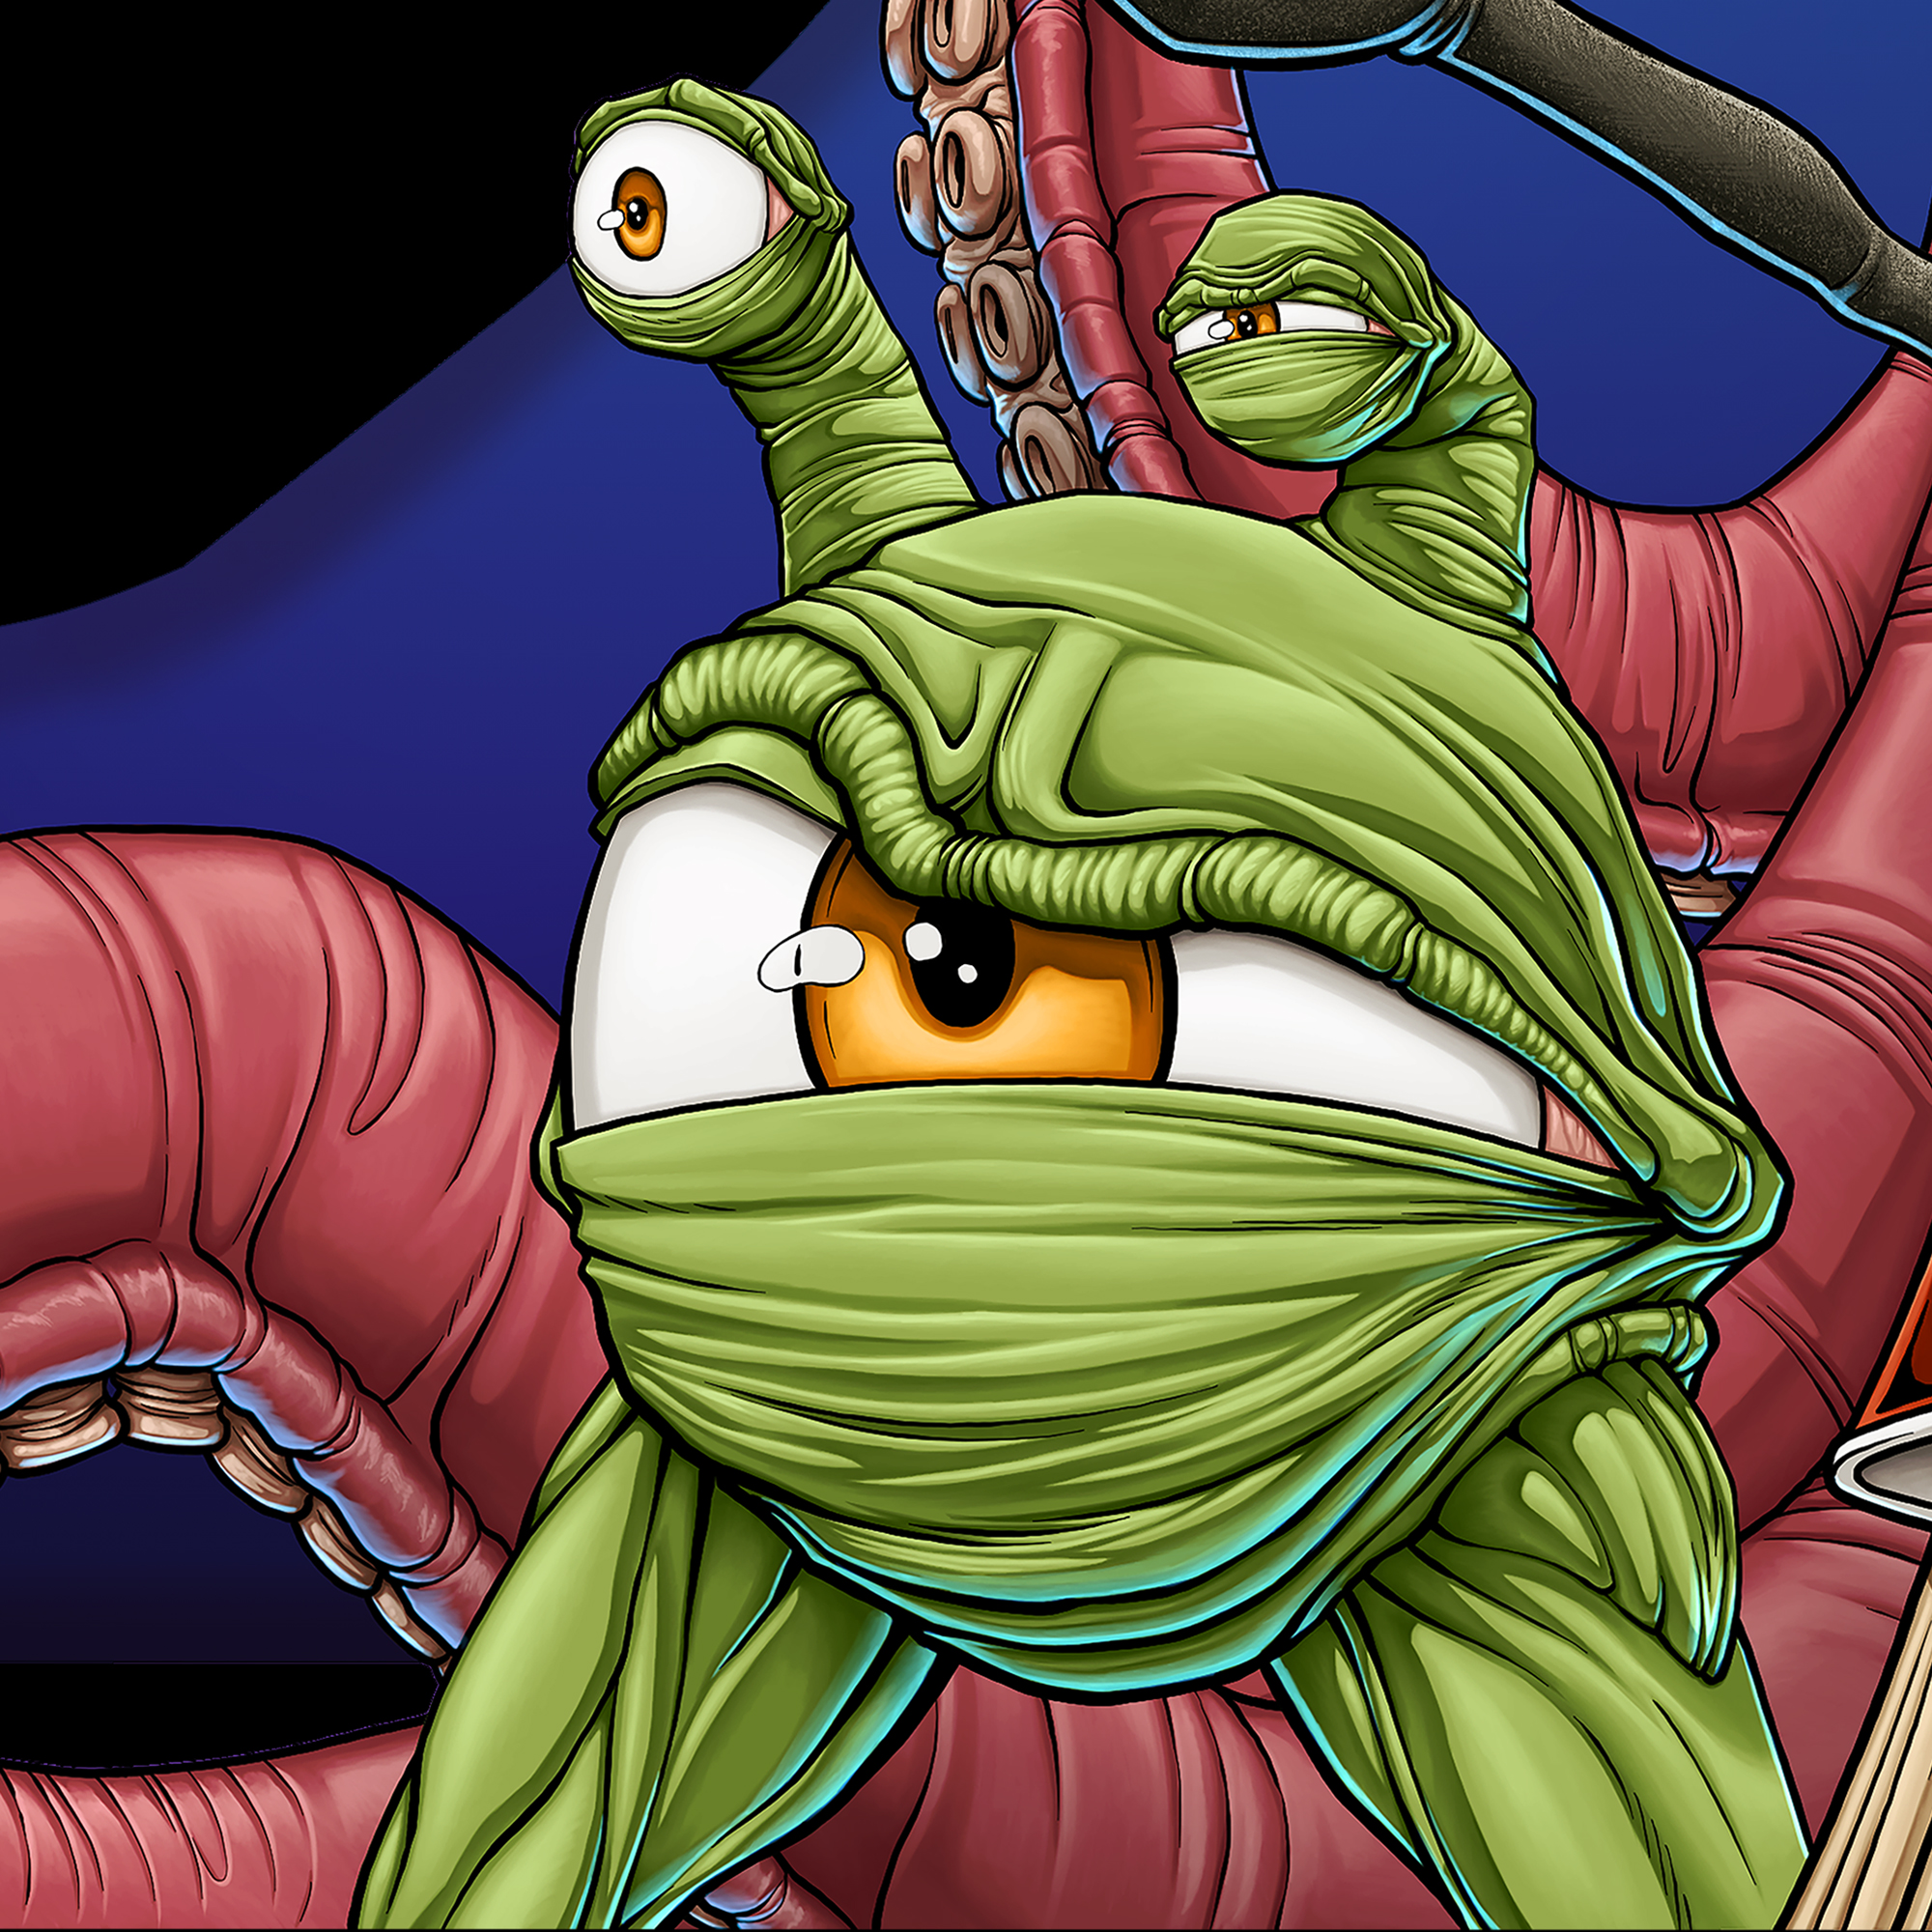
The first fully rendered/fleshed out illustration of Eyezak. There’s a few details that have/will change, but it was a blast to visualize him in such a finished state finally.
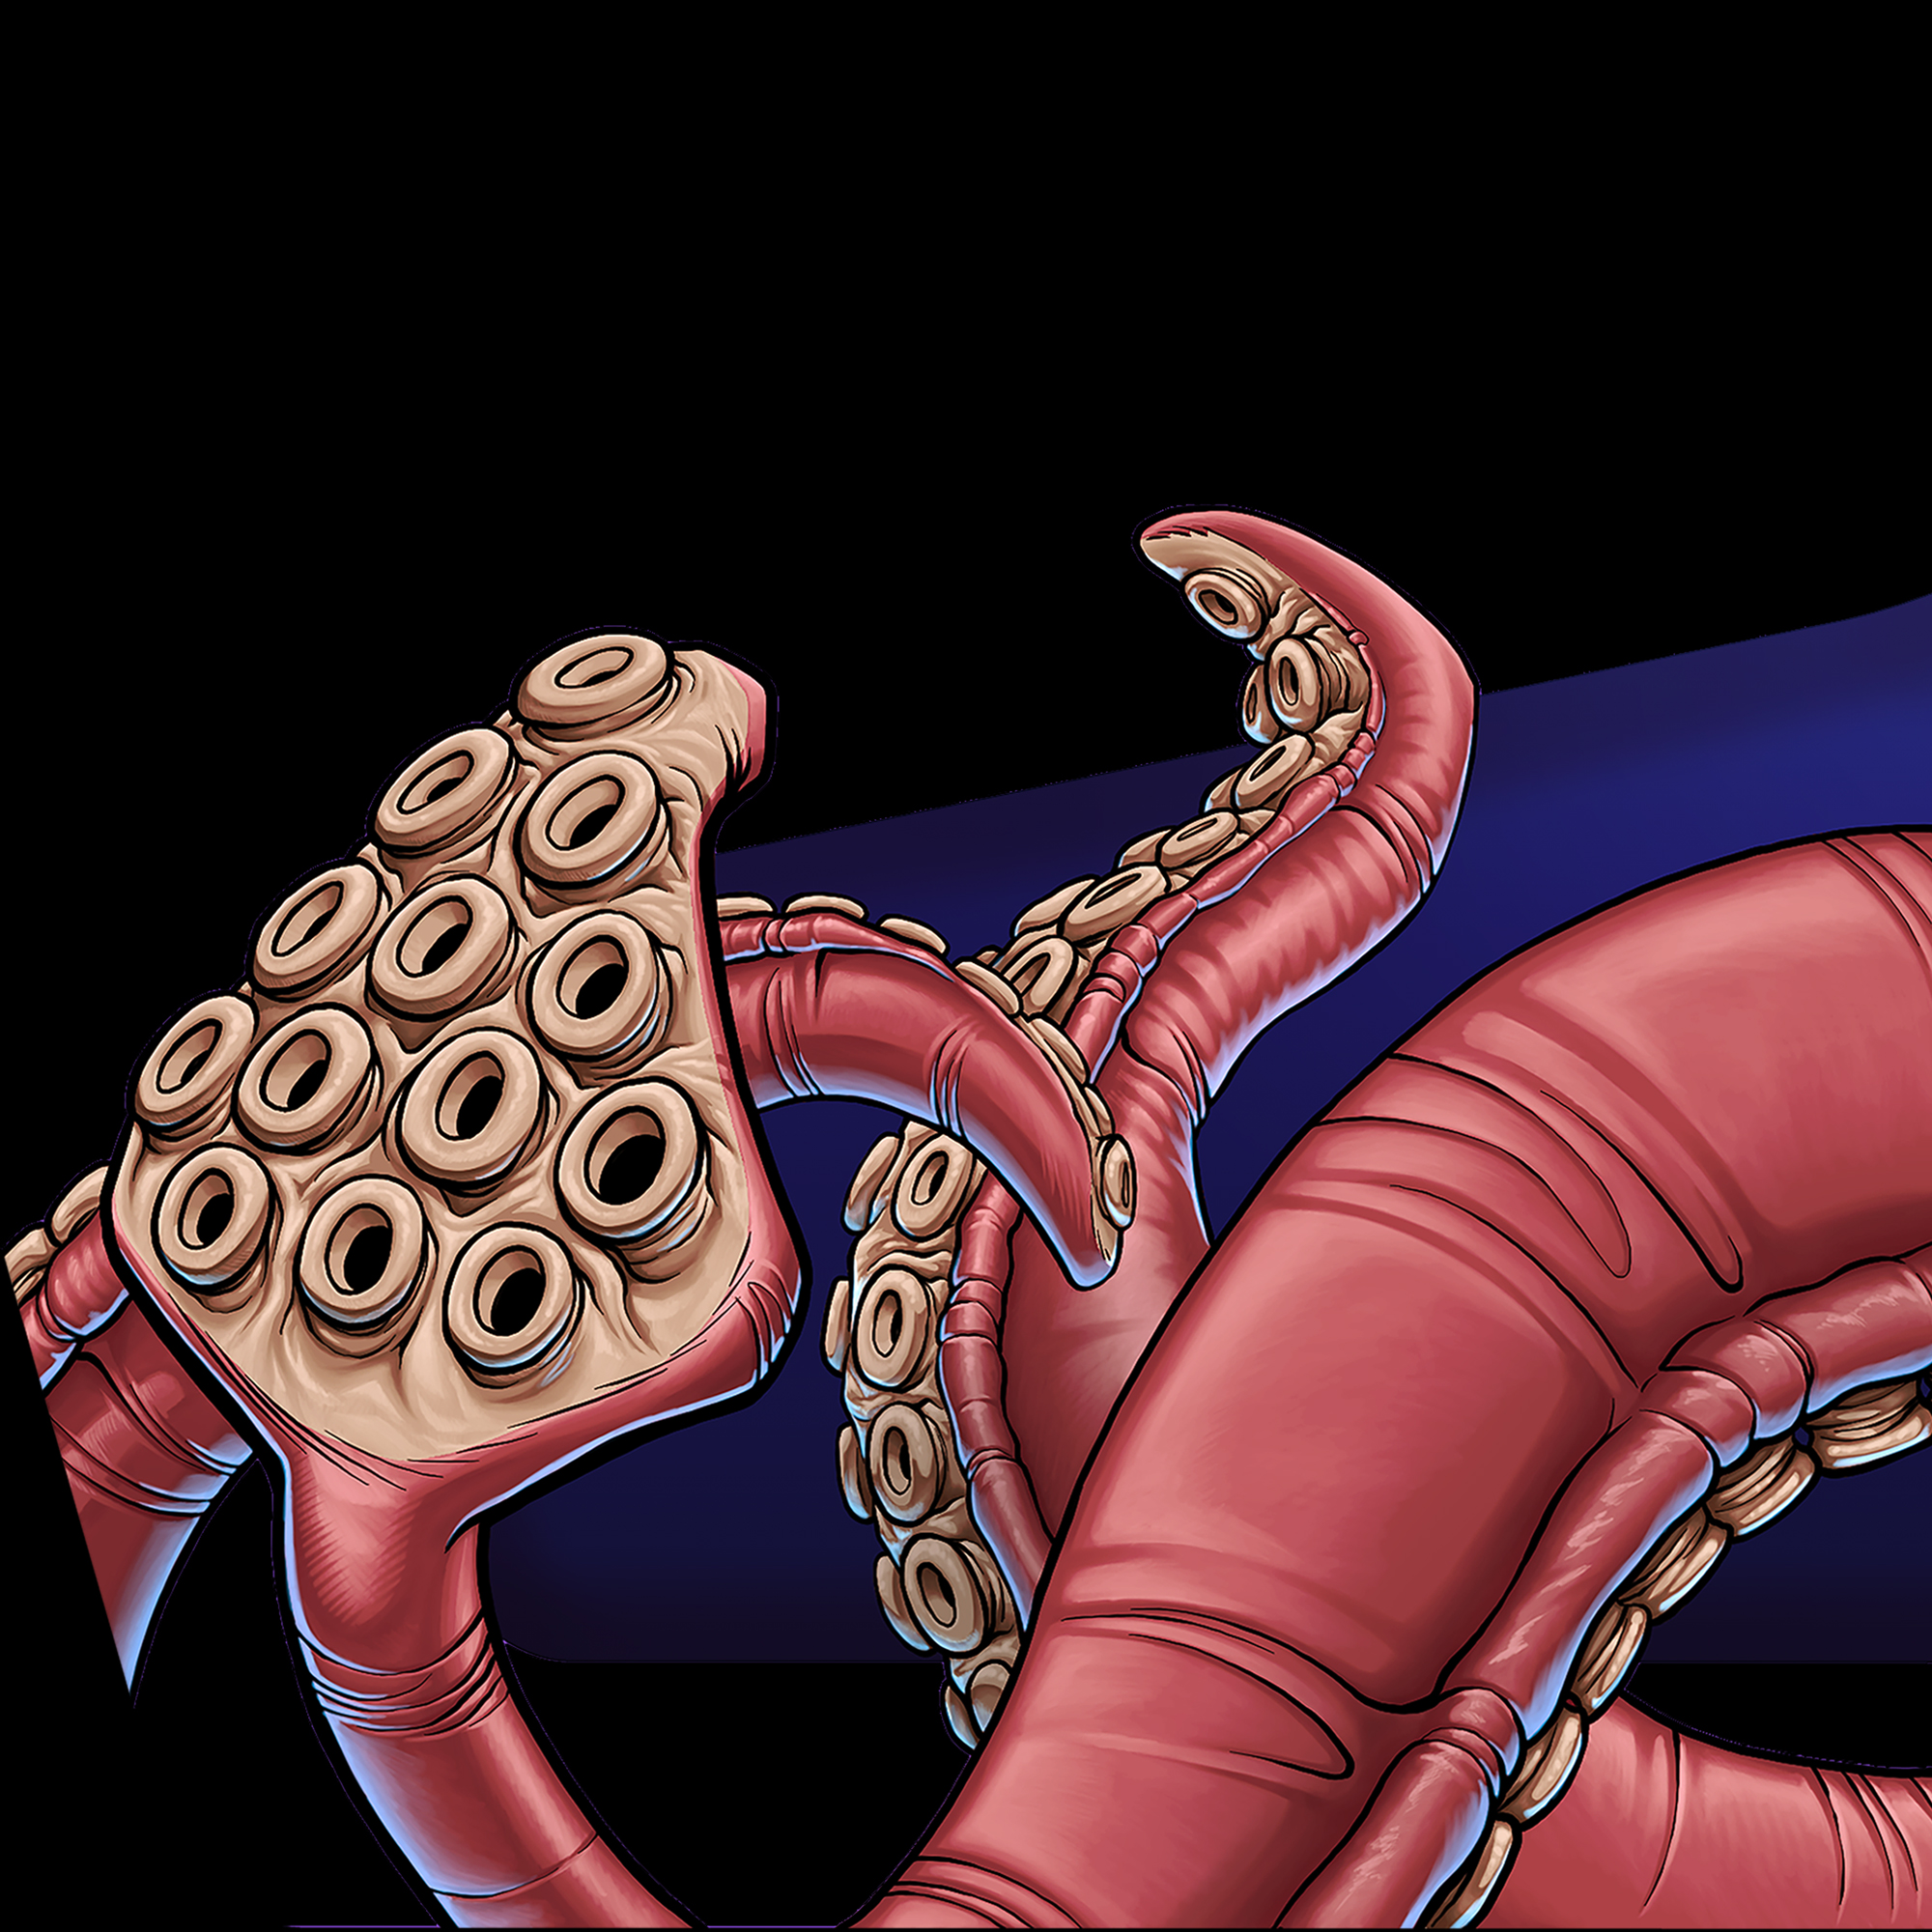
Suction cups are tedious, but the end result is usually worth the effort. As with everything else, I’m still sorting out how I draw certain things and render certain textures (like squid skin). This project forced me to work on things I’ve been subconsciously avoiding for too long.

Because my original plan was to design everything digitally first, then use a grid method to hand draw/paint all the images onto the cabinet pieces, I spent a bunch of time priming, sanding, and painting (the inside surfaces, at least).
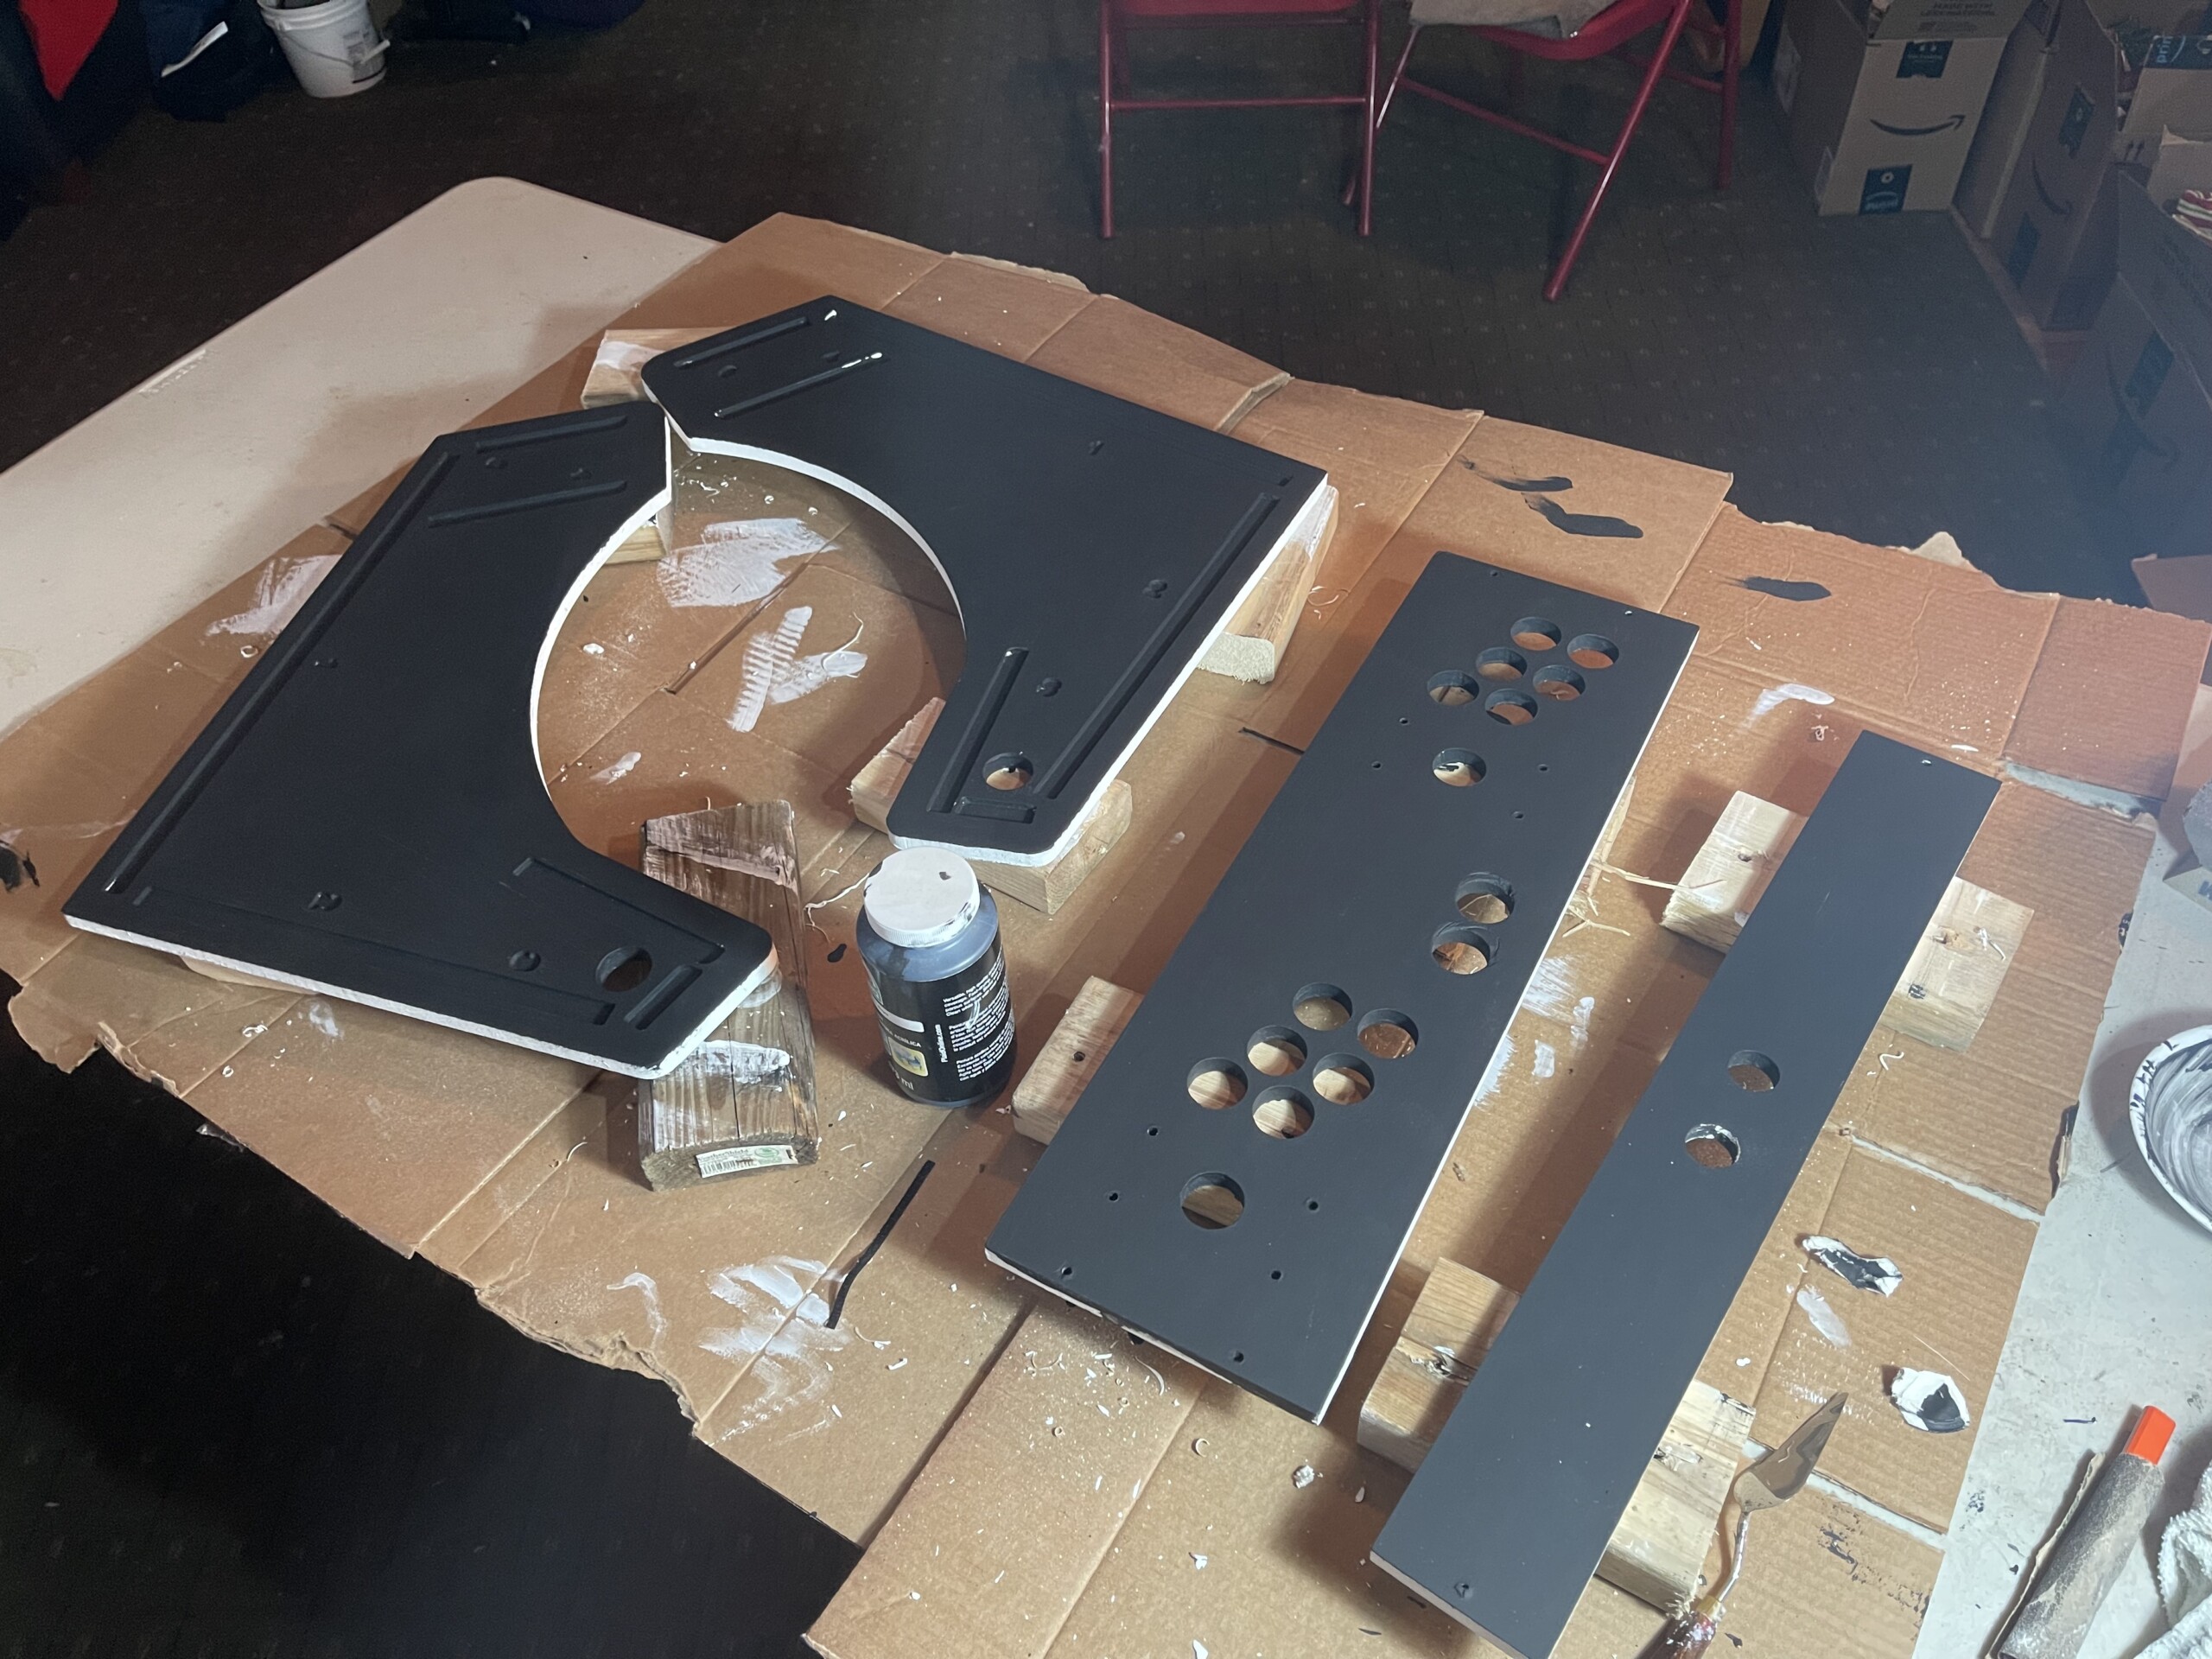
I did multiple coats of black for all the interior faces of the panels. I eventually painted the edges purple to match the vinyl, too.
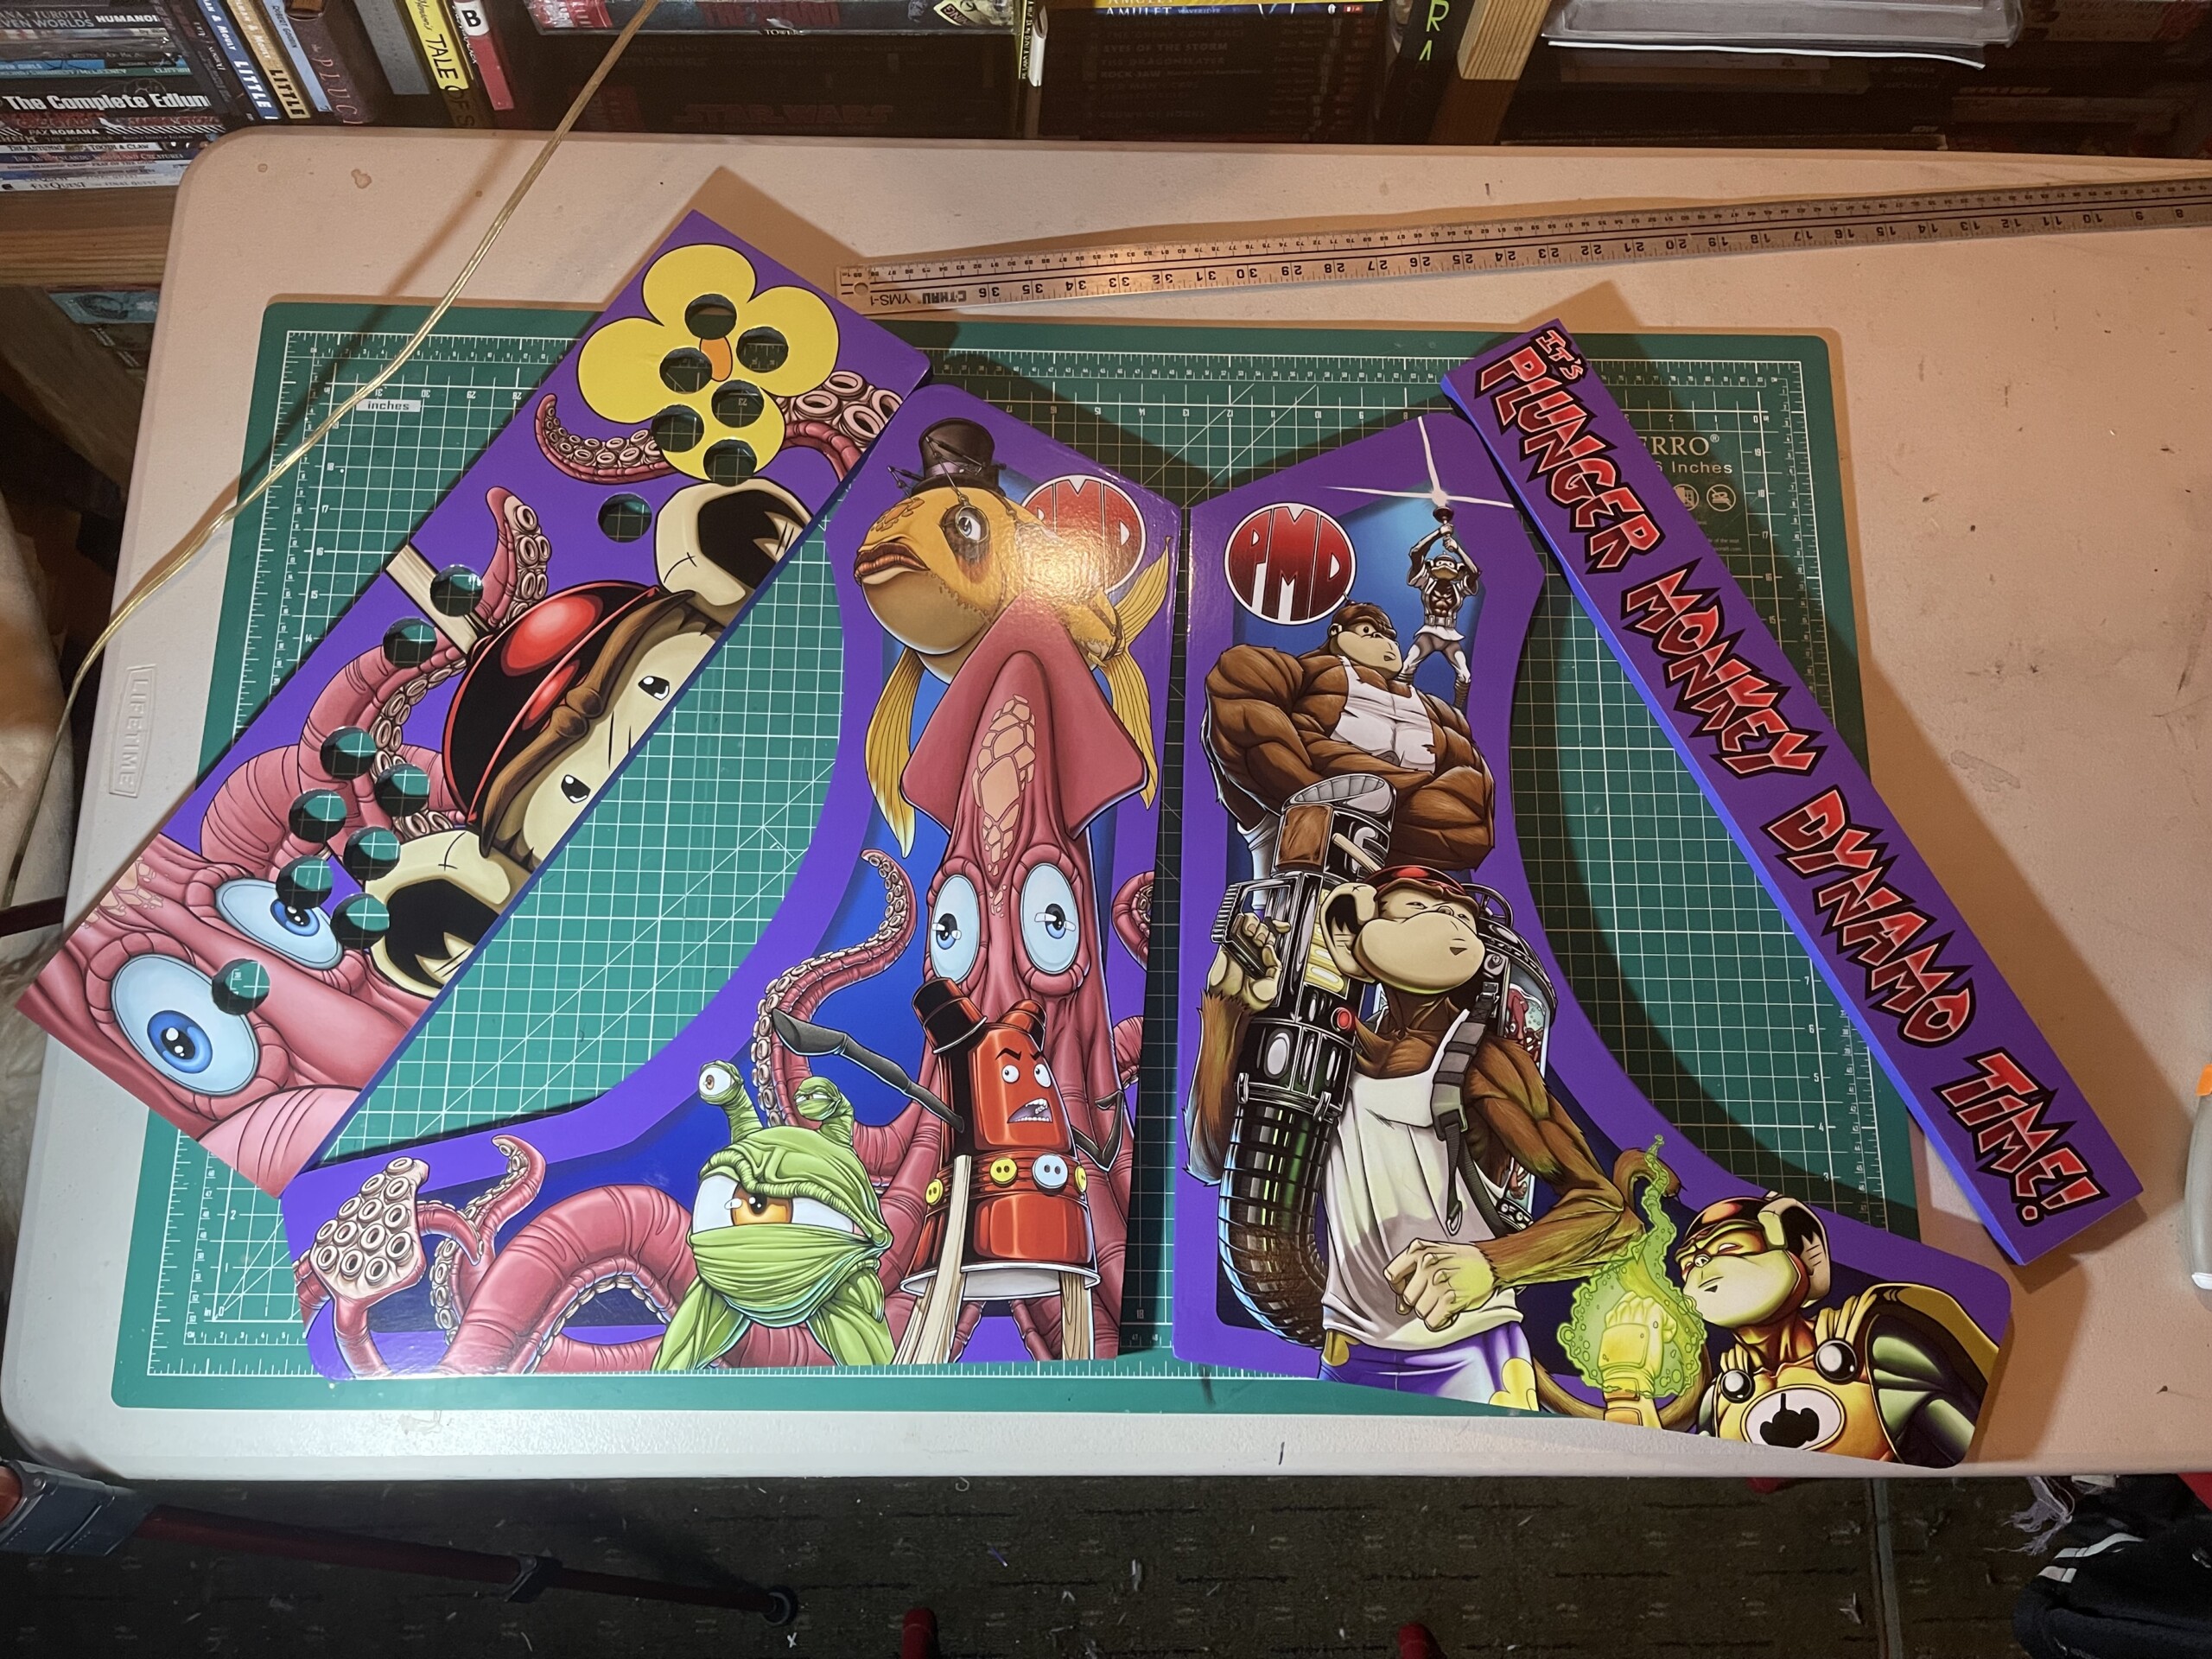
All four panel pieces with the vinyl applied. It was a slightly stressful process, because it’s a one and done kind of thing, but in hindsight it was pretty easy and went smoothly.
And there it all is. If I can get some pics of the finished arcade cabinet all assembled, I’ll share those at some point. My brother has sent a few already, but they have my nephews actively playing, and I want to respect their privacy.
In the meantime, time for me to get back to work on IPMDT.
Please let me know what you think, it makes my brain happy.