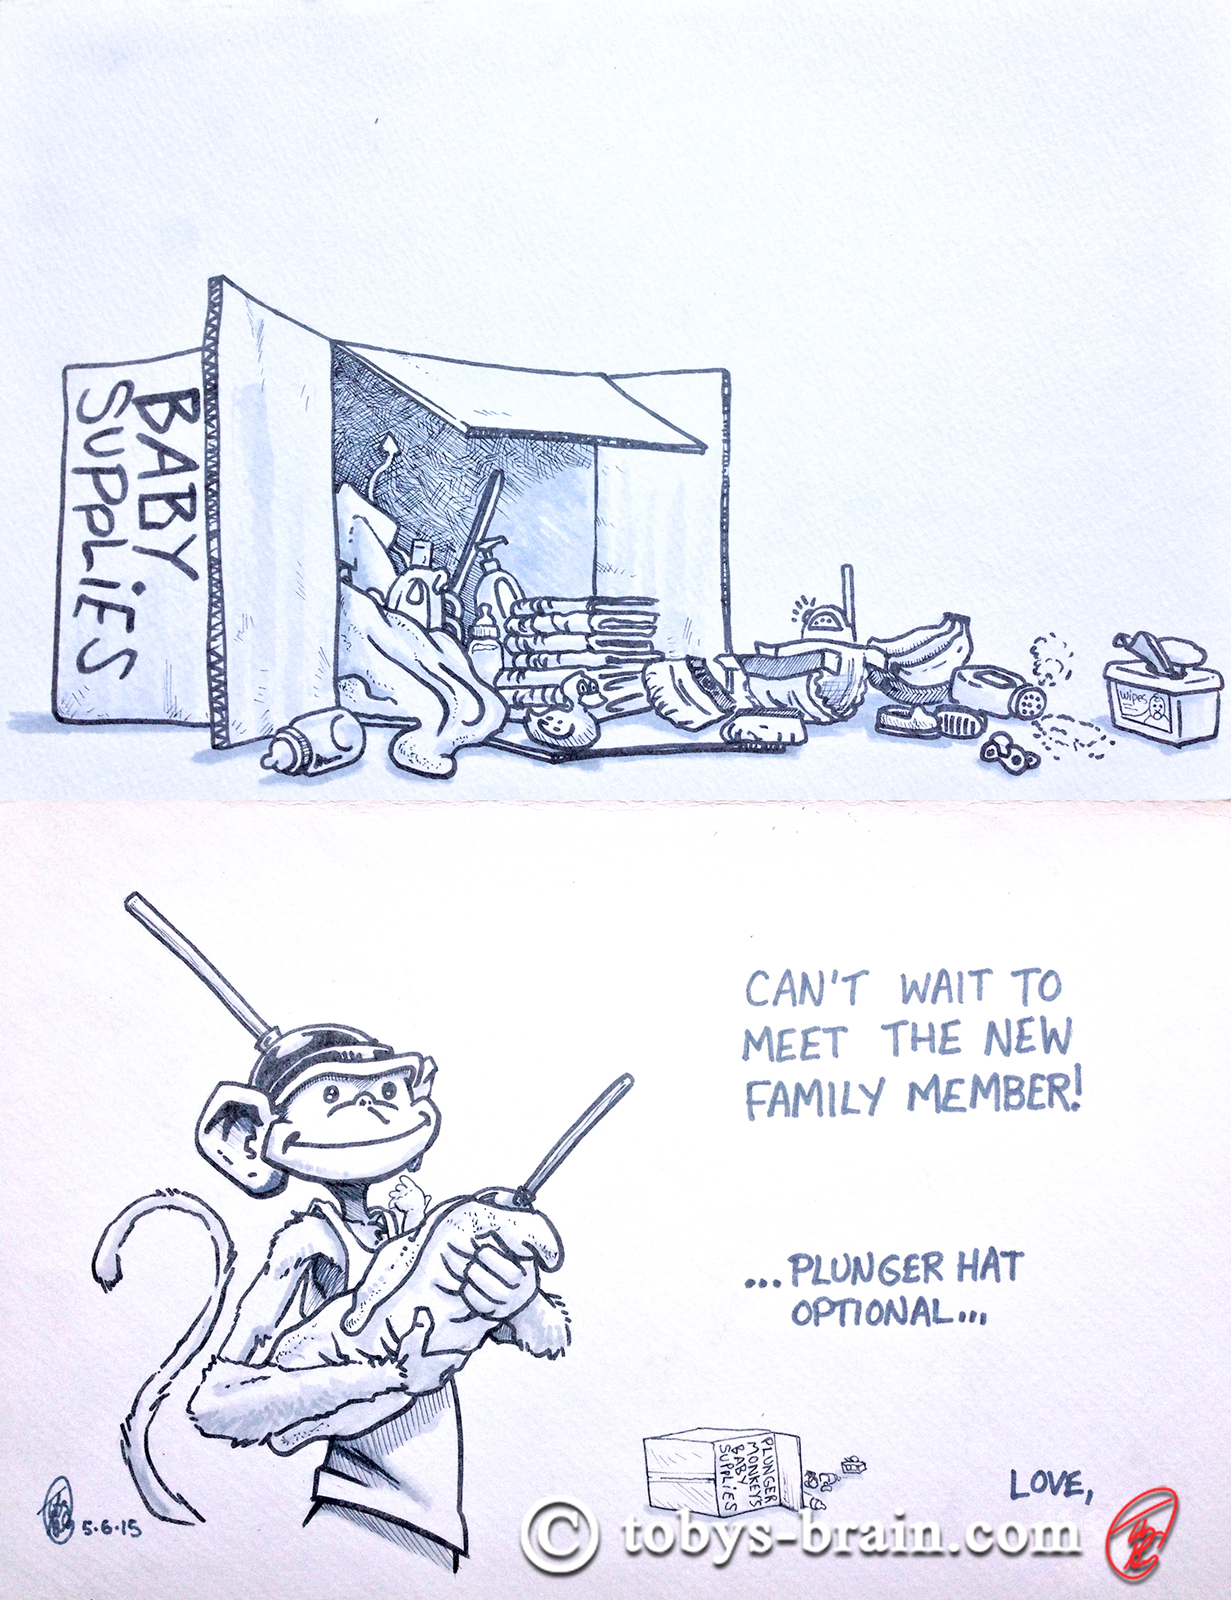
Alright, before we get too much further out from Mother’s Day 2015, I wanted to post up the card I made for my sister-in-law and my brother, who are expecting their first child soon. They’ll make great parents, with or without any assistance or advice from Plunger Monkey. Doing custom, personalized, hand drawn cards is usually my way of saying how important people are to me, or how happy I am for something that’s going on in their lives. I’m not sure if everyone notices, but the box on the front of the card appears to say “baby supplies”, but on the inside image it is revealed actually to say “Plunger Monkey’s baby supplies”. If you look closely at the cover image, you may find some non-standard baby supplies…
I’m still planning on a big PMD post of all the envelope art and PMD cards I’ve drawn for people over the years. After spending some time digging through my files this morning, I think I may be missing some pictures of envelopes. I’ve done fewer cards, but I think I have images of all of them. I also want to dig through my old sketch books and find some old drawings of the plunger-wearing dynamo. Maybe that will be Monday’s post, we’ll see.
As I keep mentioning, I’m still working on t-shirt designs so I can get an Etsy store up and running. There are several PMD related designs, but also many non-PMD shirts. There are several that are variations of a single image, just different color schemes or compositions. All in all I think I have between 20 to 30 solid designs, with a gazillion still banging around in my brain, desperate to get out. I mentioned in the title of this post there’d be something special, so, here it is, a preview of one of the designs (which I am NOT putting in the gallery yet):
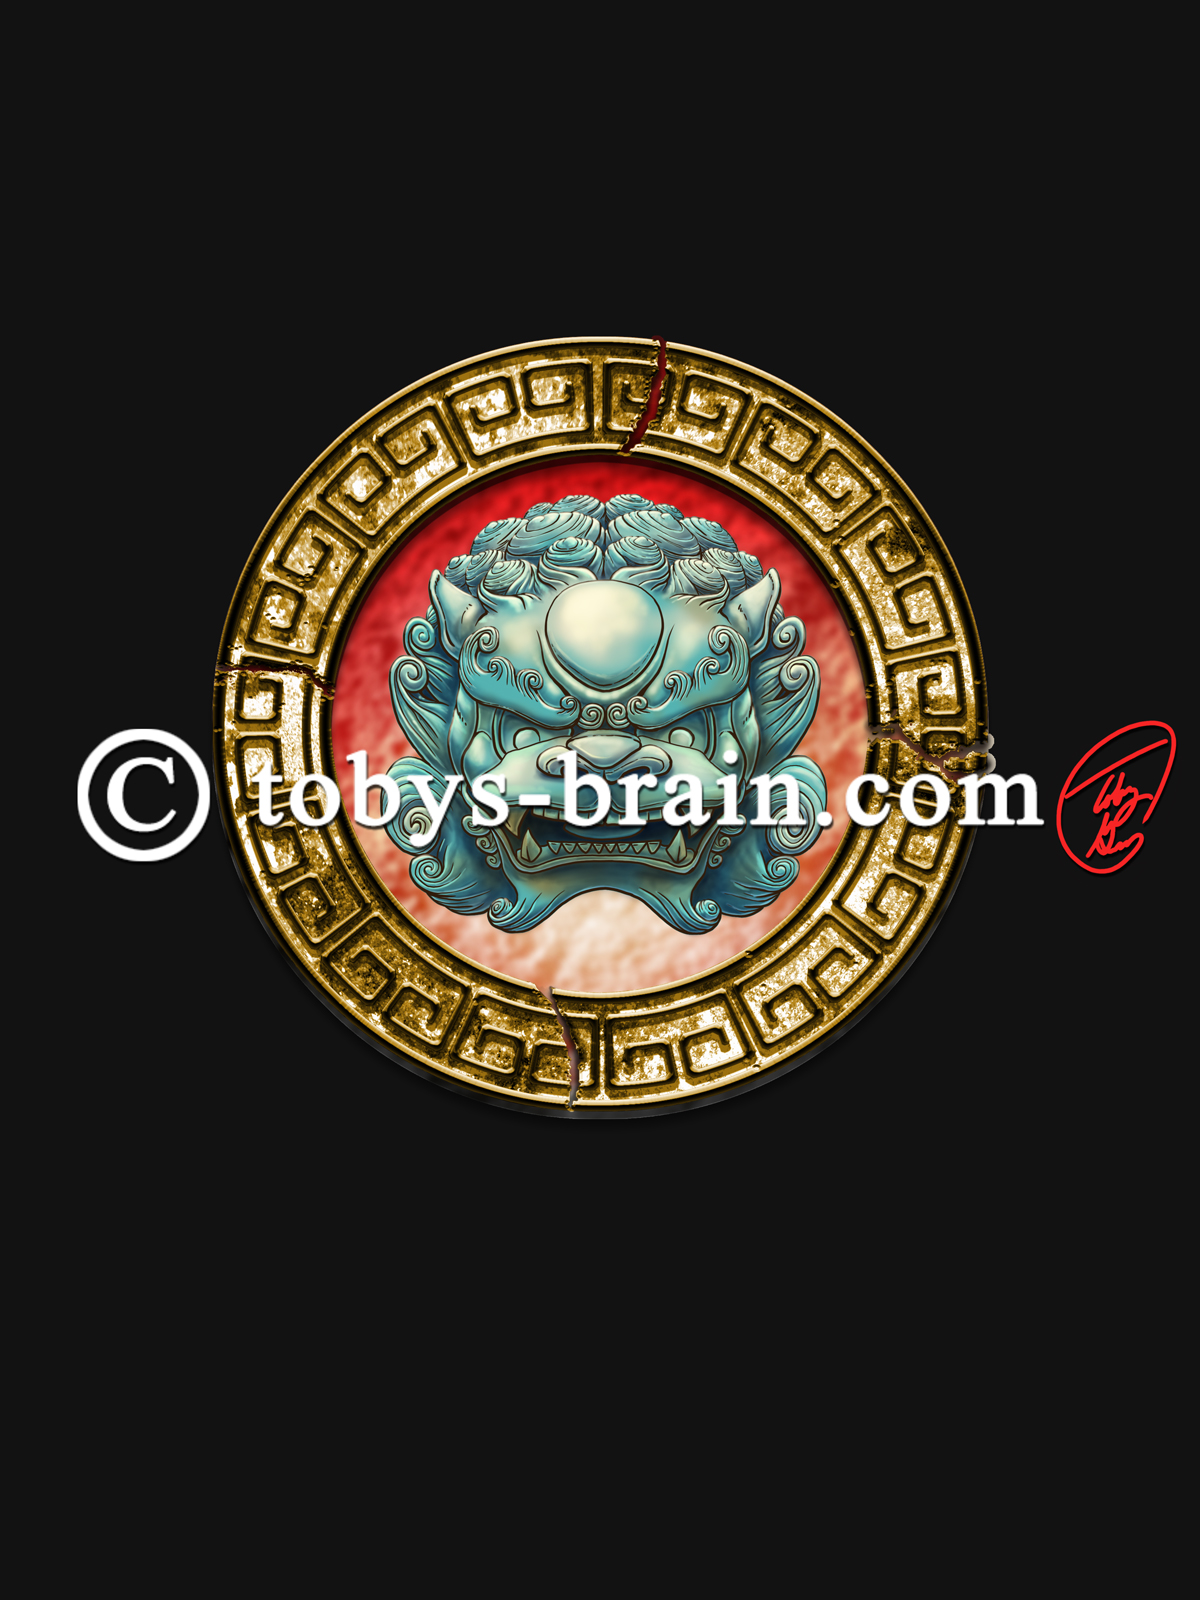
Fu Dog
I drew the Fu Dog head and painted it in Photoshop. The stone ring was created by drawing a single one of those rectangularish designs, then copying/pasting it into a line and using the polar coordinates filter to wrap it into a circular shape. I added an interior and exterior line to create the borders of the circle. From there, I played with beveling/embossing the lines, adding a texture overlay from some pictures of rocks I took, added some glows and drop shadows with the Layer Styles, and colored it with an adjustment layer. The cracks were created with a crack texture brush I made and applied to a layer mask on the ring. I used another texture overlay from my own rock picture files for the red interior of the circle. I’m pretty happy with this design, though my personality tends to focus on the problems and things I want to keep working on, but if I give in to that I’ll never finish anything. As it is I allow myself to do multiple variations of an image to placate that part of my brain, so in the end there will be a few different versions of this (and a few others).
Hopefully I’ll have the store up and running sooner than later, there’s still plenty of work ahead of me.
How about a “tobys-brain.com” t-shirt??
I’ve contemplated that. I was thinking about doing a shirt with the TOBY’SBRAIN logo (the one with my face in it) and having the PMD head say something along the lines of “proud figment of…”. Or something. But now I’m thinking a shirt with my watermark and signature might look kinda nifty. Not sure I have enough of a following yet for that.