Obligatory “I can’t believe it’s already MARCH of 2024”. Truly, though, I can’t. It doesn’t help that our winter has been lame (but global warming isn’t real. Nope. No way), I feel like it hasn’t even started and yet the stupid trees have stupid buds. I absolutely loved every minute I spent snowboarding so far, I always do (even when conditions stink), but I want more. Also, I only managed one campout in the cold weather (on the coldest night of the year), and it didn’t even dip below 0 degrees Fahrenheit, which is a bummer. I was looking forward to trying out my newly made gear in the cold…
Right. My newly made gear. The point of this blog post, not complaining about the lack of winter.
I decided to start 2024 focusing on a few sewing projects because they occupy so much space in my Brain that it often makes it tough to focus on art (or sleep). It’s still a creative endeavor, so I consider it “studio time” or “work”, even though it’s not directly related to the whole drawing and tshirt designs and comics and “career” stuff. It does help me understand clothing, materials, fashion, design, and functionality, though, which helps with character design and world building. The original plan was to spend daytime studio hours sewing, and the evenings drawing either Inktober 52 prompts or working on turning IPMDT into a graphic novel. That didn’t entirely work, I tend to get obsessive about the things I’m working on and lose track of time, no matter what it is.
Anyway, there are still a handful of “small” sewing projects I want to hit at some point this year, but the three big ones were a new “EDC” (every day carry) bag, a new wool coat, and revisiting my wool “leg” duffle bag.
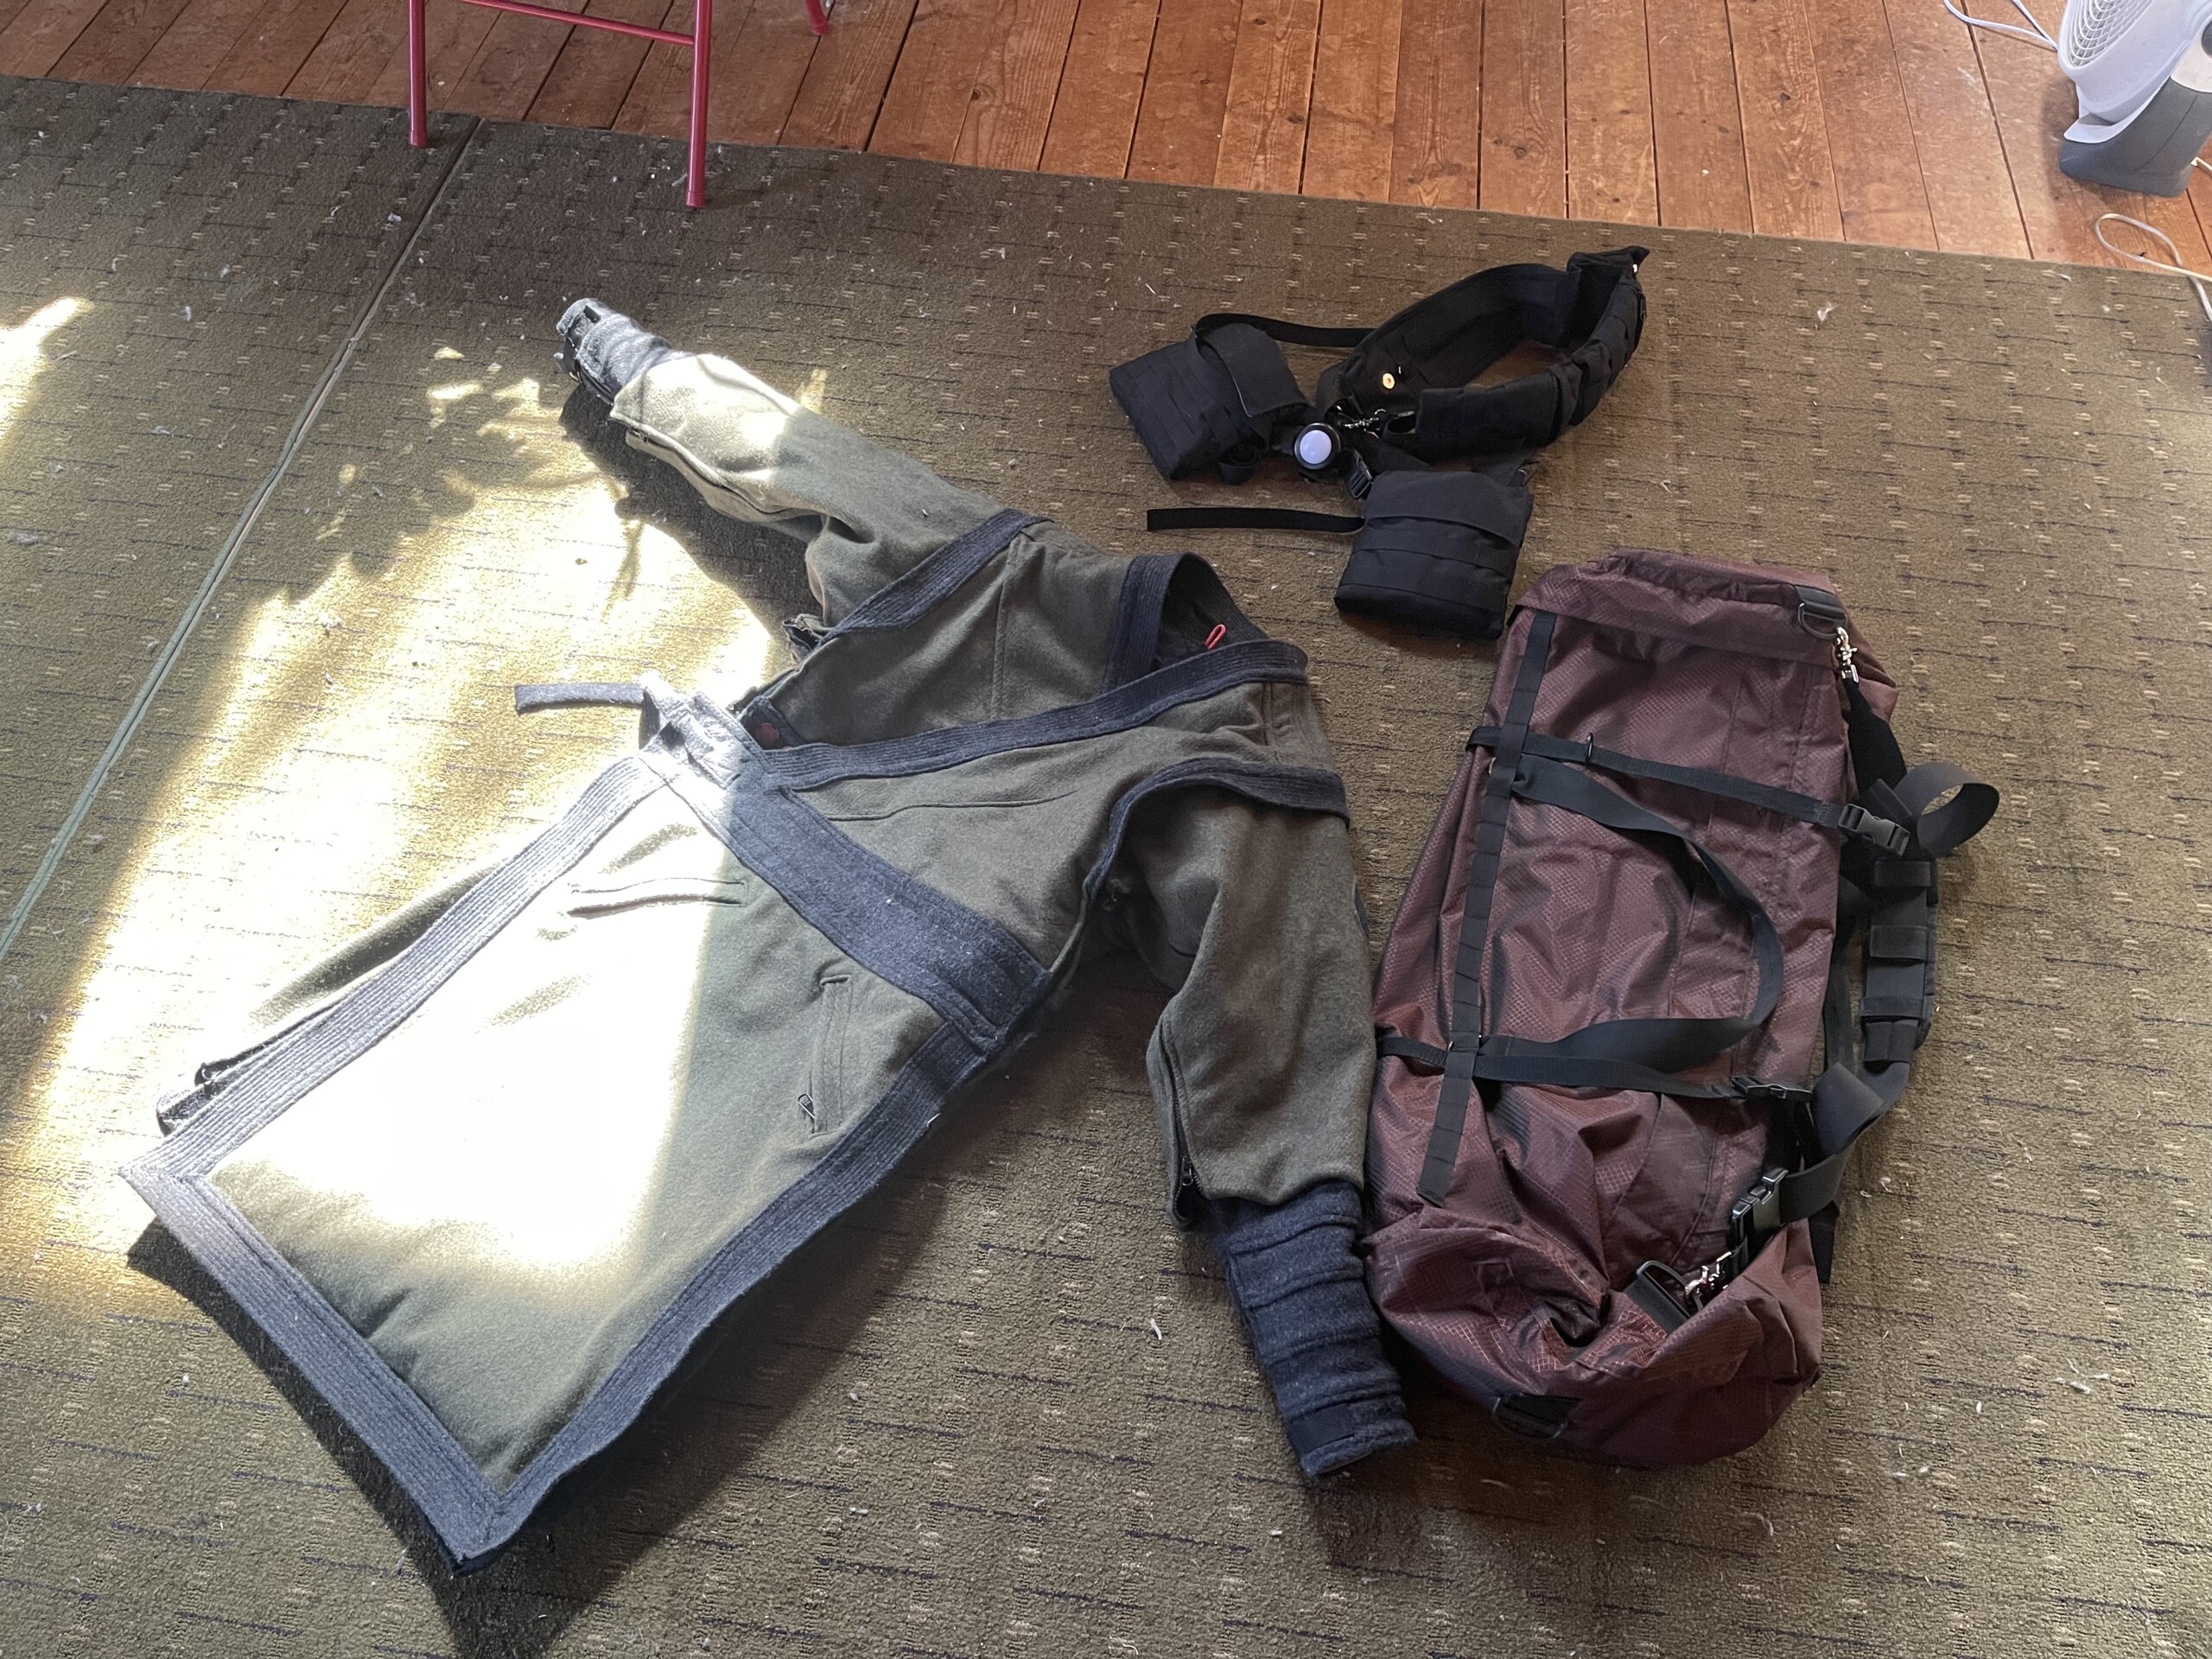
The three big sewing projects of 2024.
The Bandolier Belt Bag
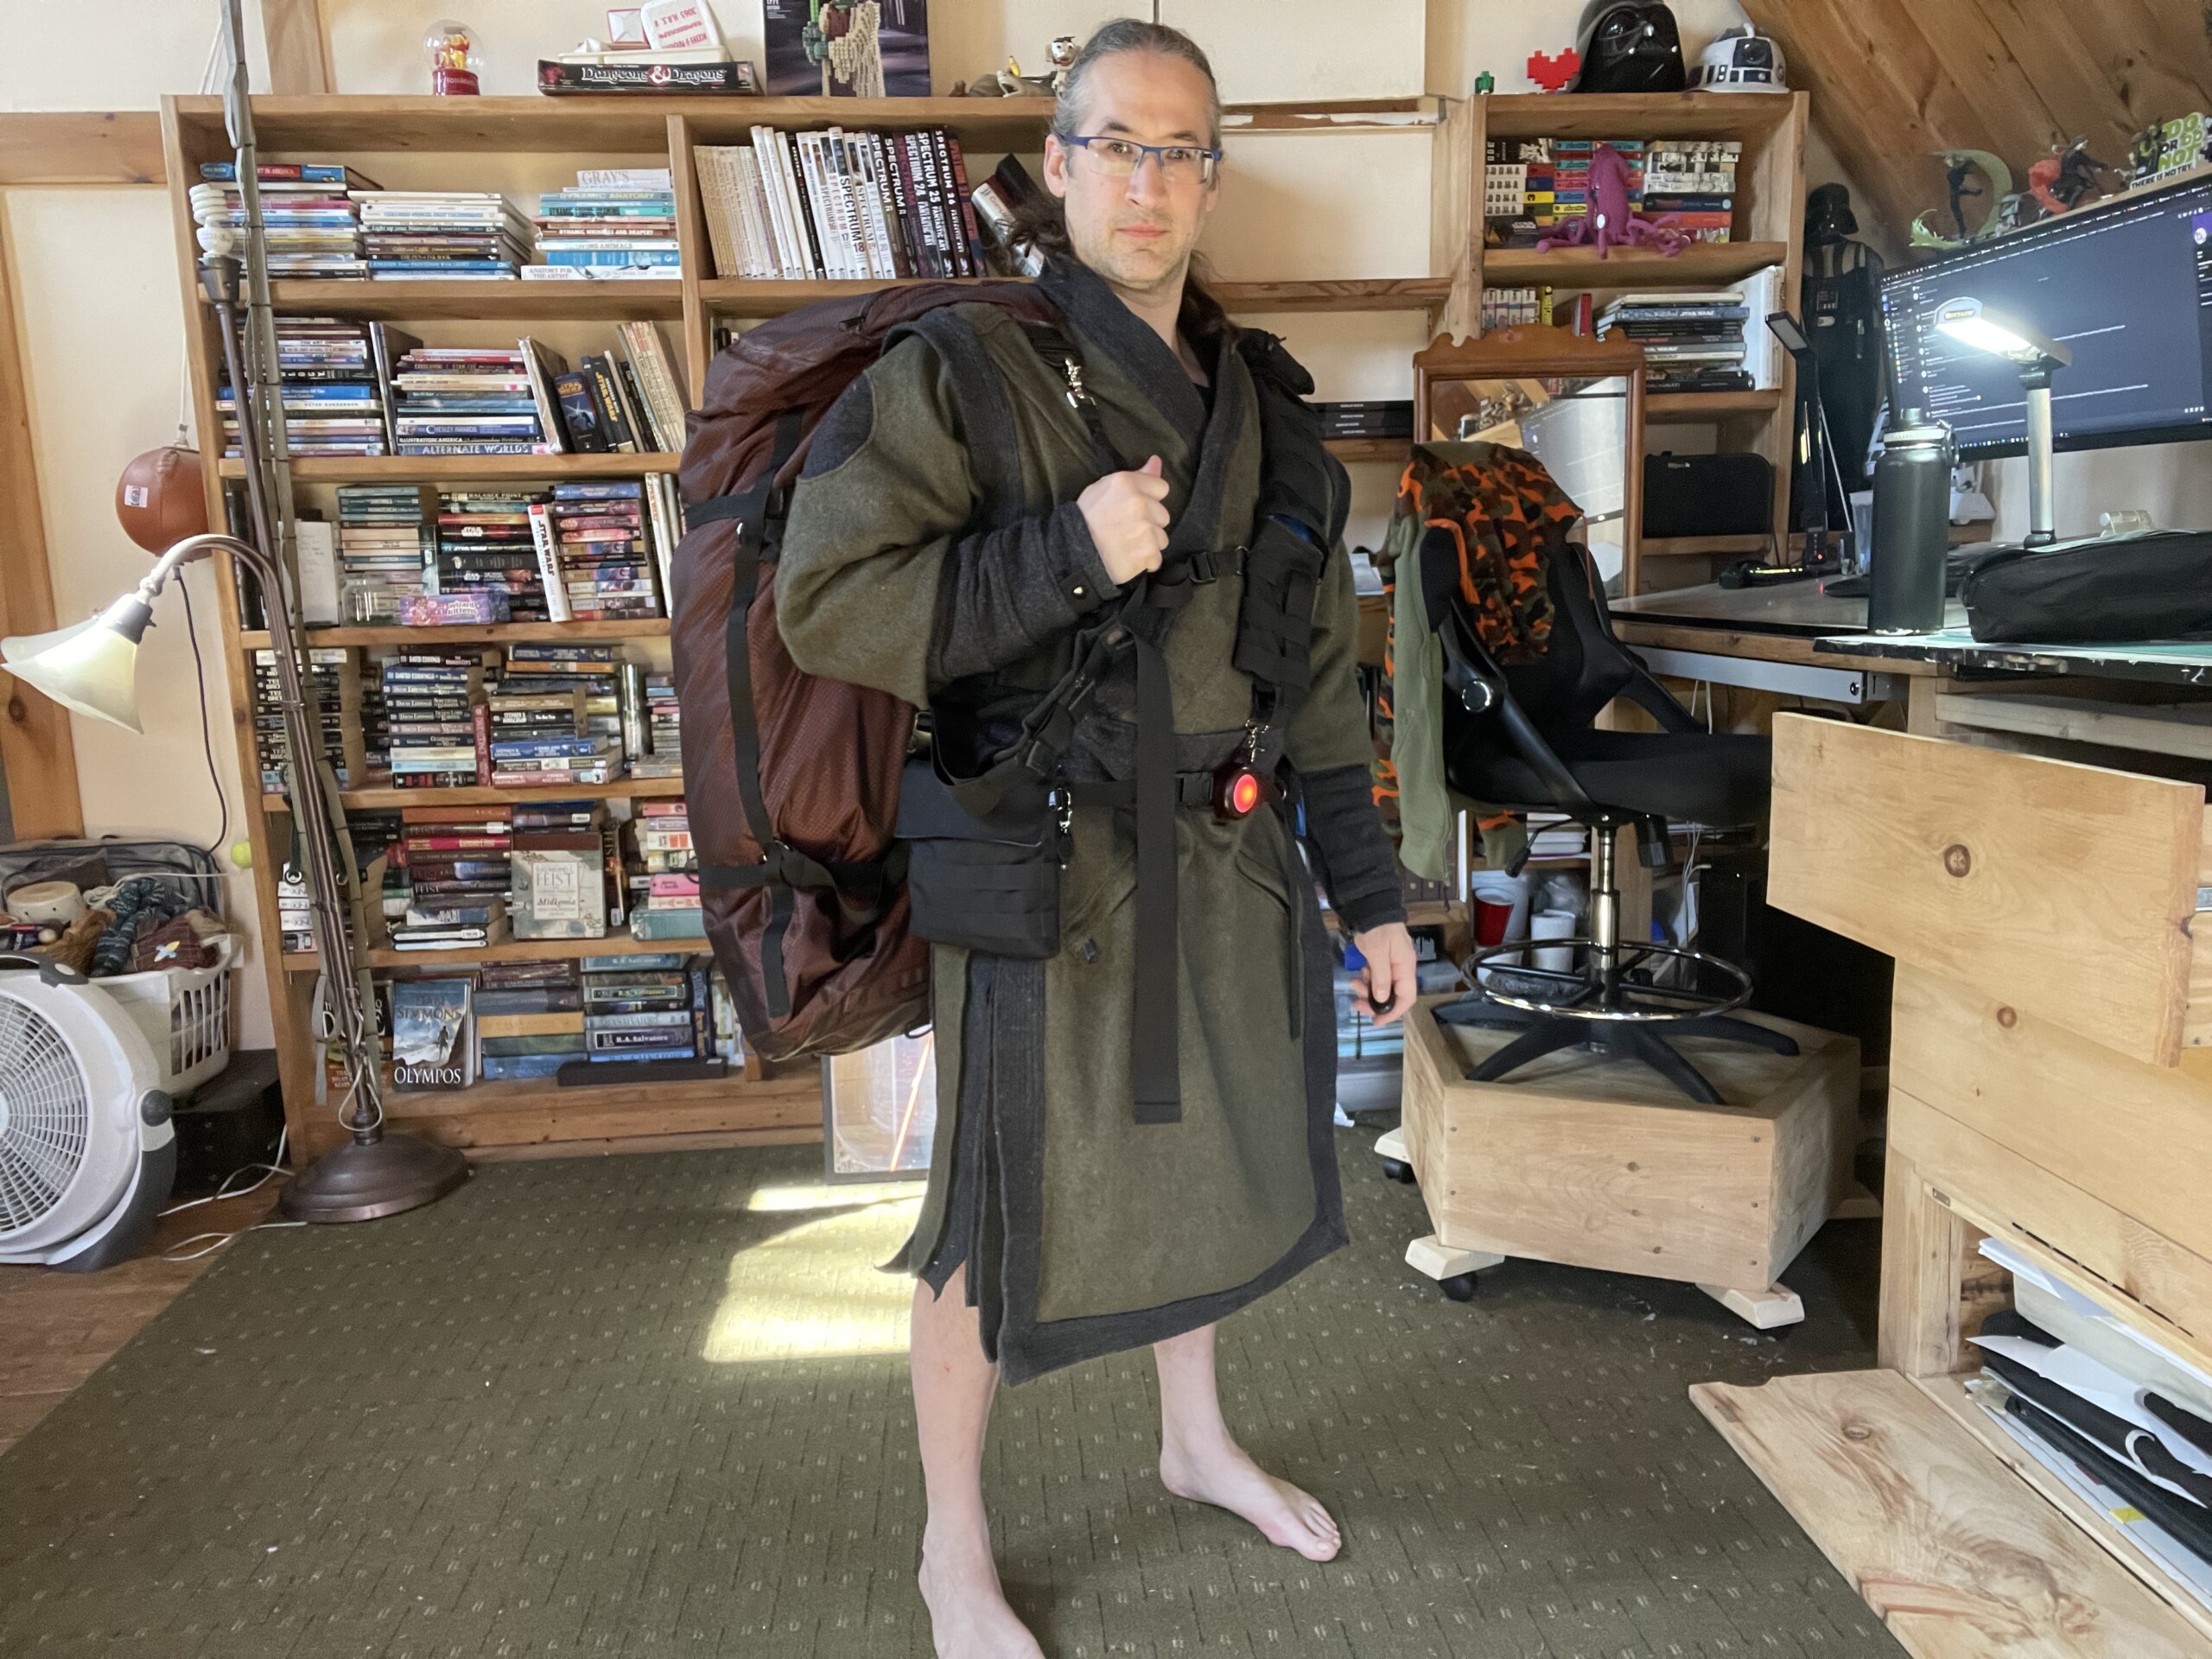
I’m always searching for the best way to carry all the items I want to carry whenever I leave the house for any reason. It needs to be streamlined, not bulky (I want to be able to run and climb and punch and kick if I have to), and have easy access to all items. I want to be able to wear it whether I’m wearing a tshirt or one of my big wool coats, and I shouldn’t have to take it off to get in the car. I’ve used a variety of different bags as well as made some over the years, and the latest version is the bandolier belt bag. (Pictures of the whole thing being worn will be near the end of the post)
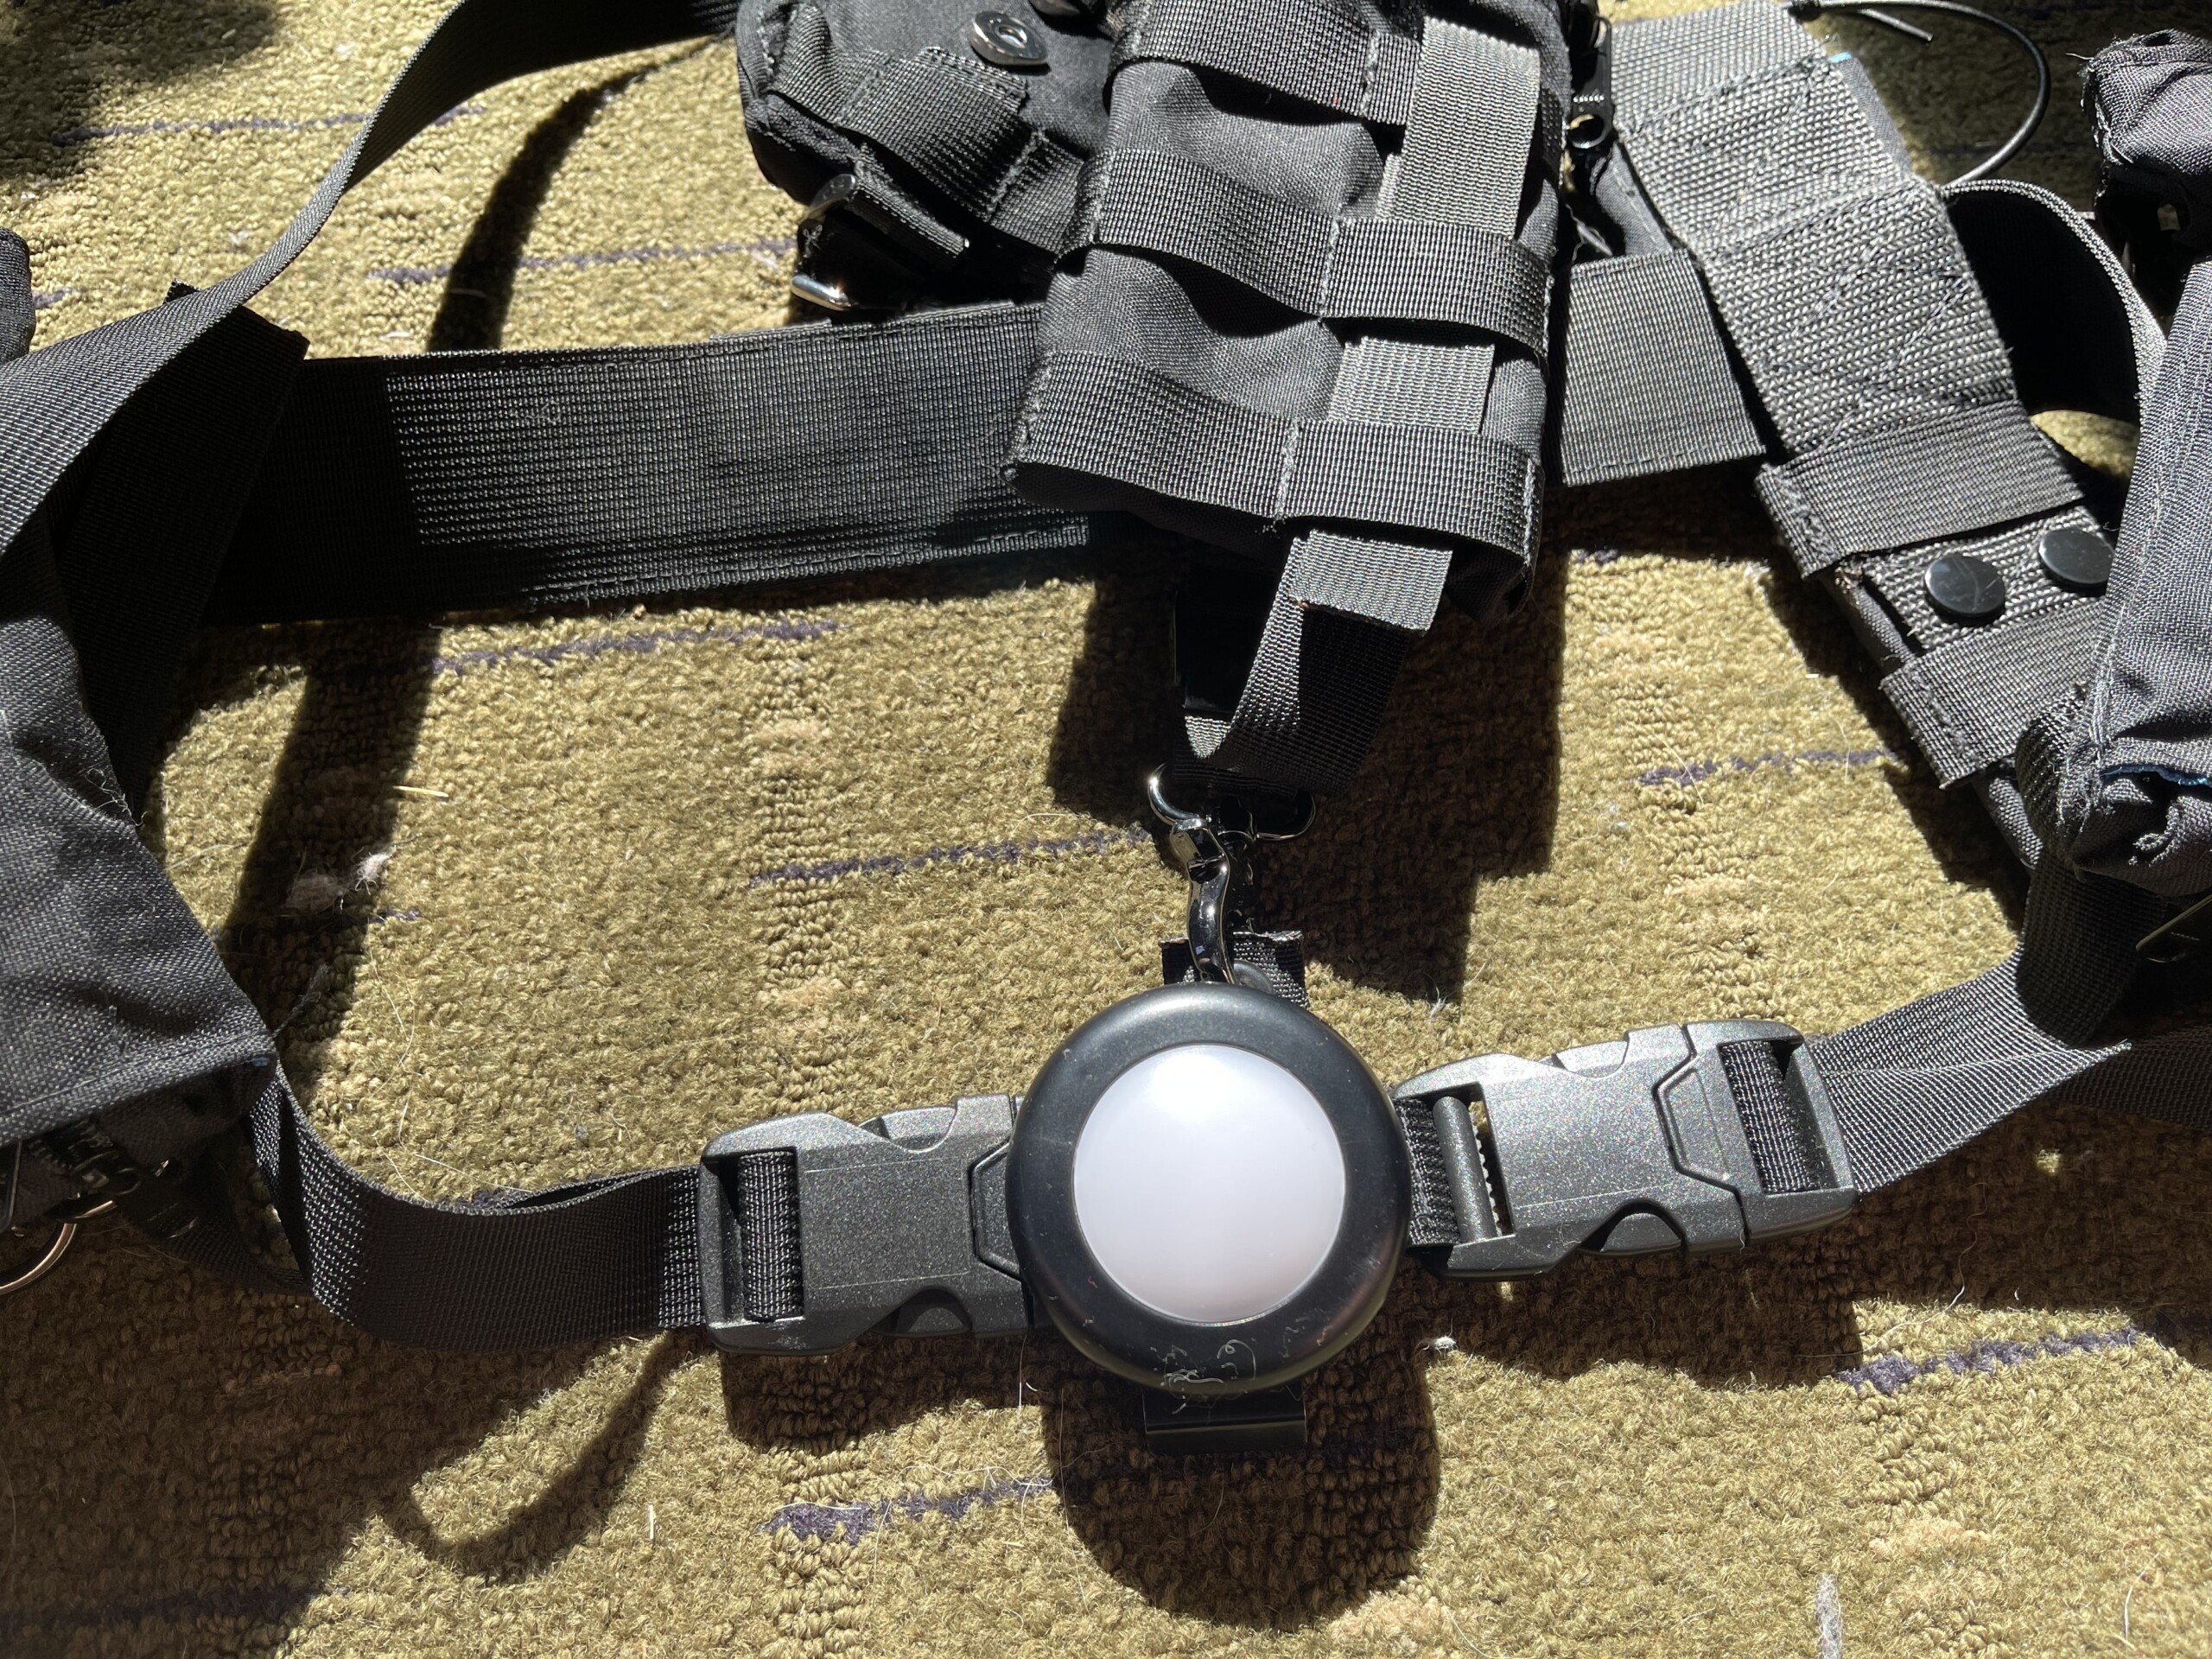
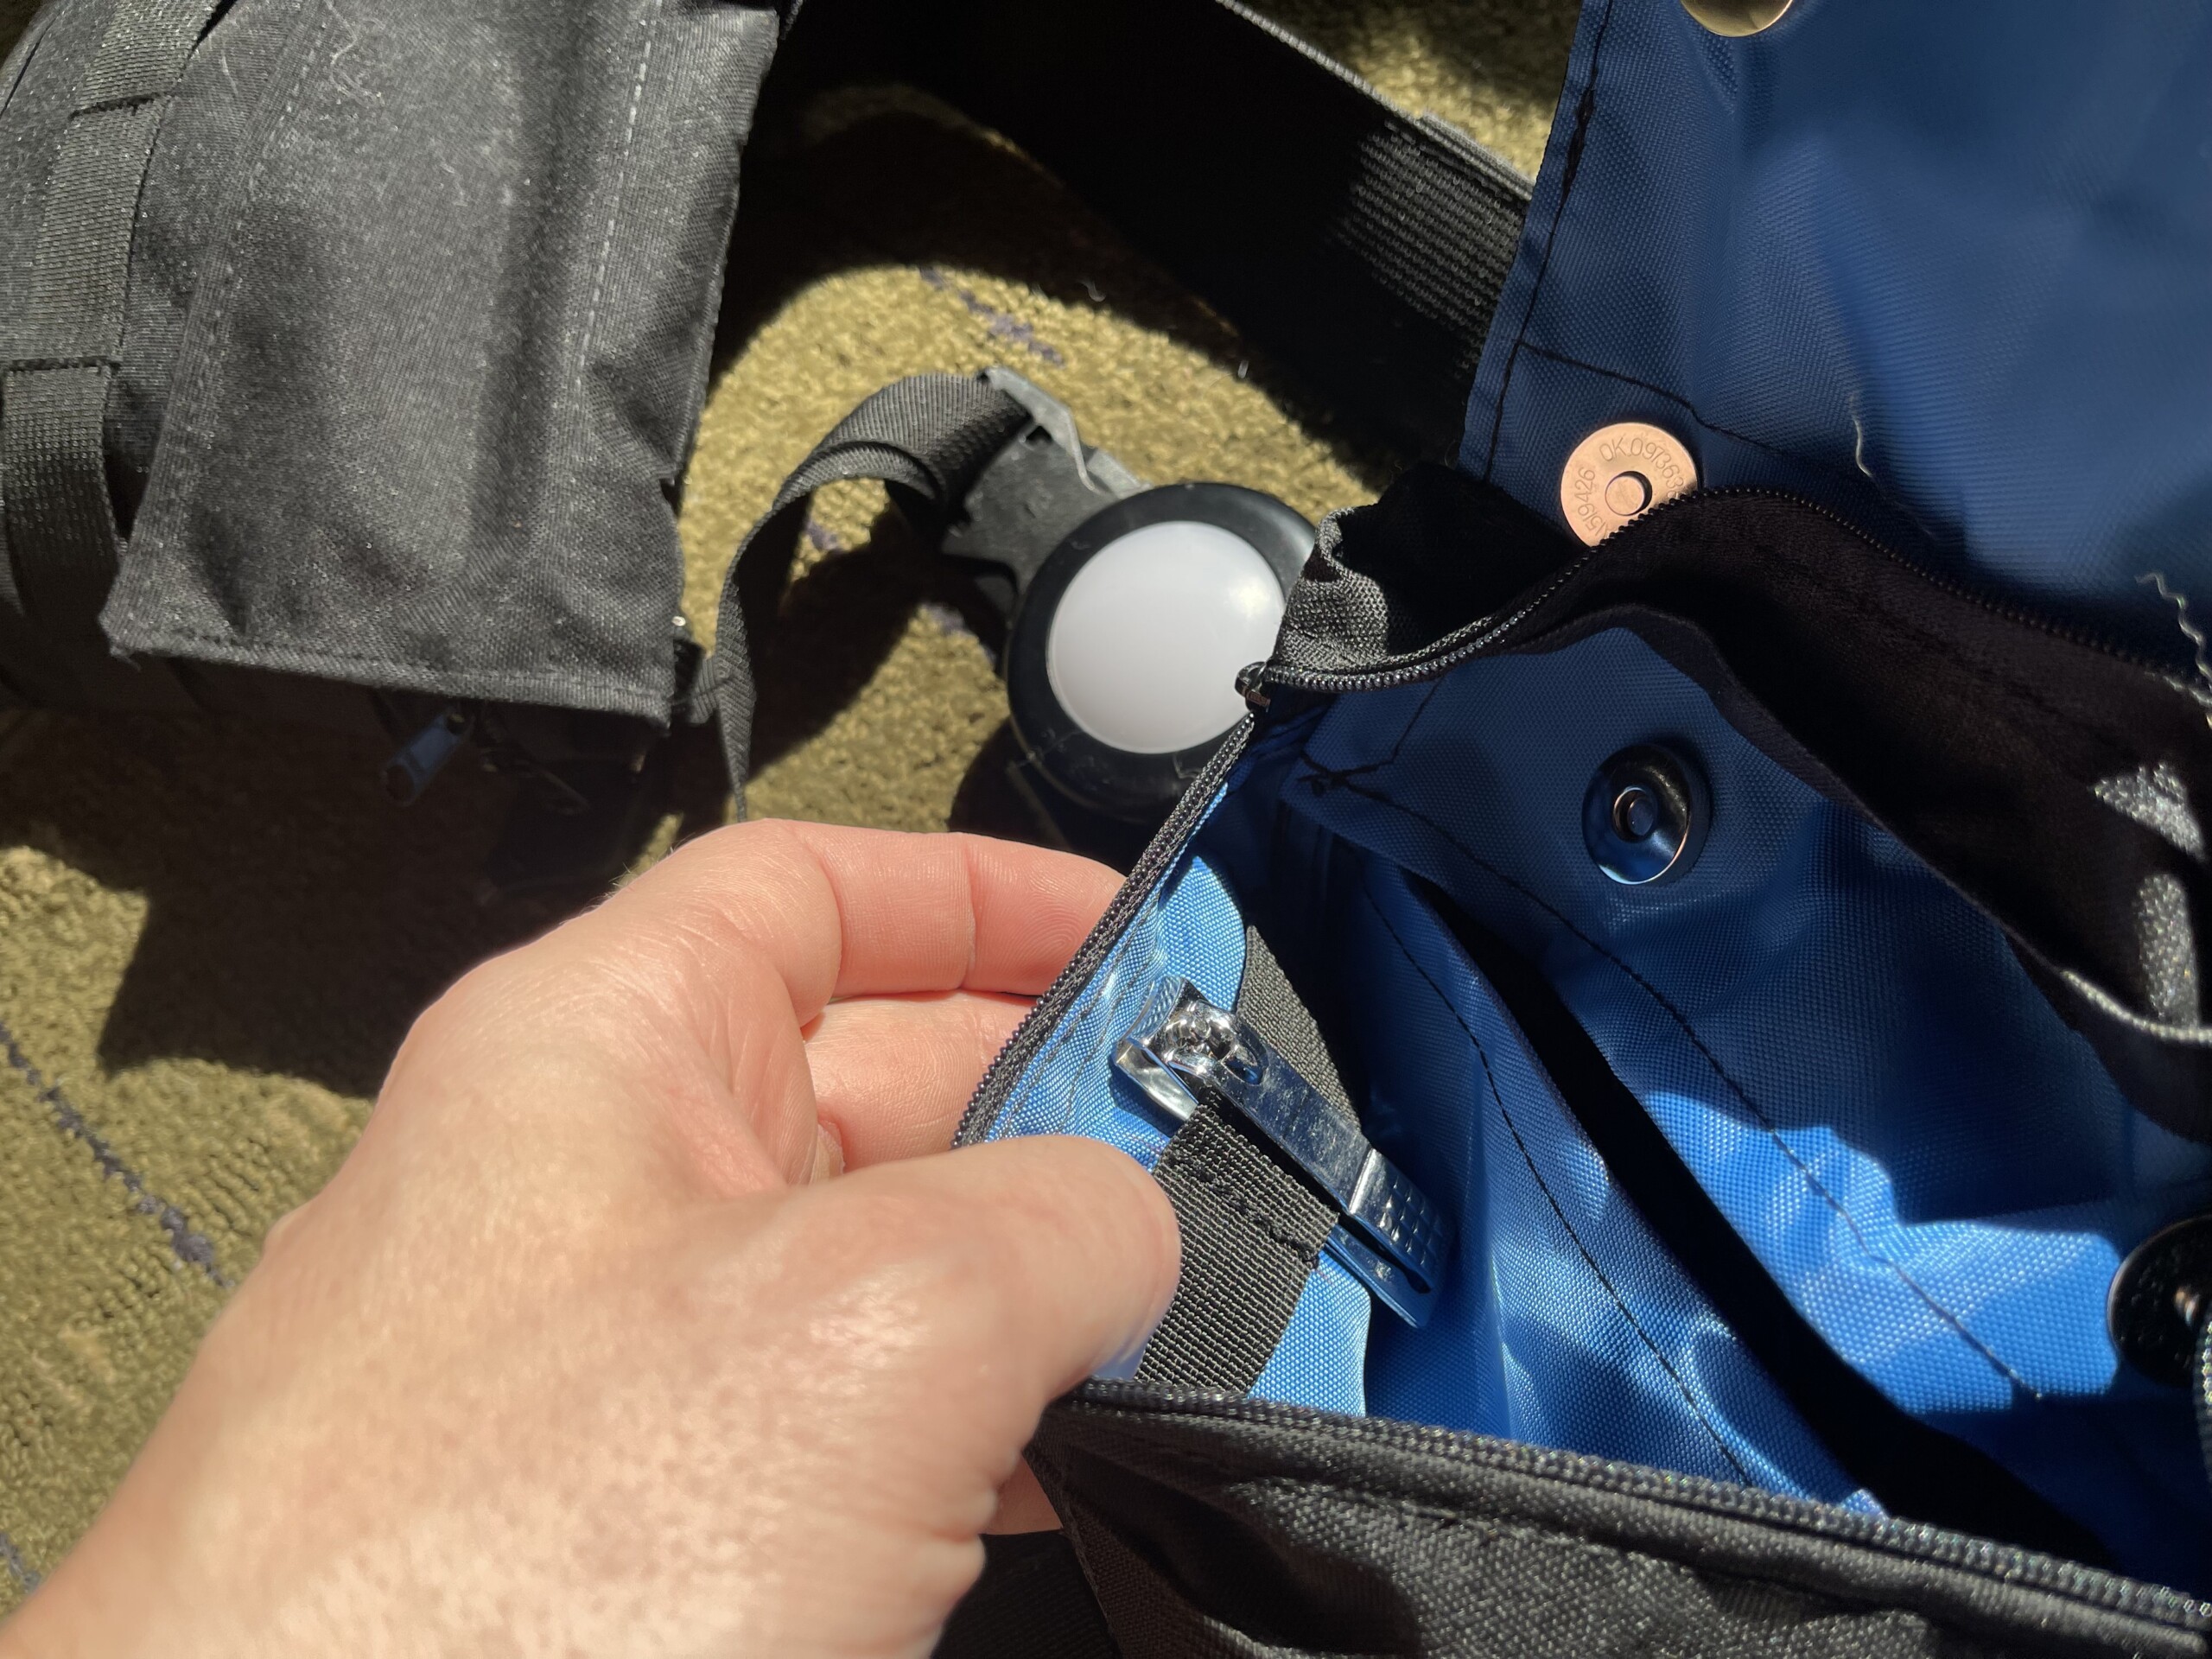
LED puck light/belt buckle. I just super glued a belt clip to the back. It works well, but it’s tap to turn on, rather than a switch, and it’s a bit too sensitive. Getting in and out of the car triggers it.
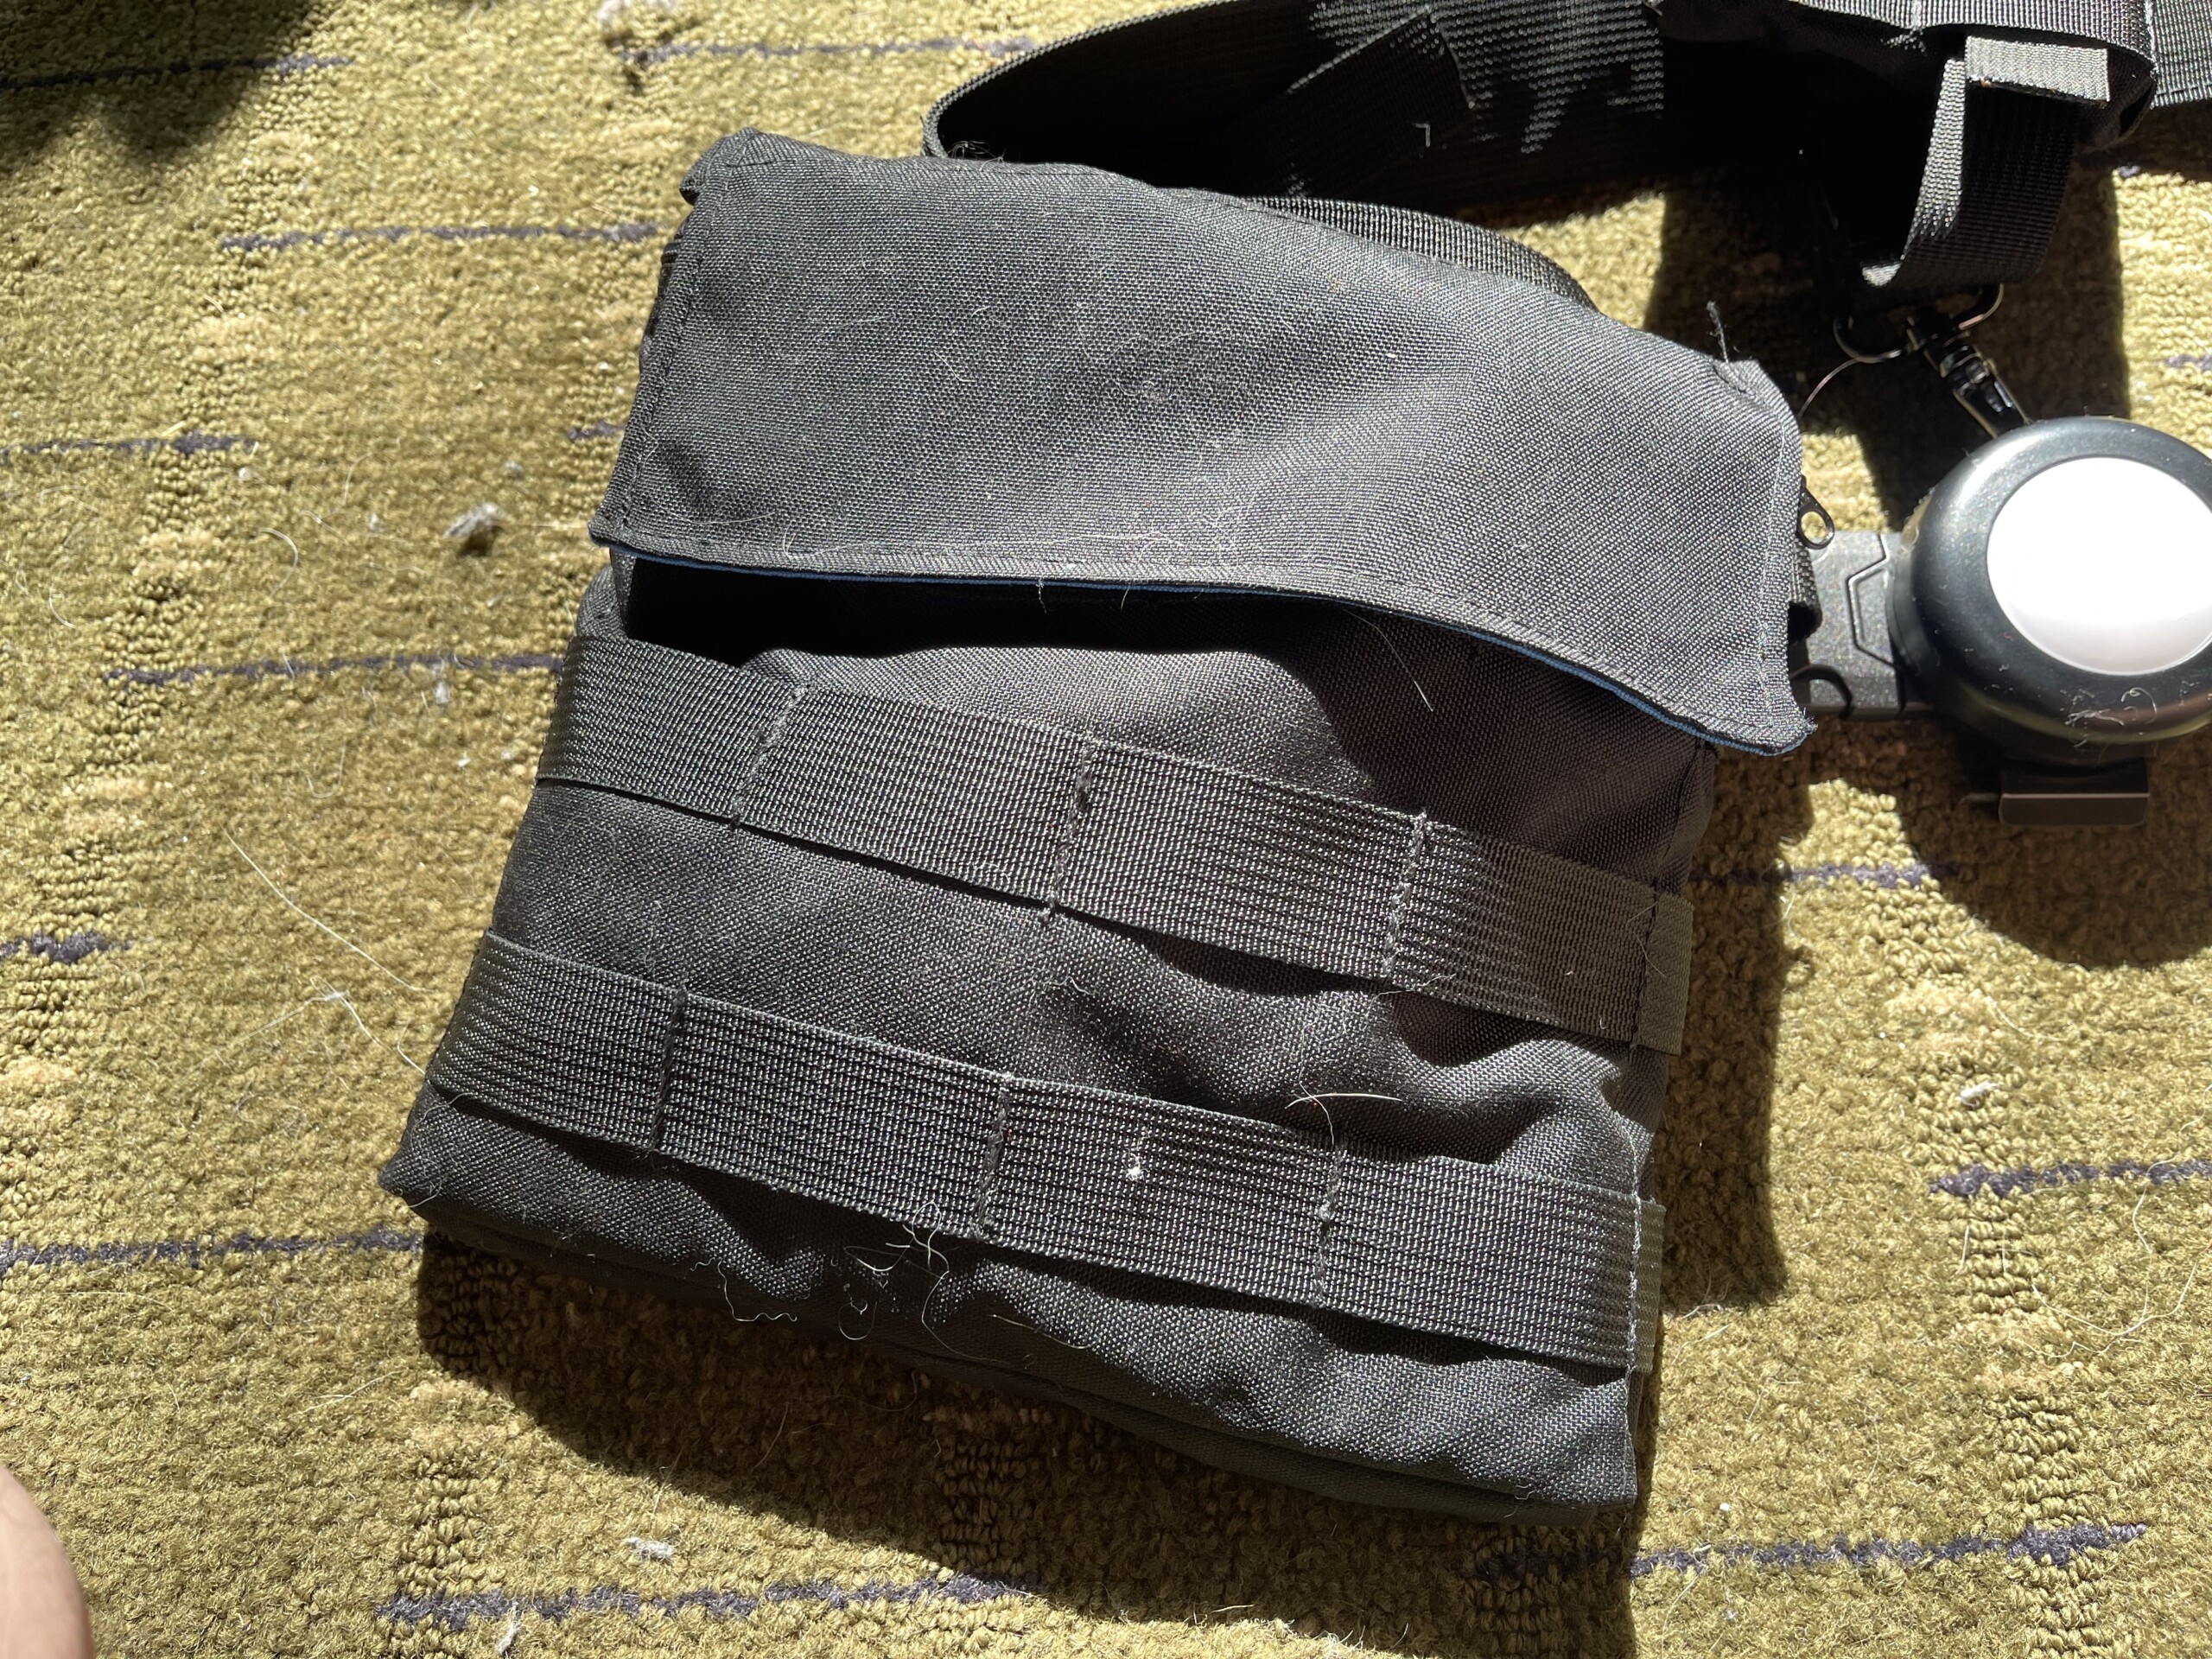
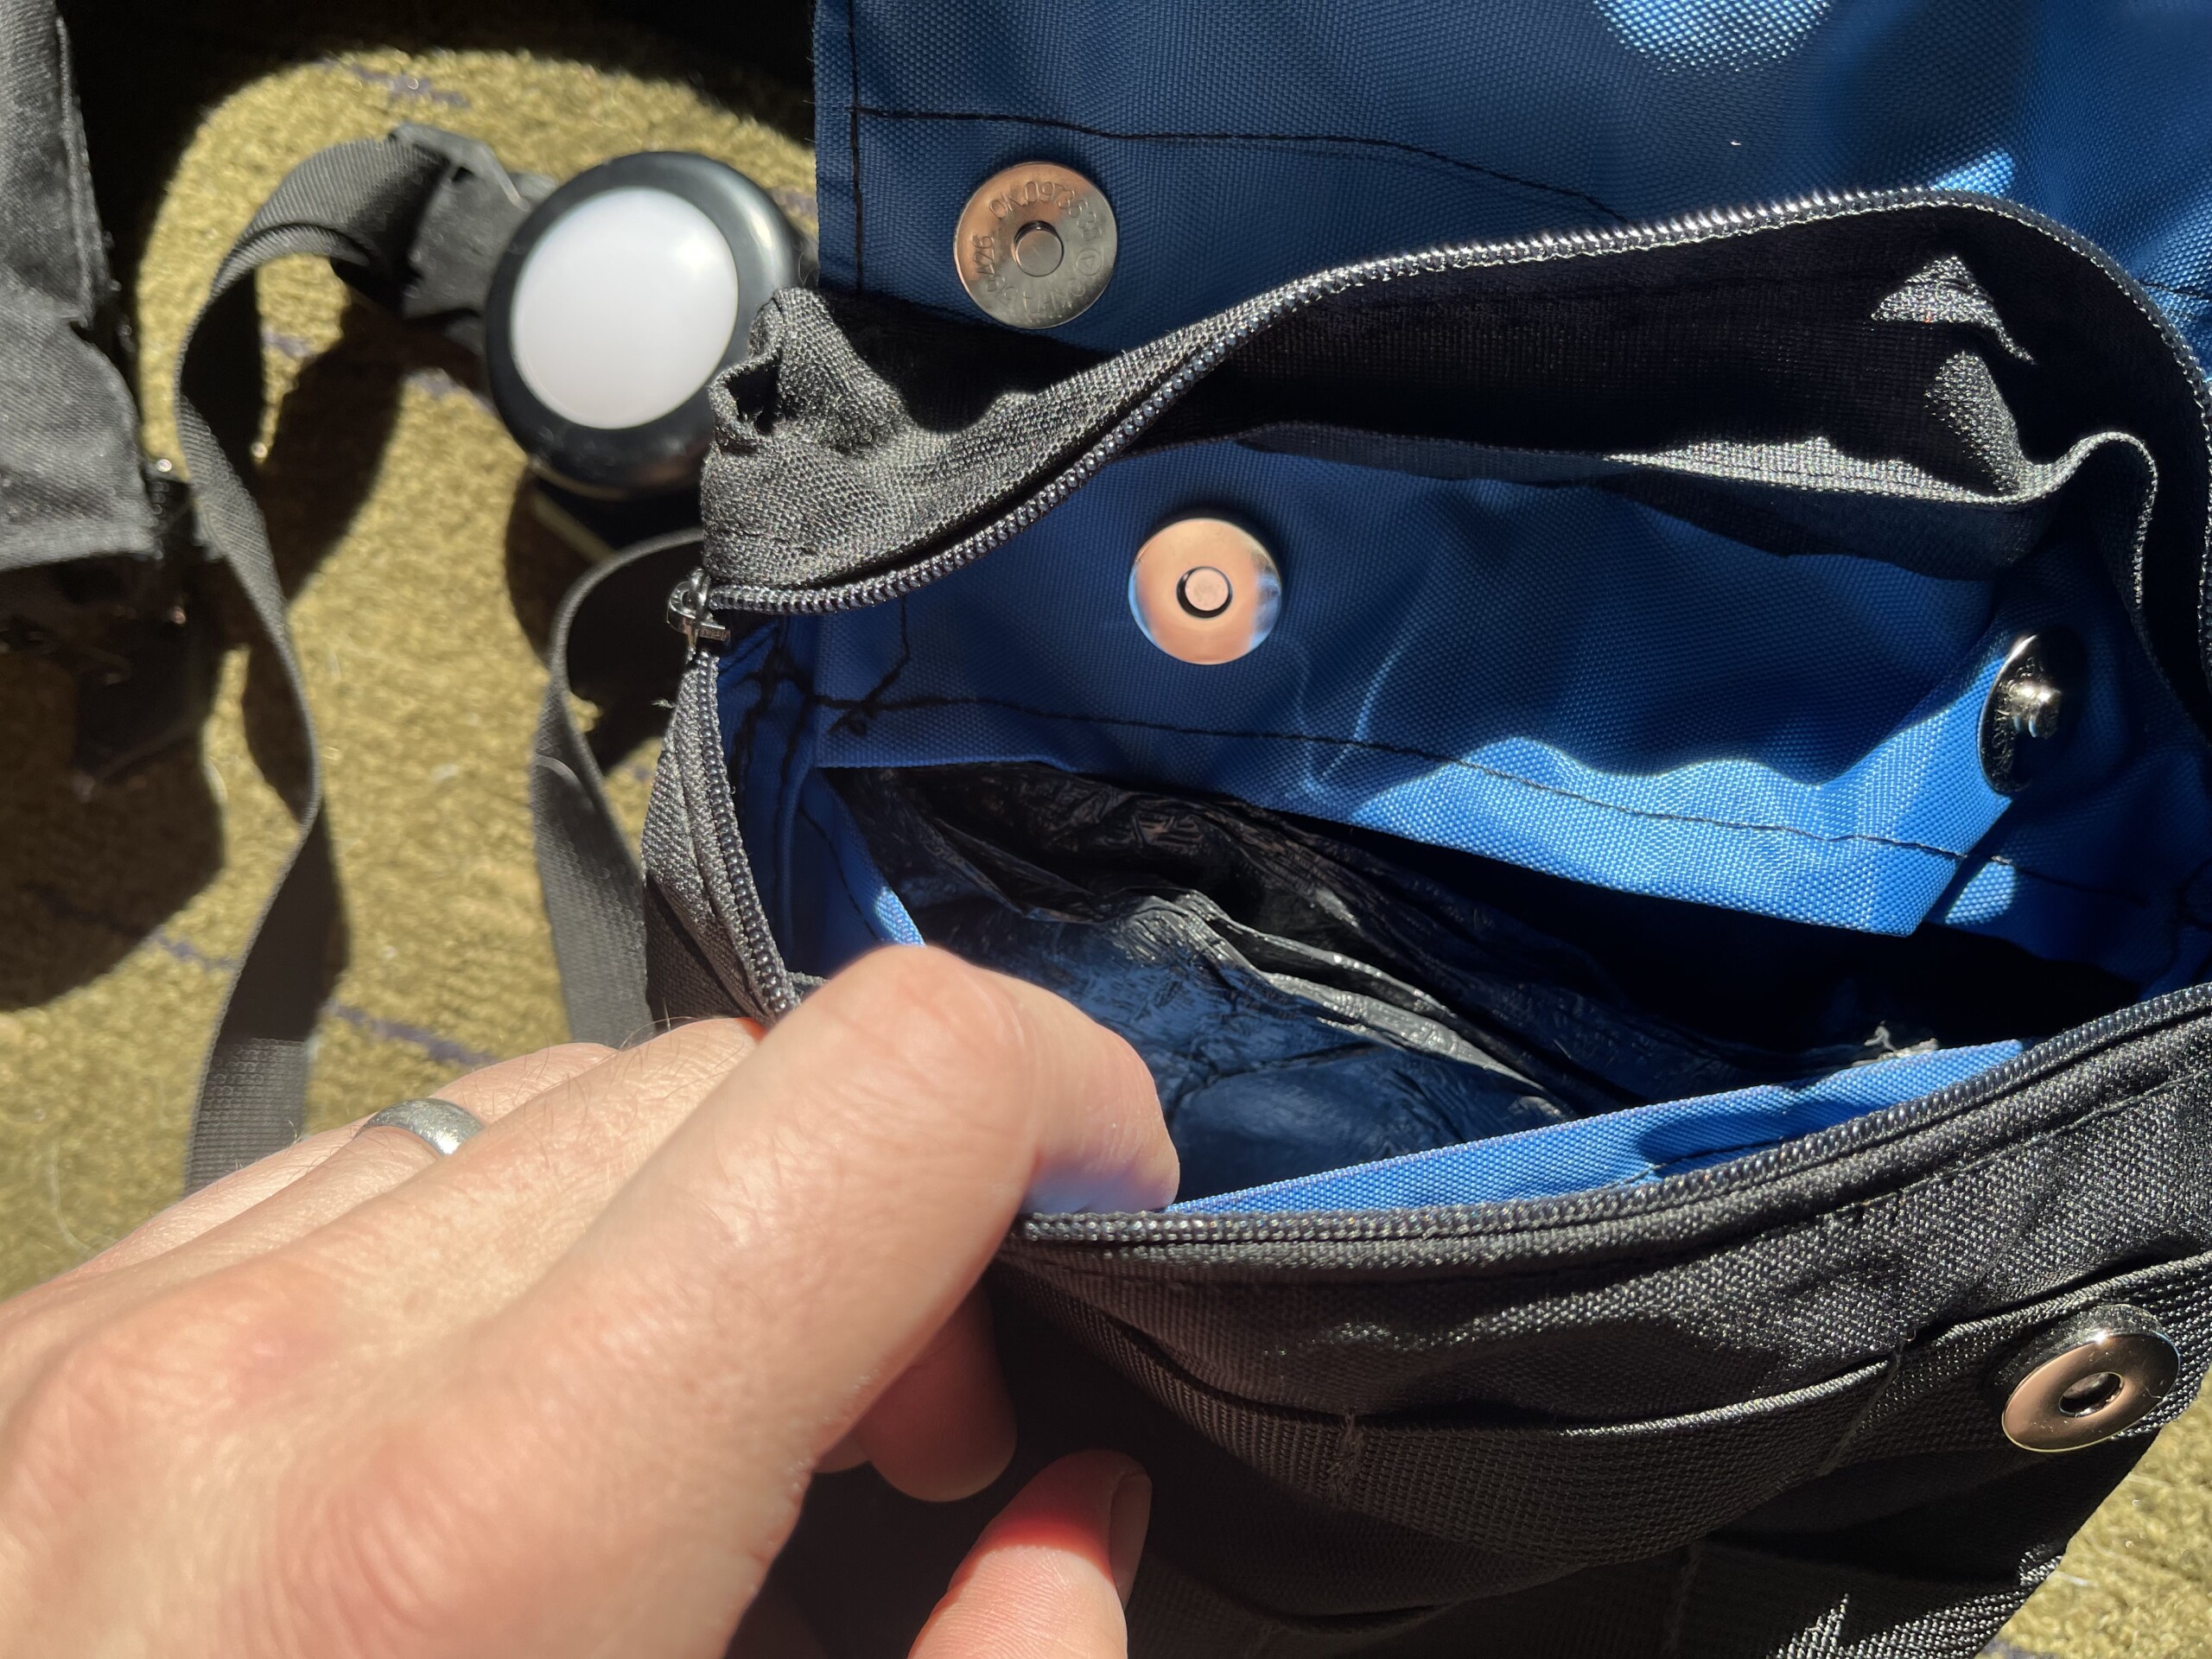
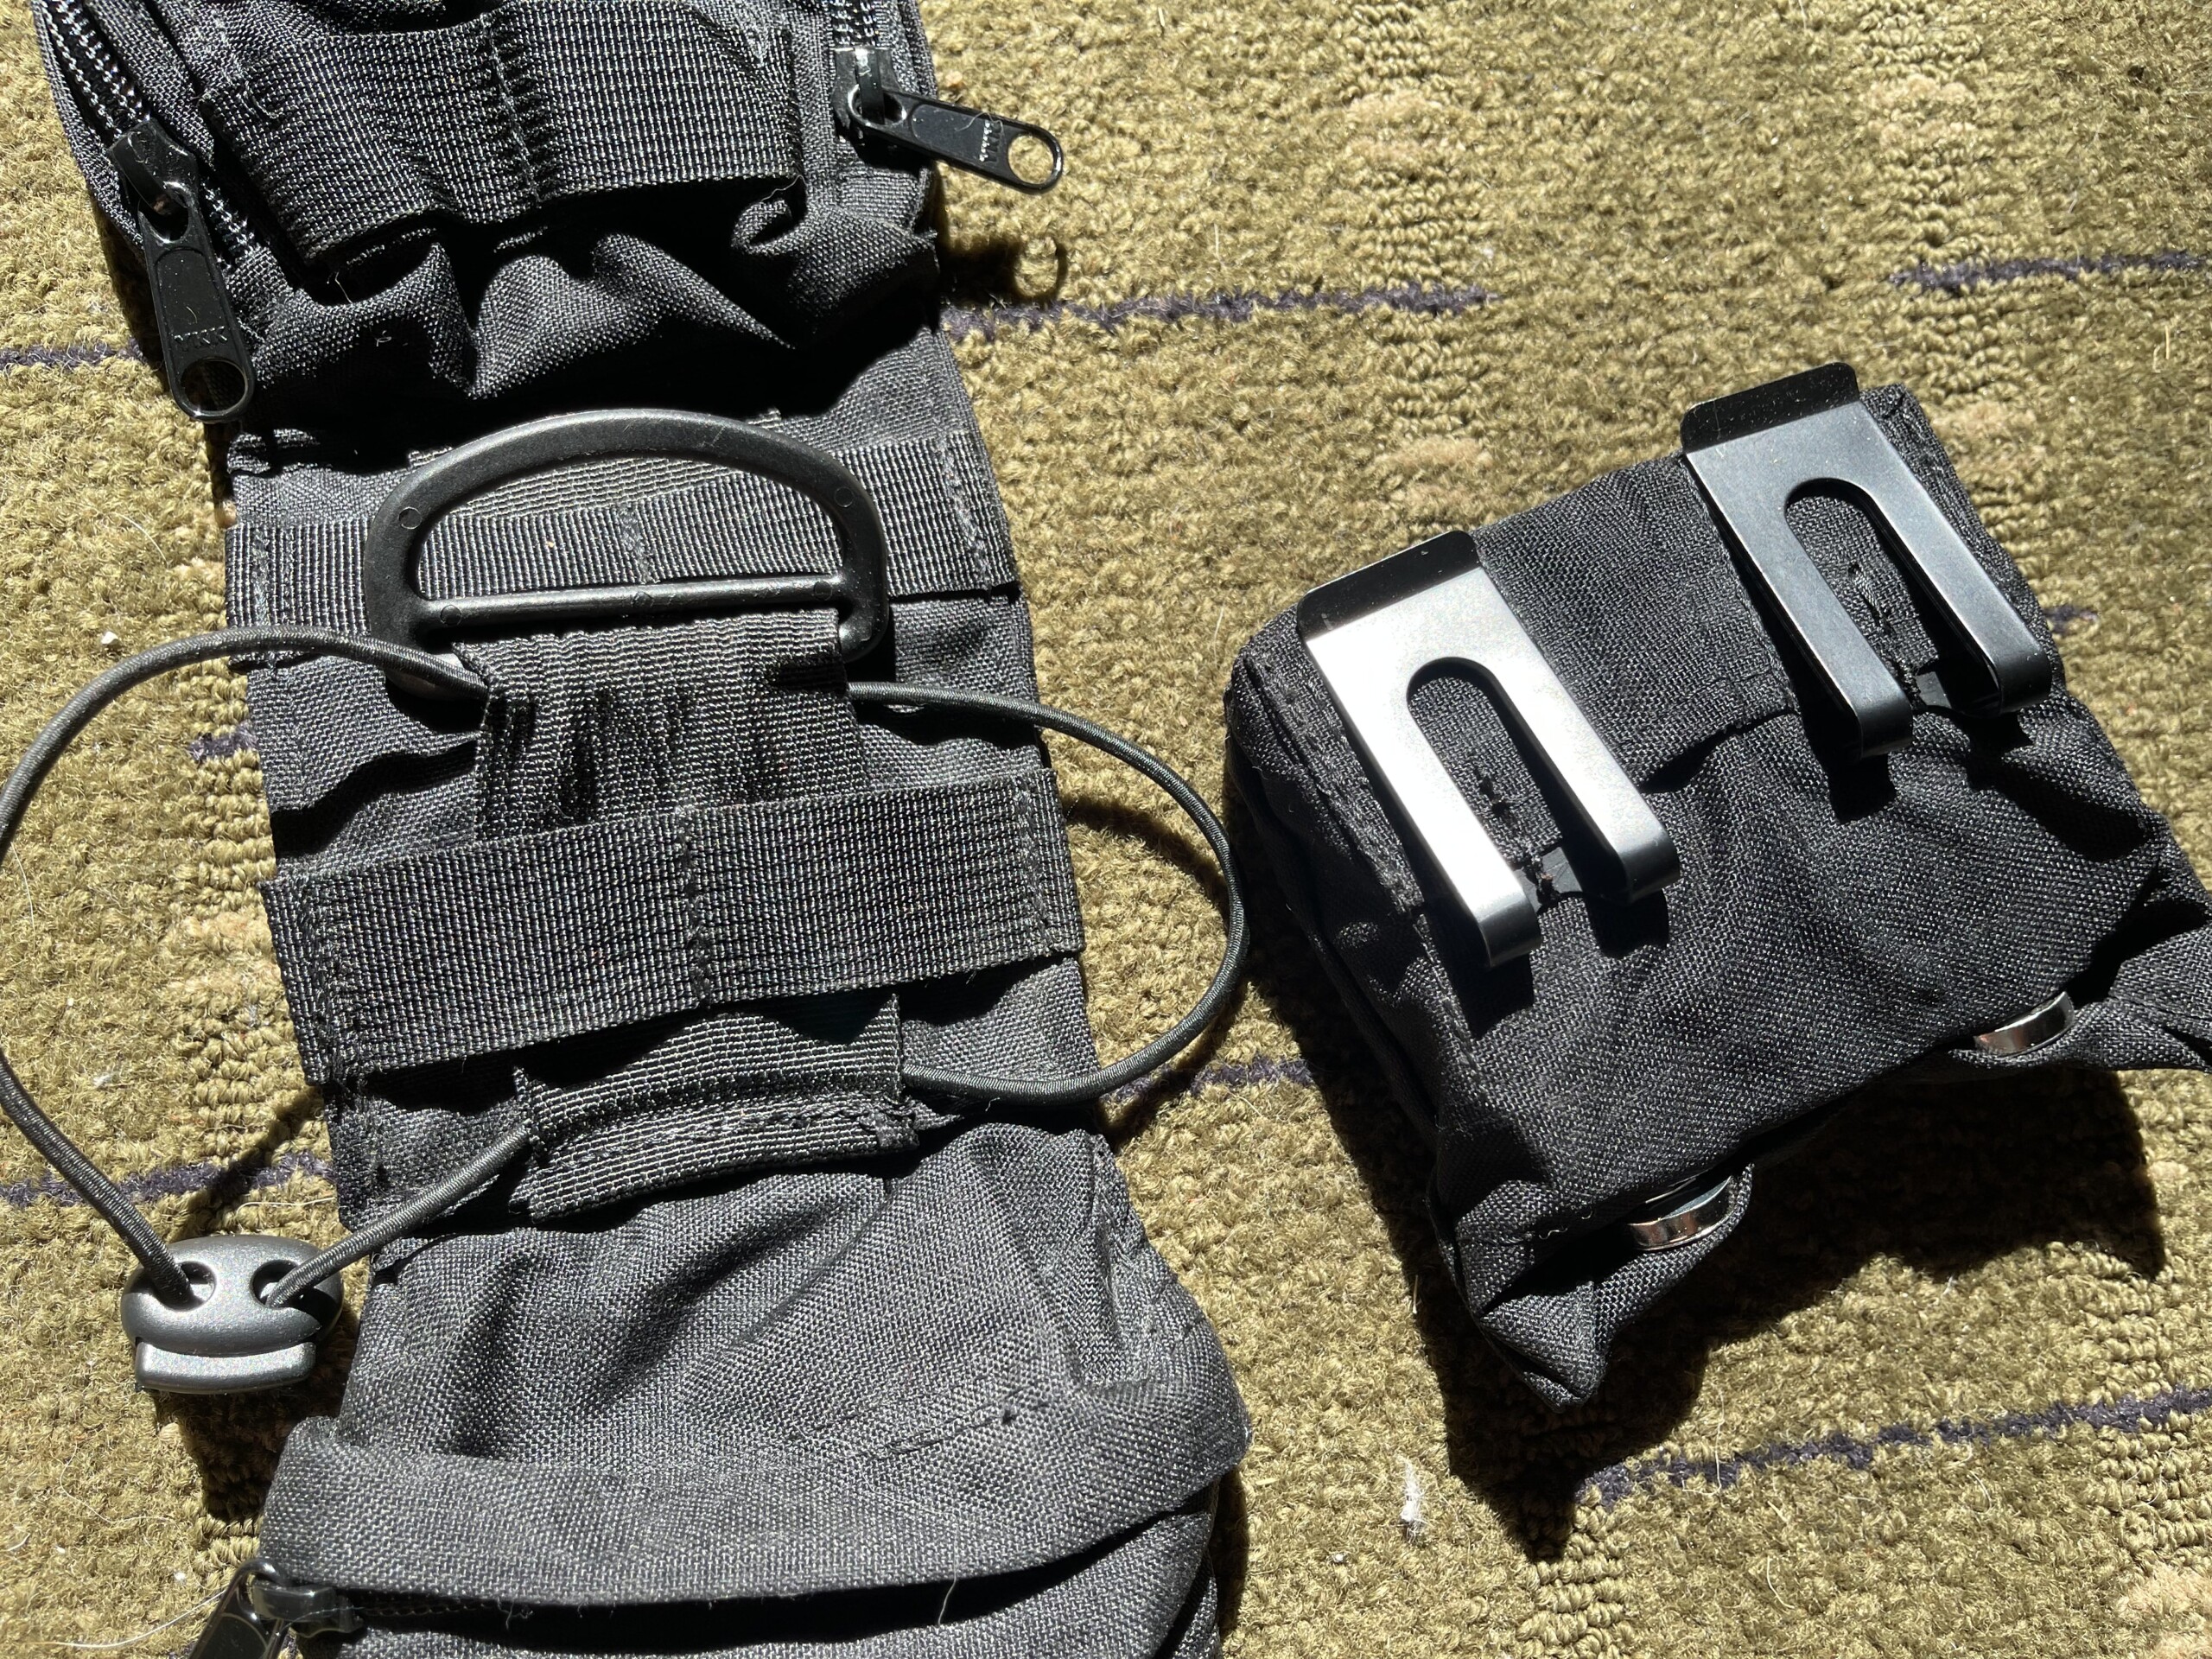
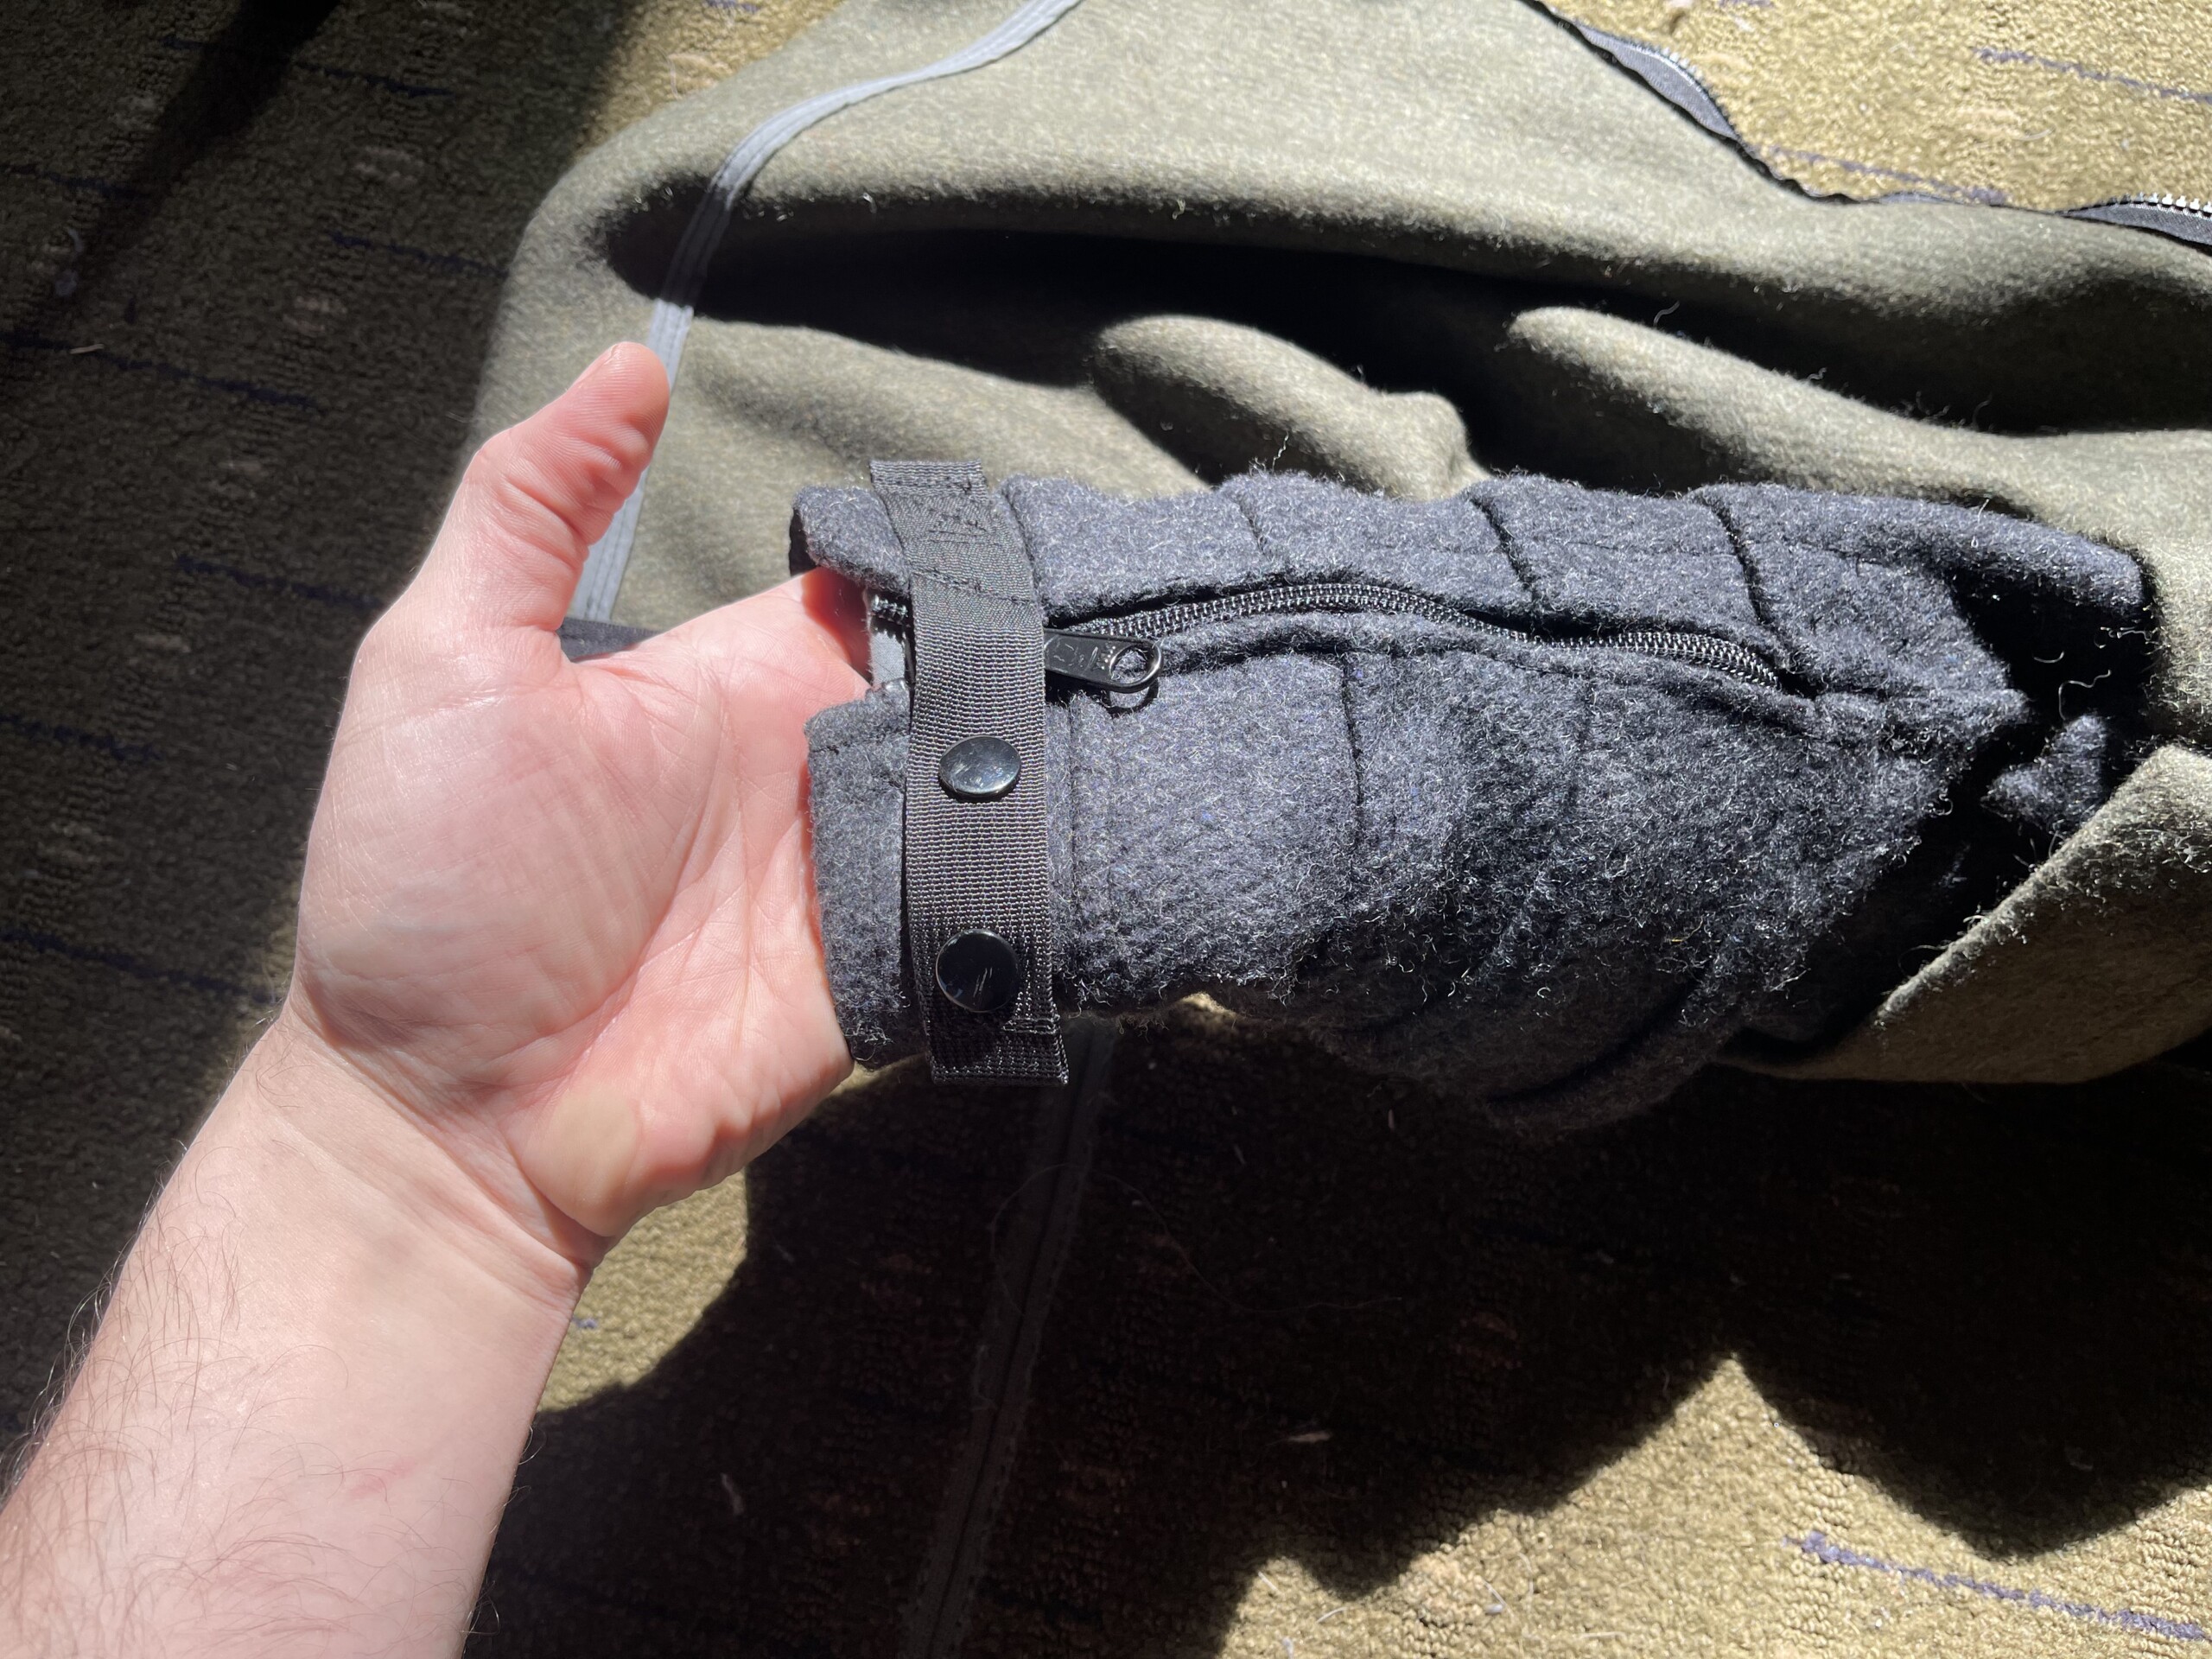
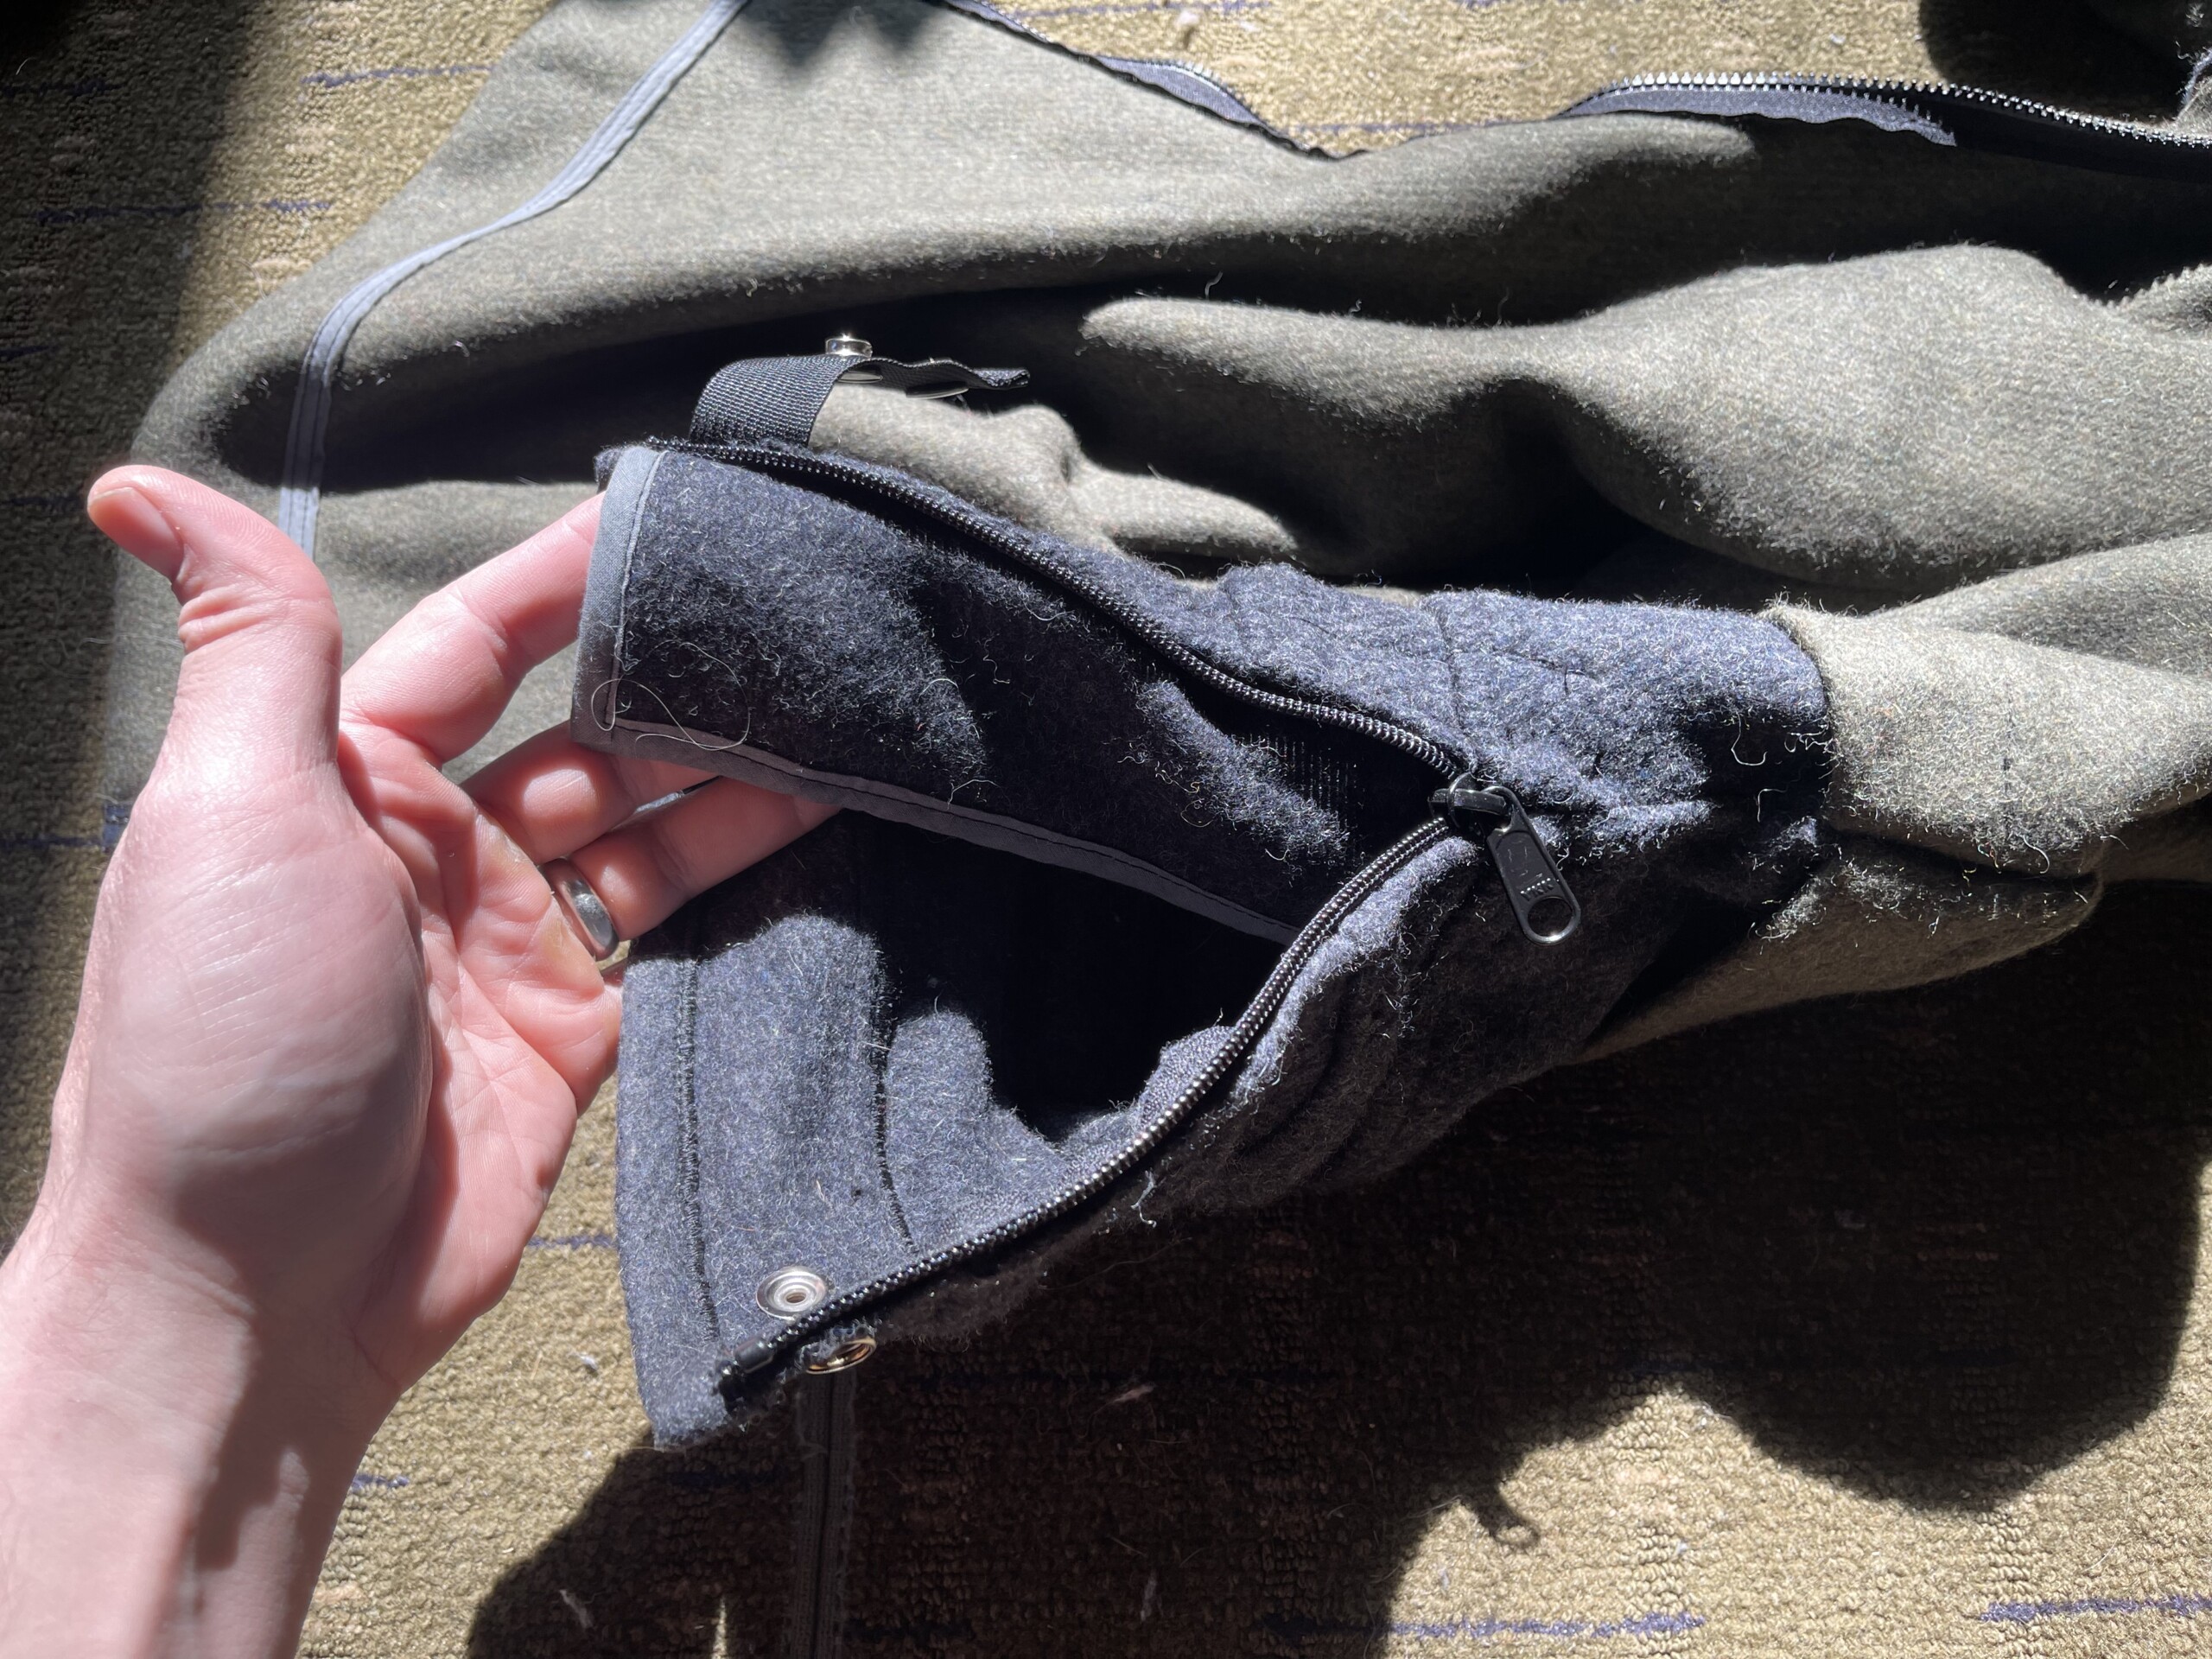
One of the two identical hip pouches, roughly 8″x8″x1″.
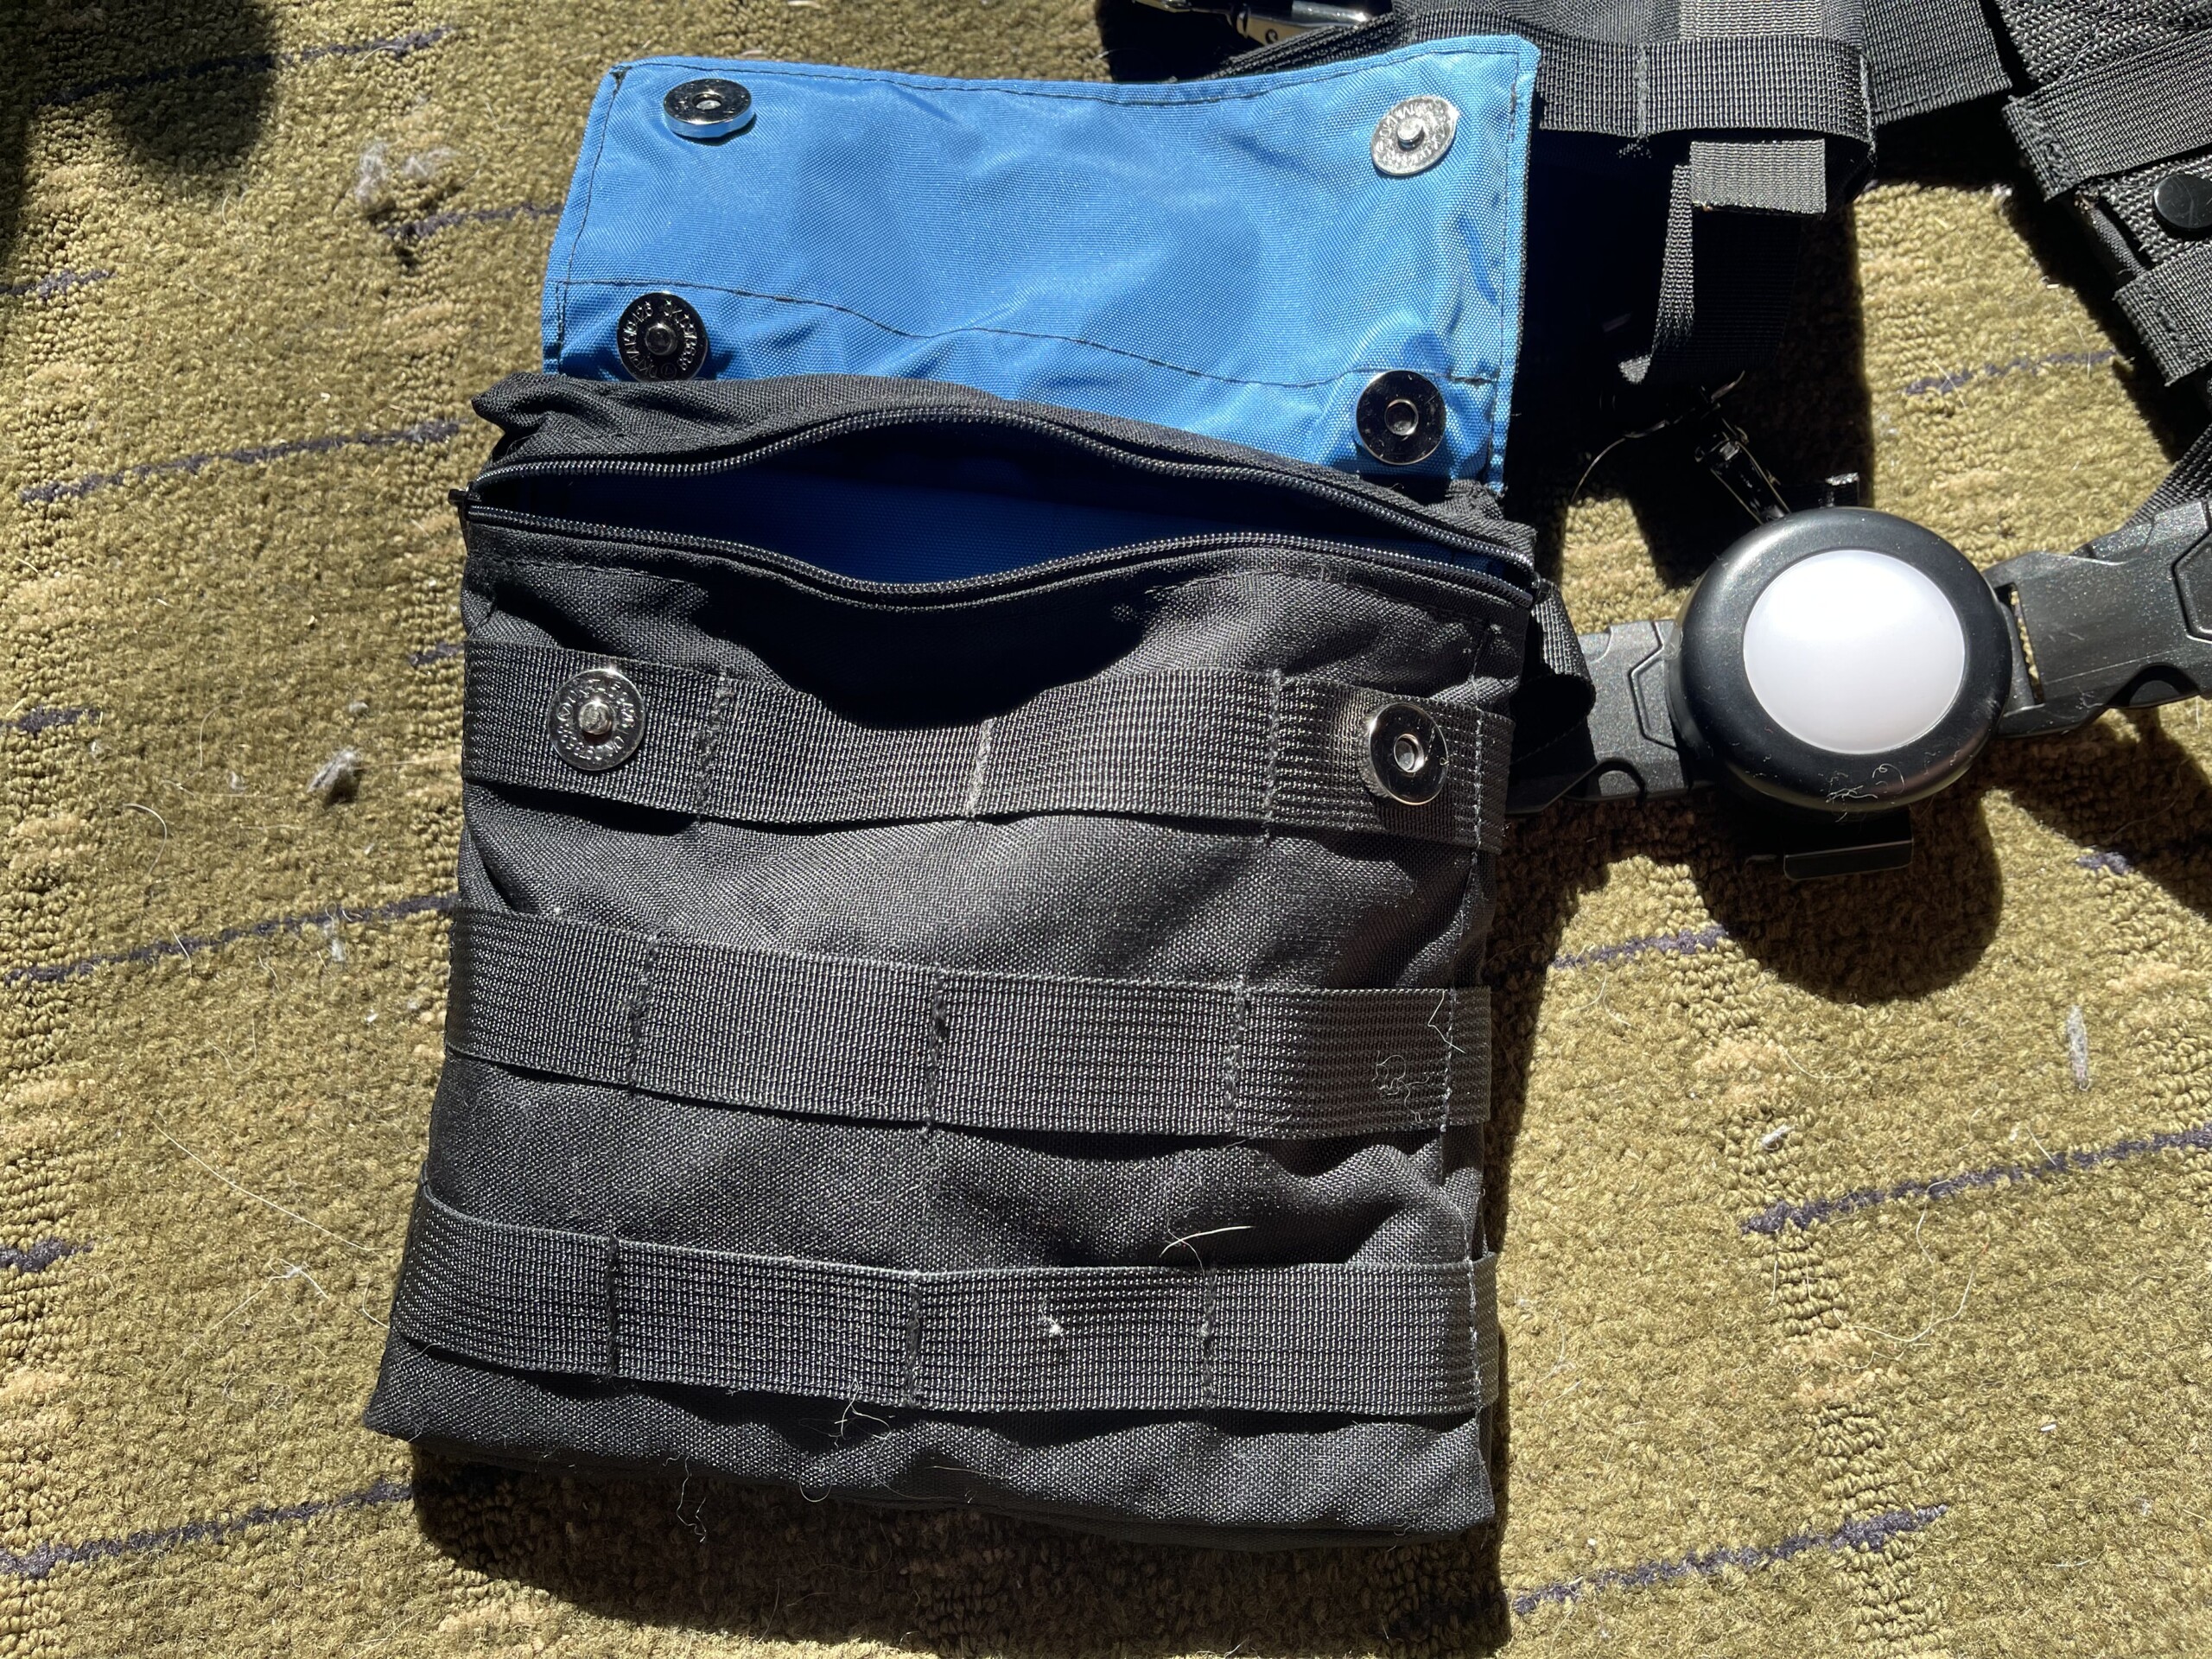
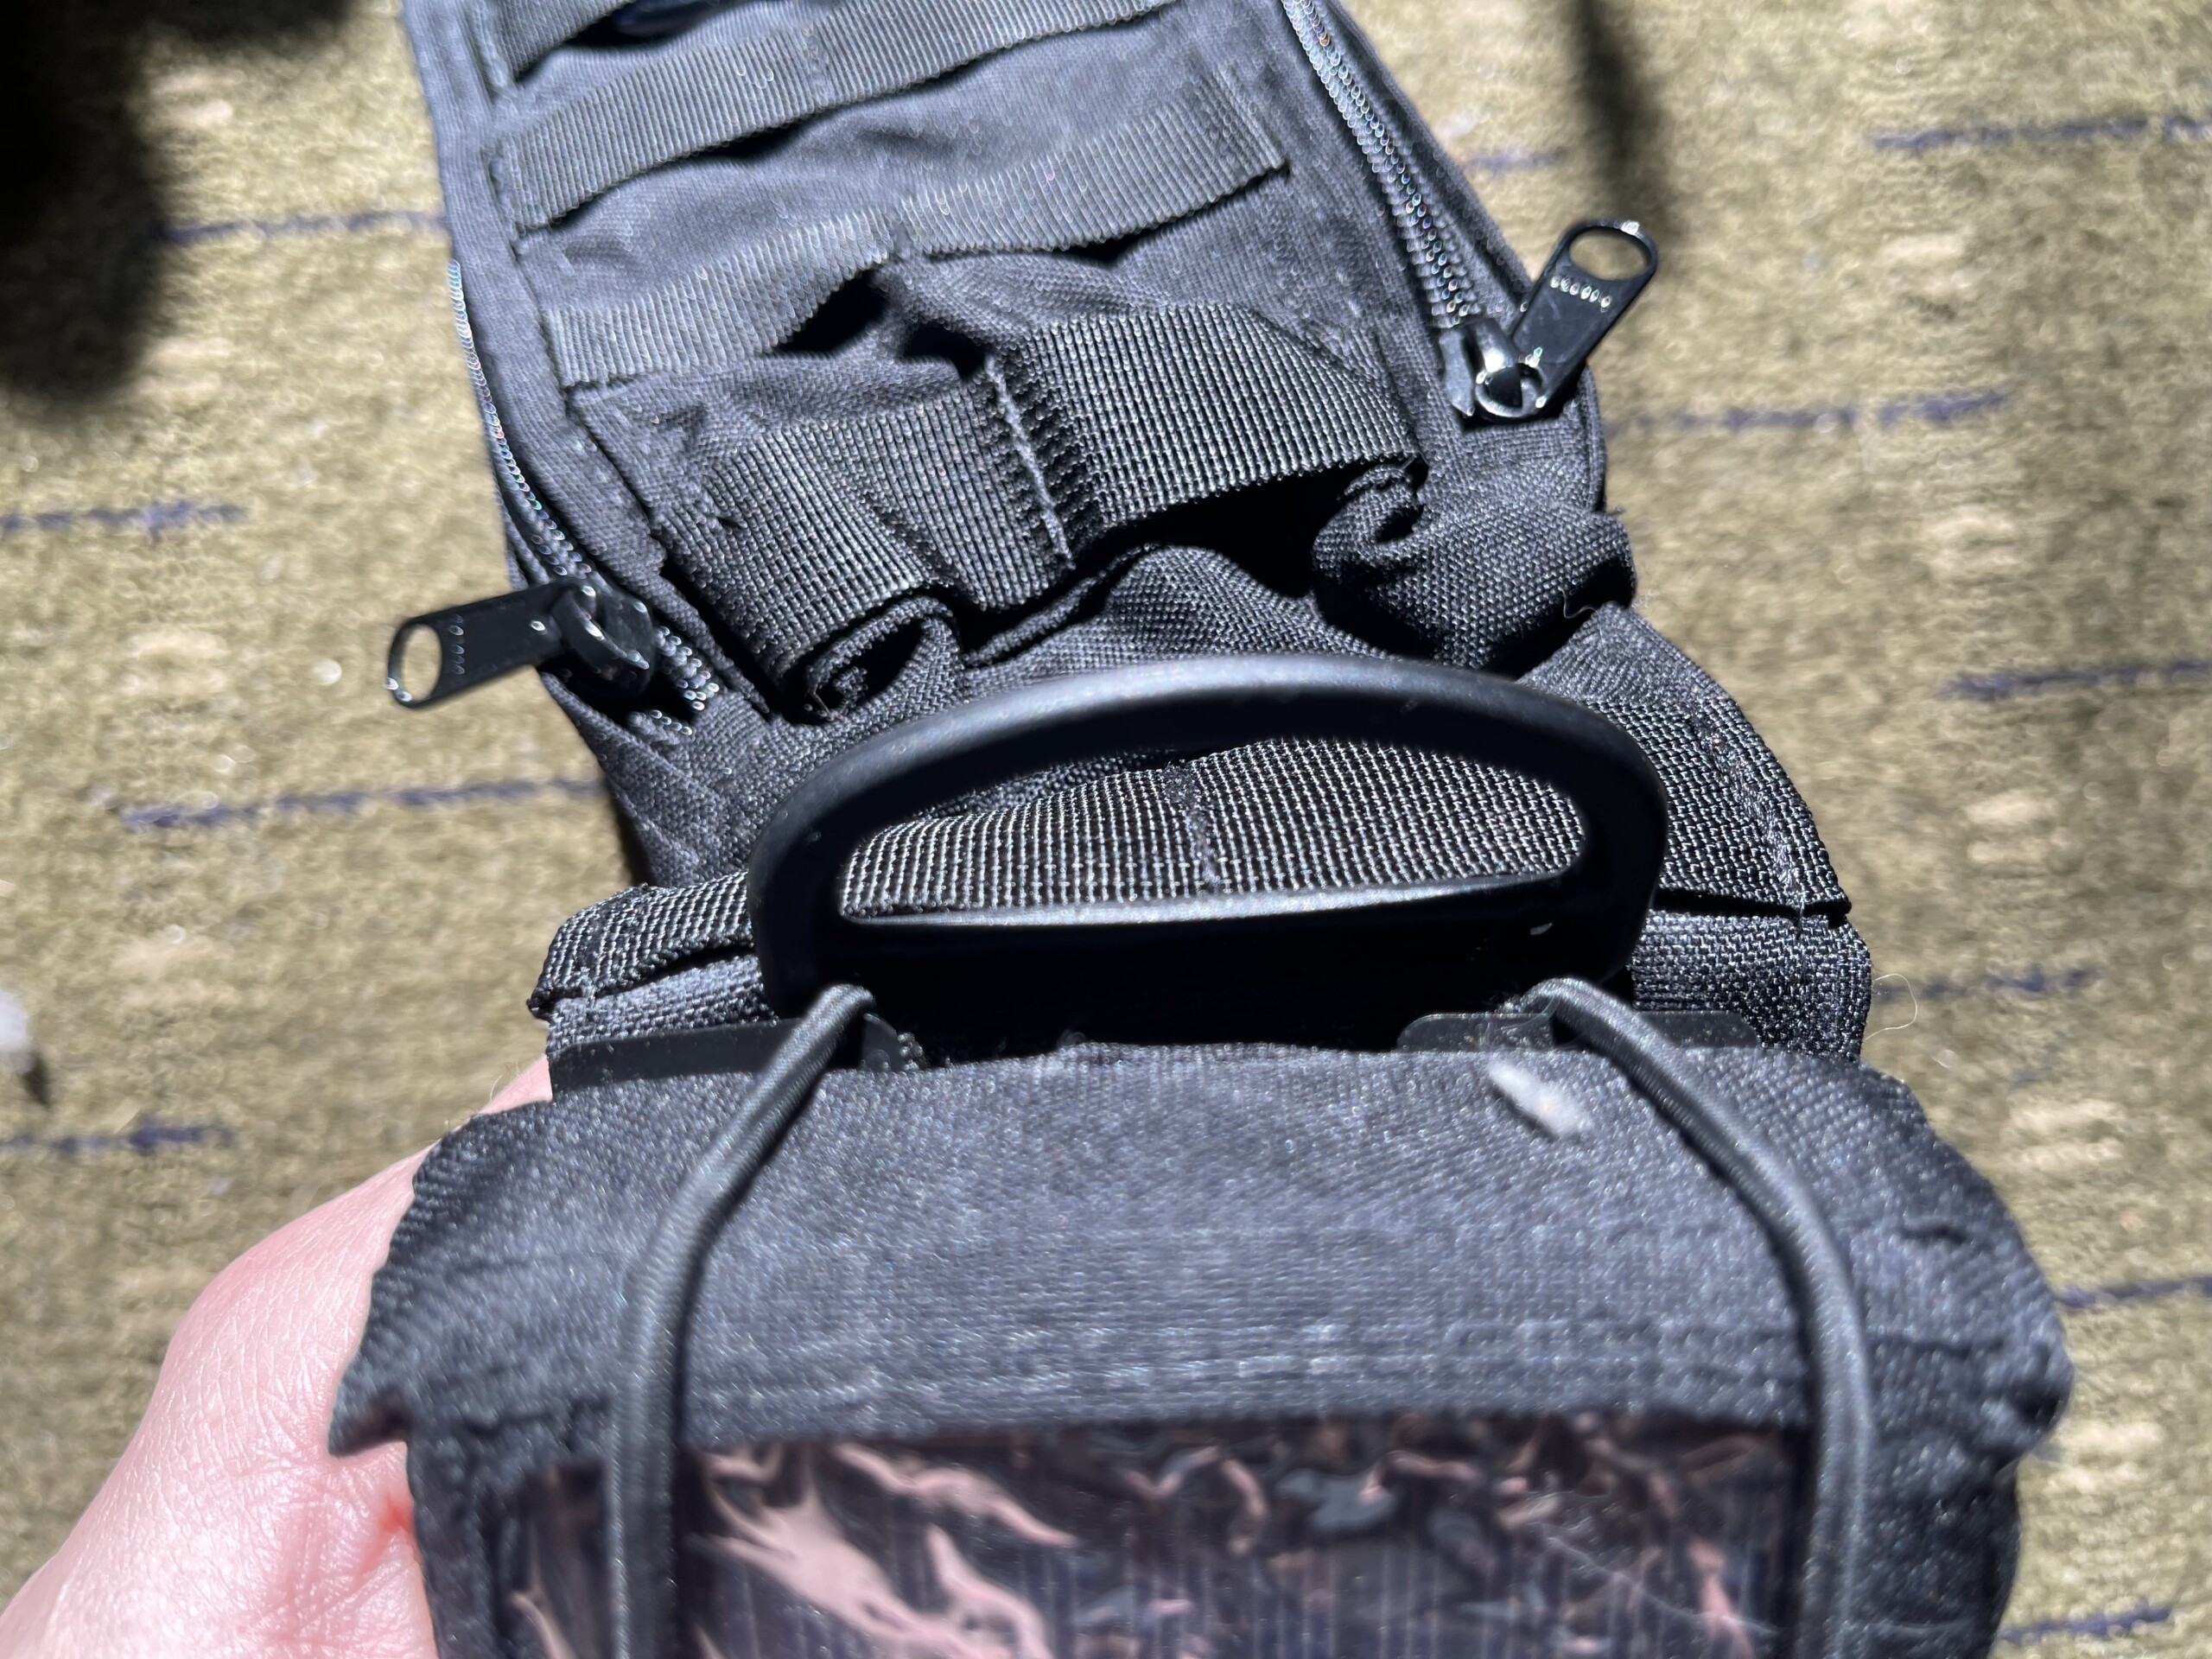
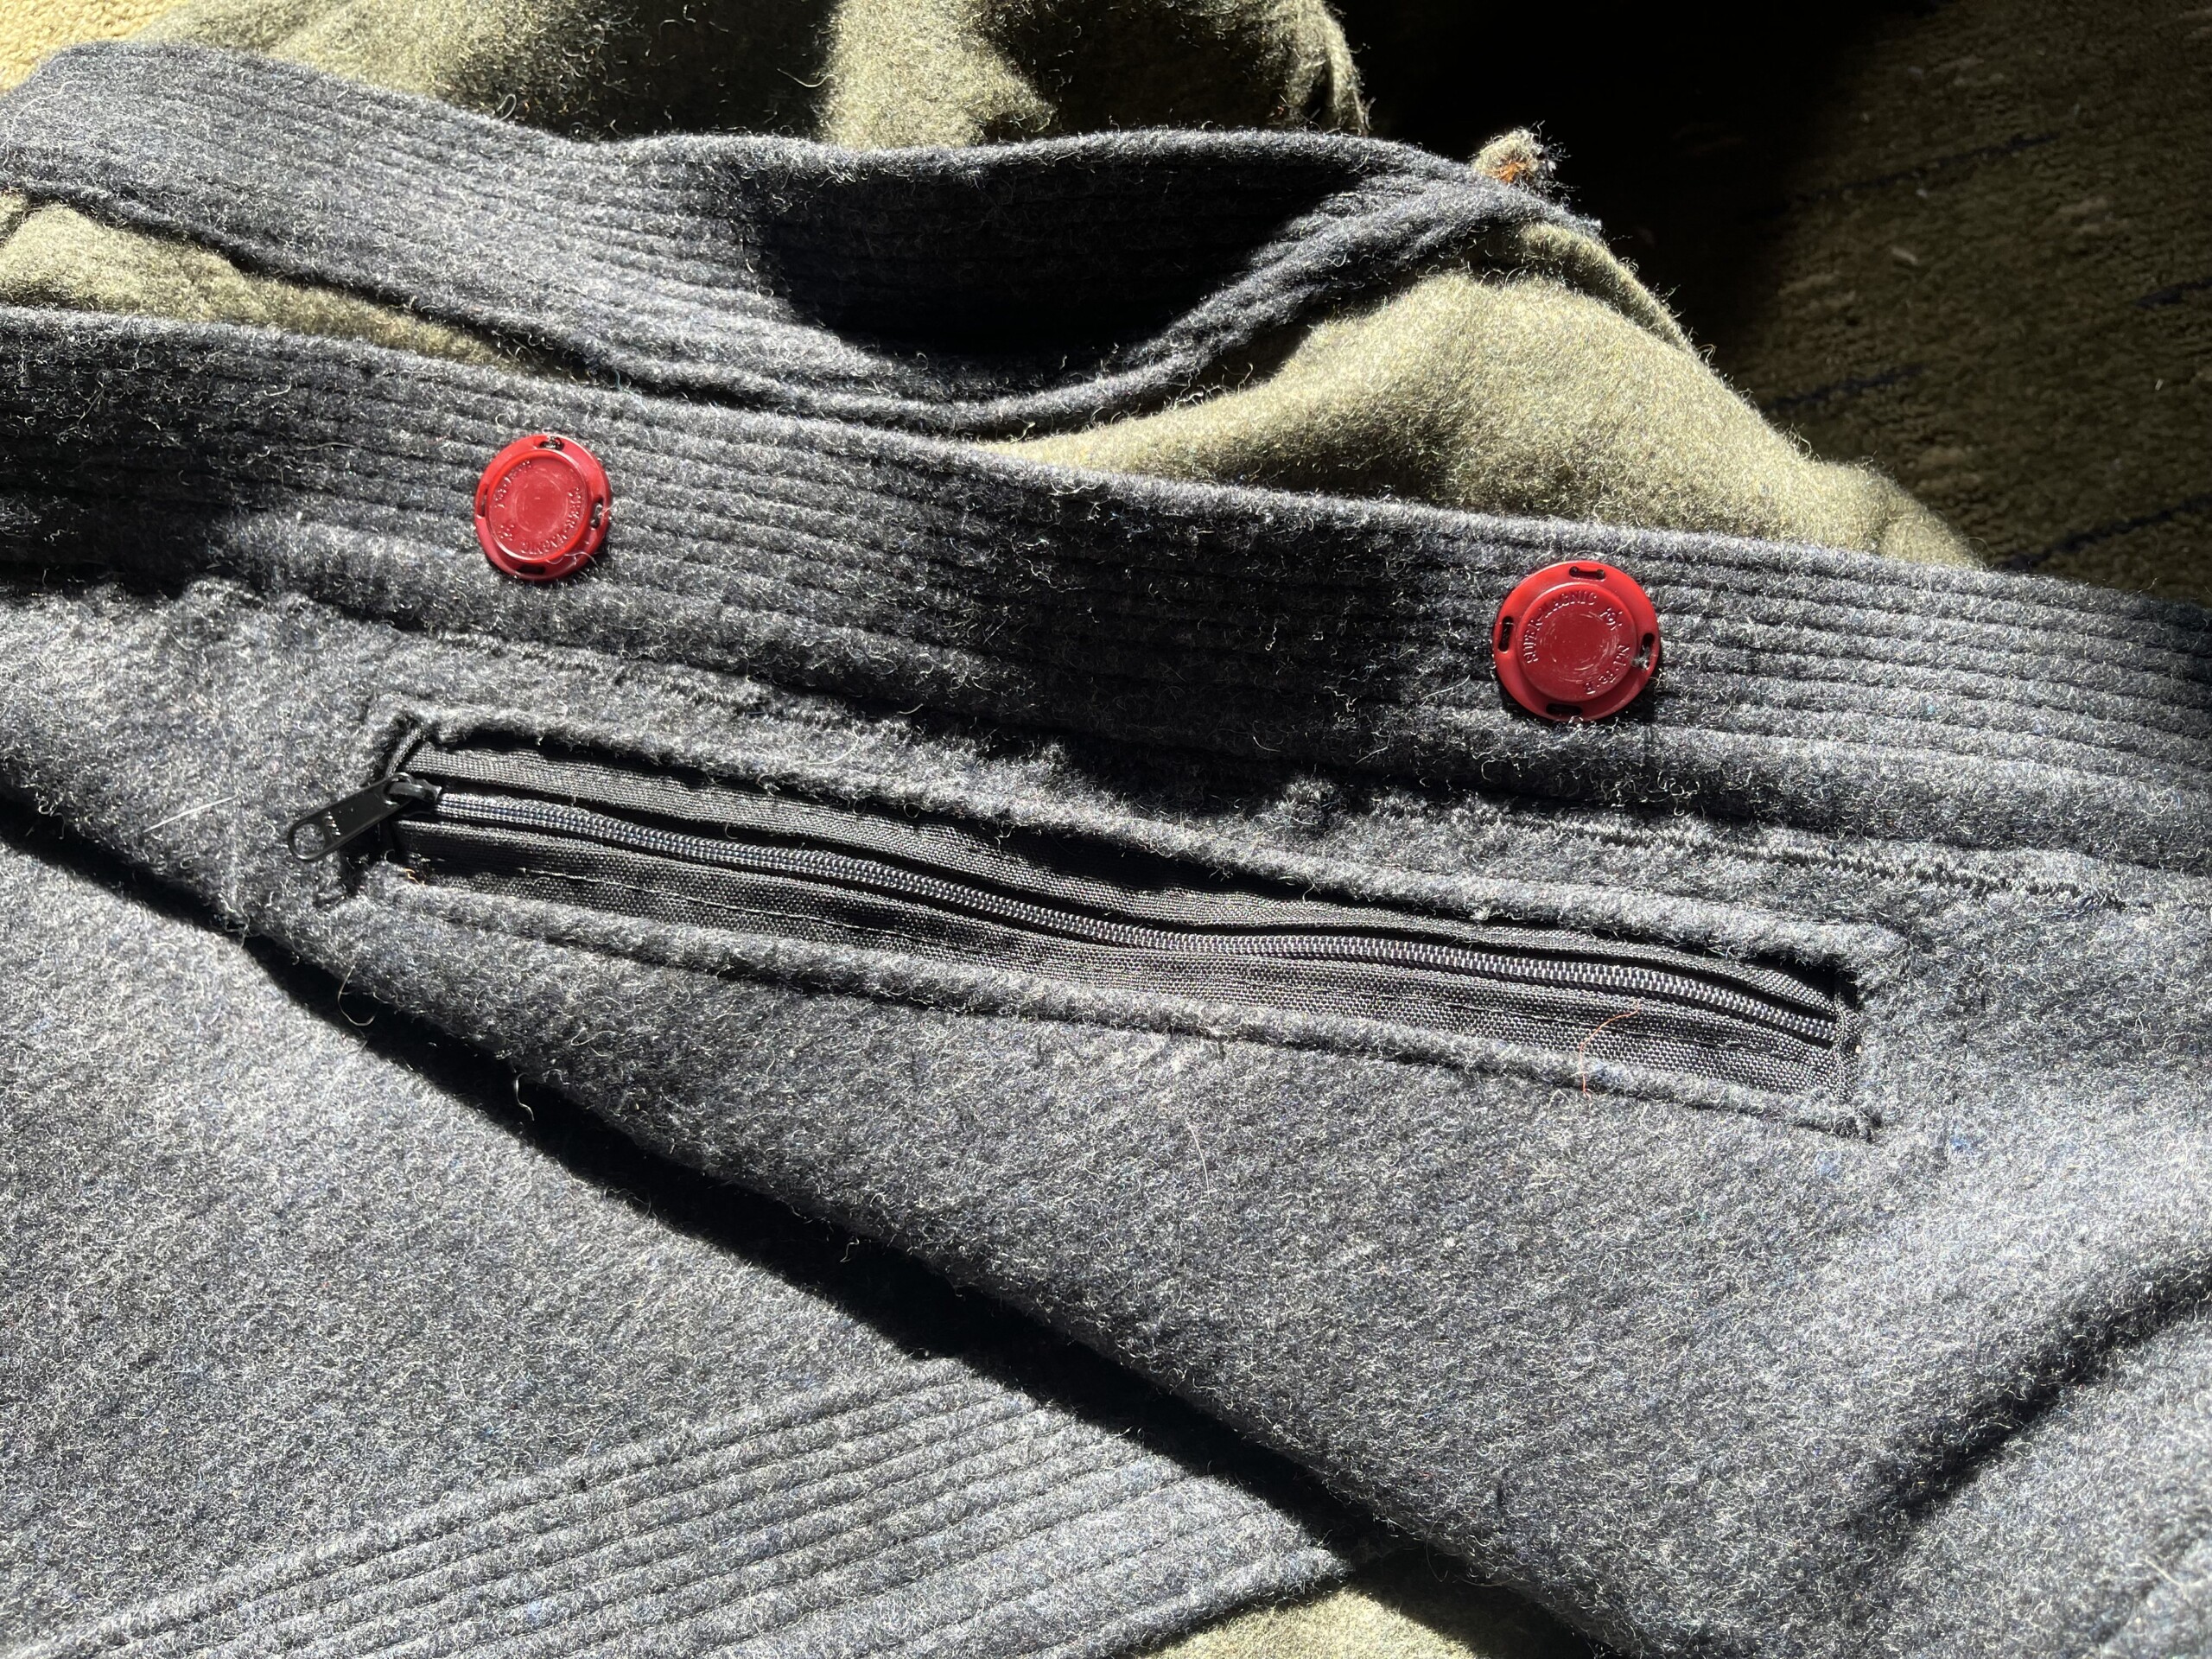
Zipper closure with a magnetic storm flap. The extra snaps are so I can fold the flap out of the way if I’m going in and out of the pocket frequently.
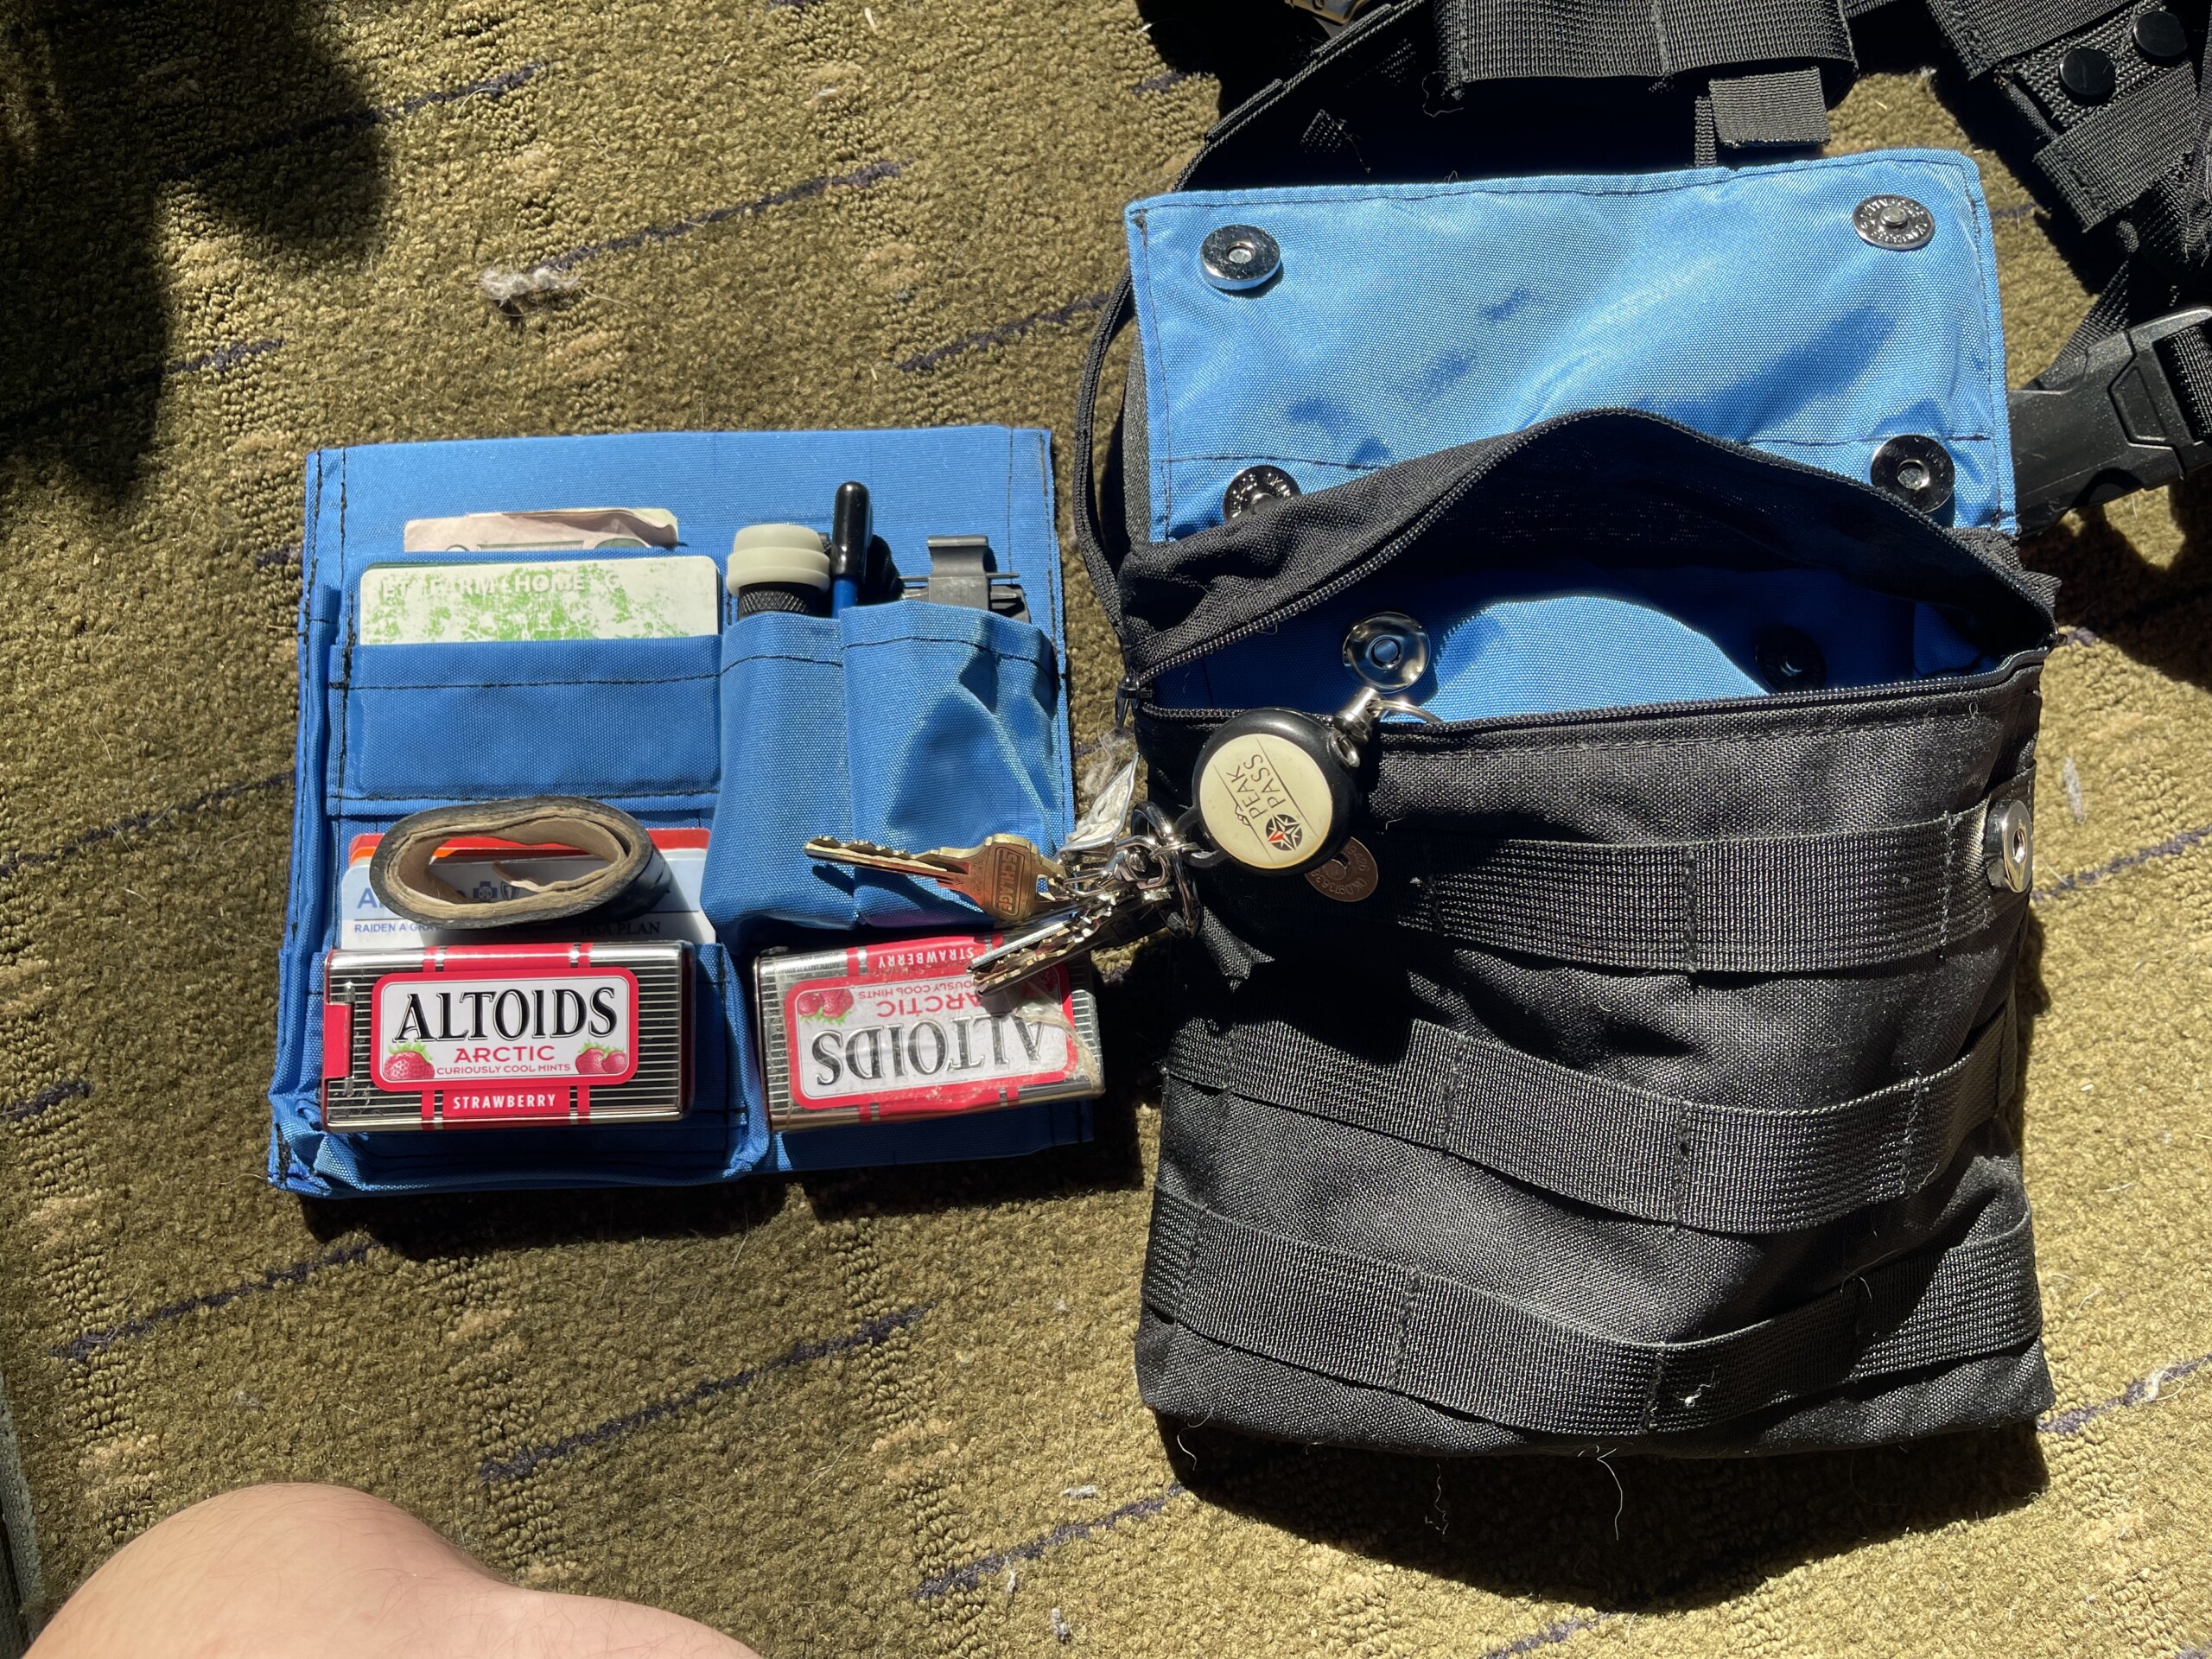
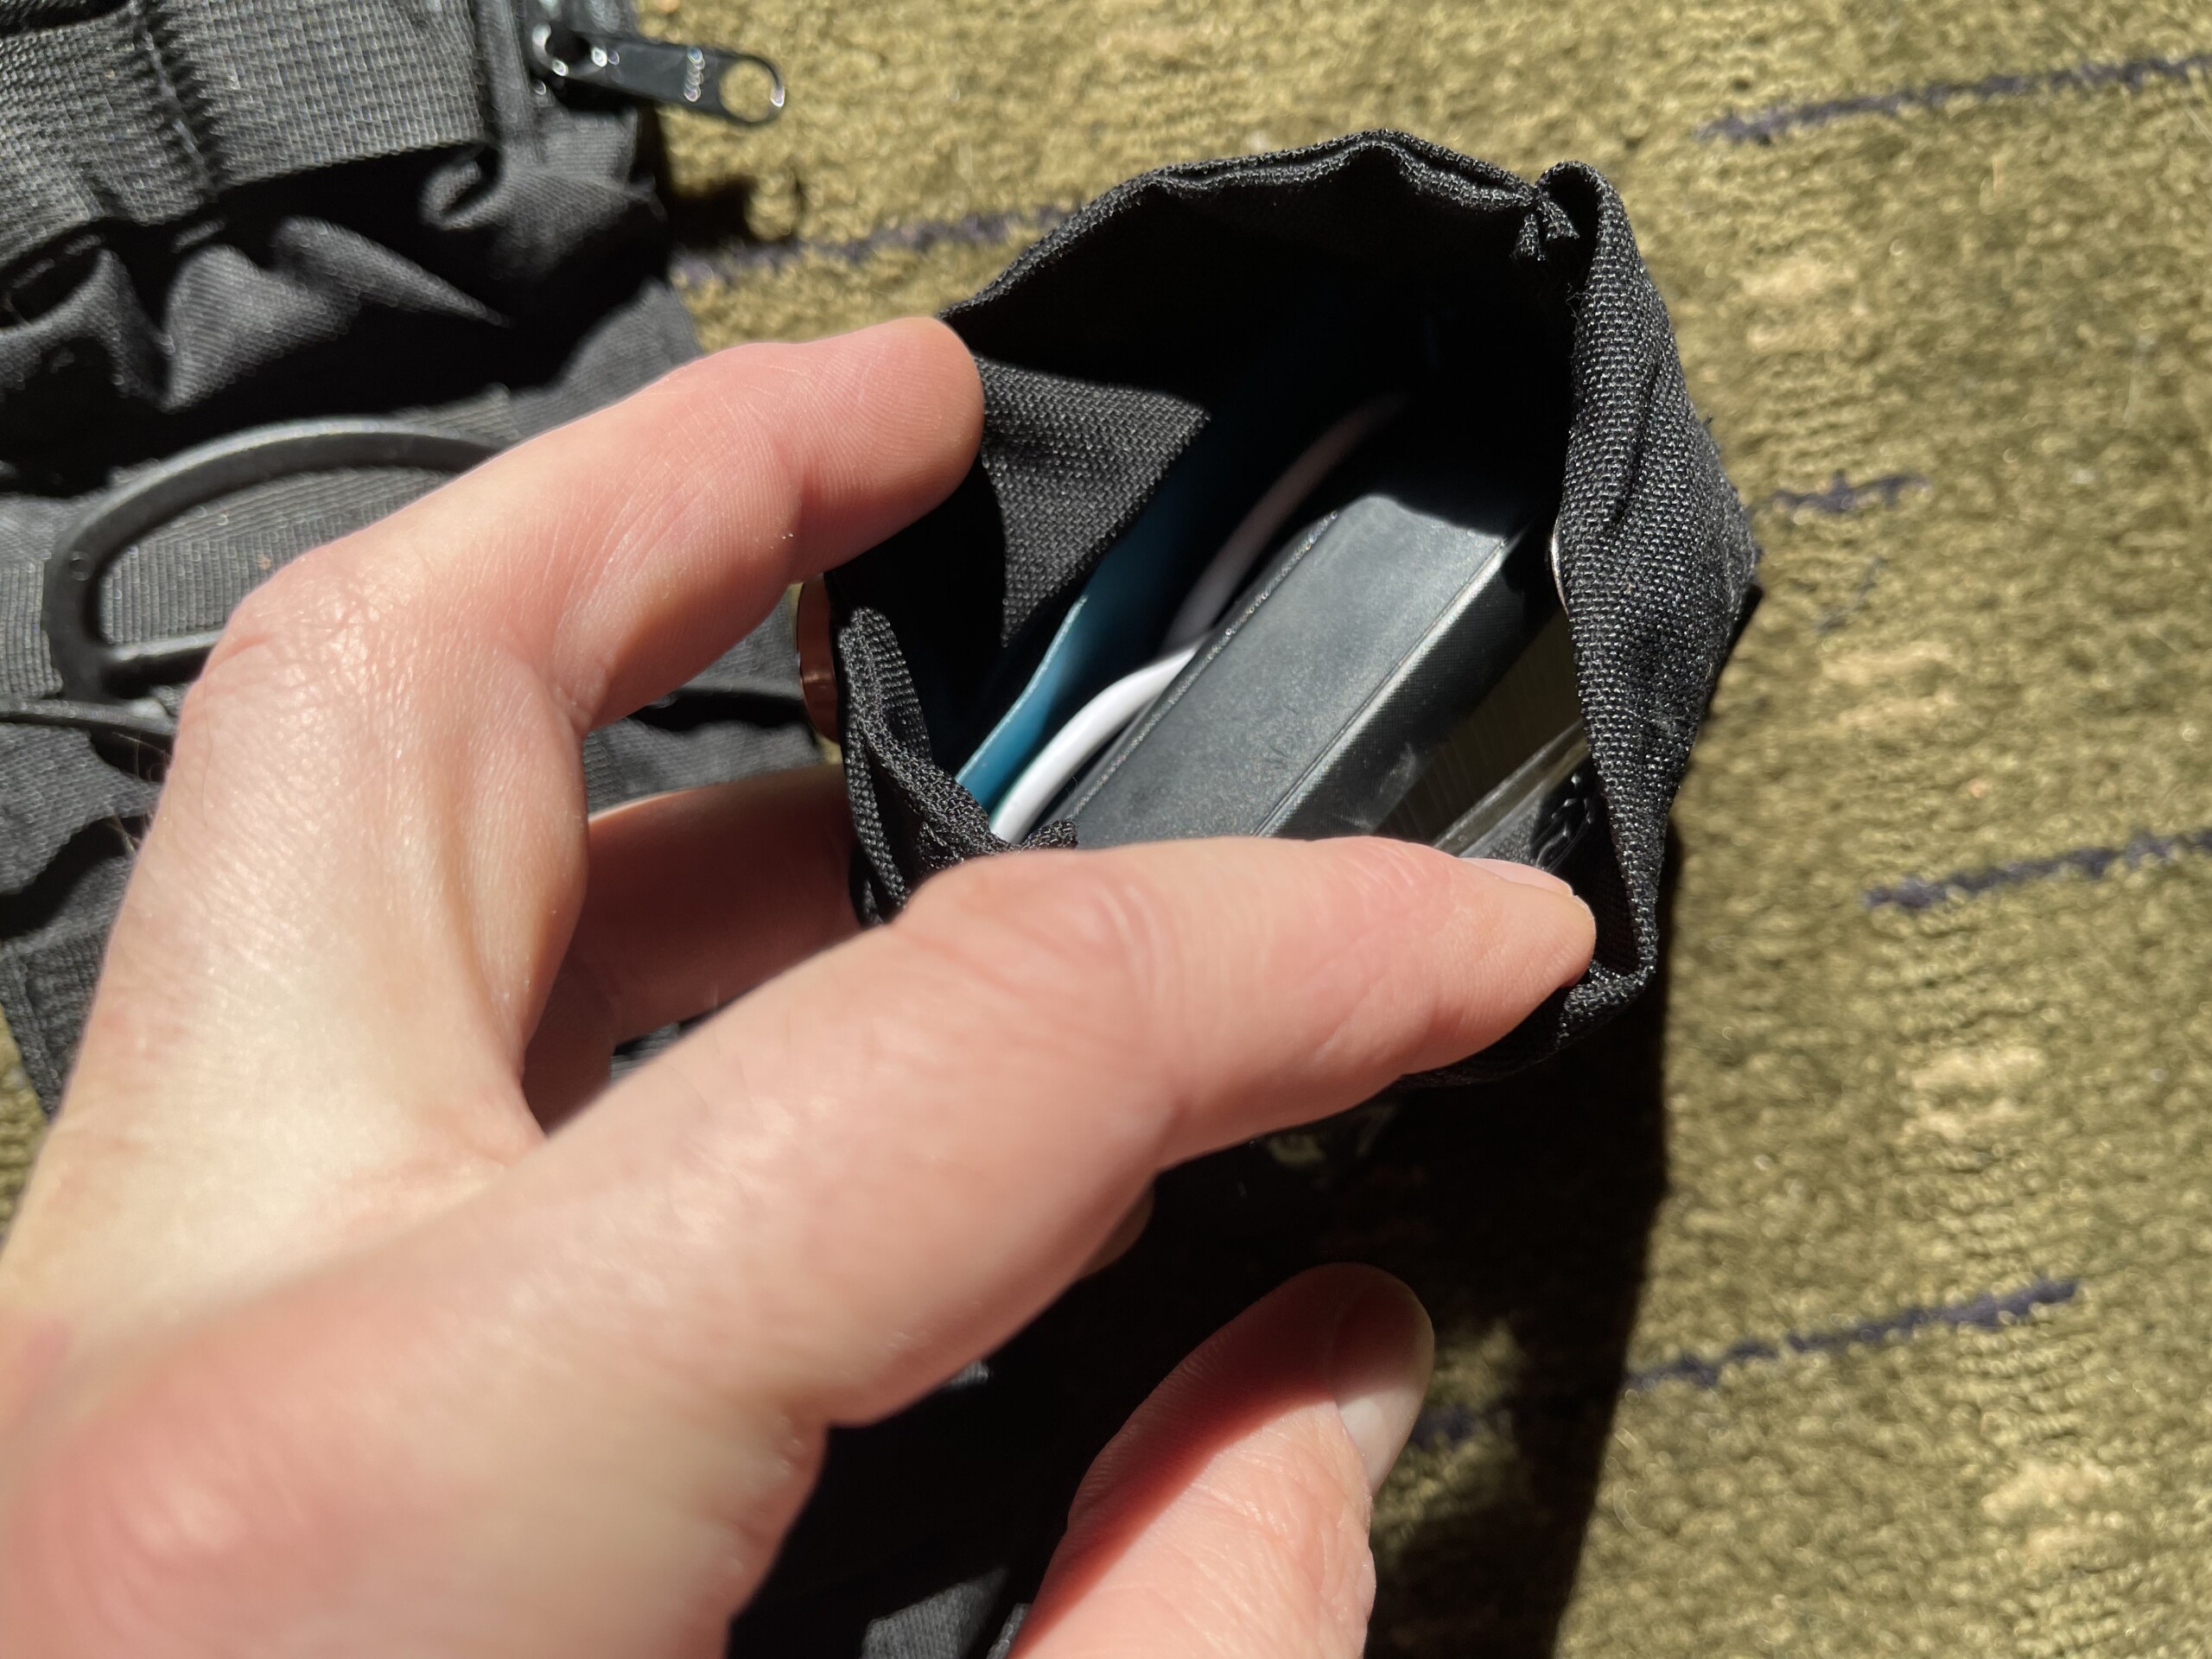
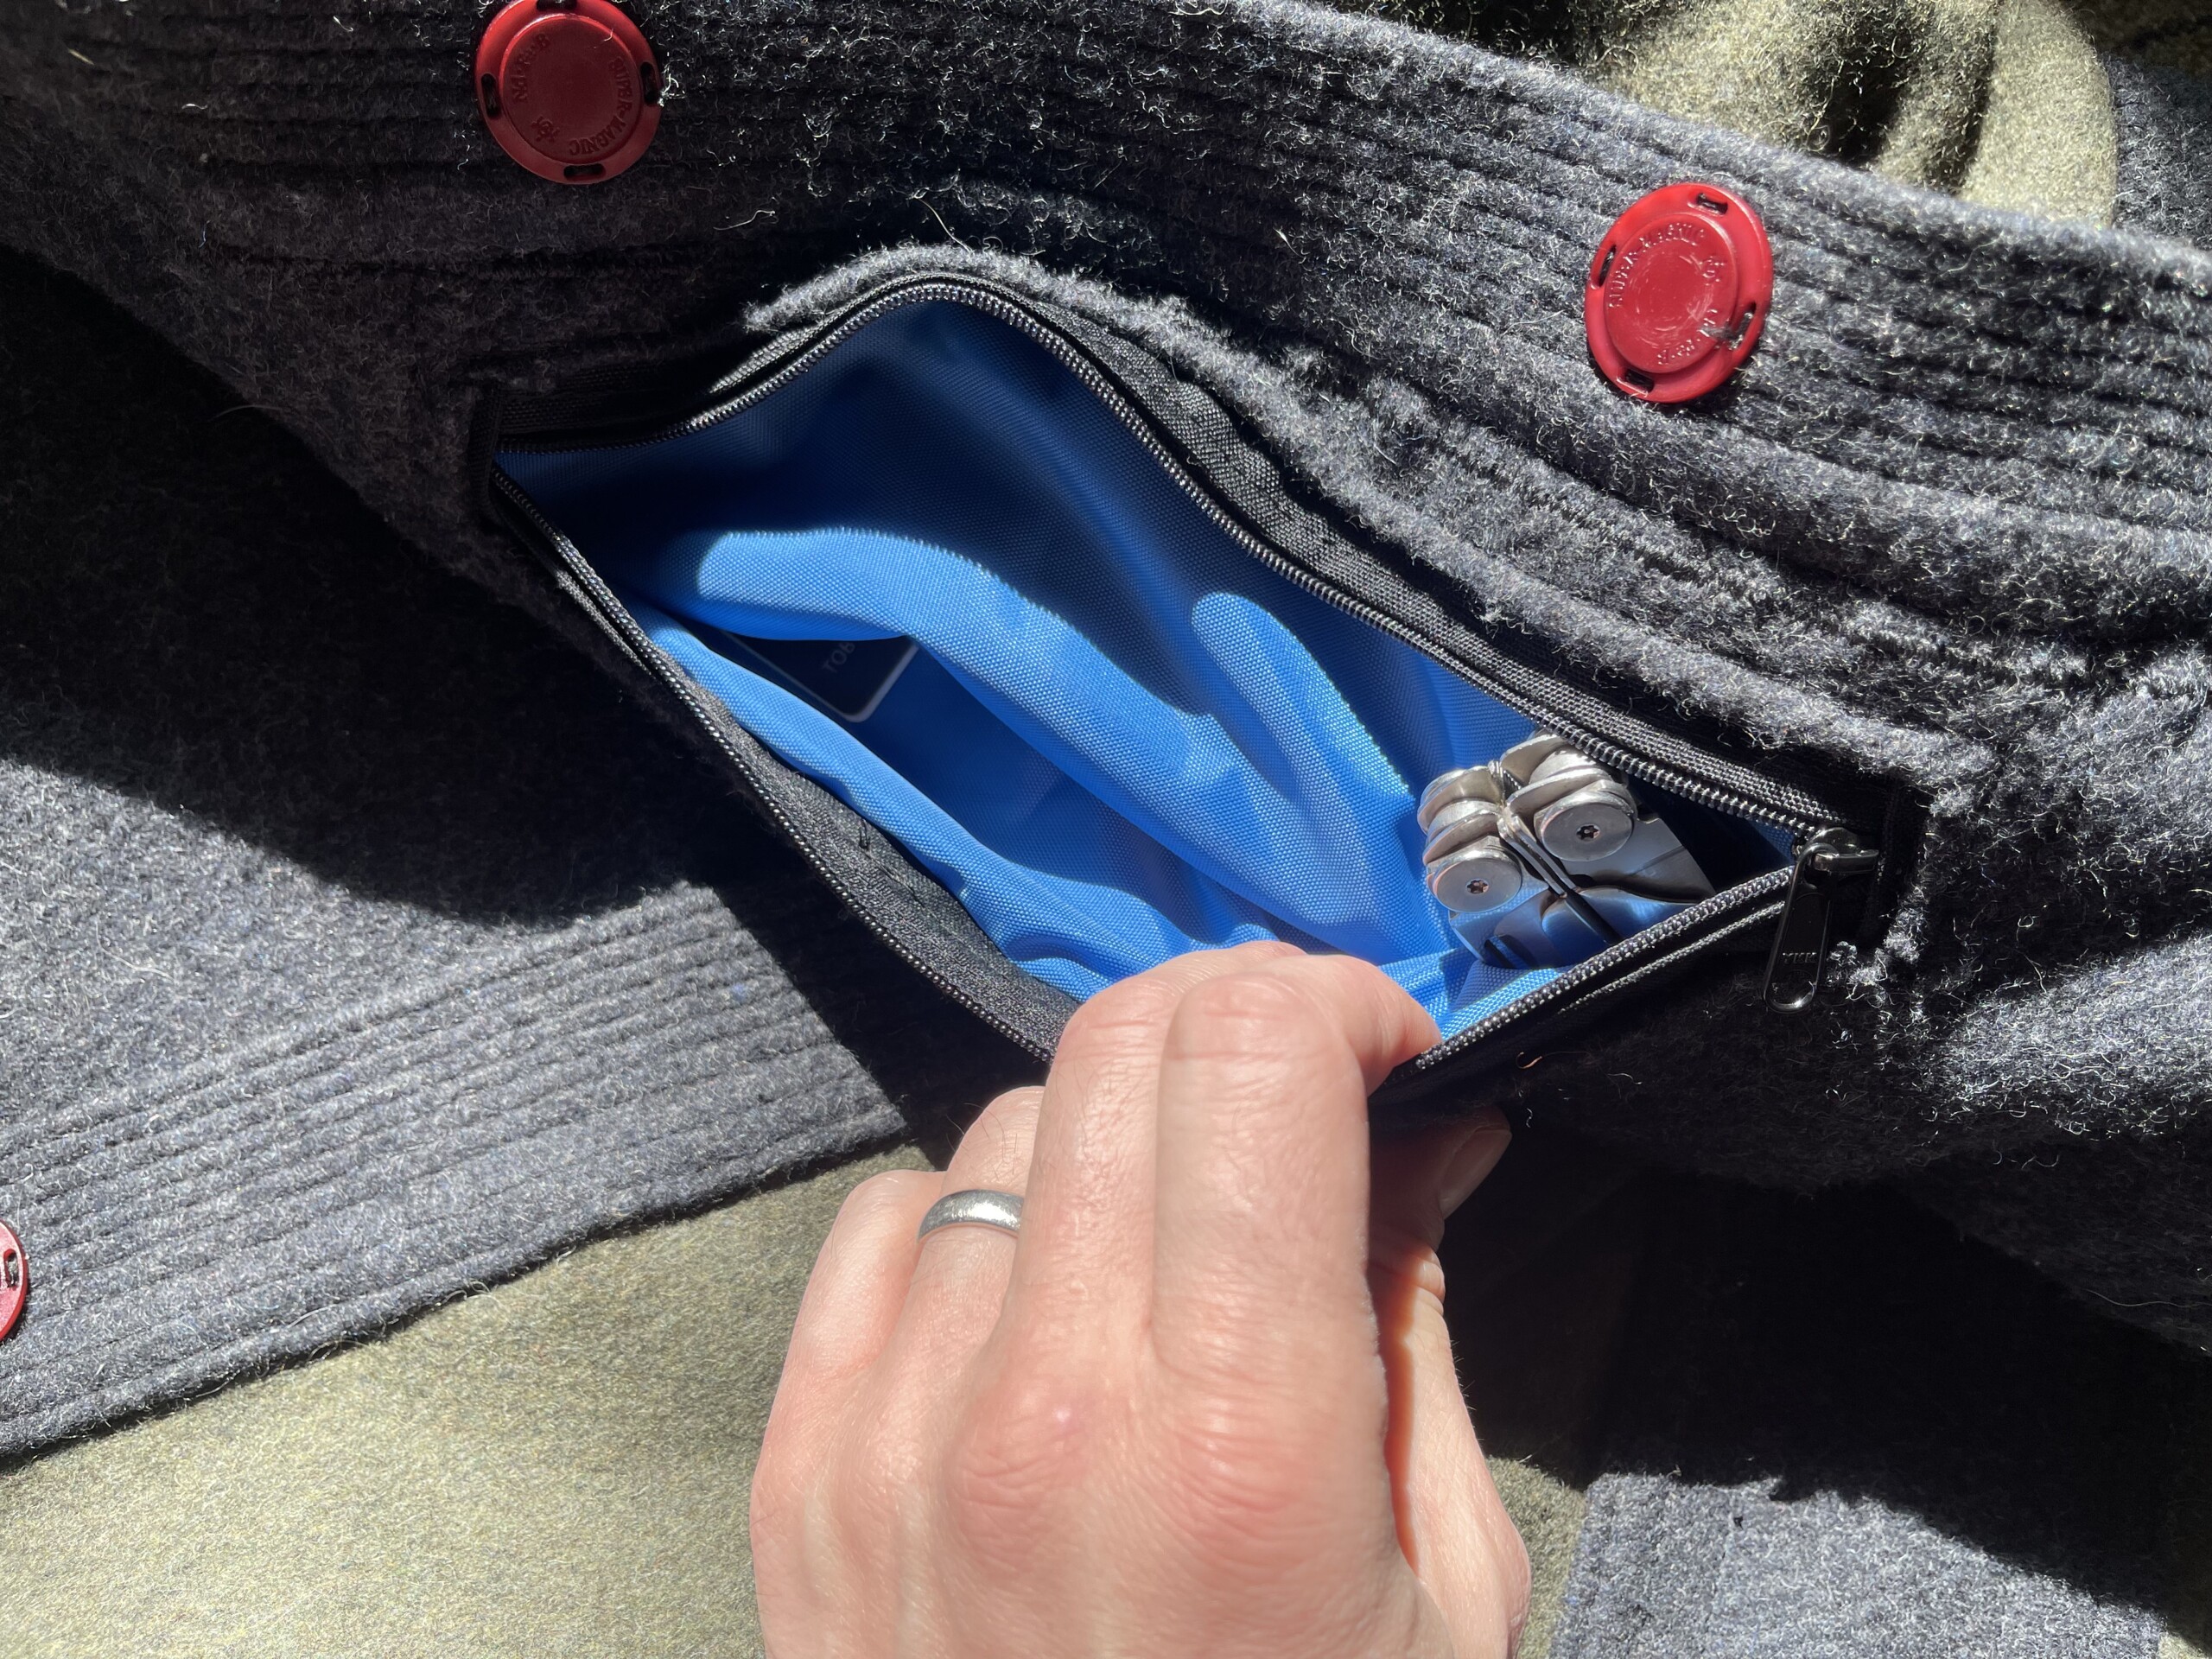
I made organizer inserts for each pouch. This one carries wallet items (cards, cash), a flashlight, a knife sharpener, Leatherman bit kit (and normally the Leatherman, but it’s currently in my coat for when I snowboard), roll of electrical tape, Altoids tin with petroleum jelly soaked cotton balls for firestarters, Altoids tin with some Sour Patch Kids (I have a type I diabetic son), and keys. I can squeeze my phone in, too, if I need to. There’s also a ferrocerium rod (“flint and steel”) on a tether still in the pouch.
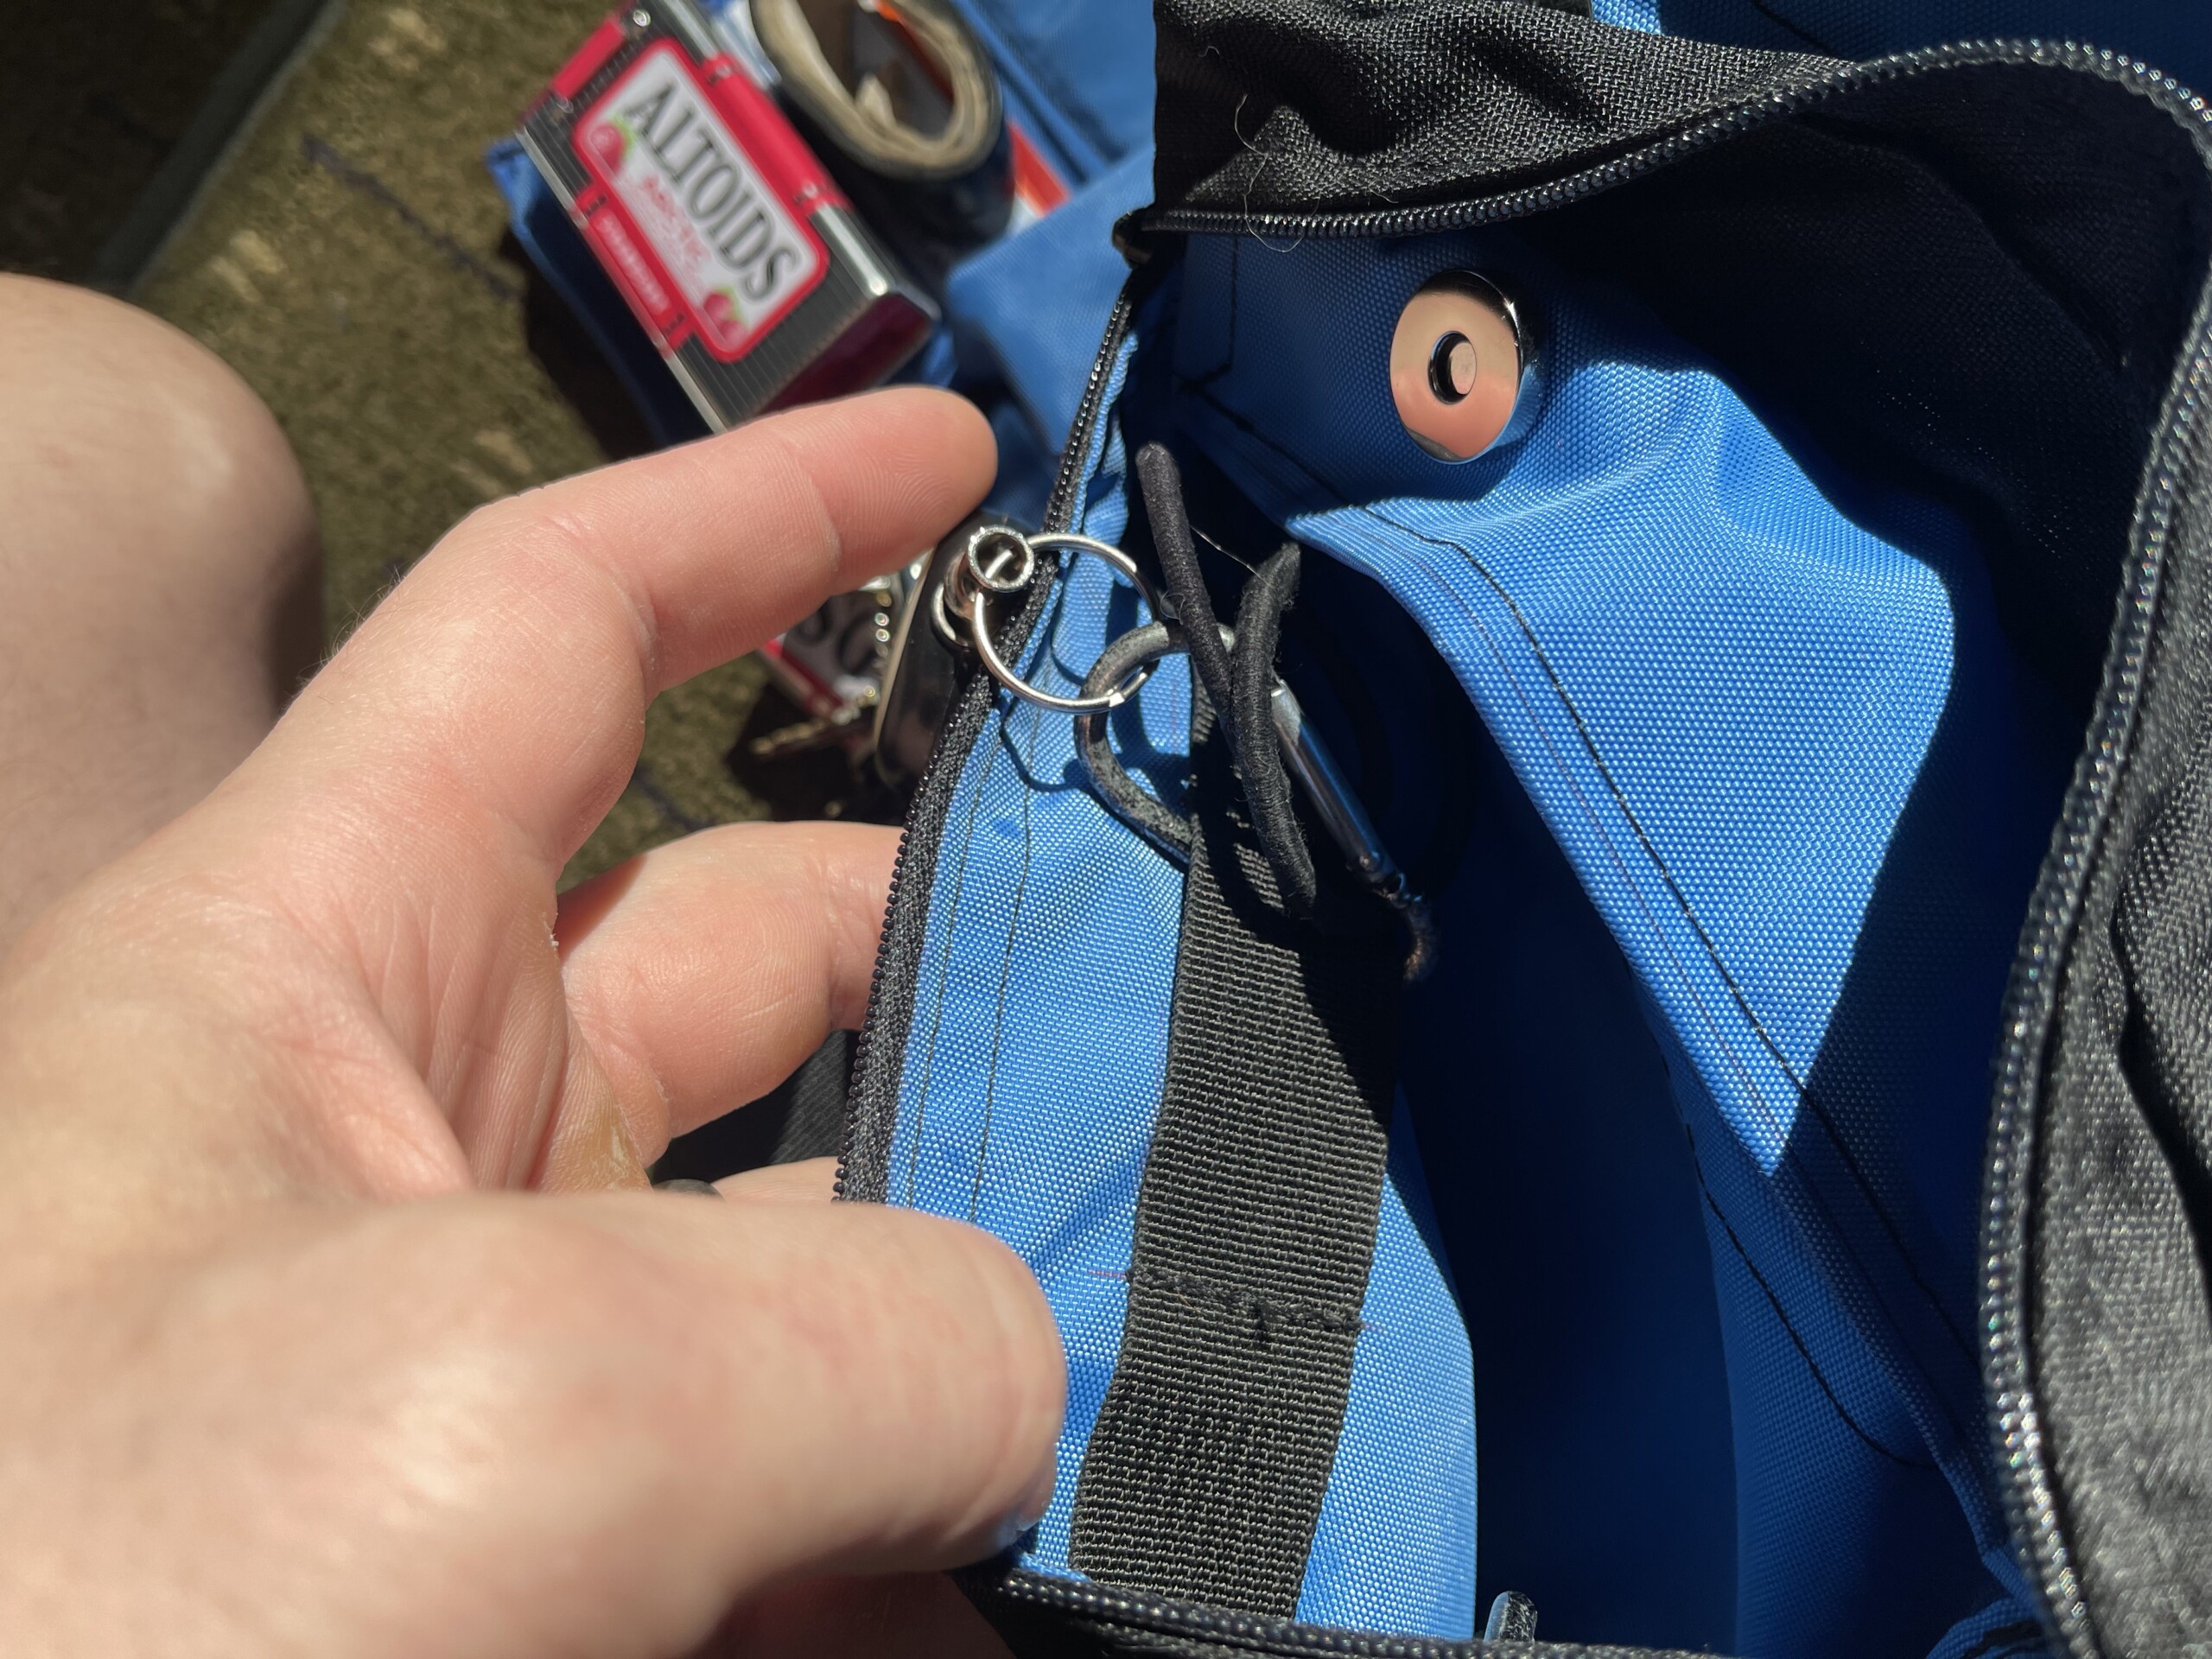
Row of webbing on the inside front of the pouch, which I have my keys and hair bands on.
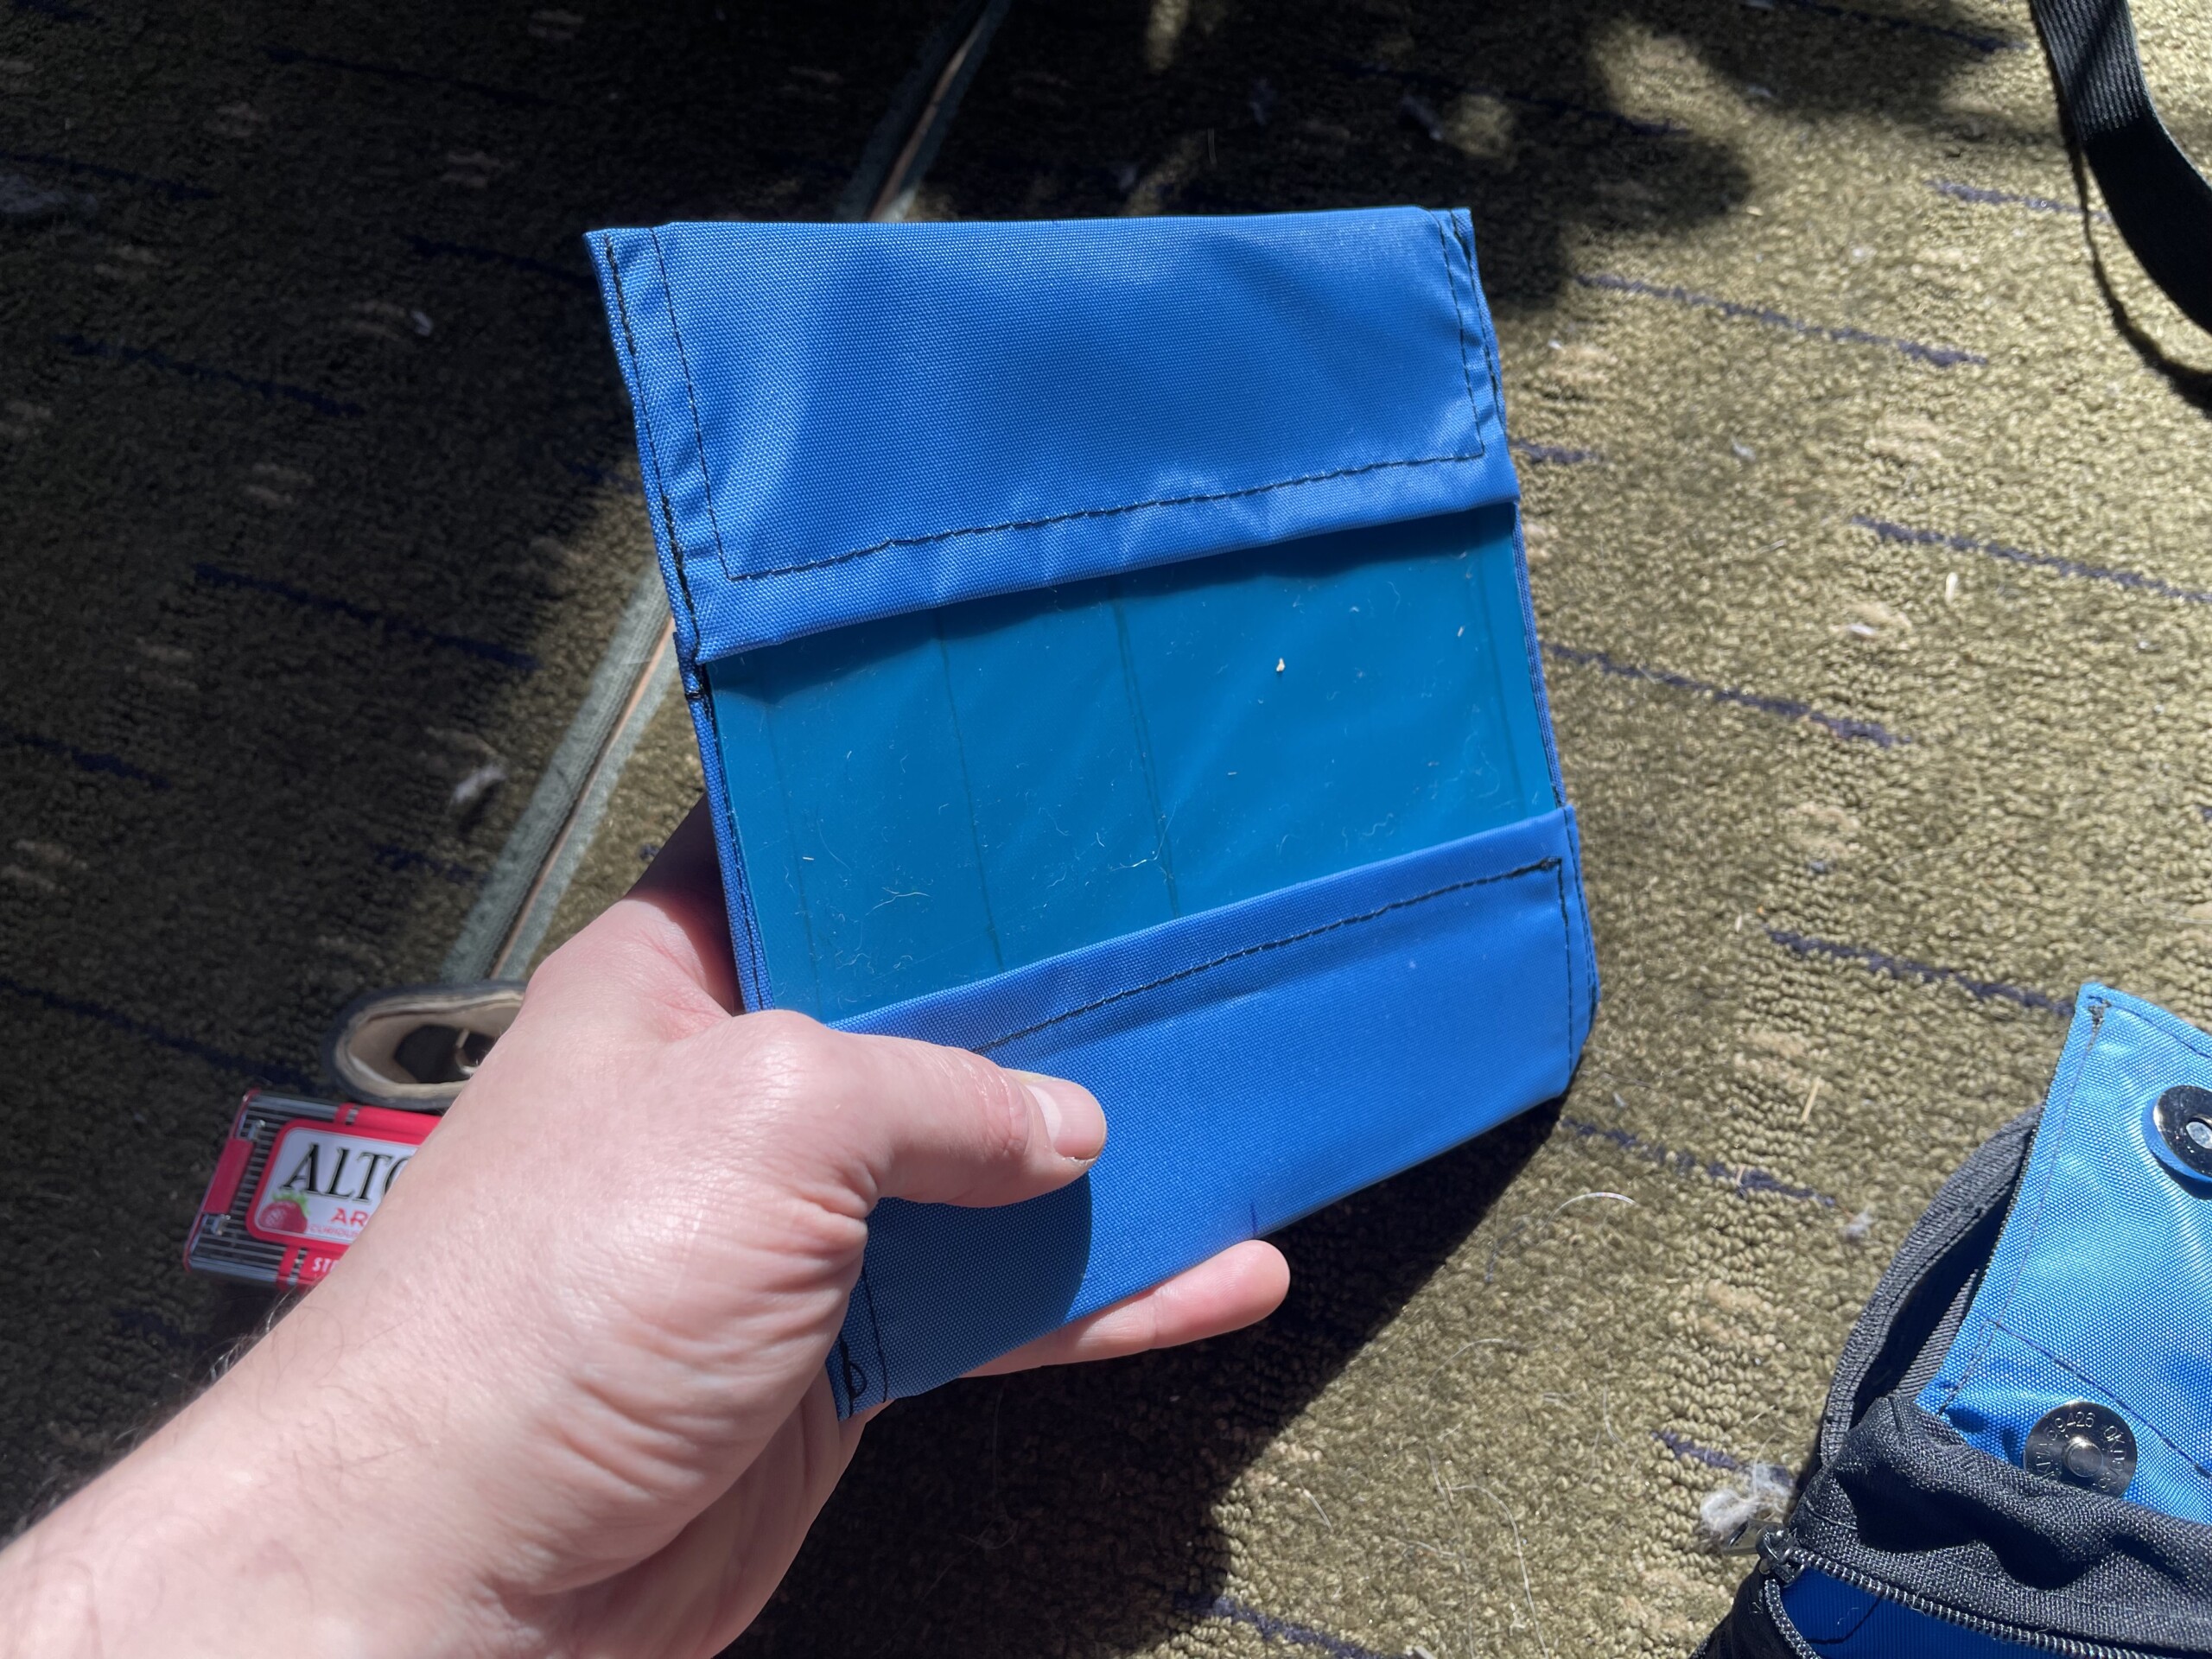
I made the organizers with a removeable, rigid insert so it maintains its shape and things don’t bunch up. It’s just a chunk of one of those flexible cutting boards.
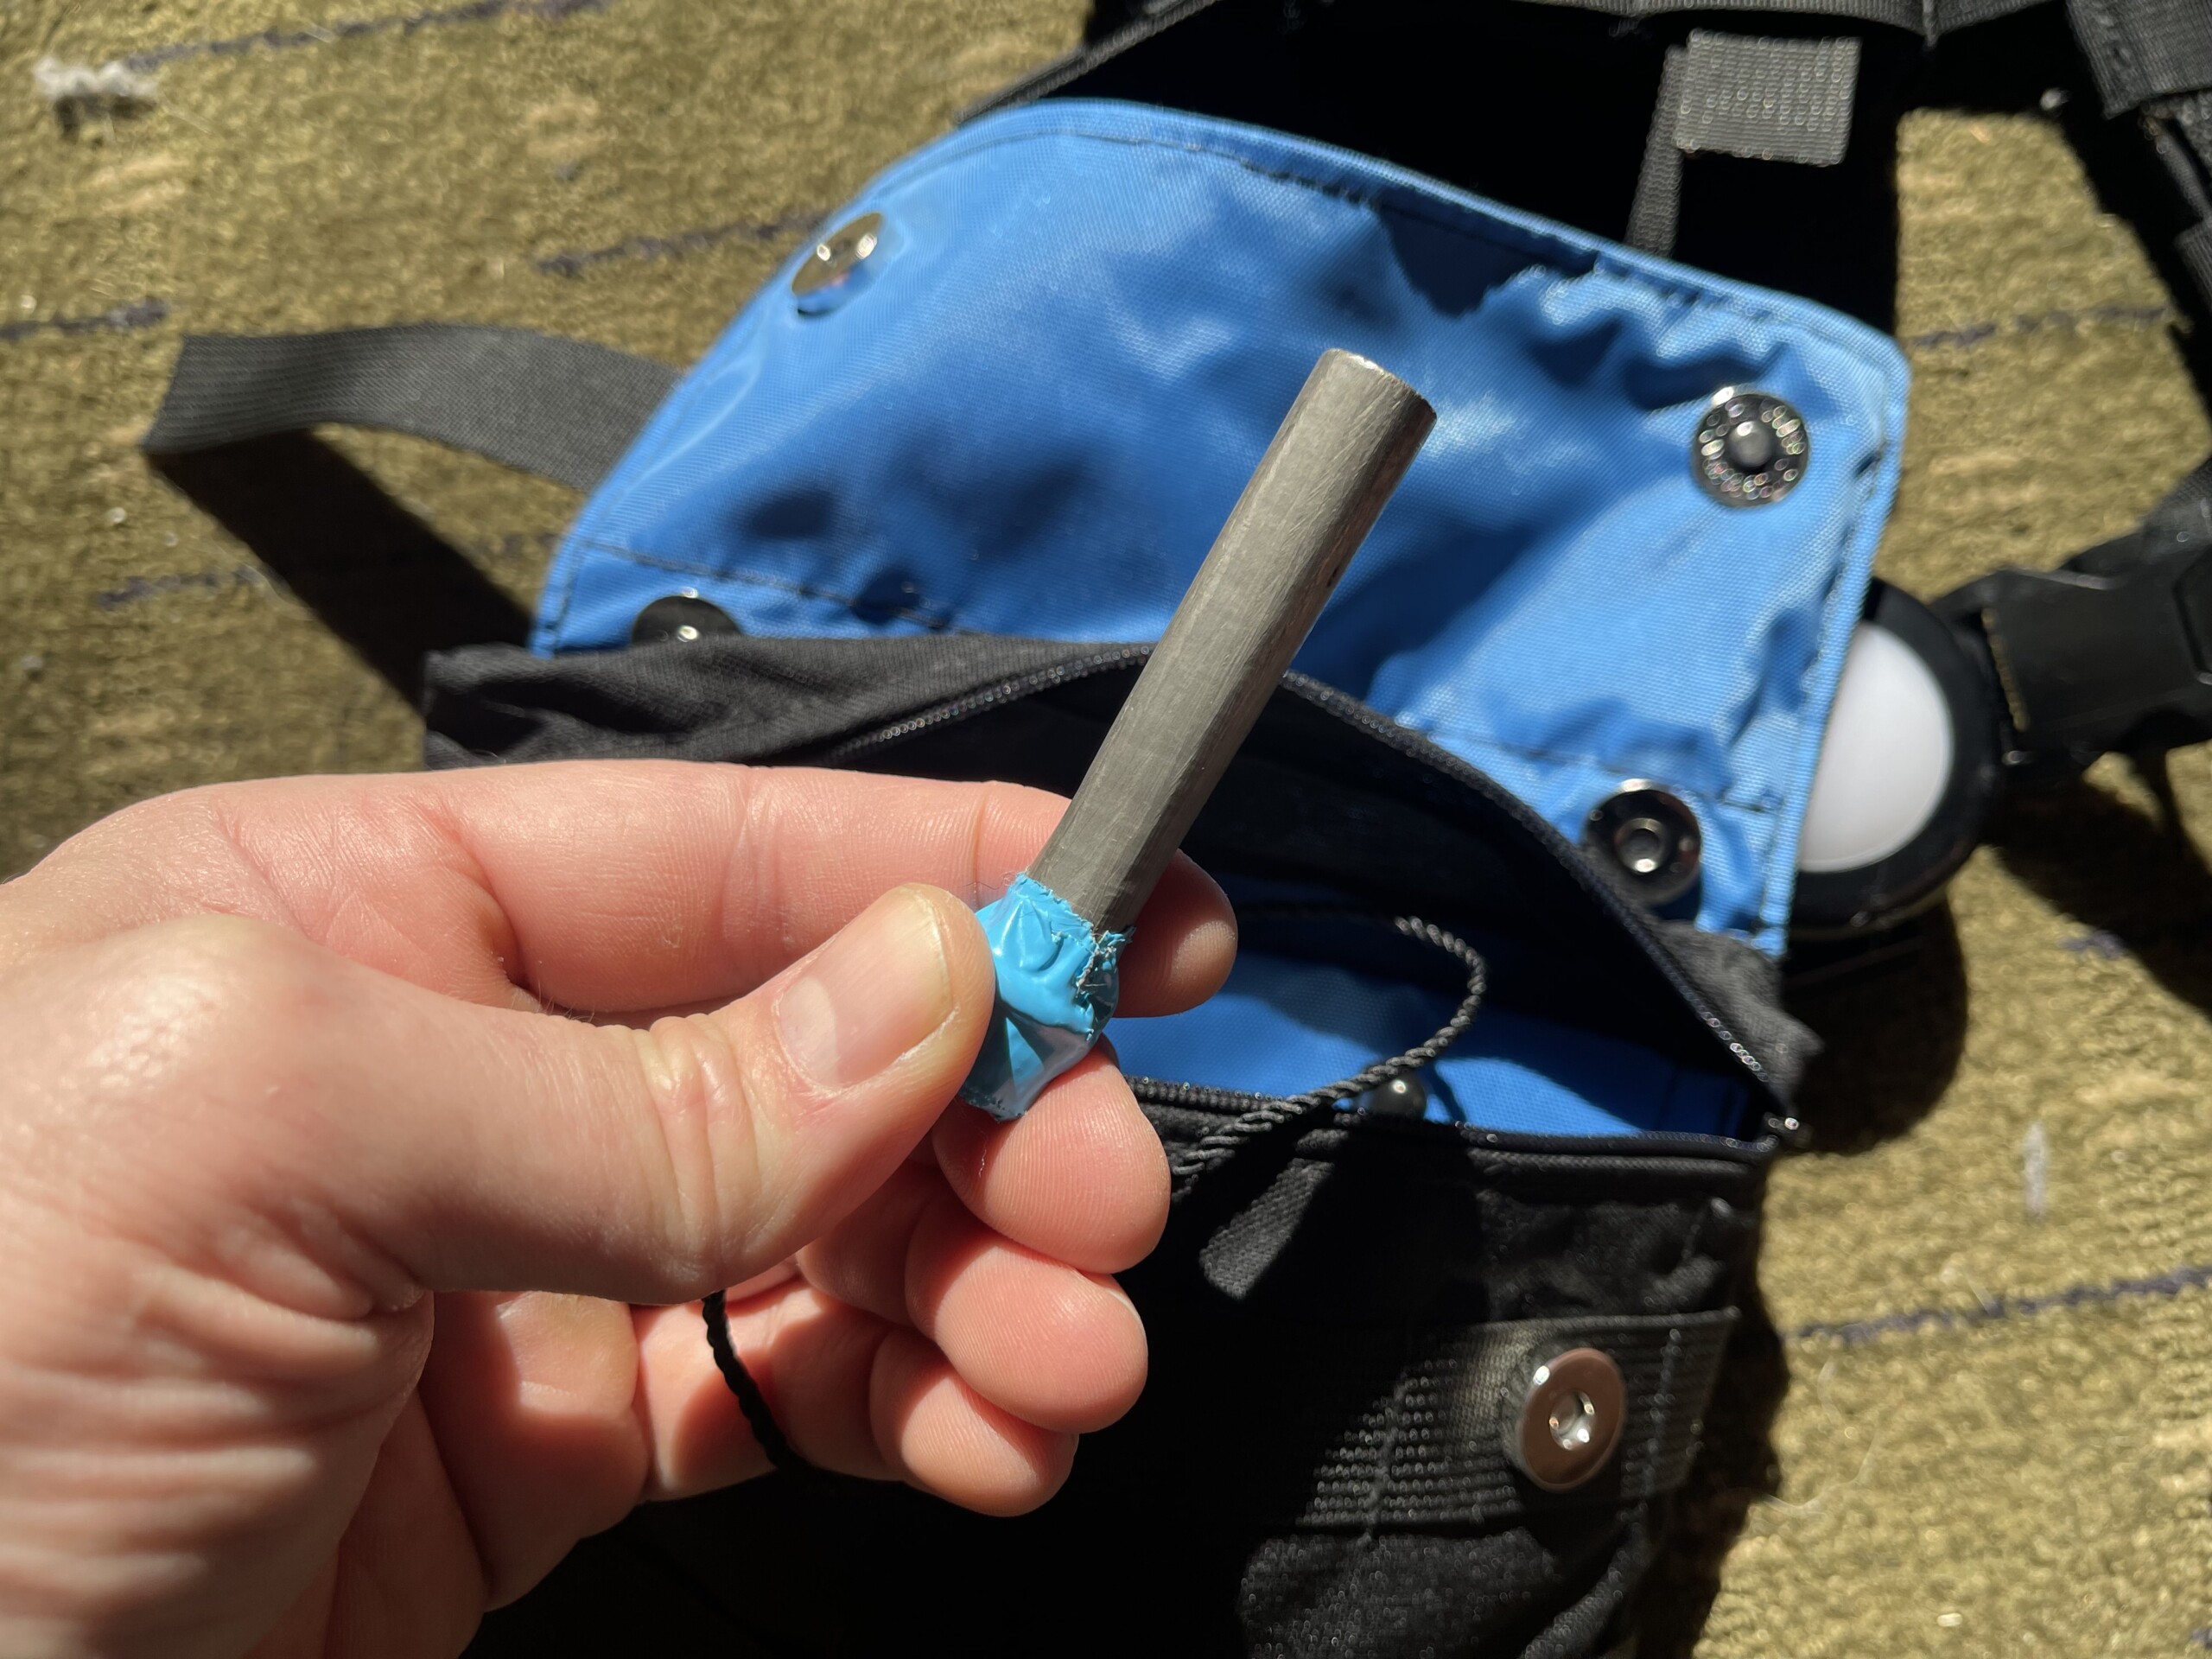
The aforementioned ferrocerium rod tethered to that row of webbing.
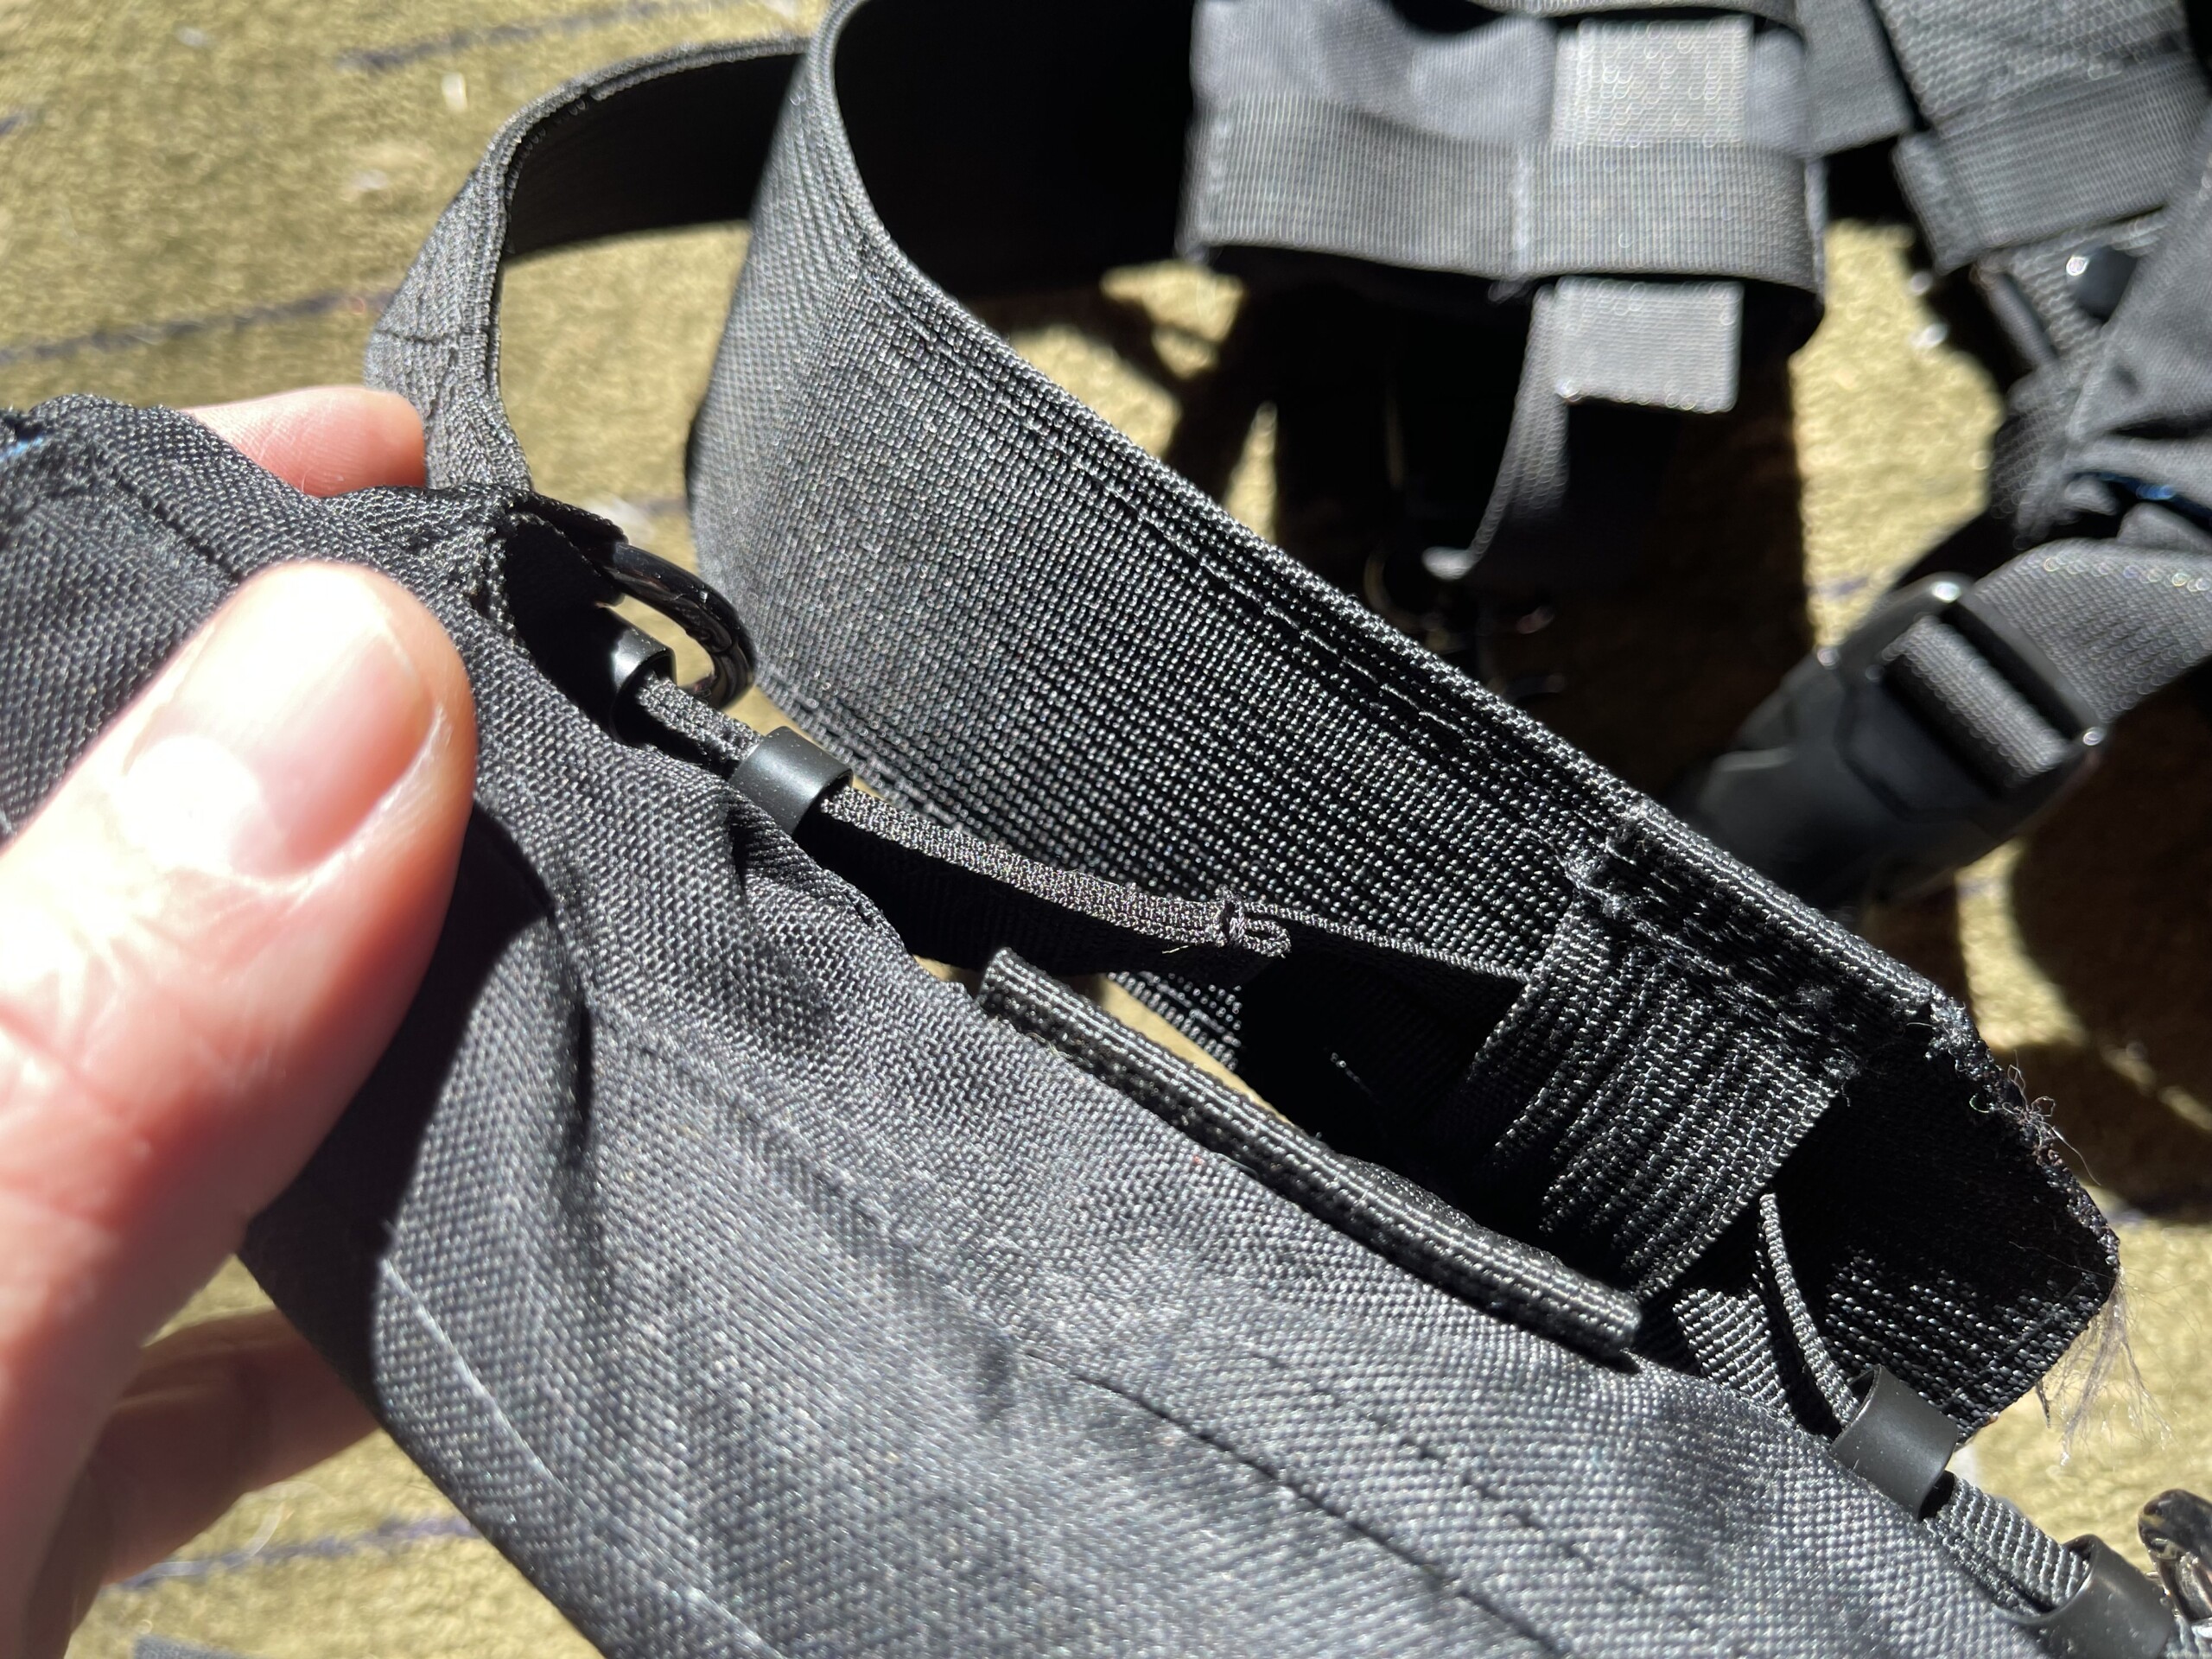
I made a 1″ rigid belt to hang the pouches off of, but decided it was too narrow. I made an additional rigid 2″ belt to help spread the pressure around my waist.
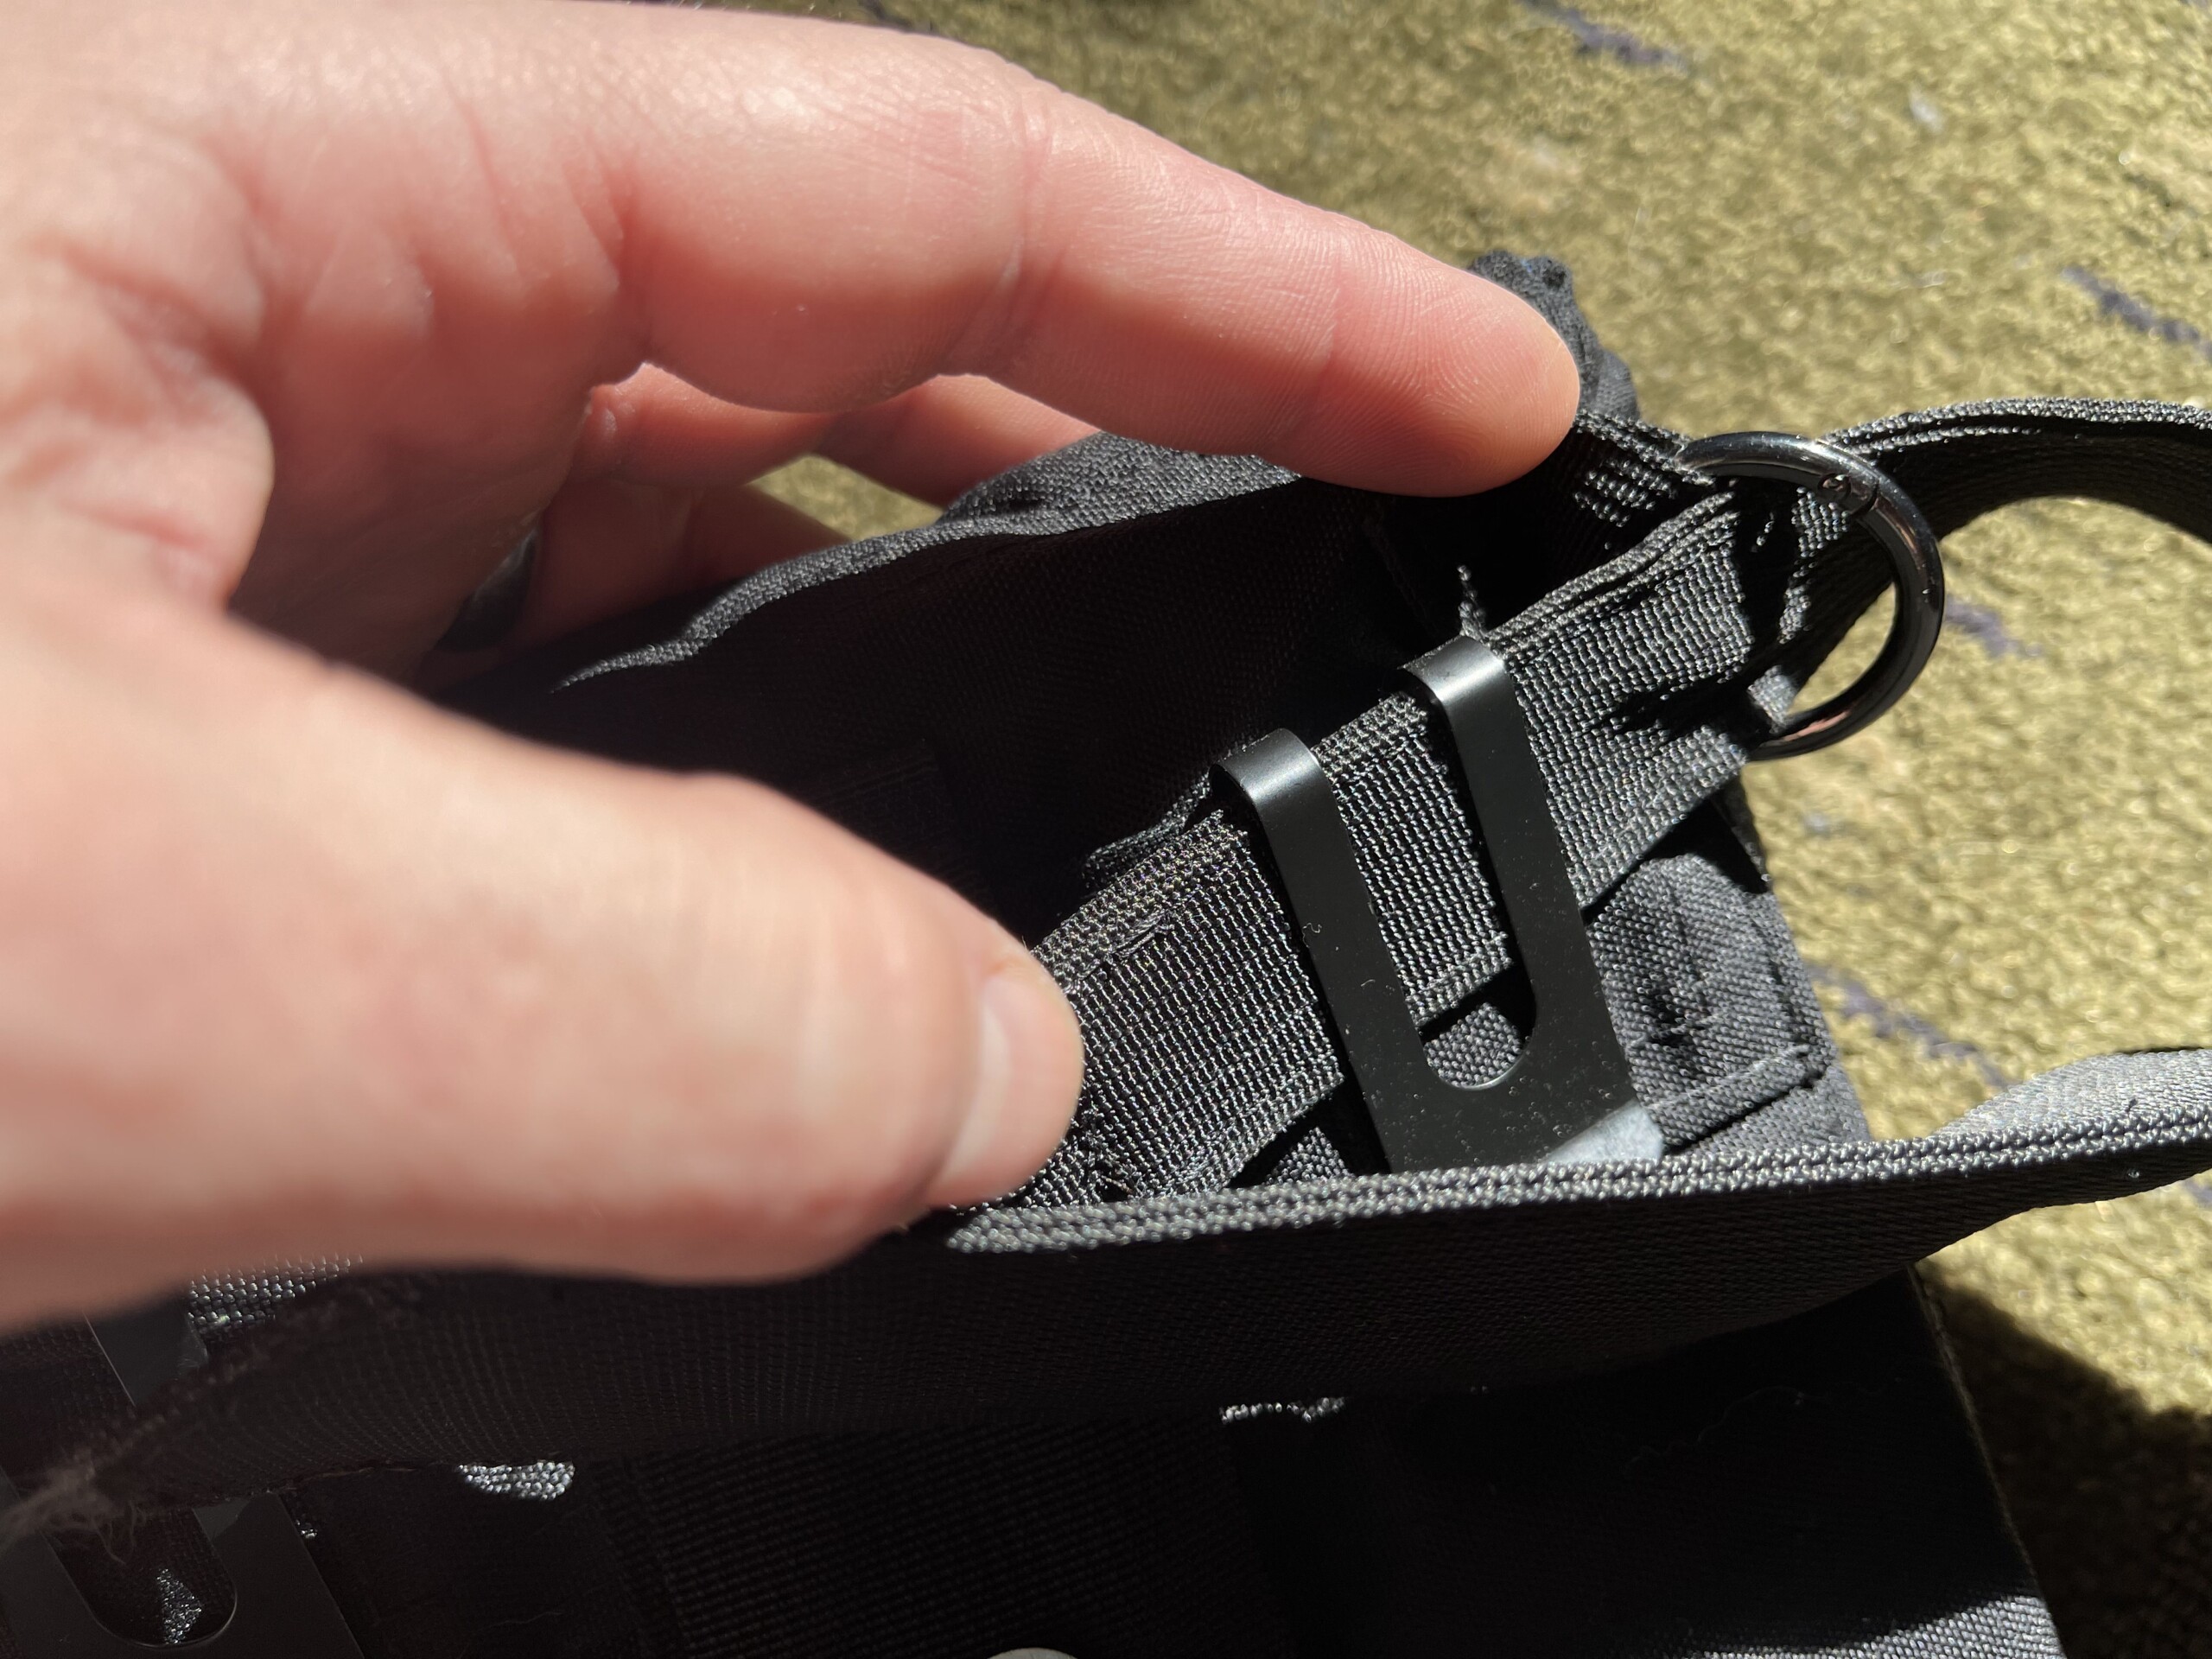
I attached these belt clips to the pouches to give a secure but removeable connection to the belt. They were designed for leather, though, and came with some rivets. I just sewed through the rivet holes like a button, which was a pain but seems to be holding up.
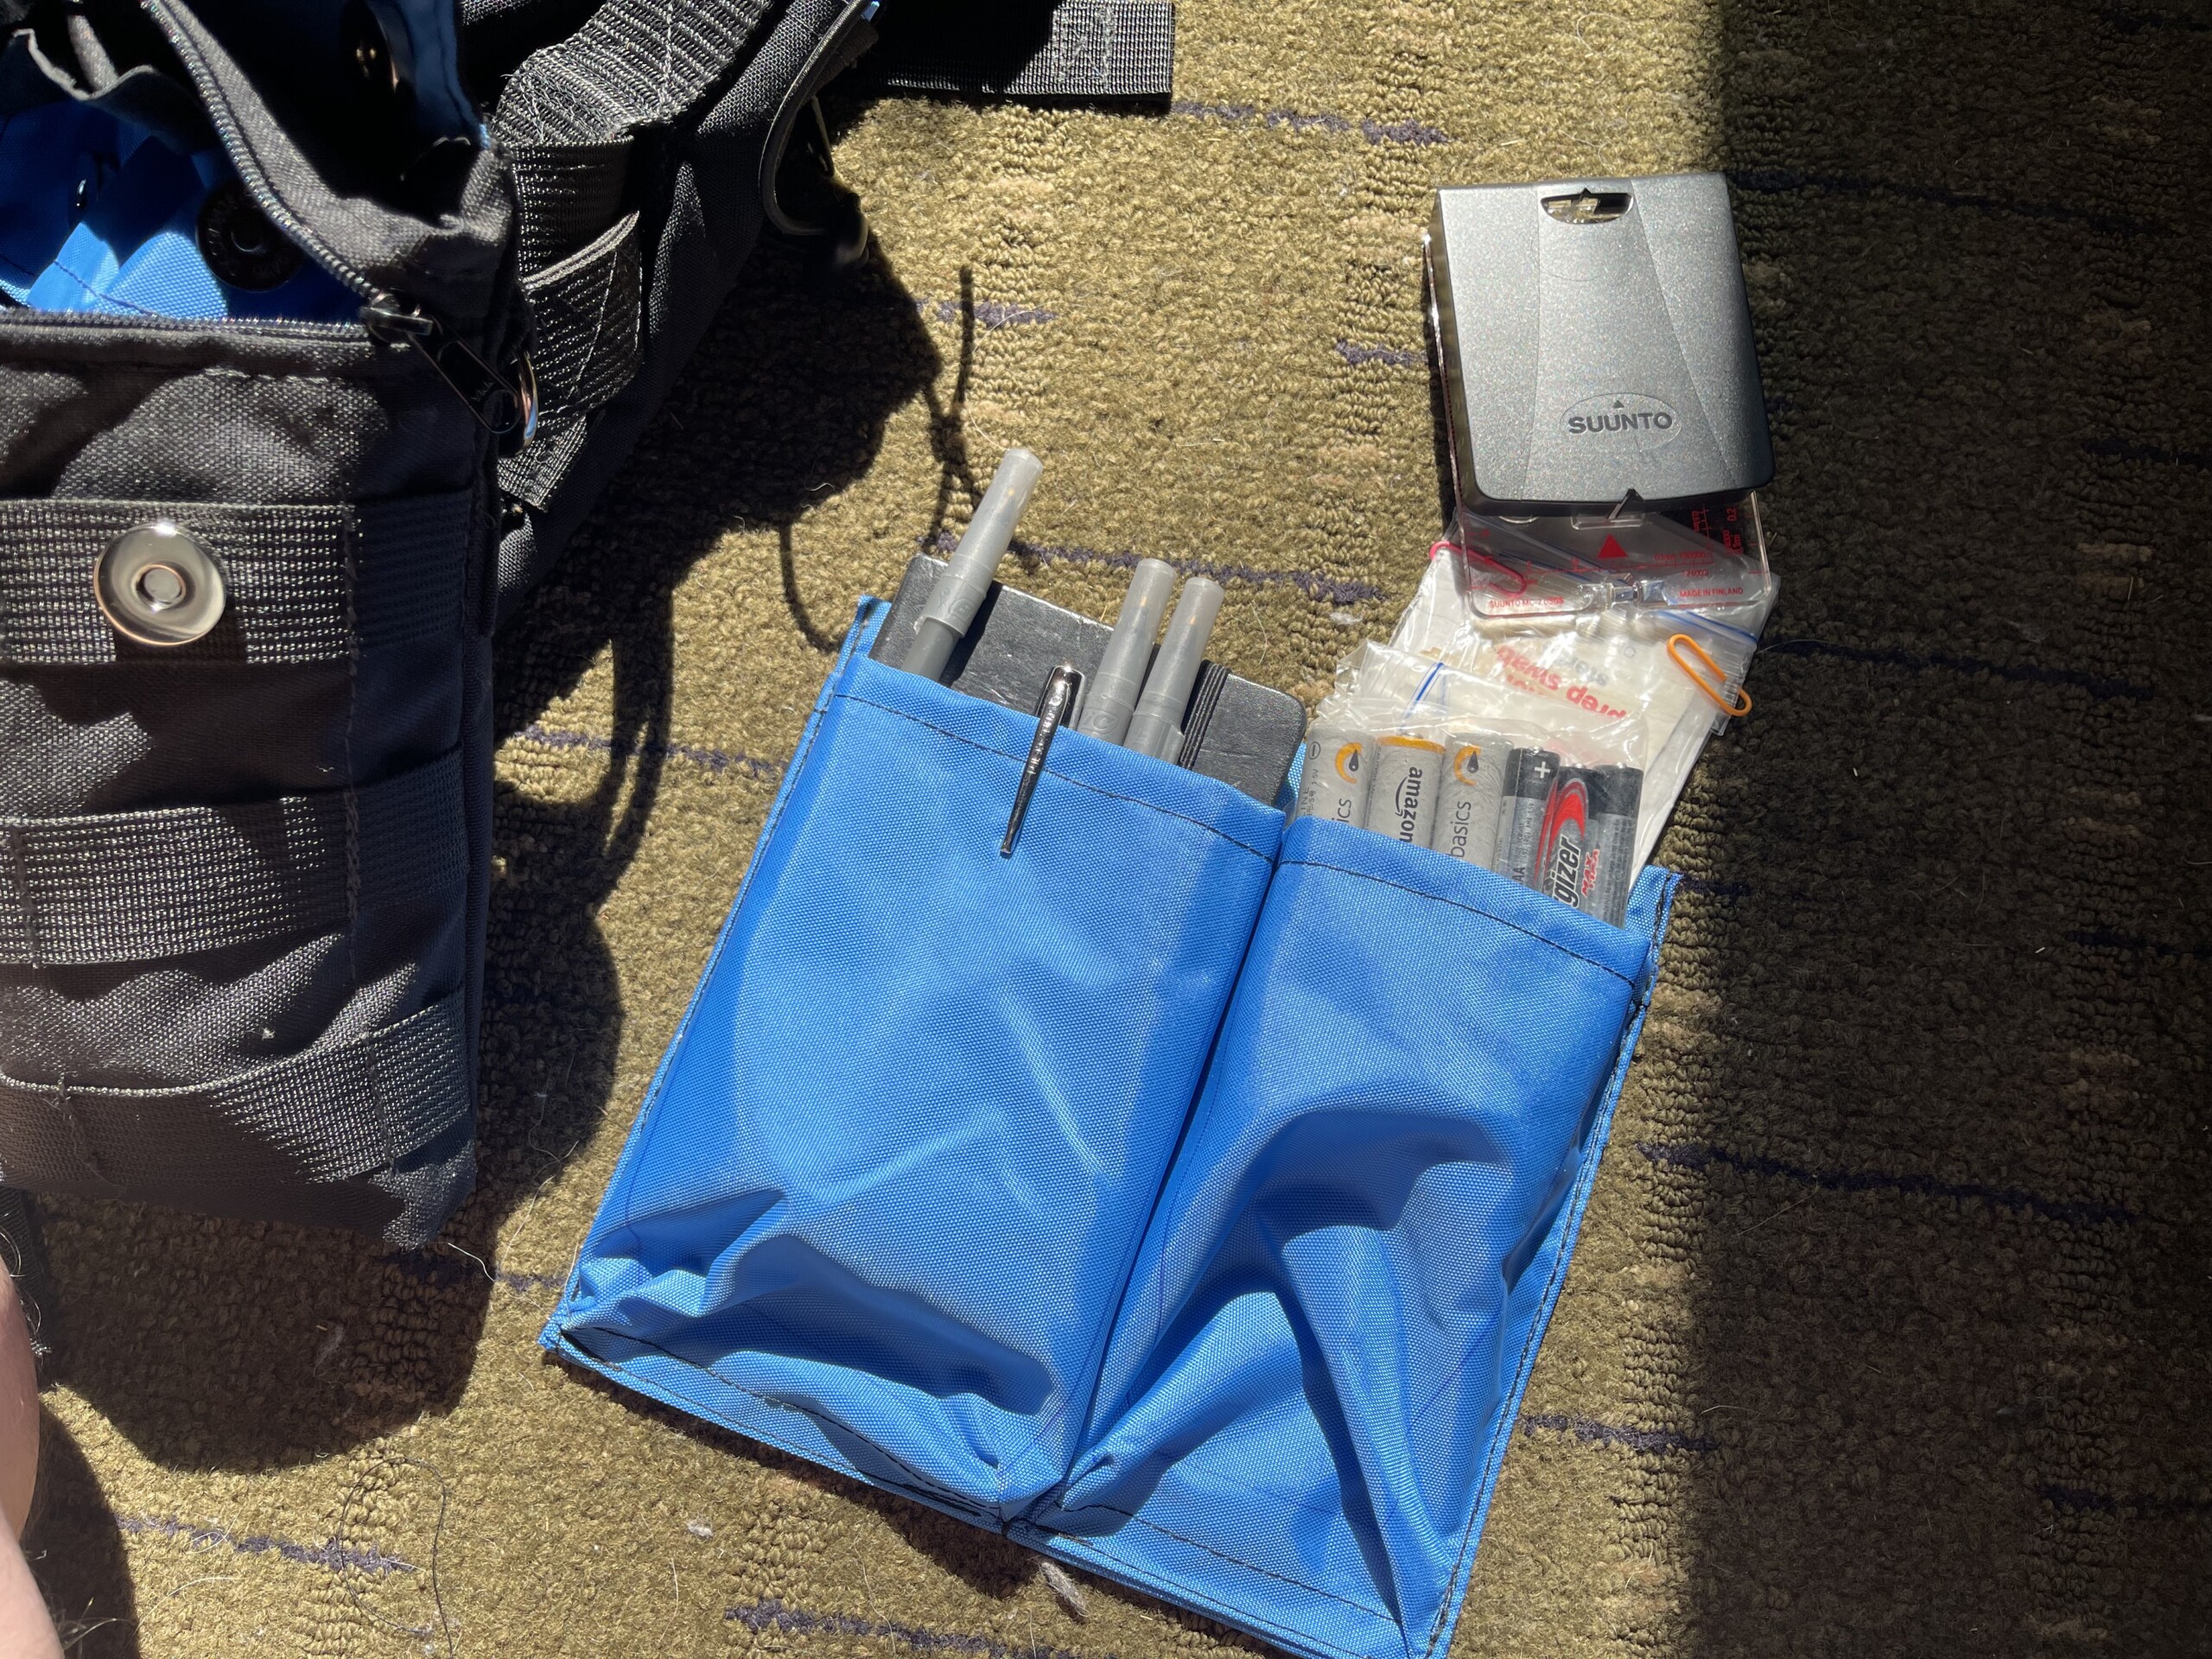
The organizer for the left pouch holds my moleskin sketchbook and pens, replacement batteries (for the “belt buckle” light and flashlight), some basic first aid supplies (mostly bandaids and alcohol wipes. Between that and the electrical tape in the other pouch, what more does one really need?), and a compass.
Nail clippers might not be essential, but I have found them handy to have a around.
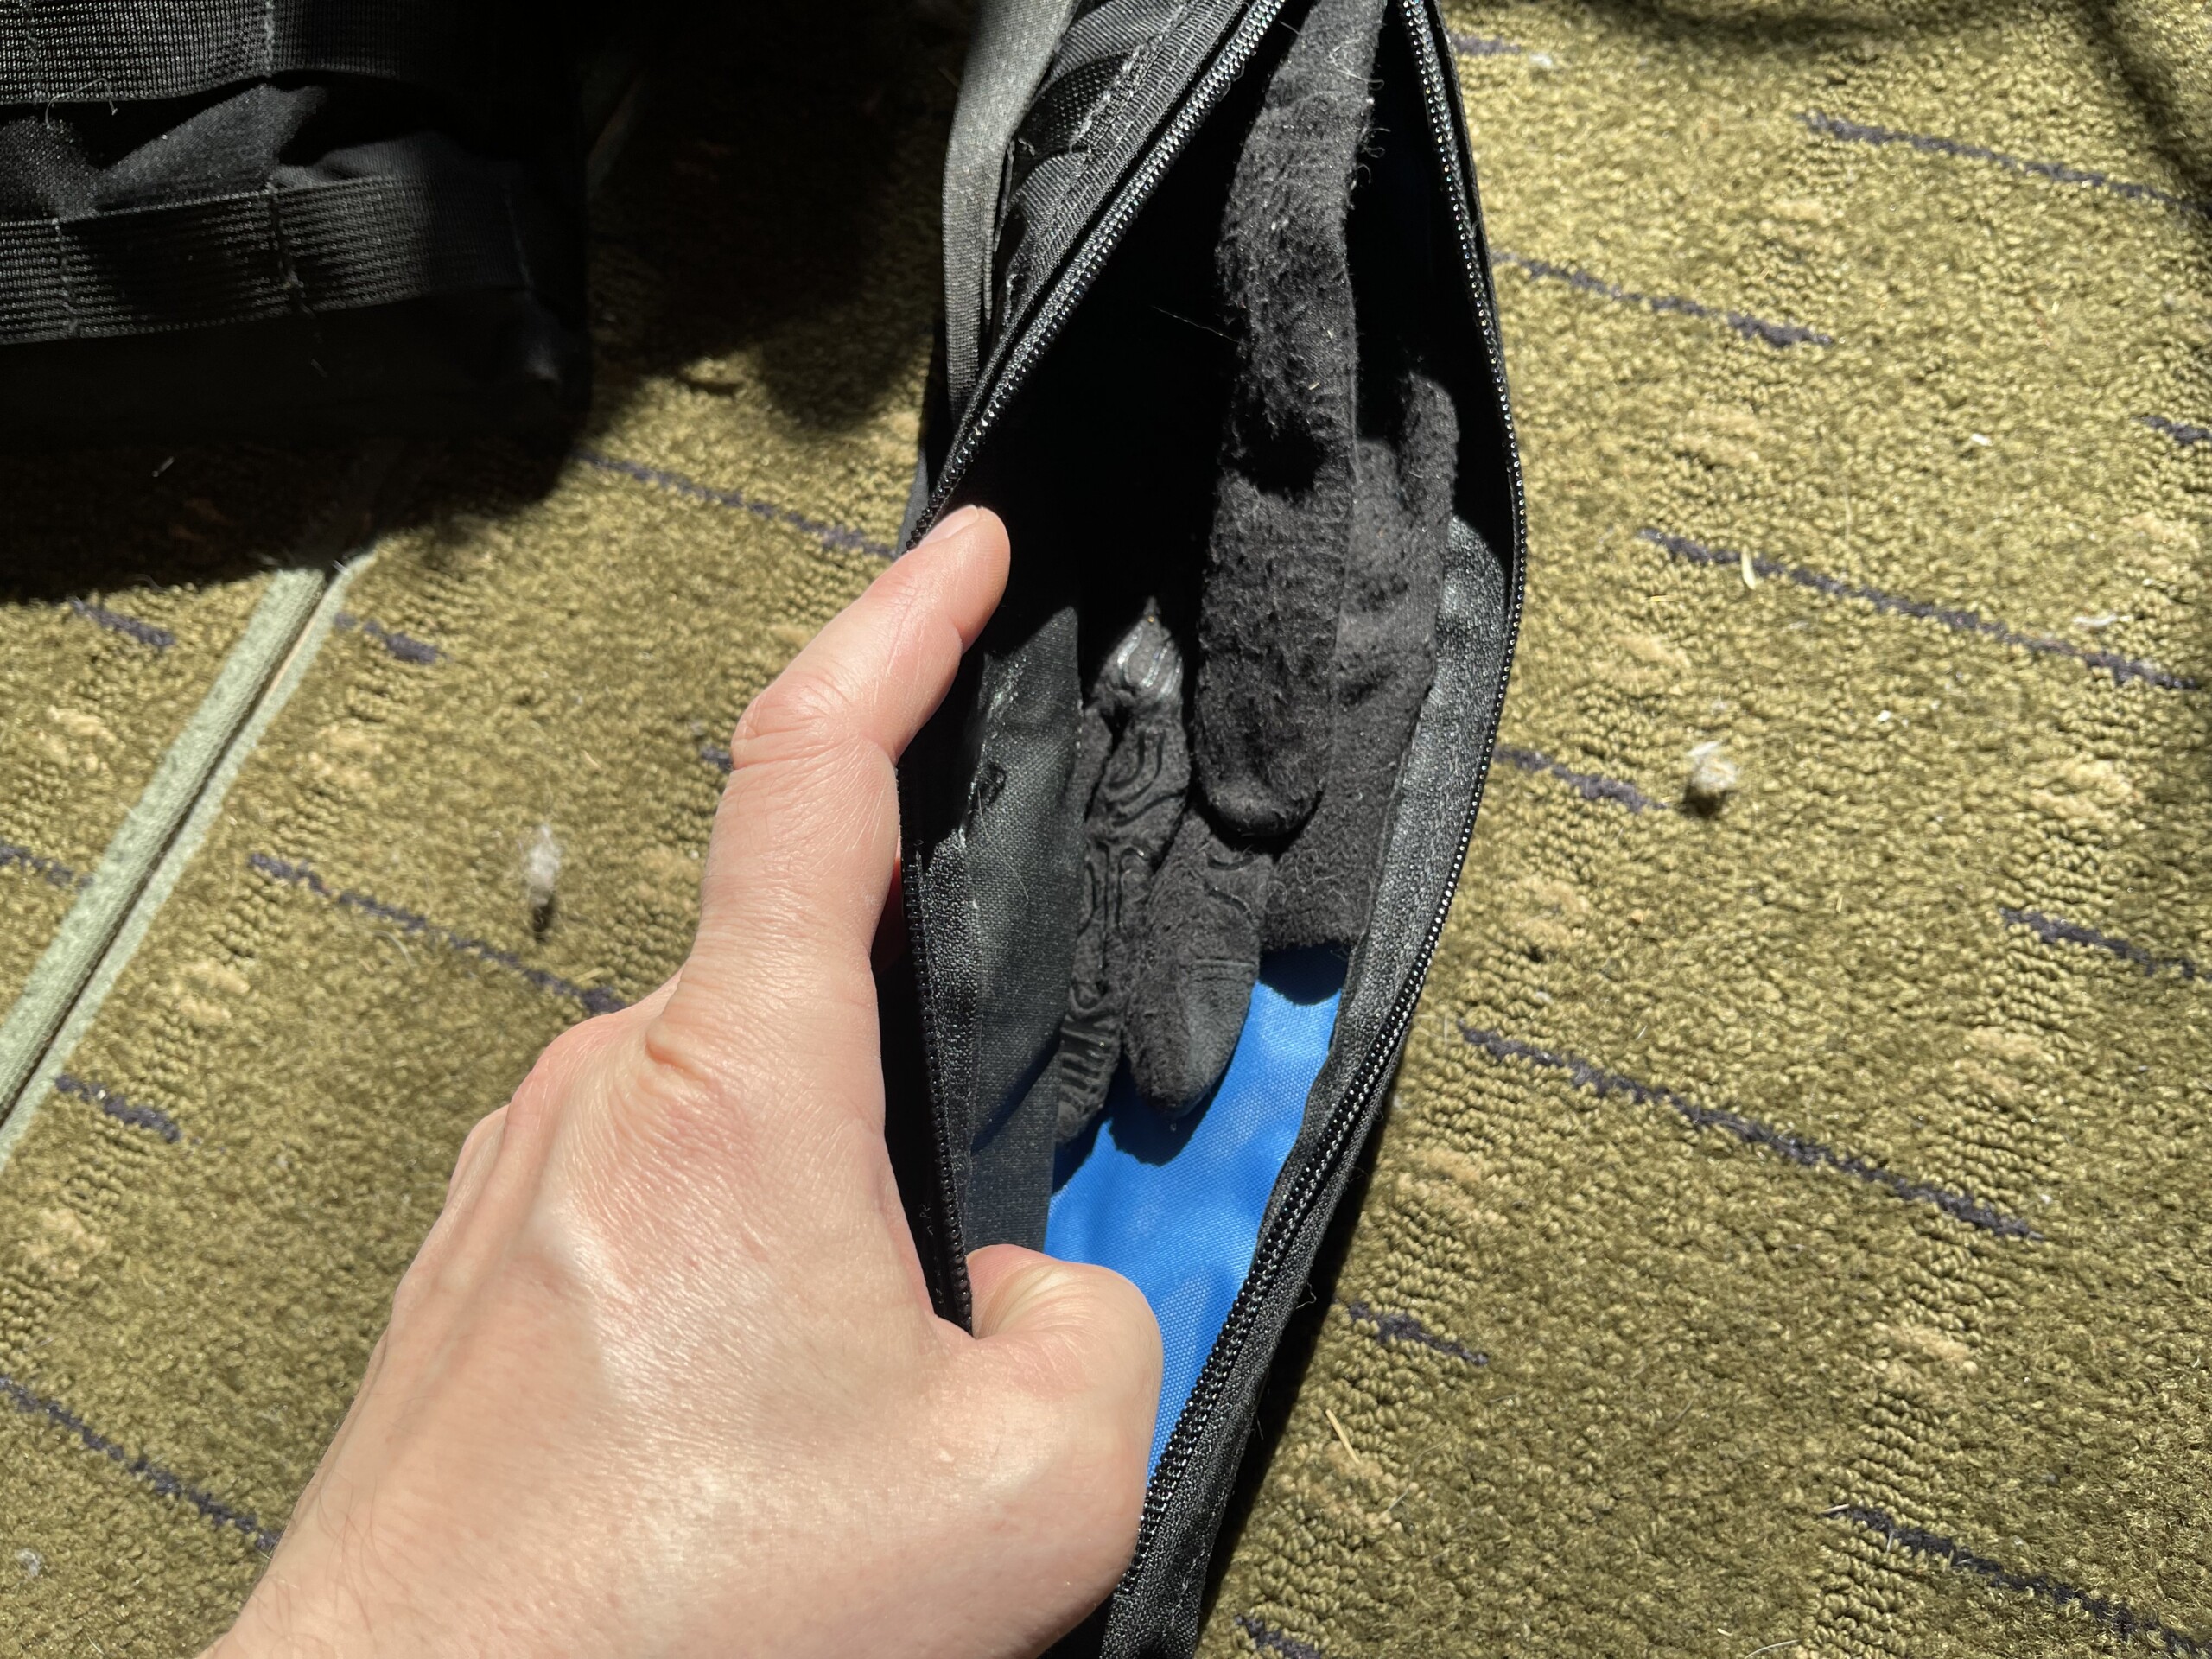
Both pouches also have a built in sleeve on the back, which was originally for inserting a rigid backing but I opted to add that to the modular organizers instead. I used this one to stuff a few trash bags in (a great survival item. Among many things, they can be used to: collect water, have a dry place to sit down, be turned into a poncho, be used like a tarp or roofing to a shelter, stuff full of leaves to create a mattress or cushion, and more).

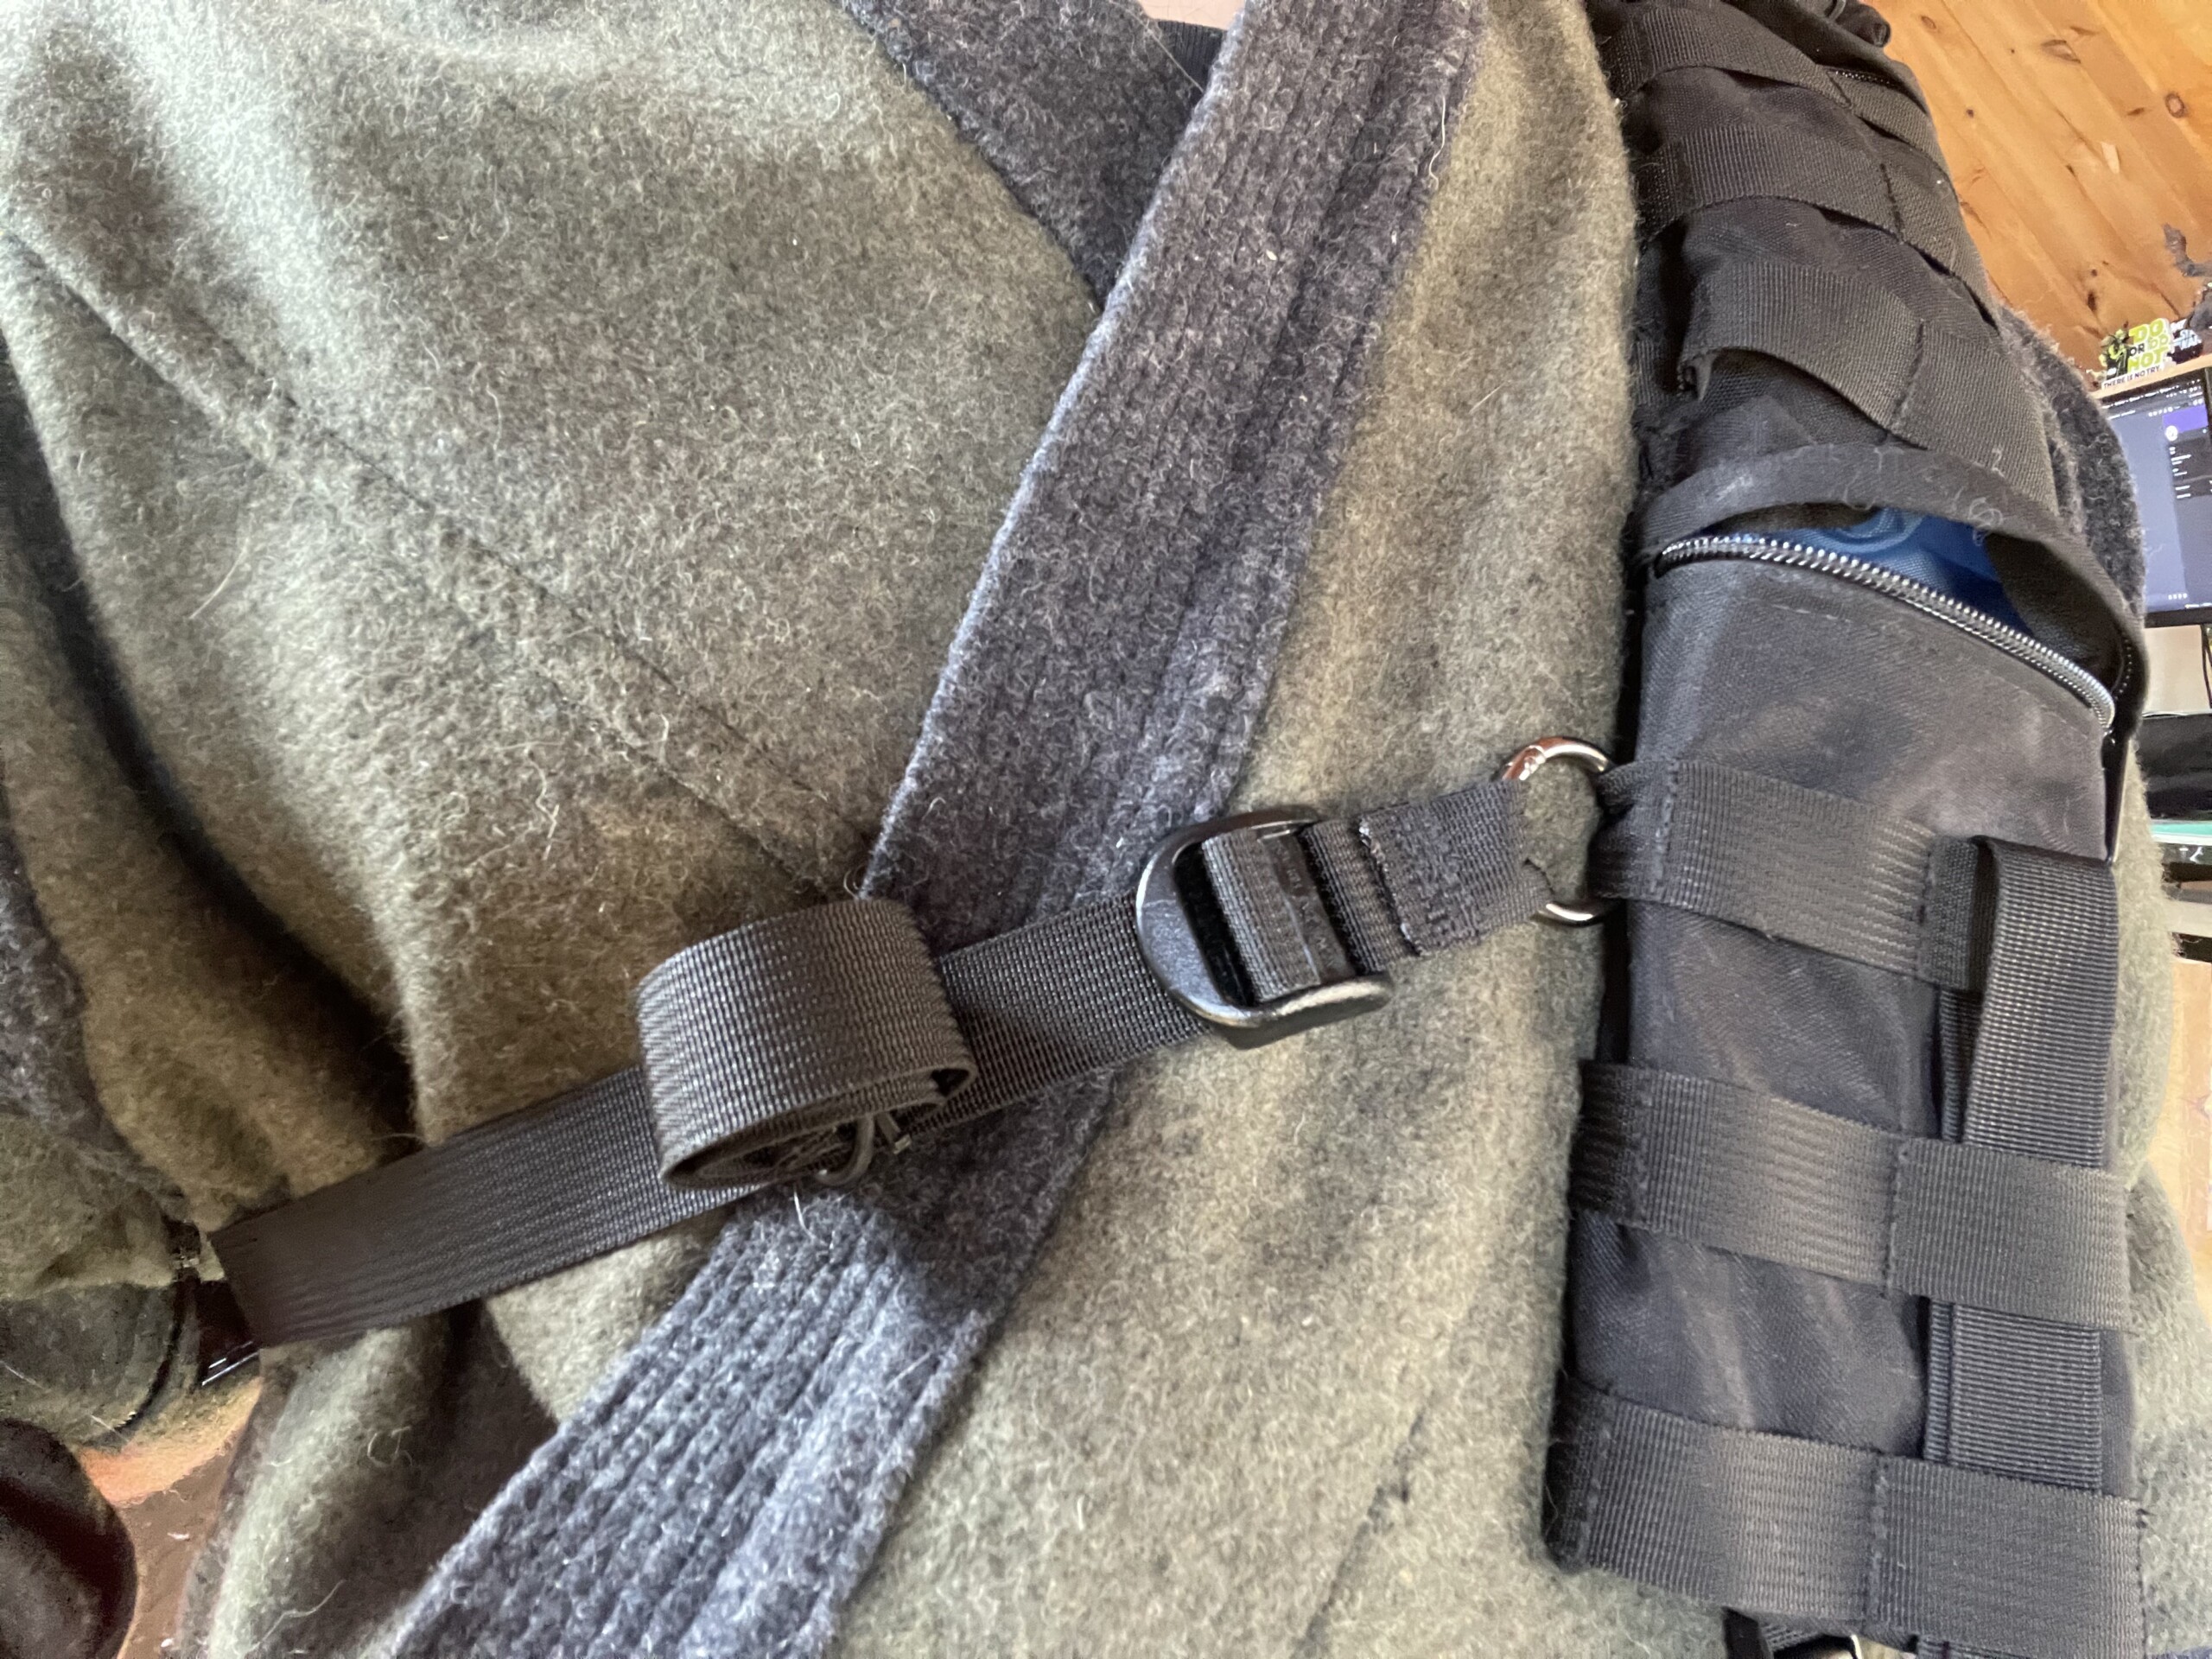
The bandolier strap. I made the ends adjustable, but probably didn’t need to. Or, I should have shortened the length of the strap itself so there would be the option to tighten things down. With the hardware for adjusting and the connection to the belt, it’s a smidge long for my torso. I was thinking about it needing adjustability because I like to wear thick wool coats, but it might not be small enough for when I’m just in a tshirt. We’ll see after I wear it around for a year in a variety of climates. I could probably remove an inch or so near the backside of the shoulder, and that would probably help.
The two front pouches are lined with this high visibility electric blue that I like. It makes it easier to see items. Each pouch also has a line of webbing for hanging smaller items to make retrieval easier. This one usually holds my iPhone.
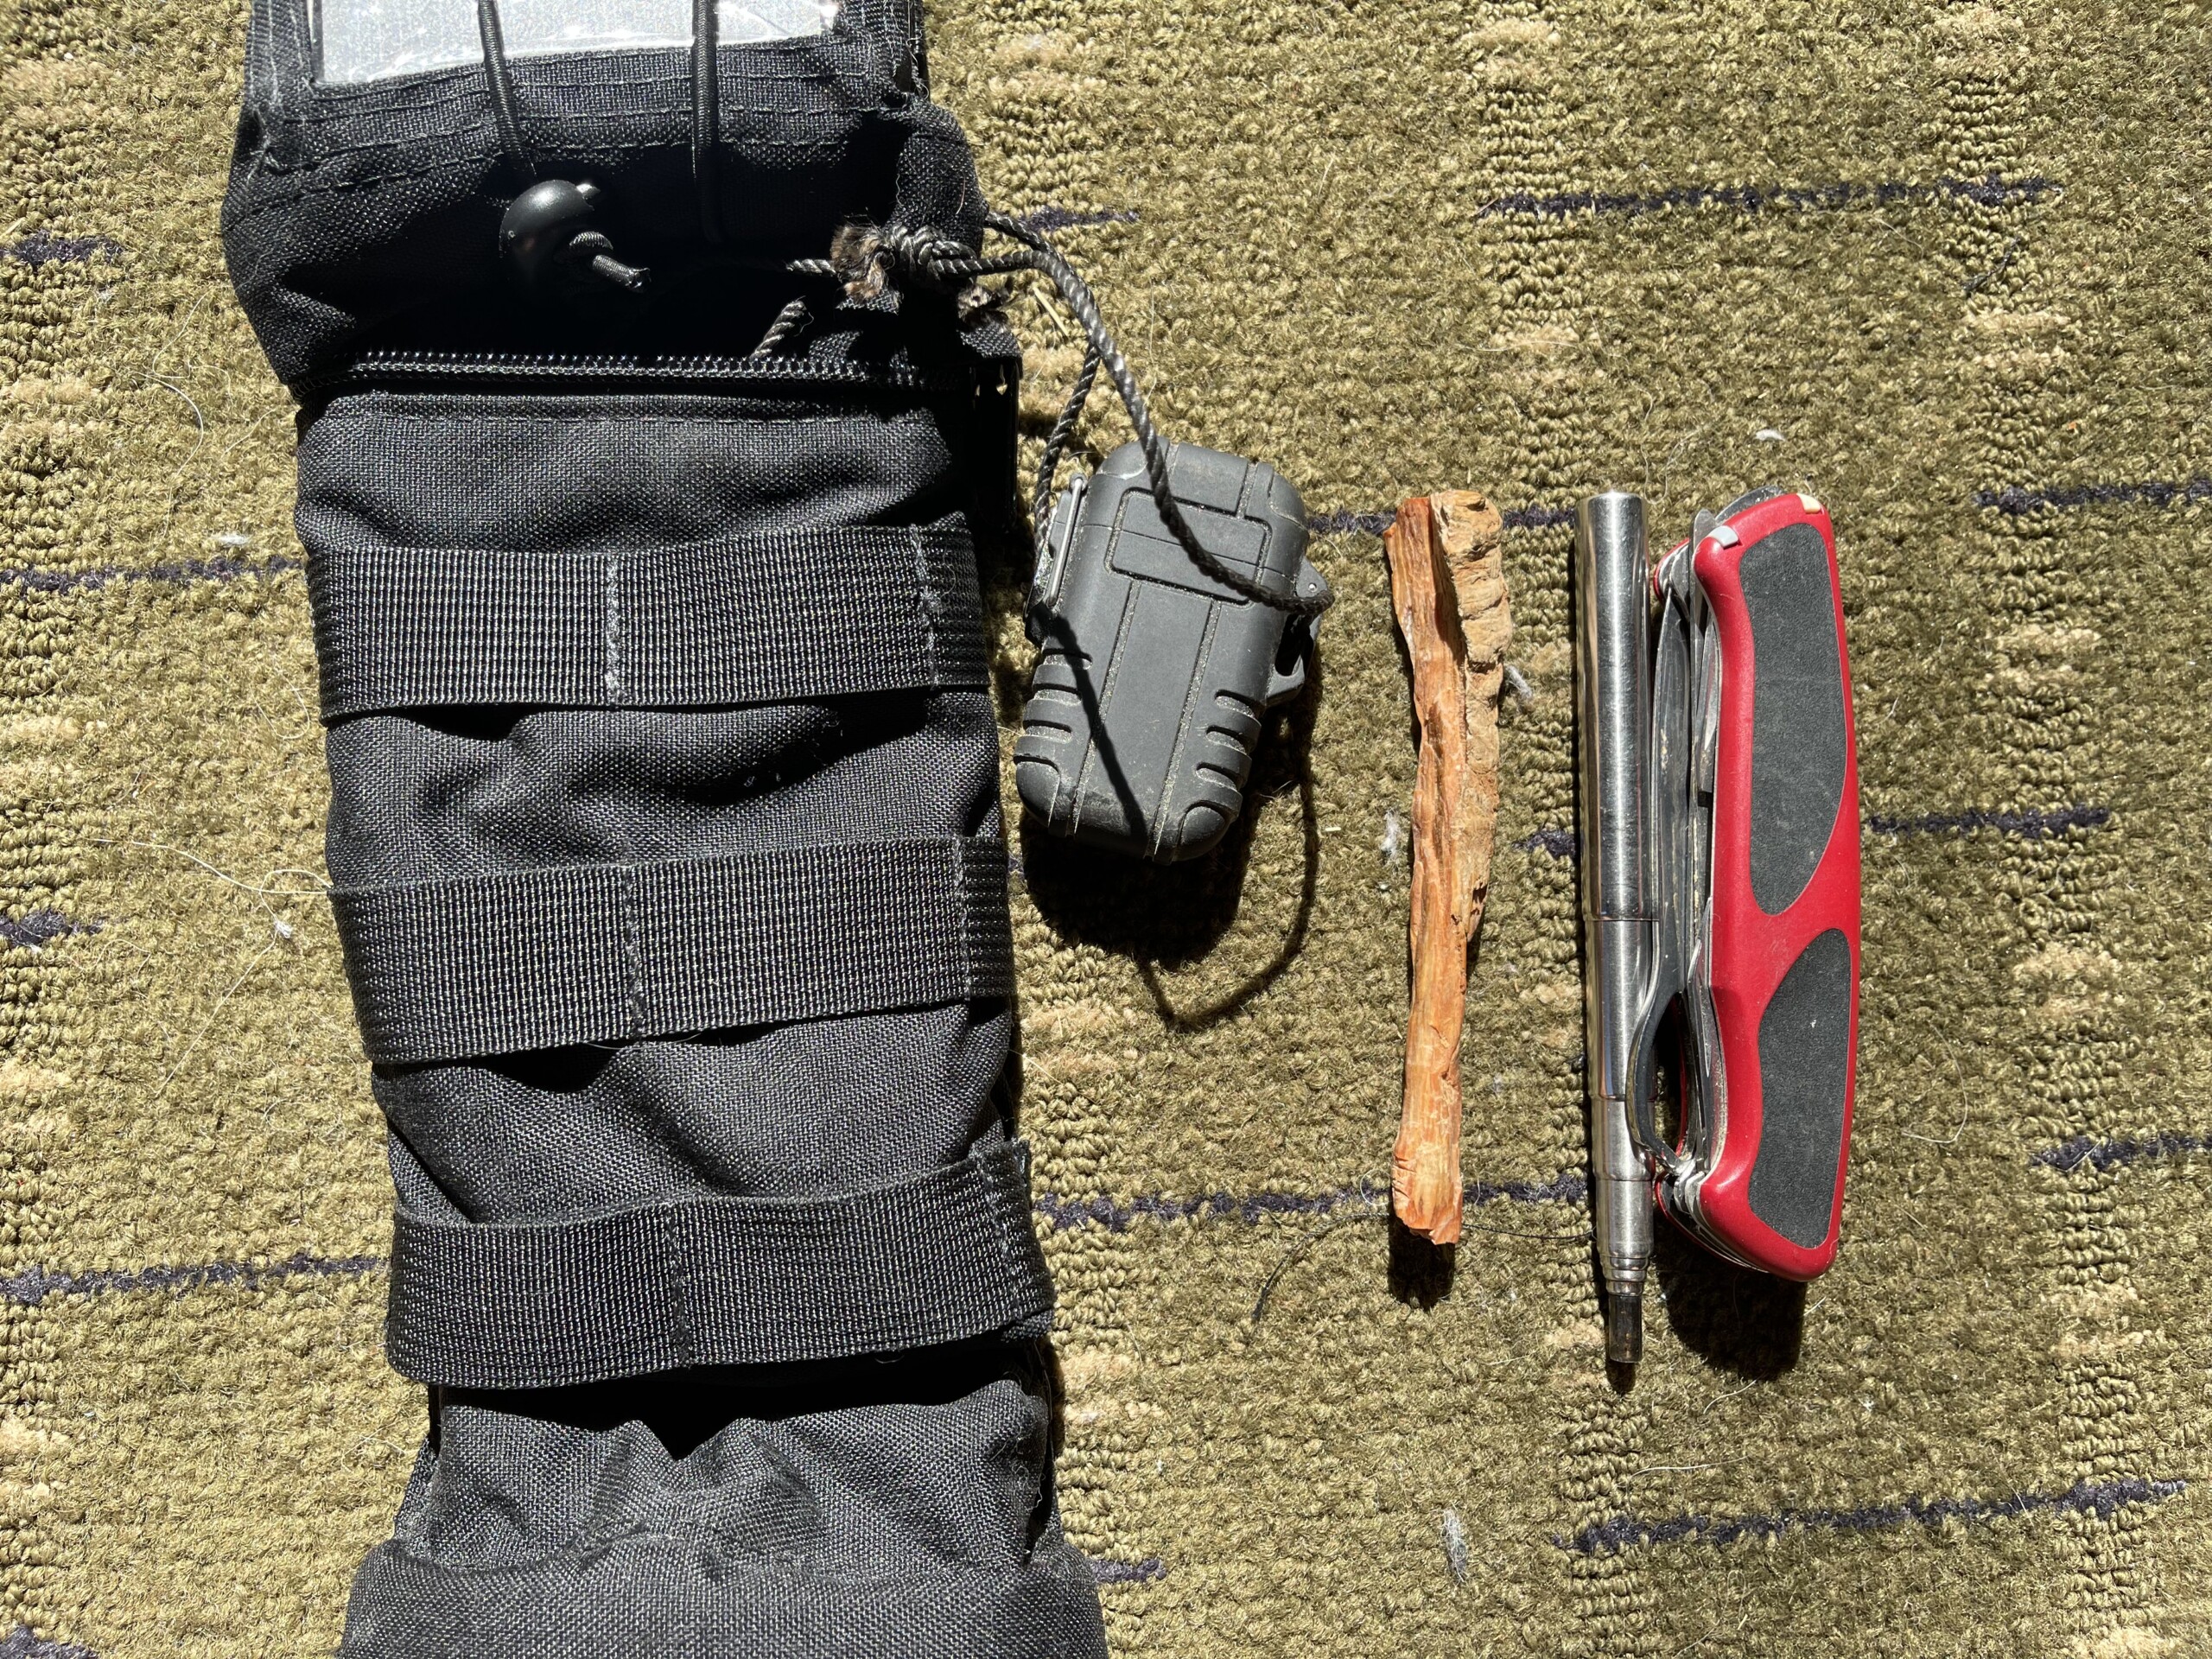
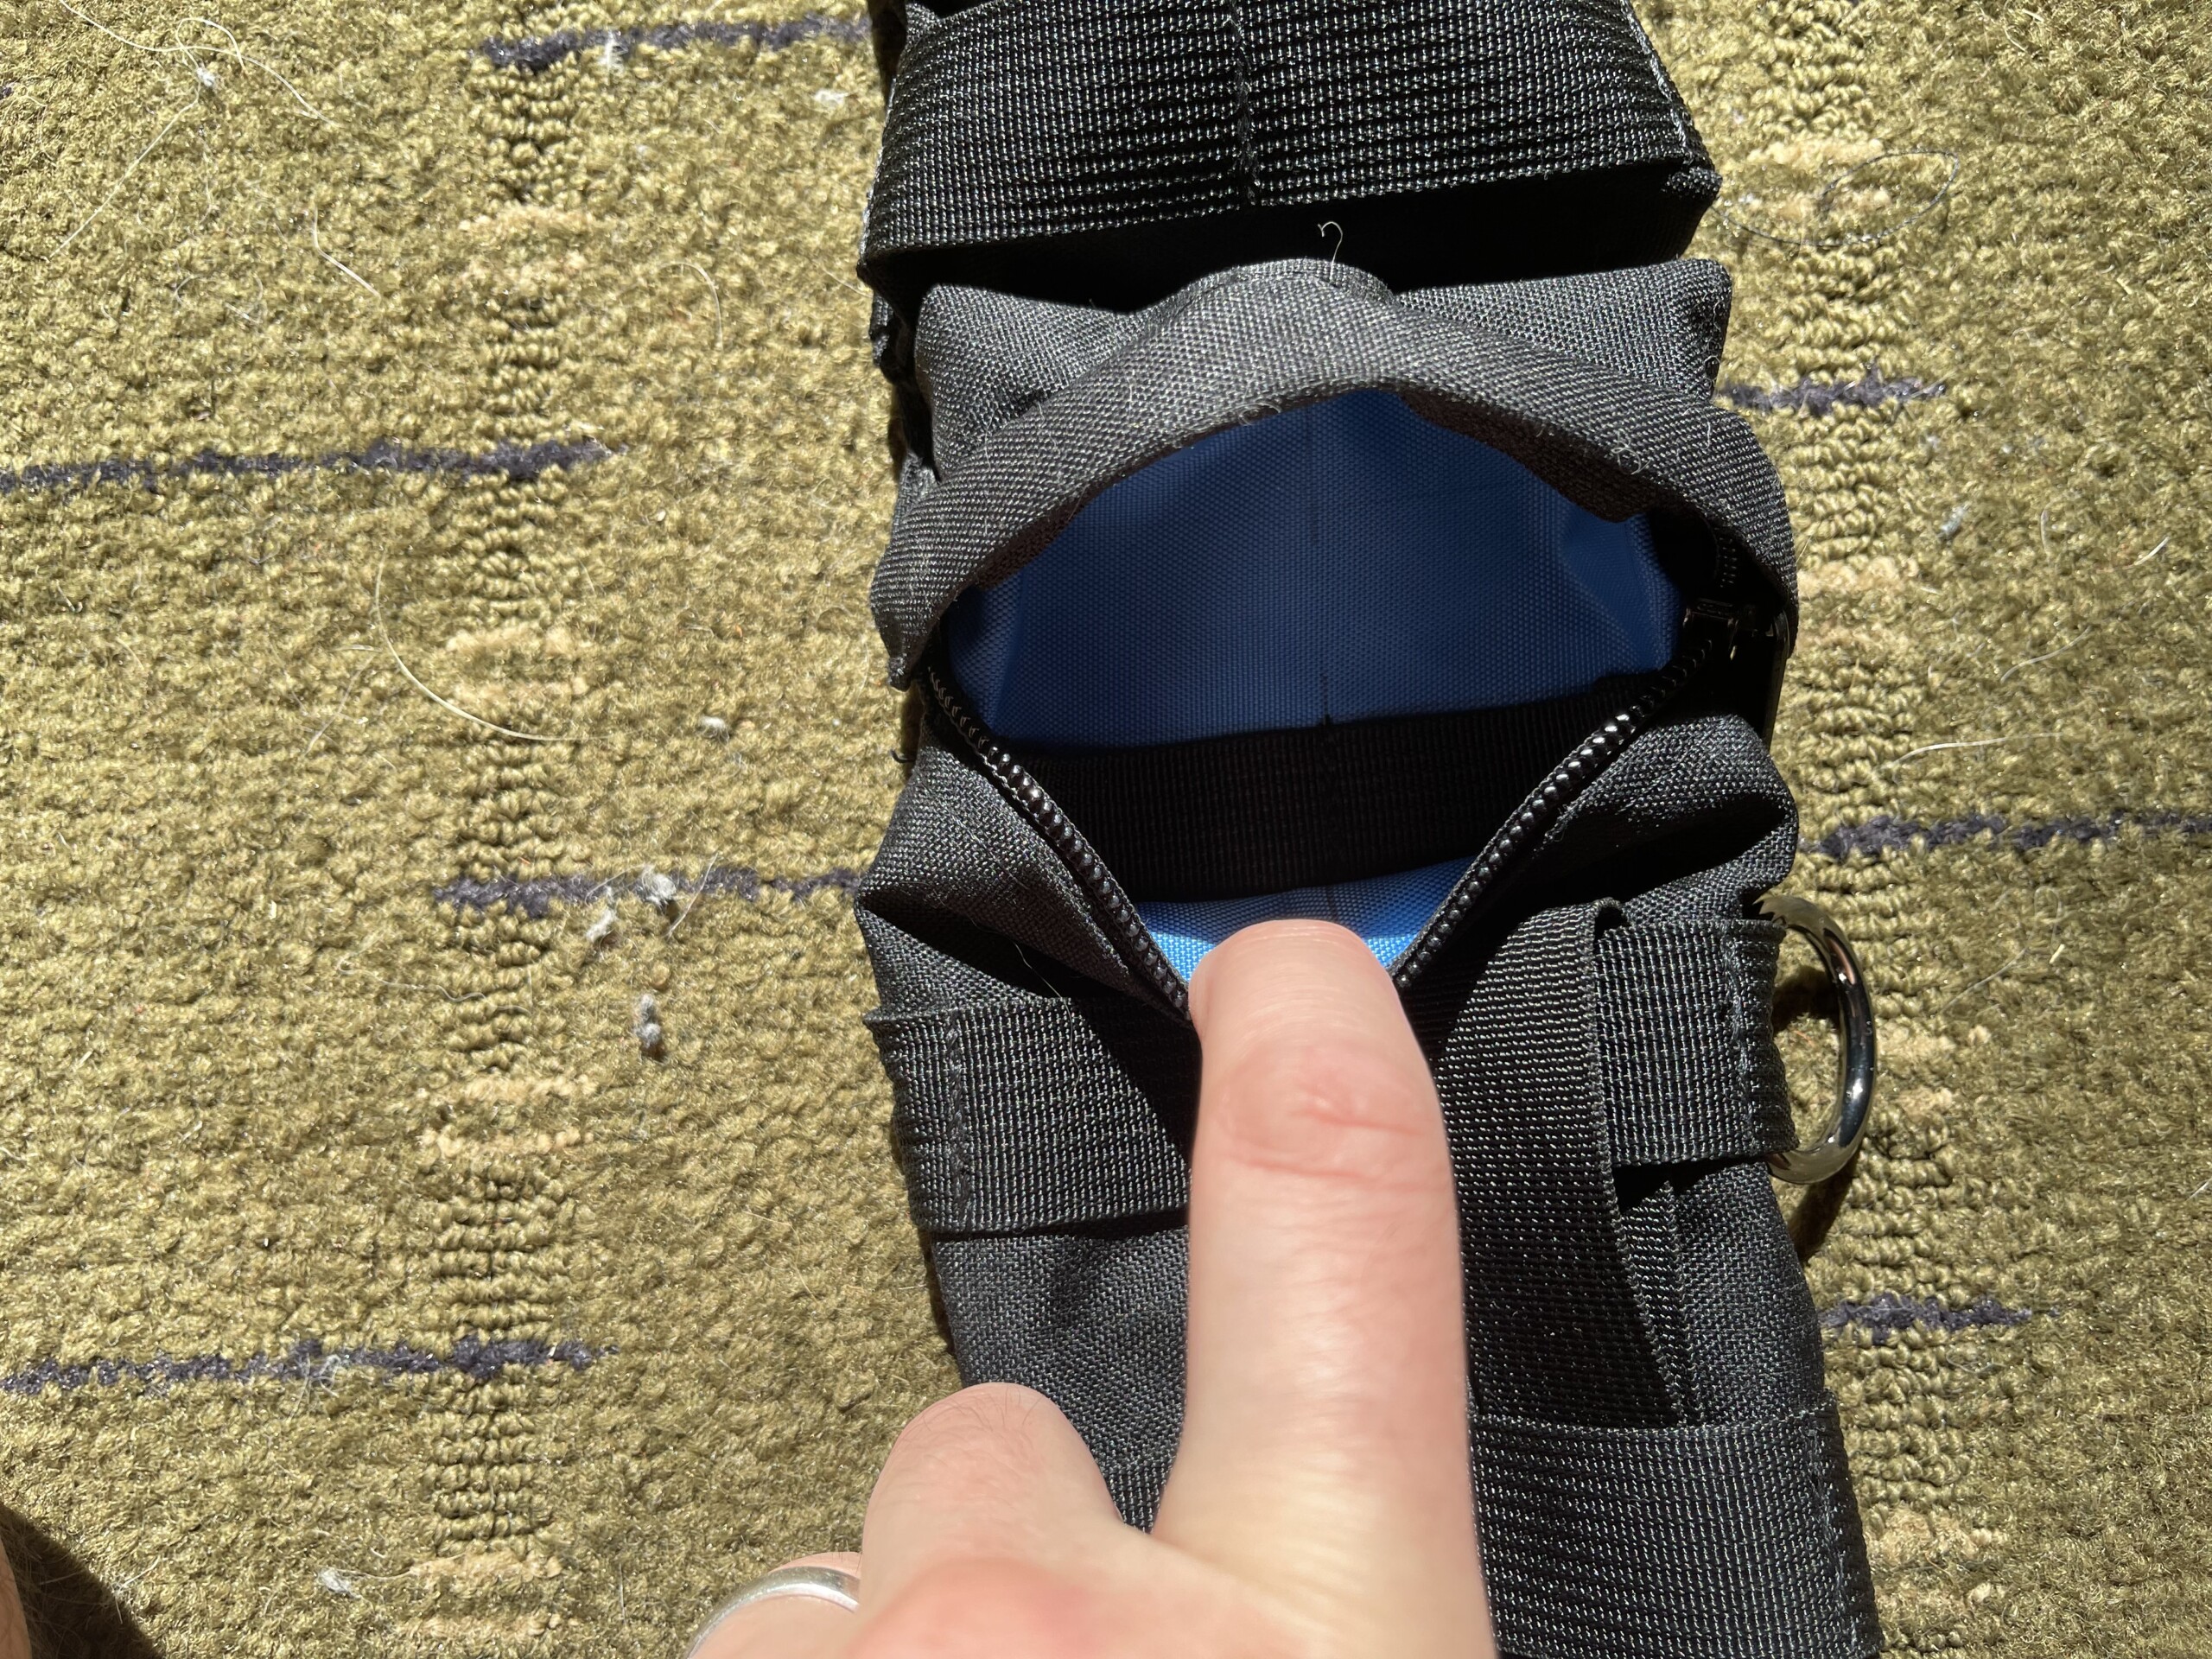
The upper pouch holds some redundant items: a second knife, a pocket bellows (telescoping metal straw for blowing embers into flame), a chunk of fatwood (great firestarter), and a rechargeable arc lighter on a tether.
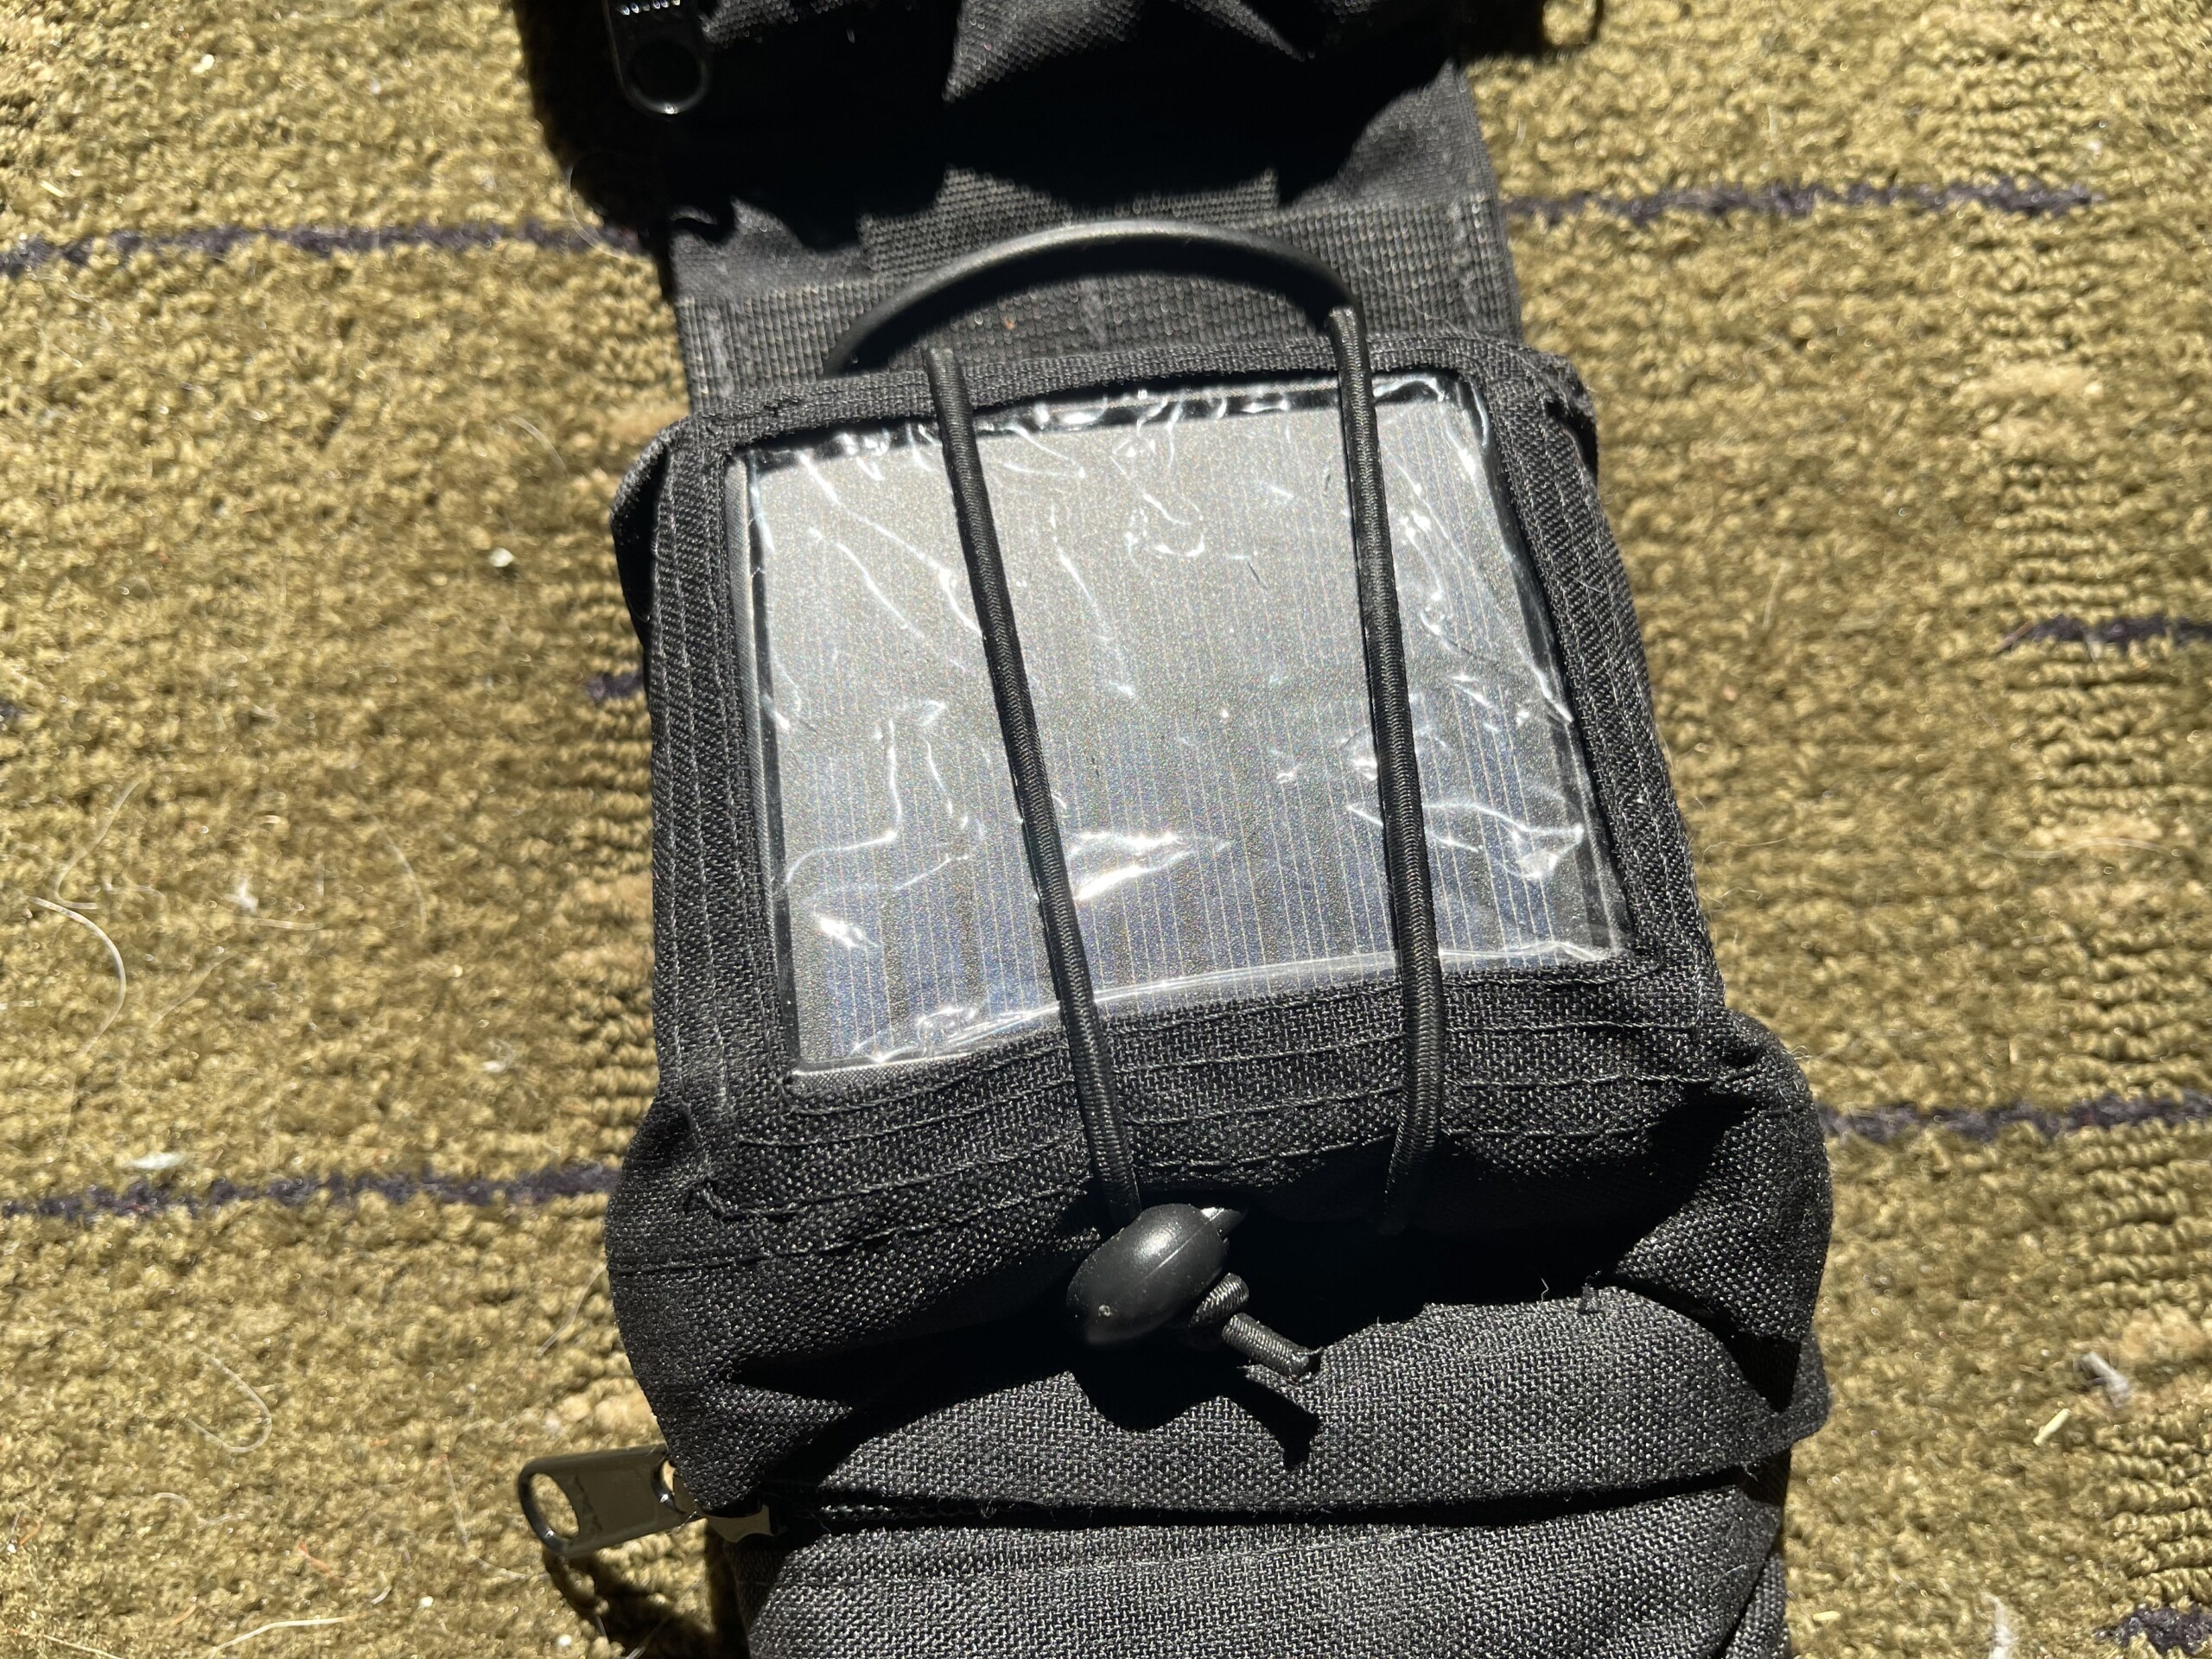
At the shoulder I have a removeable pouch that holds my solar battery charger.
The solar charger pouch removed.
The solar charger pouch also has a rigid insert (the blue) as well as a short sleeve to hold a cable to recharge the battery itself (it’s not efficient enough to get a full charge from the sun). All the cables needed to charge a variety of devices are built into the battery and tuck out of the way, which is one reason I picked this model.
A D ring at the shoulder to hang the whole bag from a hook.
The back pouch was supposed to hold my poncho, but I had to shorten the pocket to fit my body and the poncho no longer fits. I have plans to make my own poncho at some point, I don’t know if I’ll be able to design it so it fits here, but we’ll see. In the meantime, I throw a pair of glove liners and (usually) a “Buff” head cover thing.
Chest strap that works no matter which shoulder I wear the bandolier on (it’s ambidextrous). I found some circular carabiners that work great.
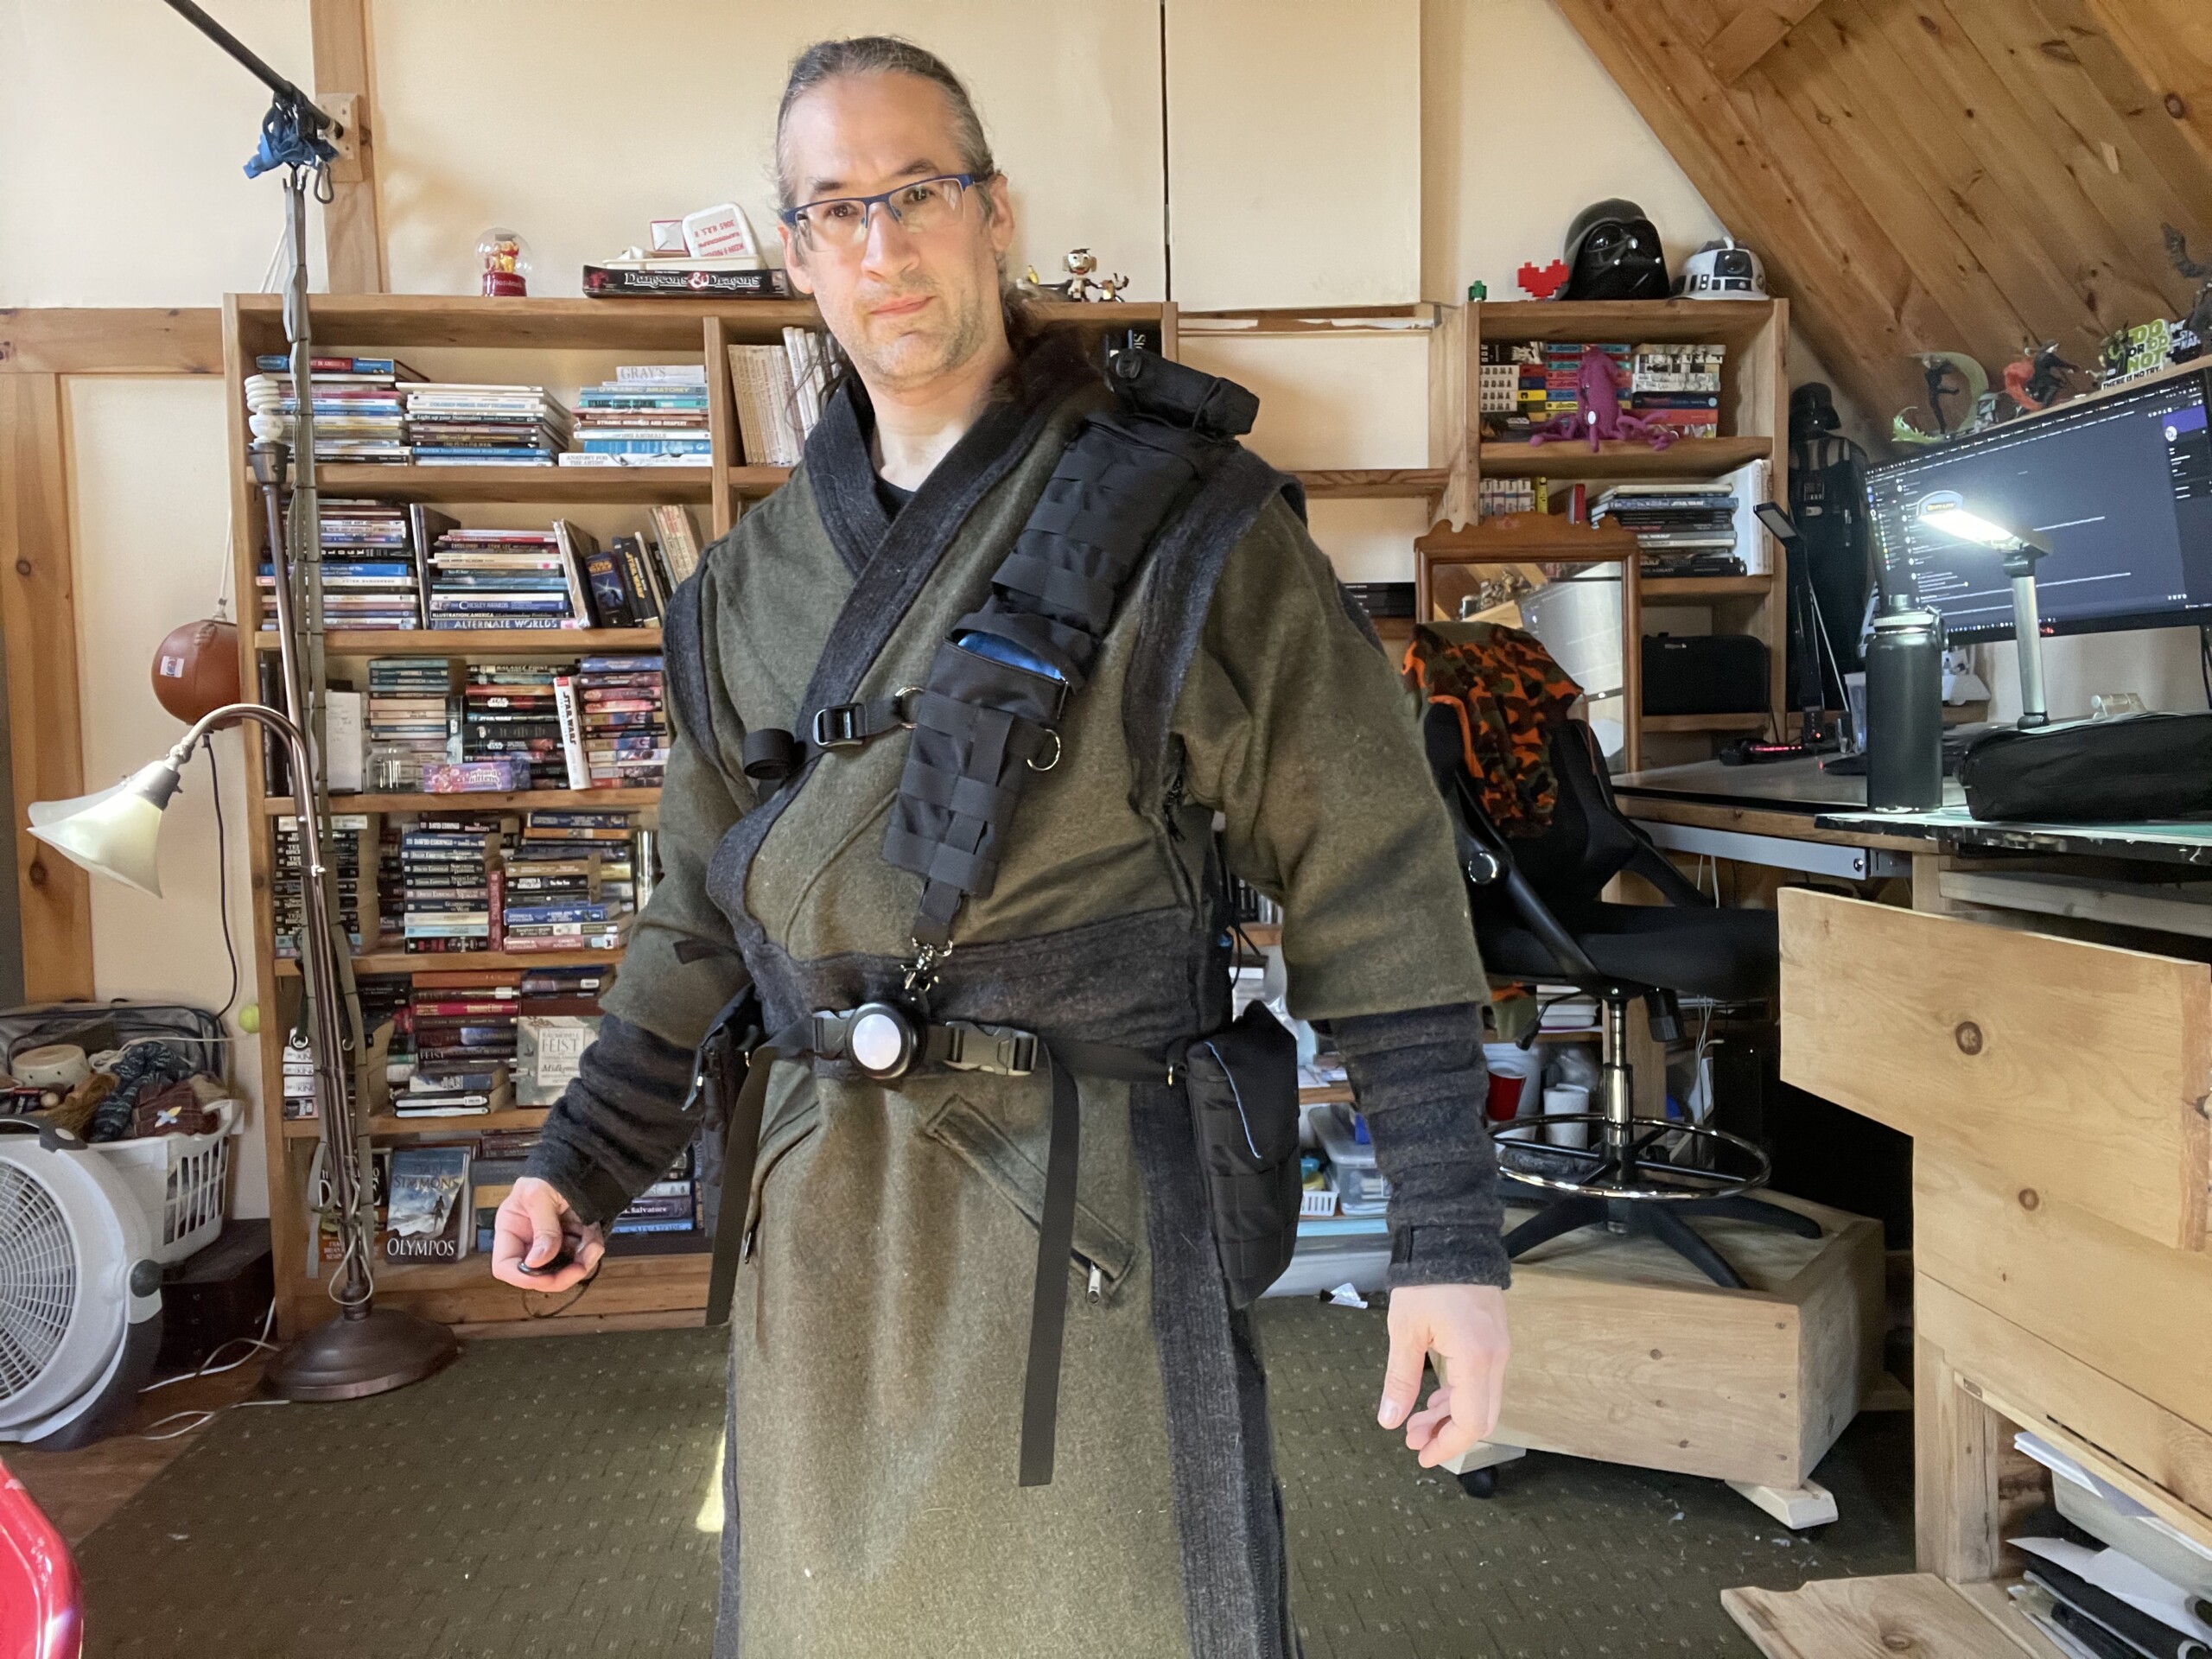
Wearing the coat and bag together (I should have taken some care to straighten things out a bit before I took the picture, but oh well. The belt should be in line with the false belt on the coat).
The Gi Coat 3.0
The first things I started sewing many years ago were long wool coats, one of which was styled after my karate gi. It was a simple, good coat and I experimented with a few features. I eventually rebuilt that coat, adding several layers of wool, some more features, and some more complicated designs. The “Beast Coat” was certainly warm, but some of the features didn’t work as intended, and it was too bulky and restricted my movement too much. I wanted the next coat to improve on that, so I changed the way I did a few things (like no more, or fewer, rolled seams with the already bulky wool blankets I work with. I experimented and found I could attach pieces by butting them together and using a zig-zag stitch. The problem was I had to run over the seam 3+ times to fill in the stitching enough to look good, which took a ton of time and miles of thread).
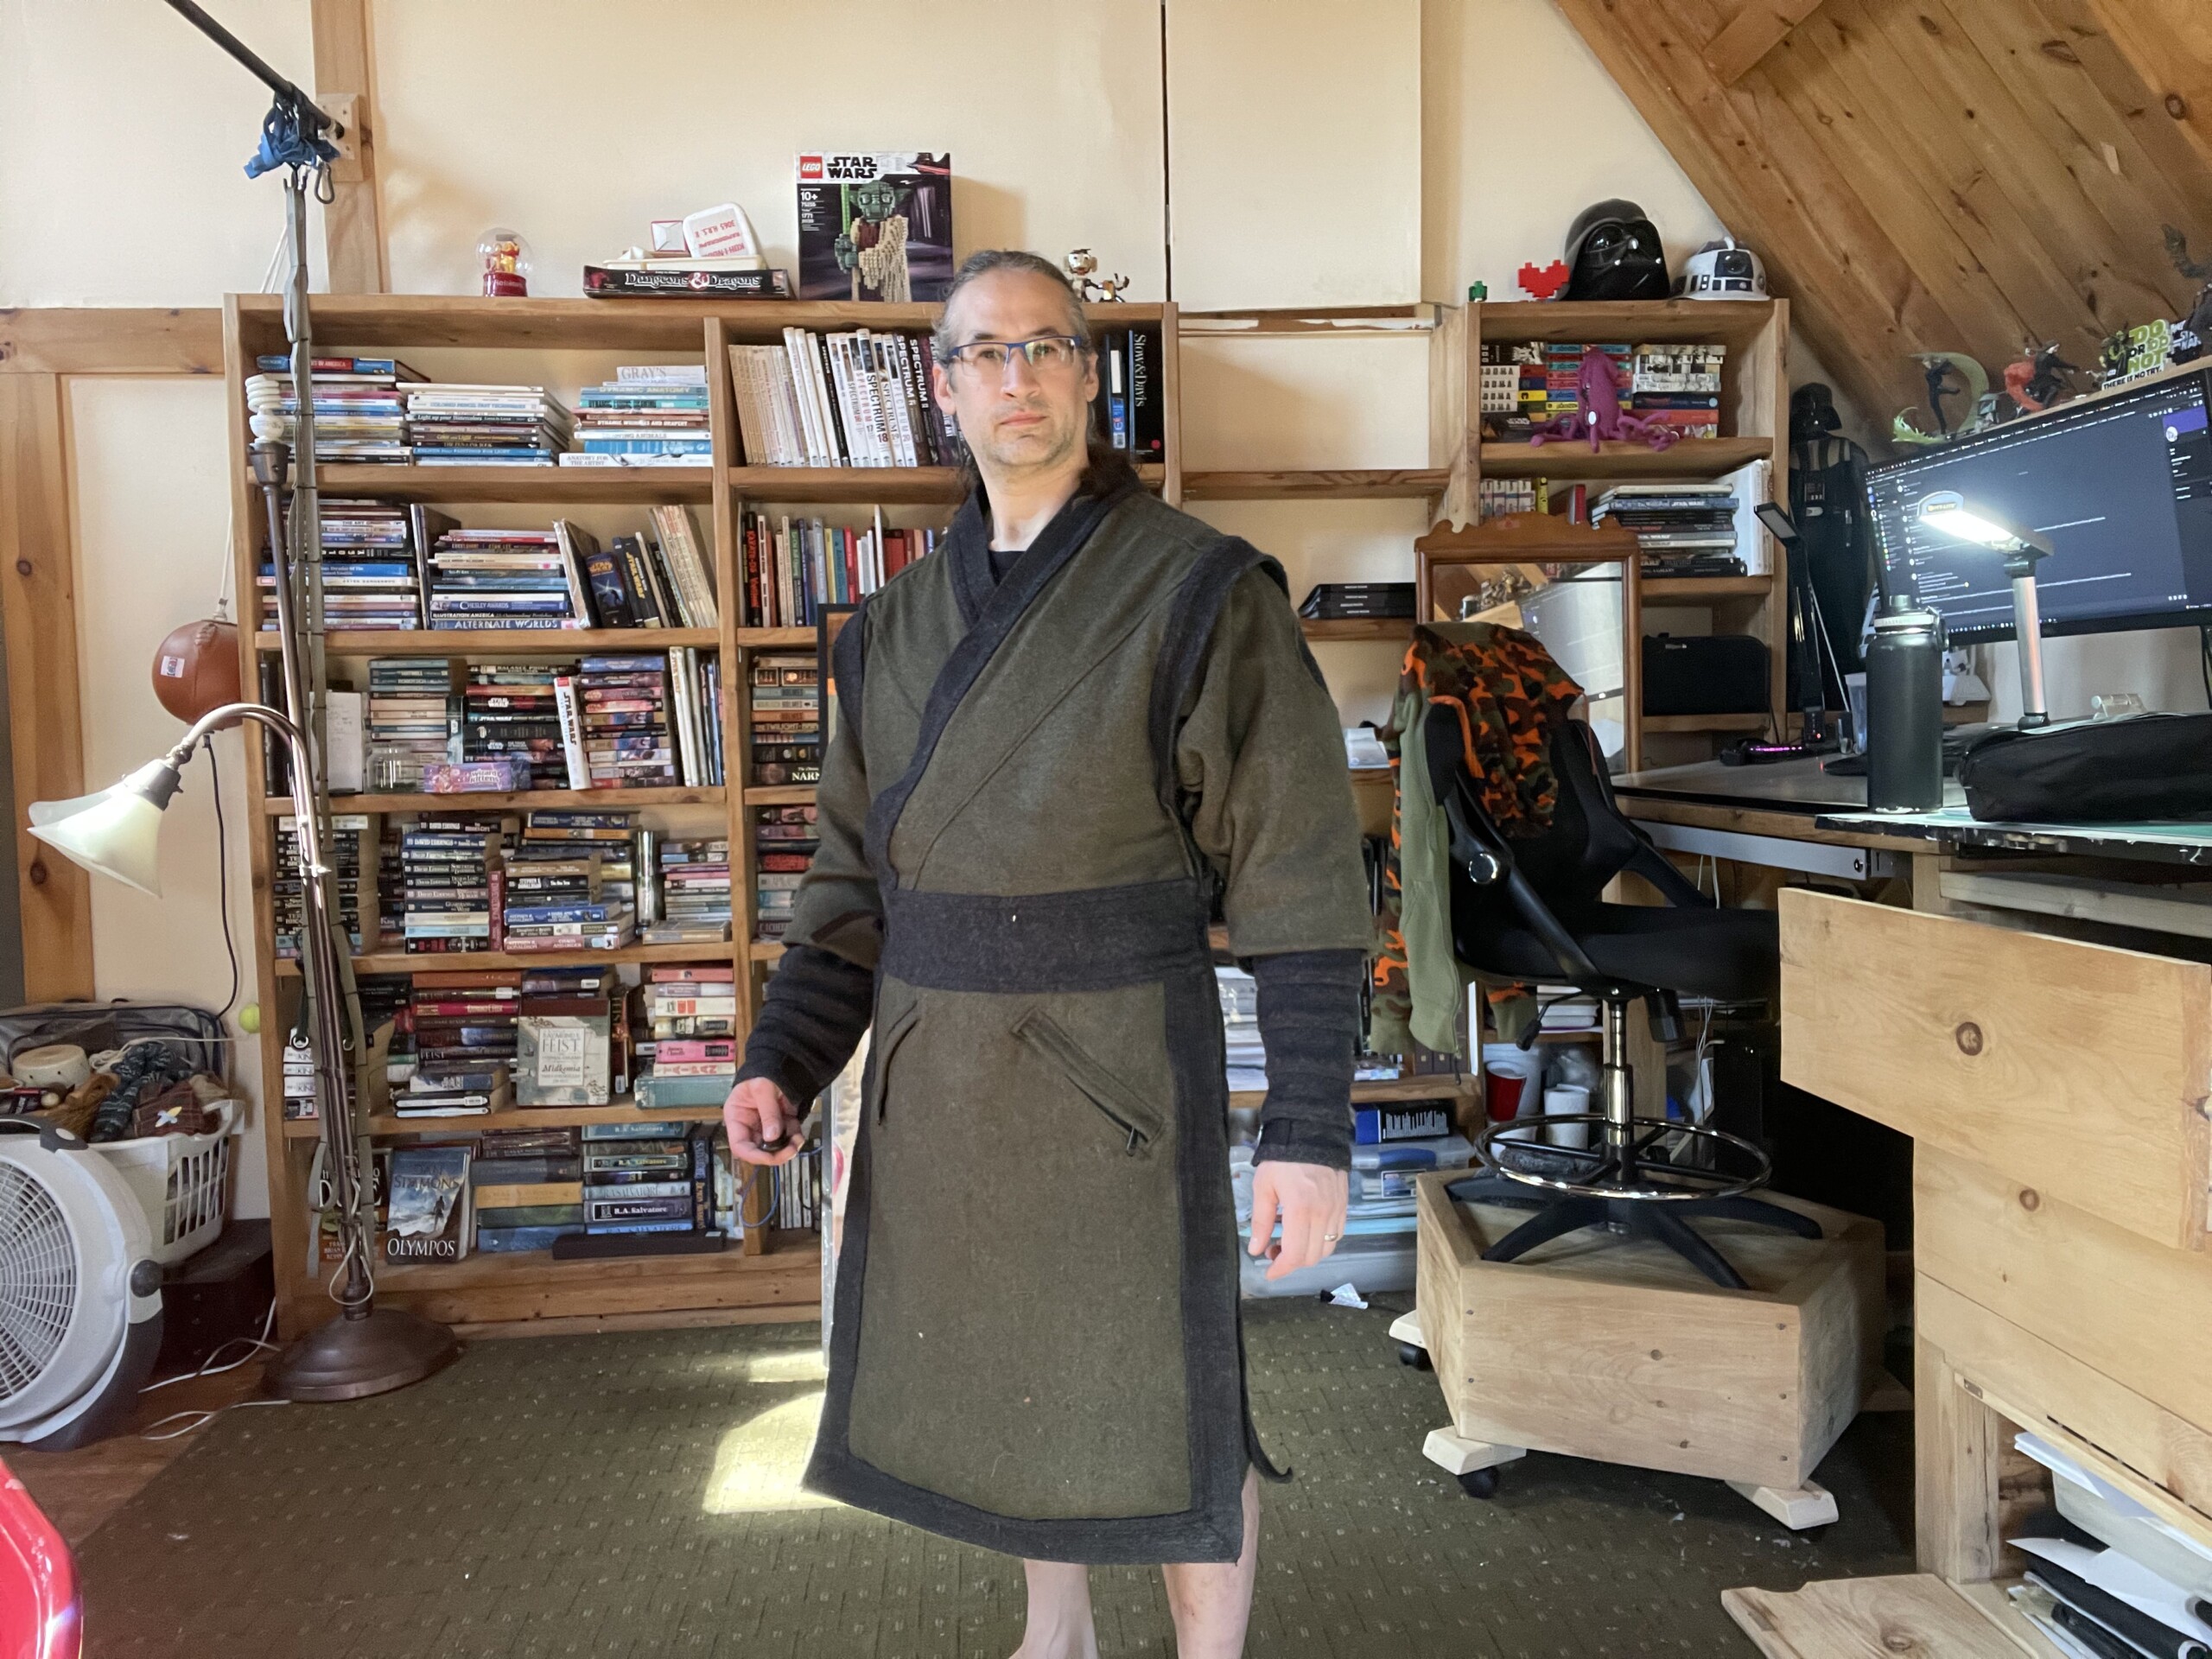
Yes, the coat is a bit Jedi-ish (I’ve already had several people say “may the Force be with you” at the mountain), but it really just shares a similar source of inspiration (not that the Jedi angle is unintentional…I am a huge Star Wars nerd after all): traditional Chinese and Japanese fashion/clothing. I patterned the general function of the coat off of my karate gi and went from there.
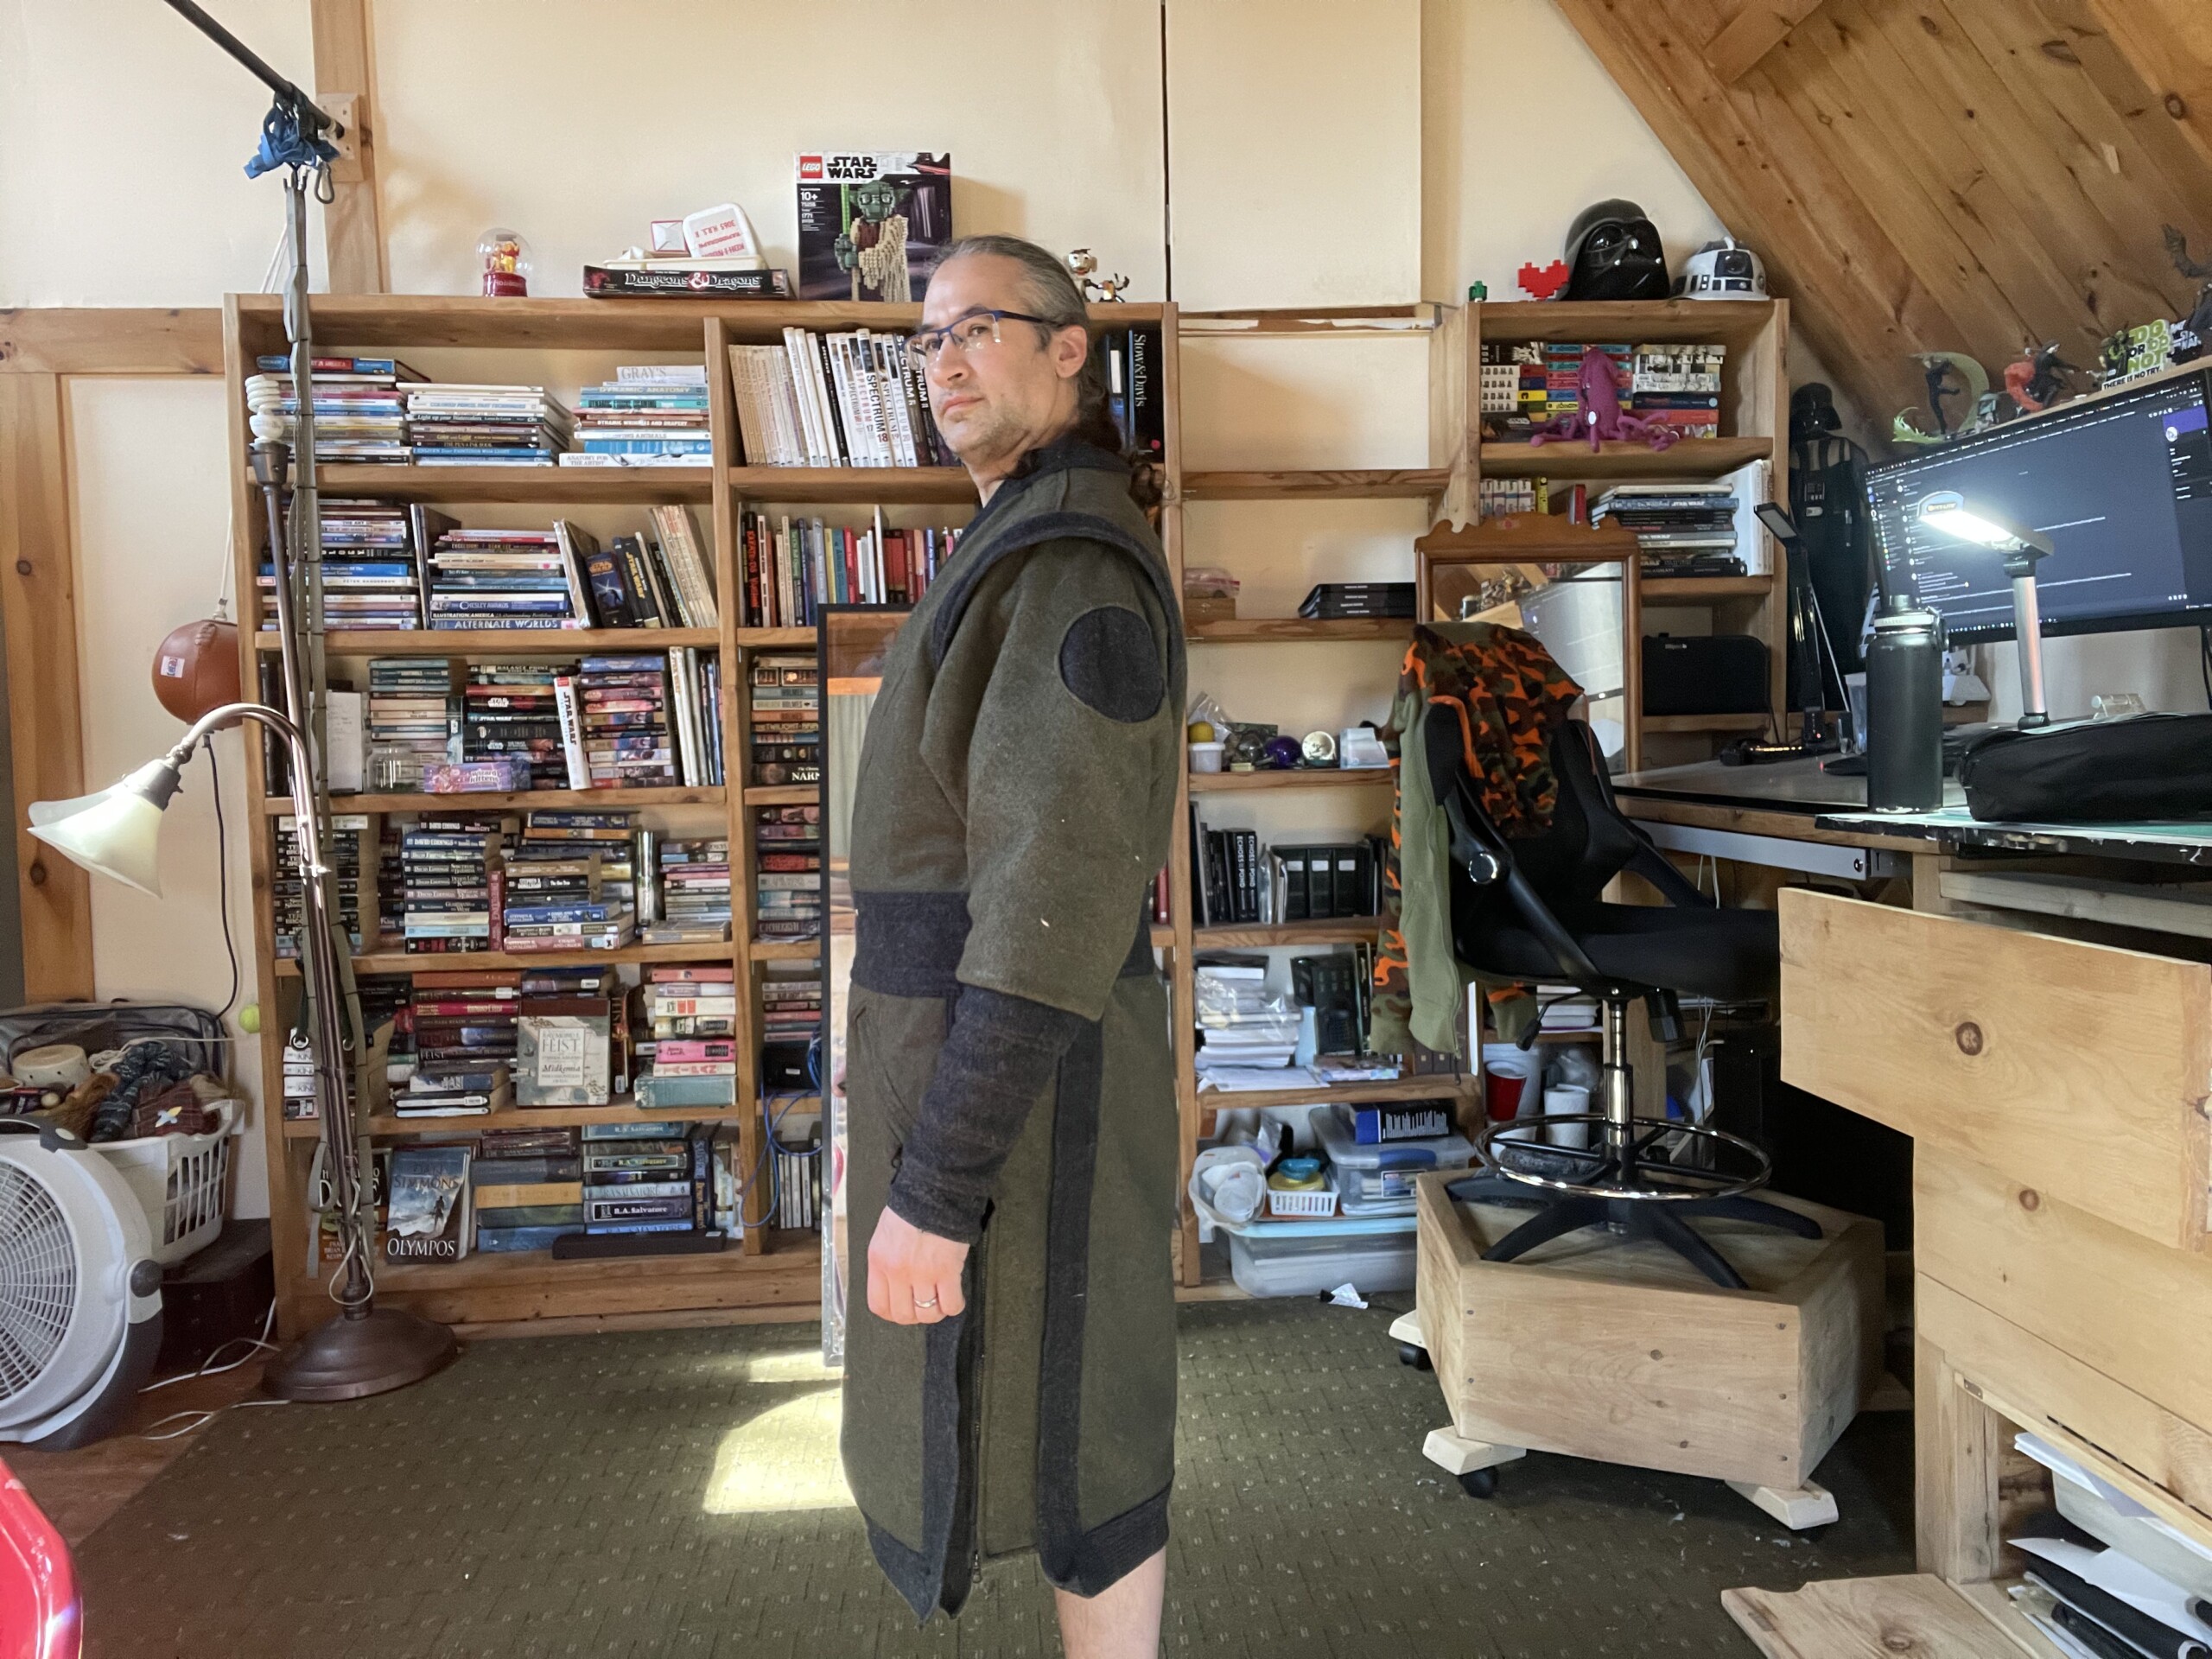
I thought the shoulder areas needed something, so I made circular cutouts. At some point I may design some removeable patches for them.
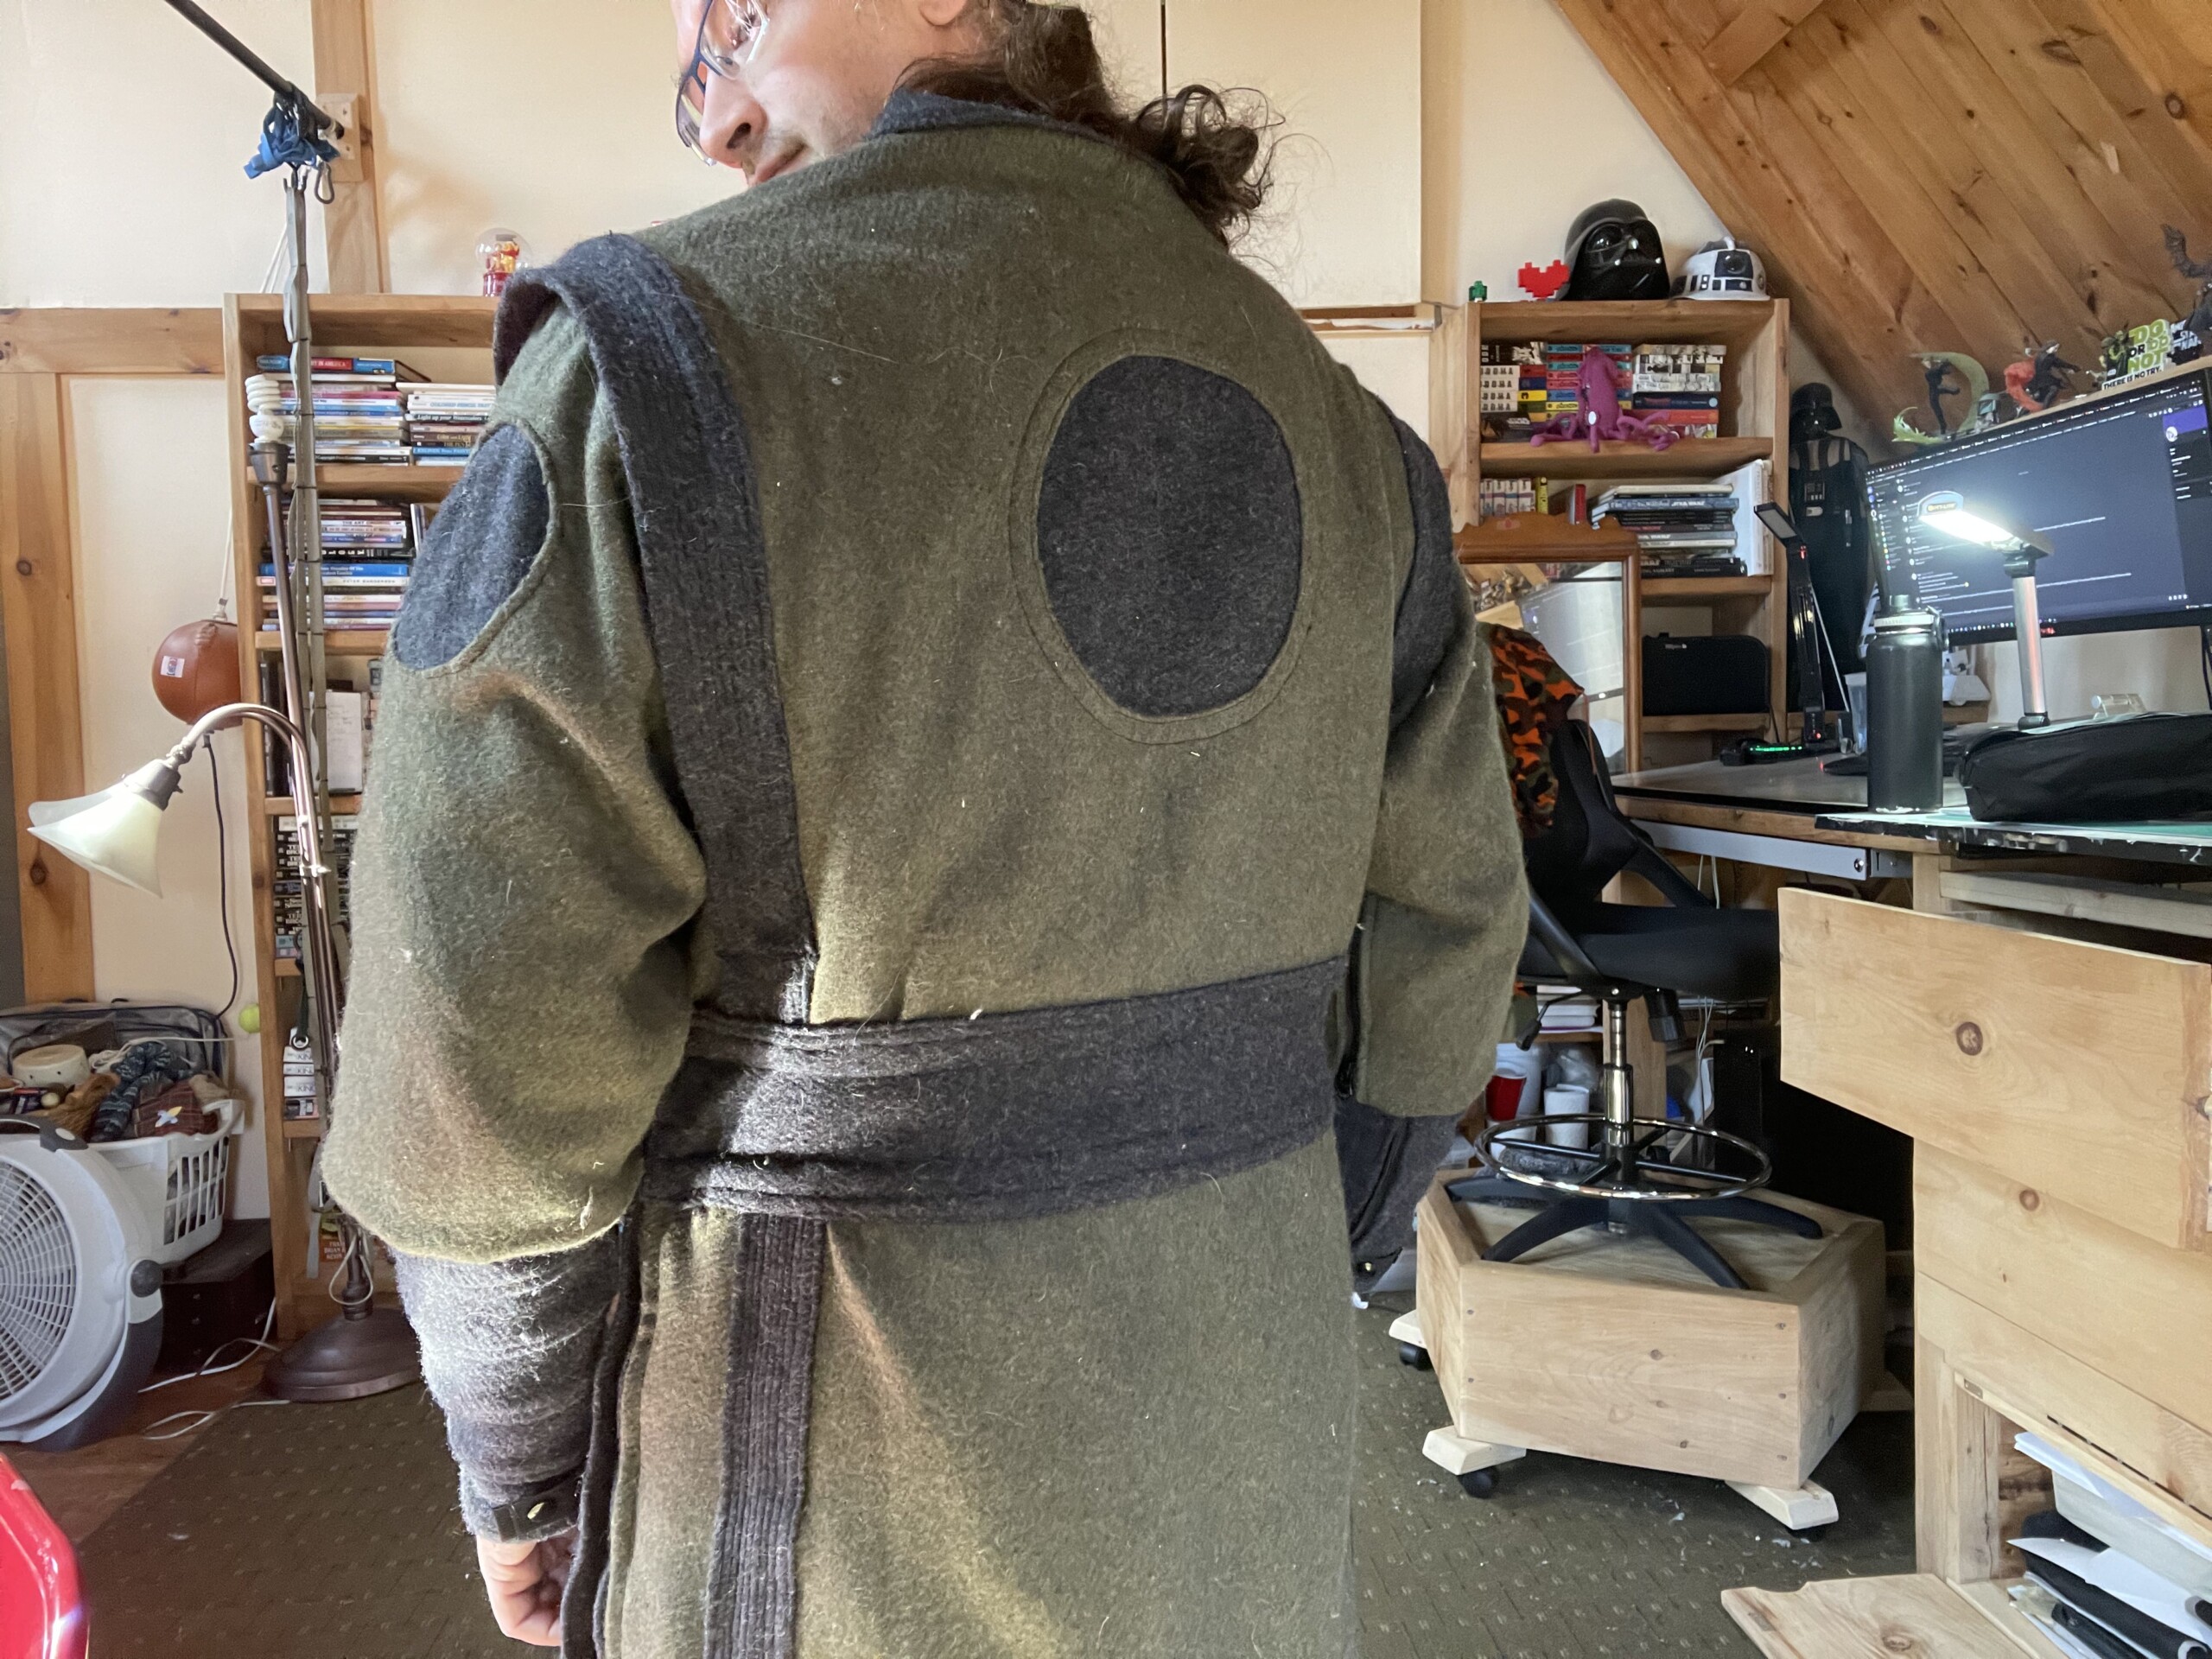
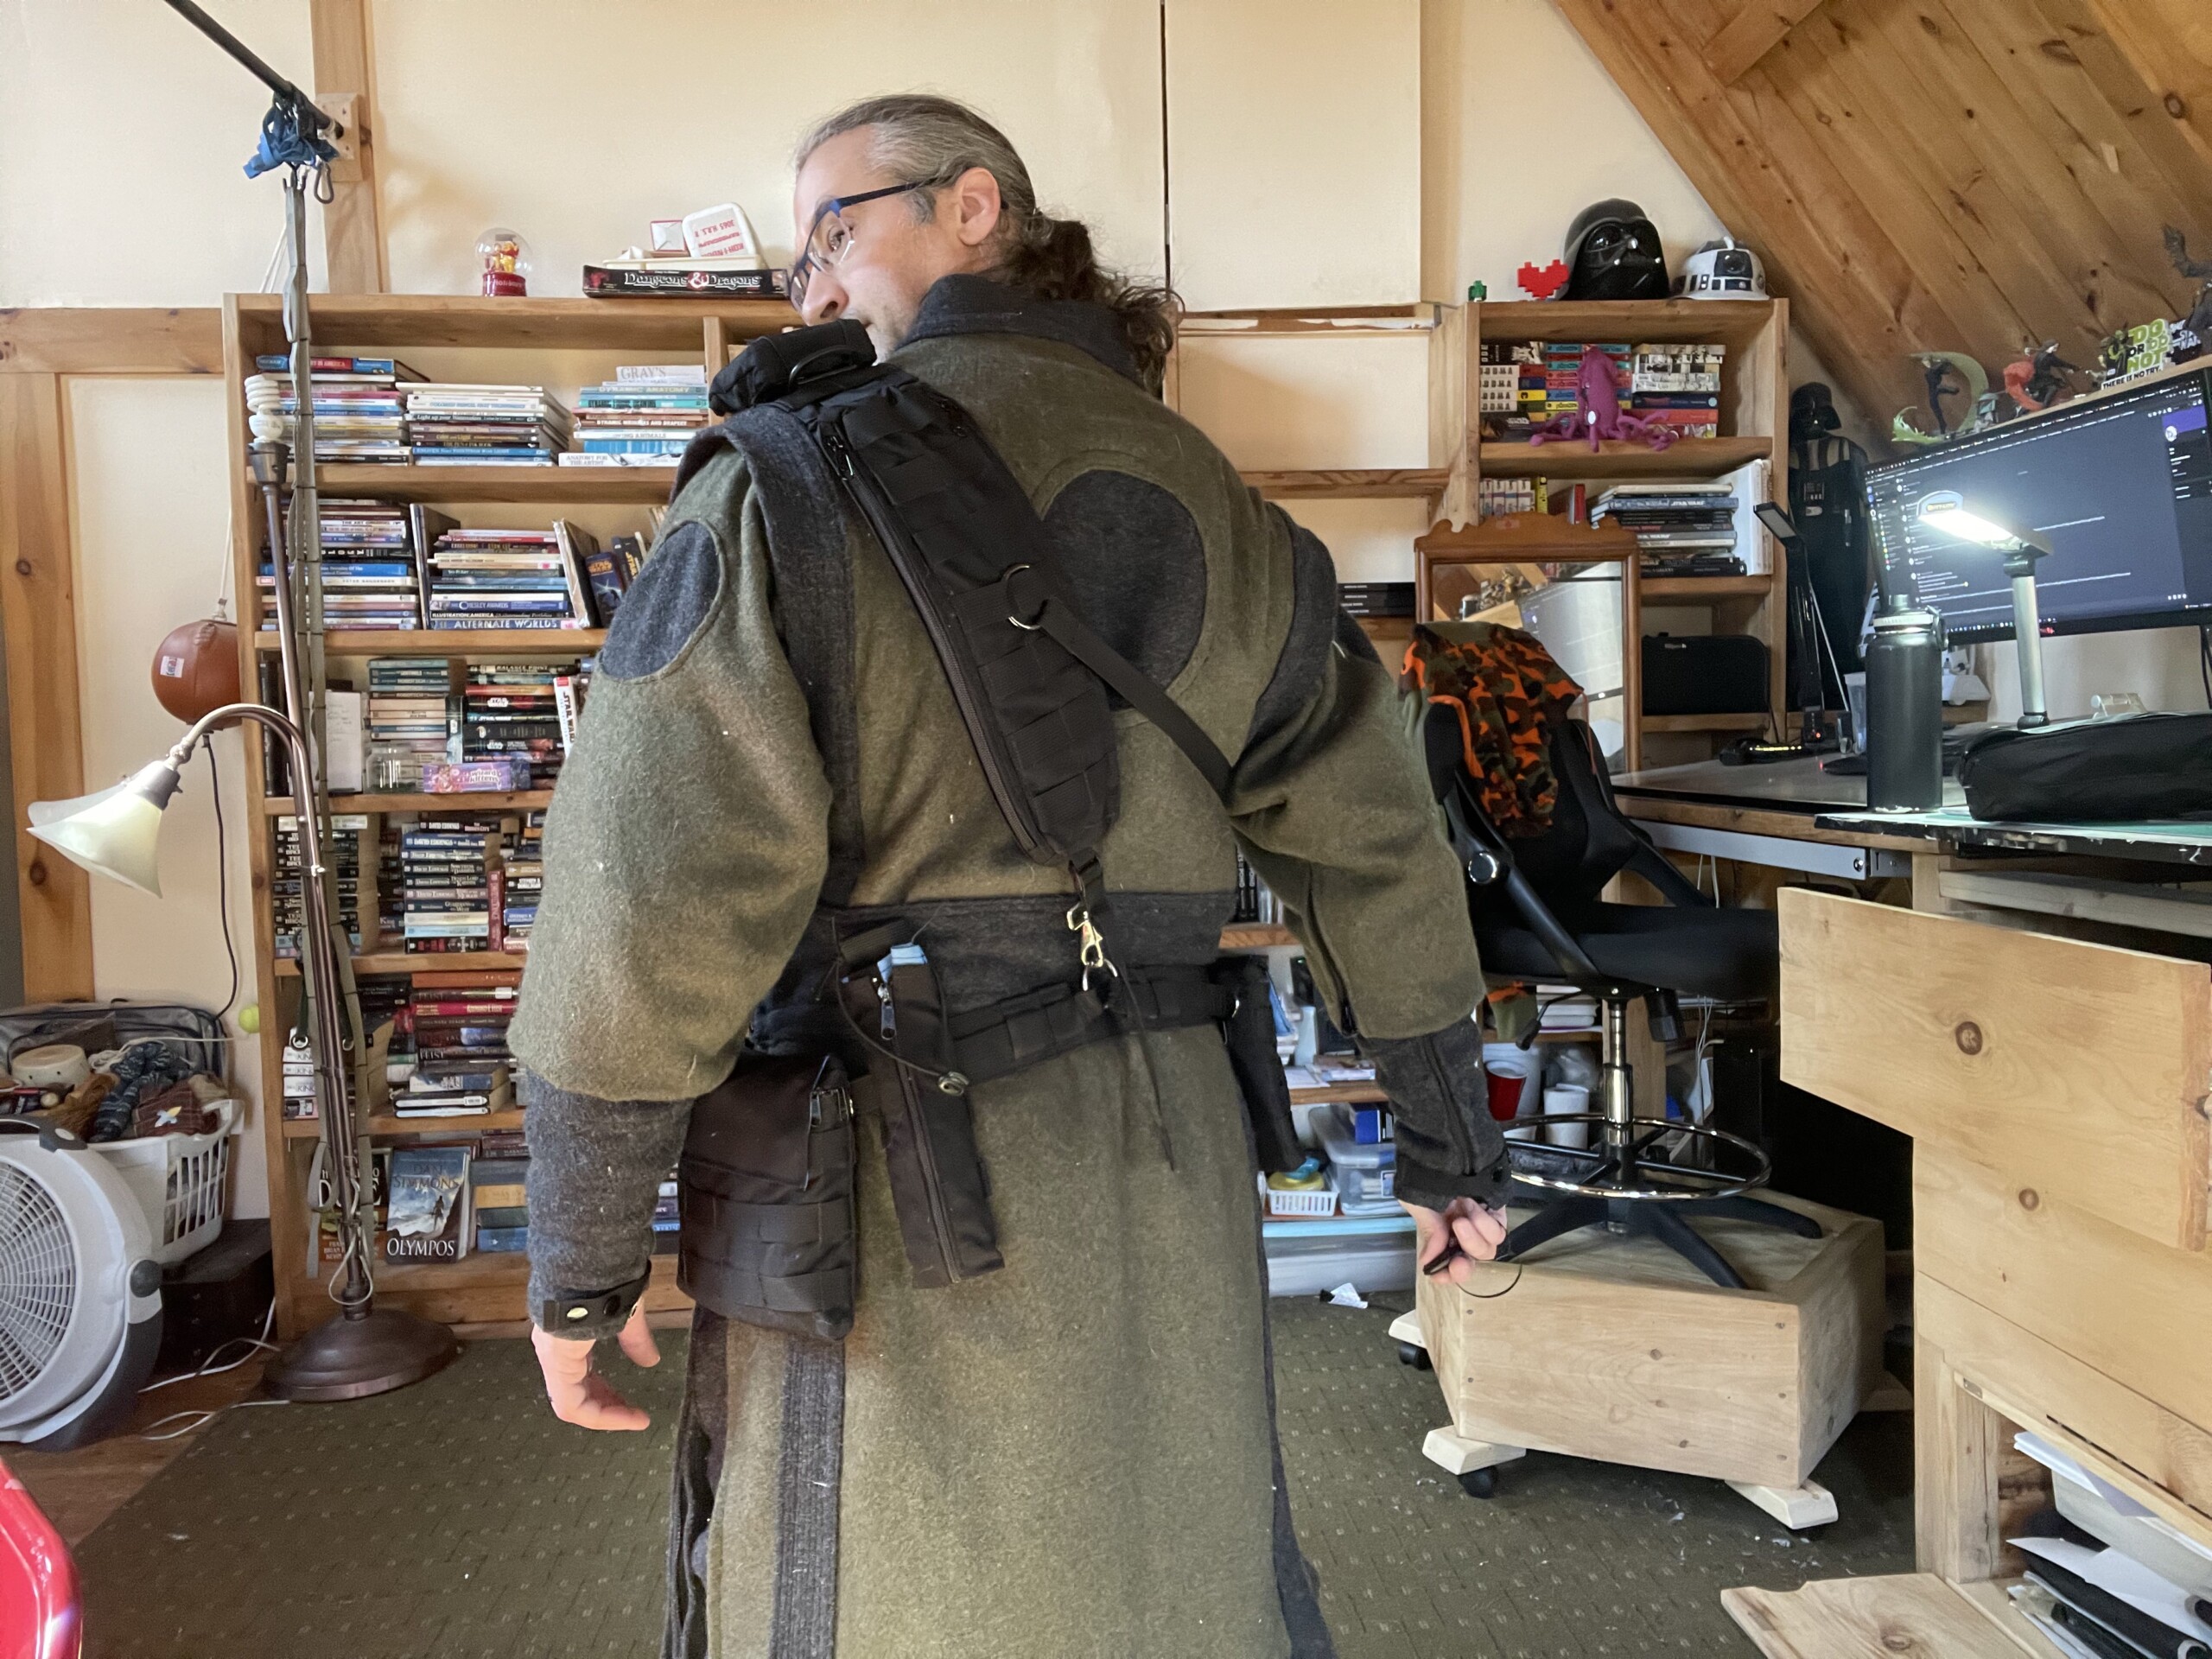
I put a big circle on the back, too (ignore all the cat fur stuck to me)
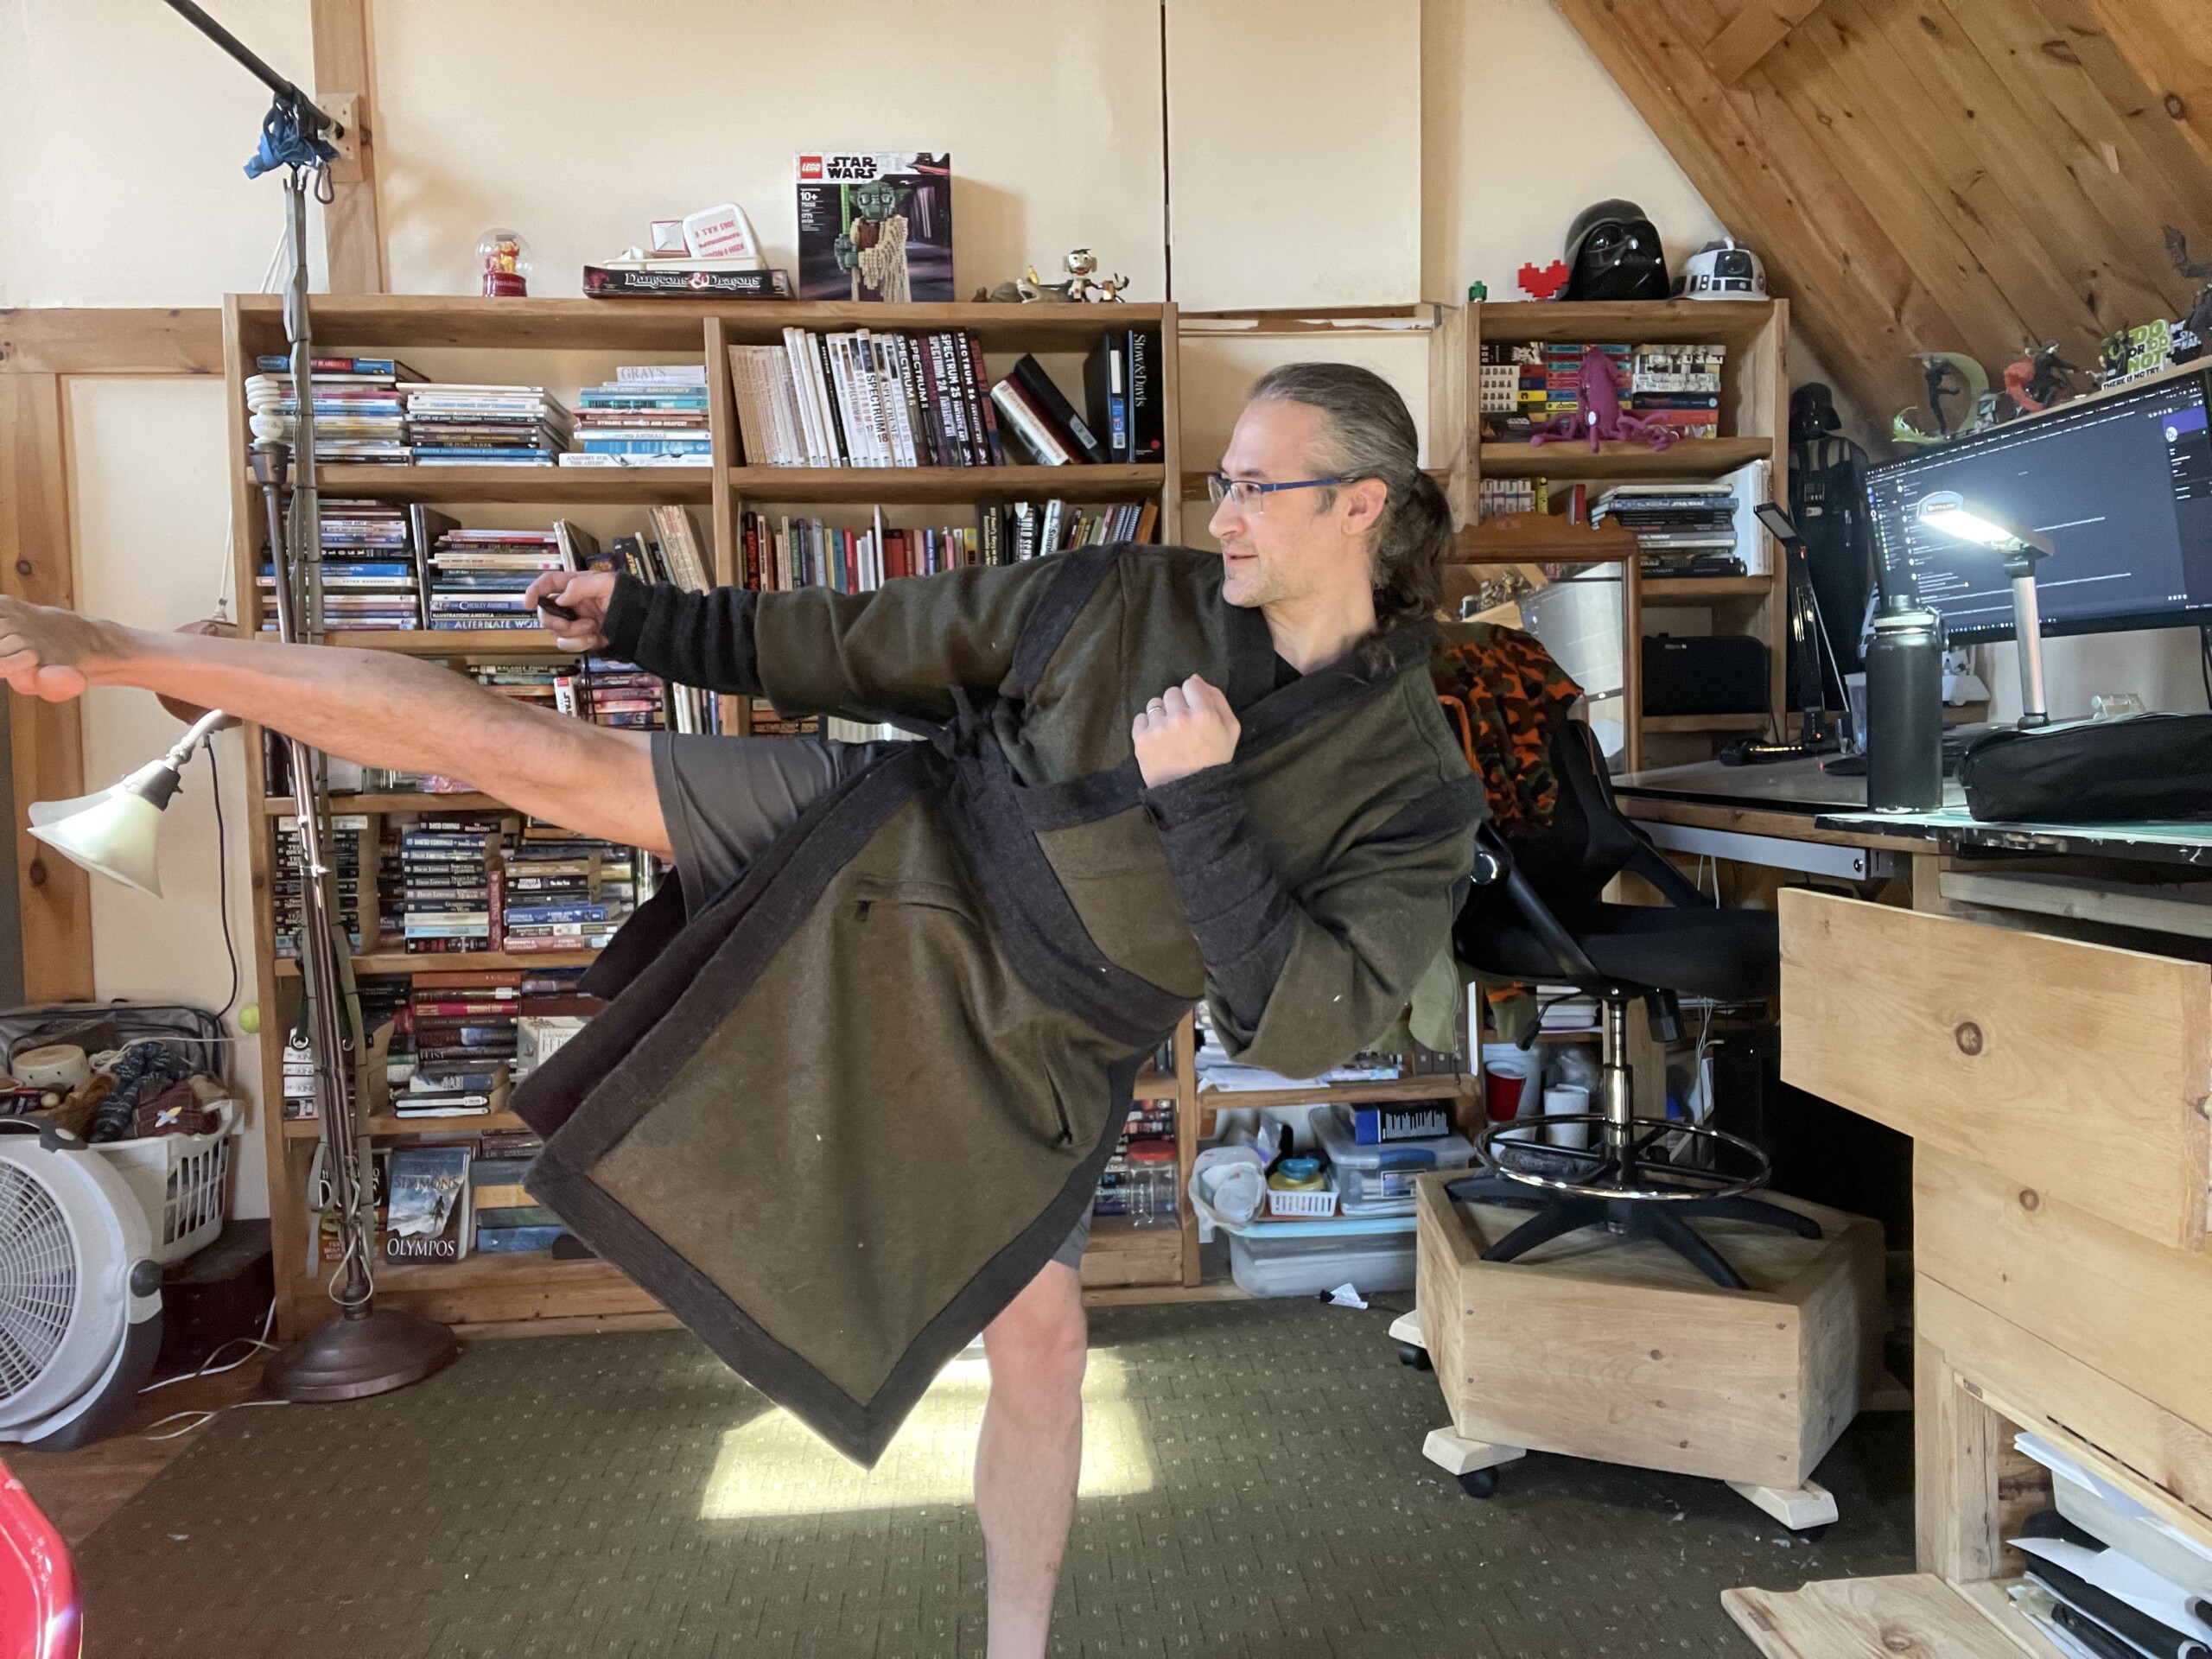
Not to fear, with the sides unzipped I can still kick all the people I need to.
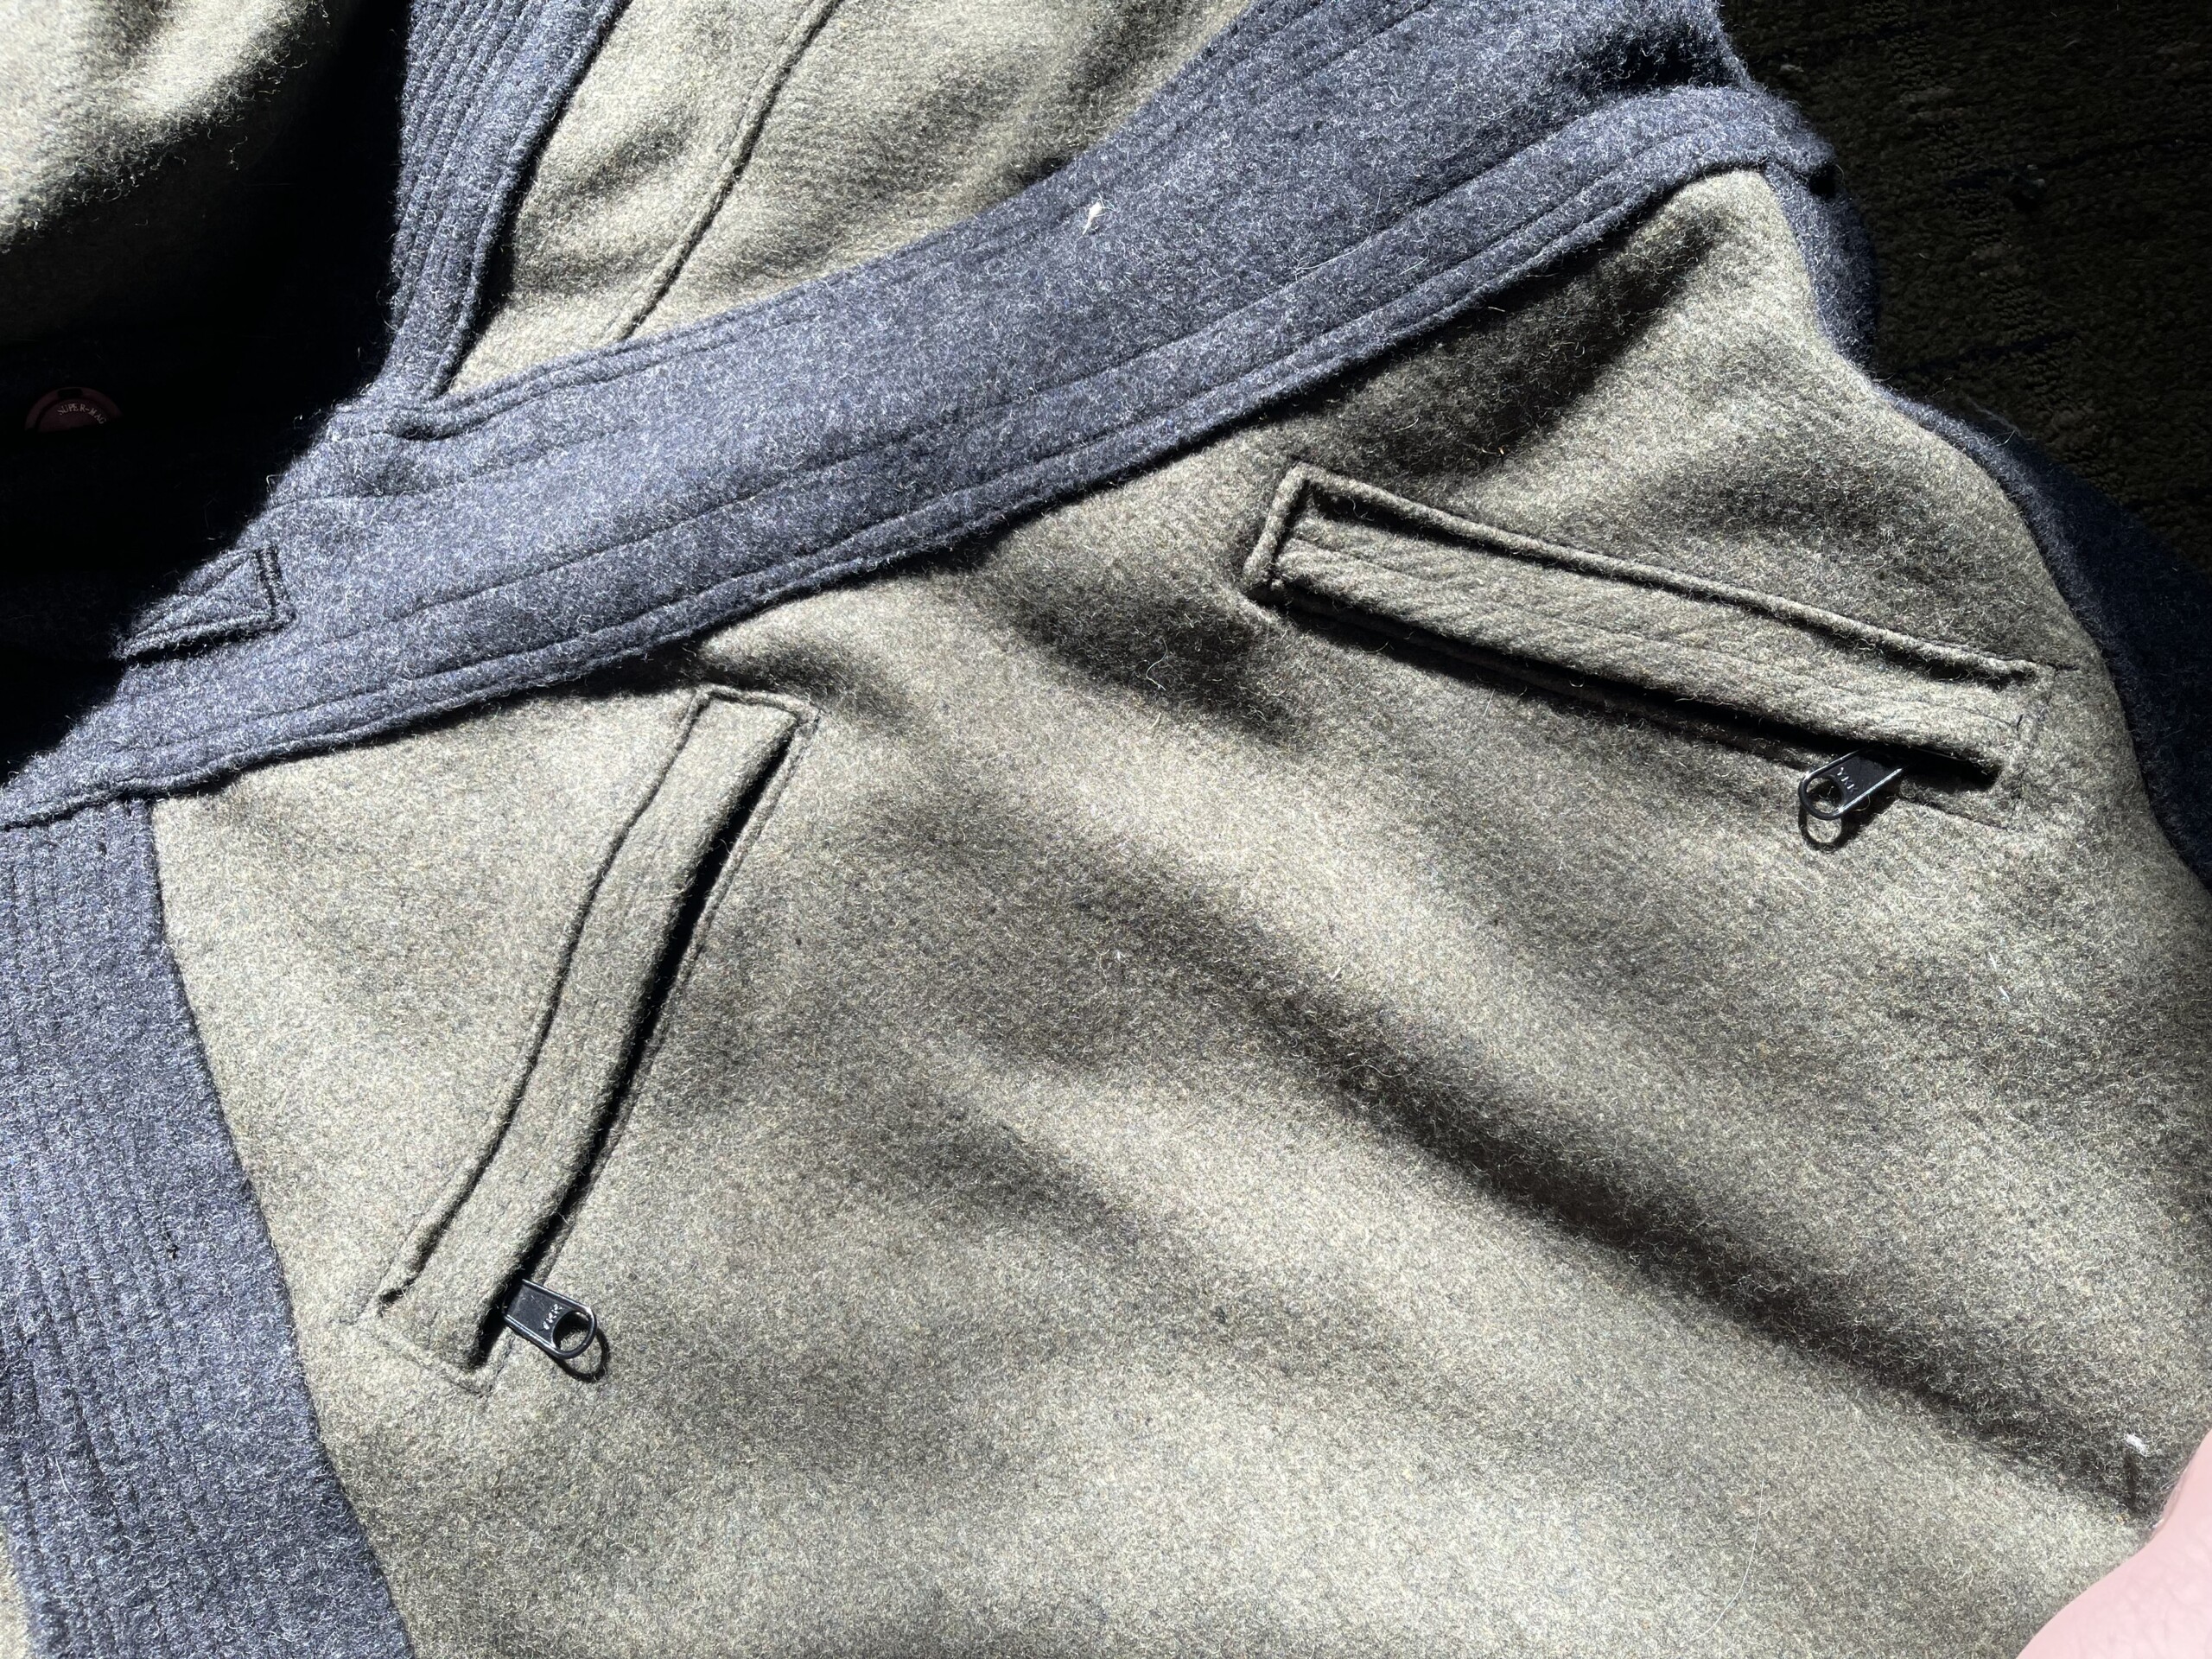
This is the first wool coat I’ve made where I’ve actually designed the pockets correctly. Usually I place them in an area that winds up either covered or otherwise unusable when I’m also wearing whatever belt or bag I carry. That or the angle of the openings isn’t right or are too small for my hands to fit in with the thick wool sleeves in the way. These work just right.
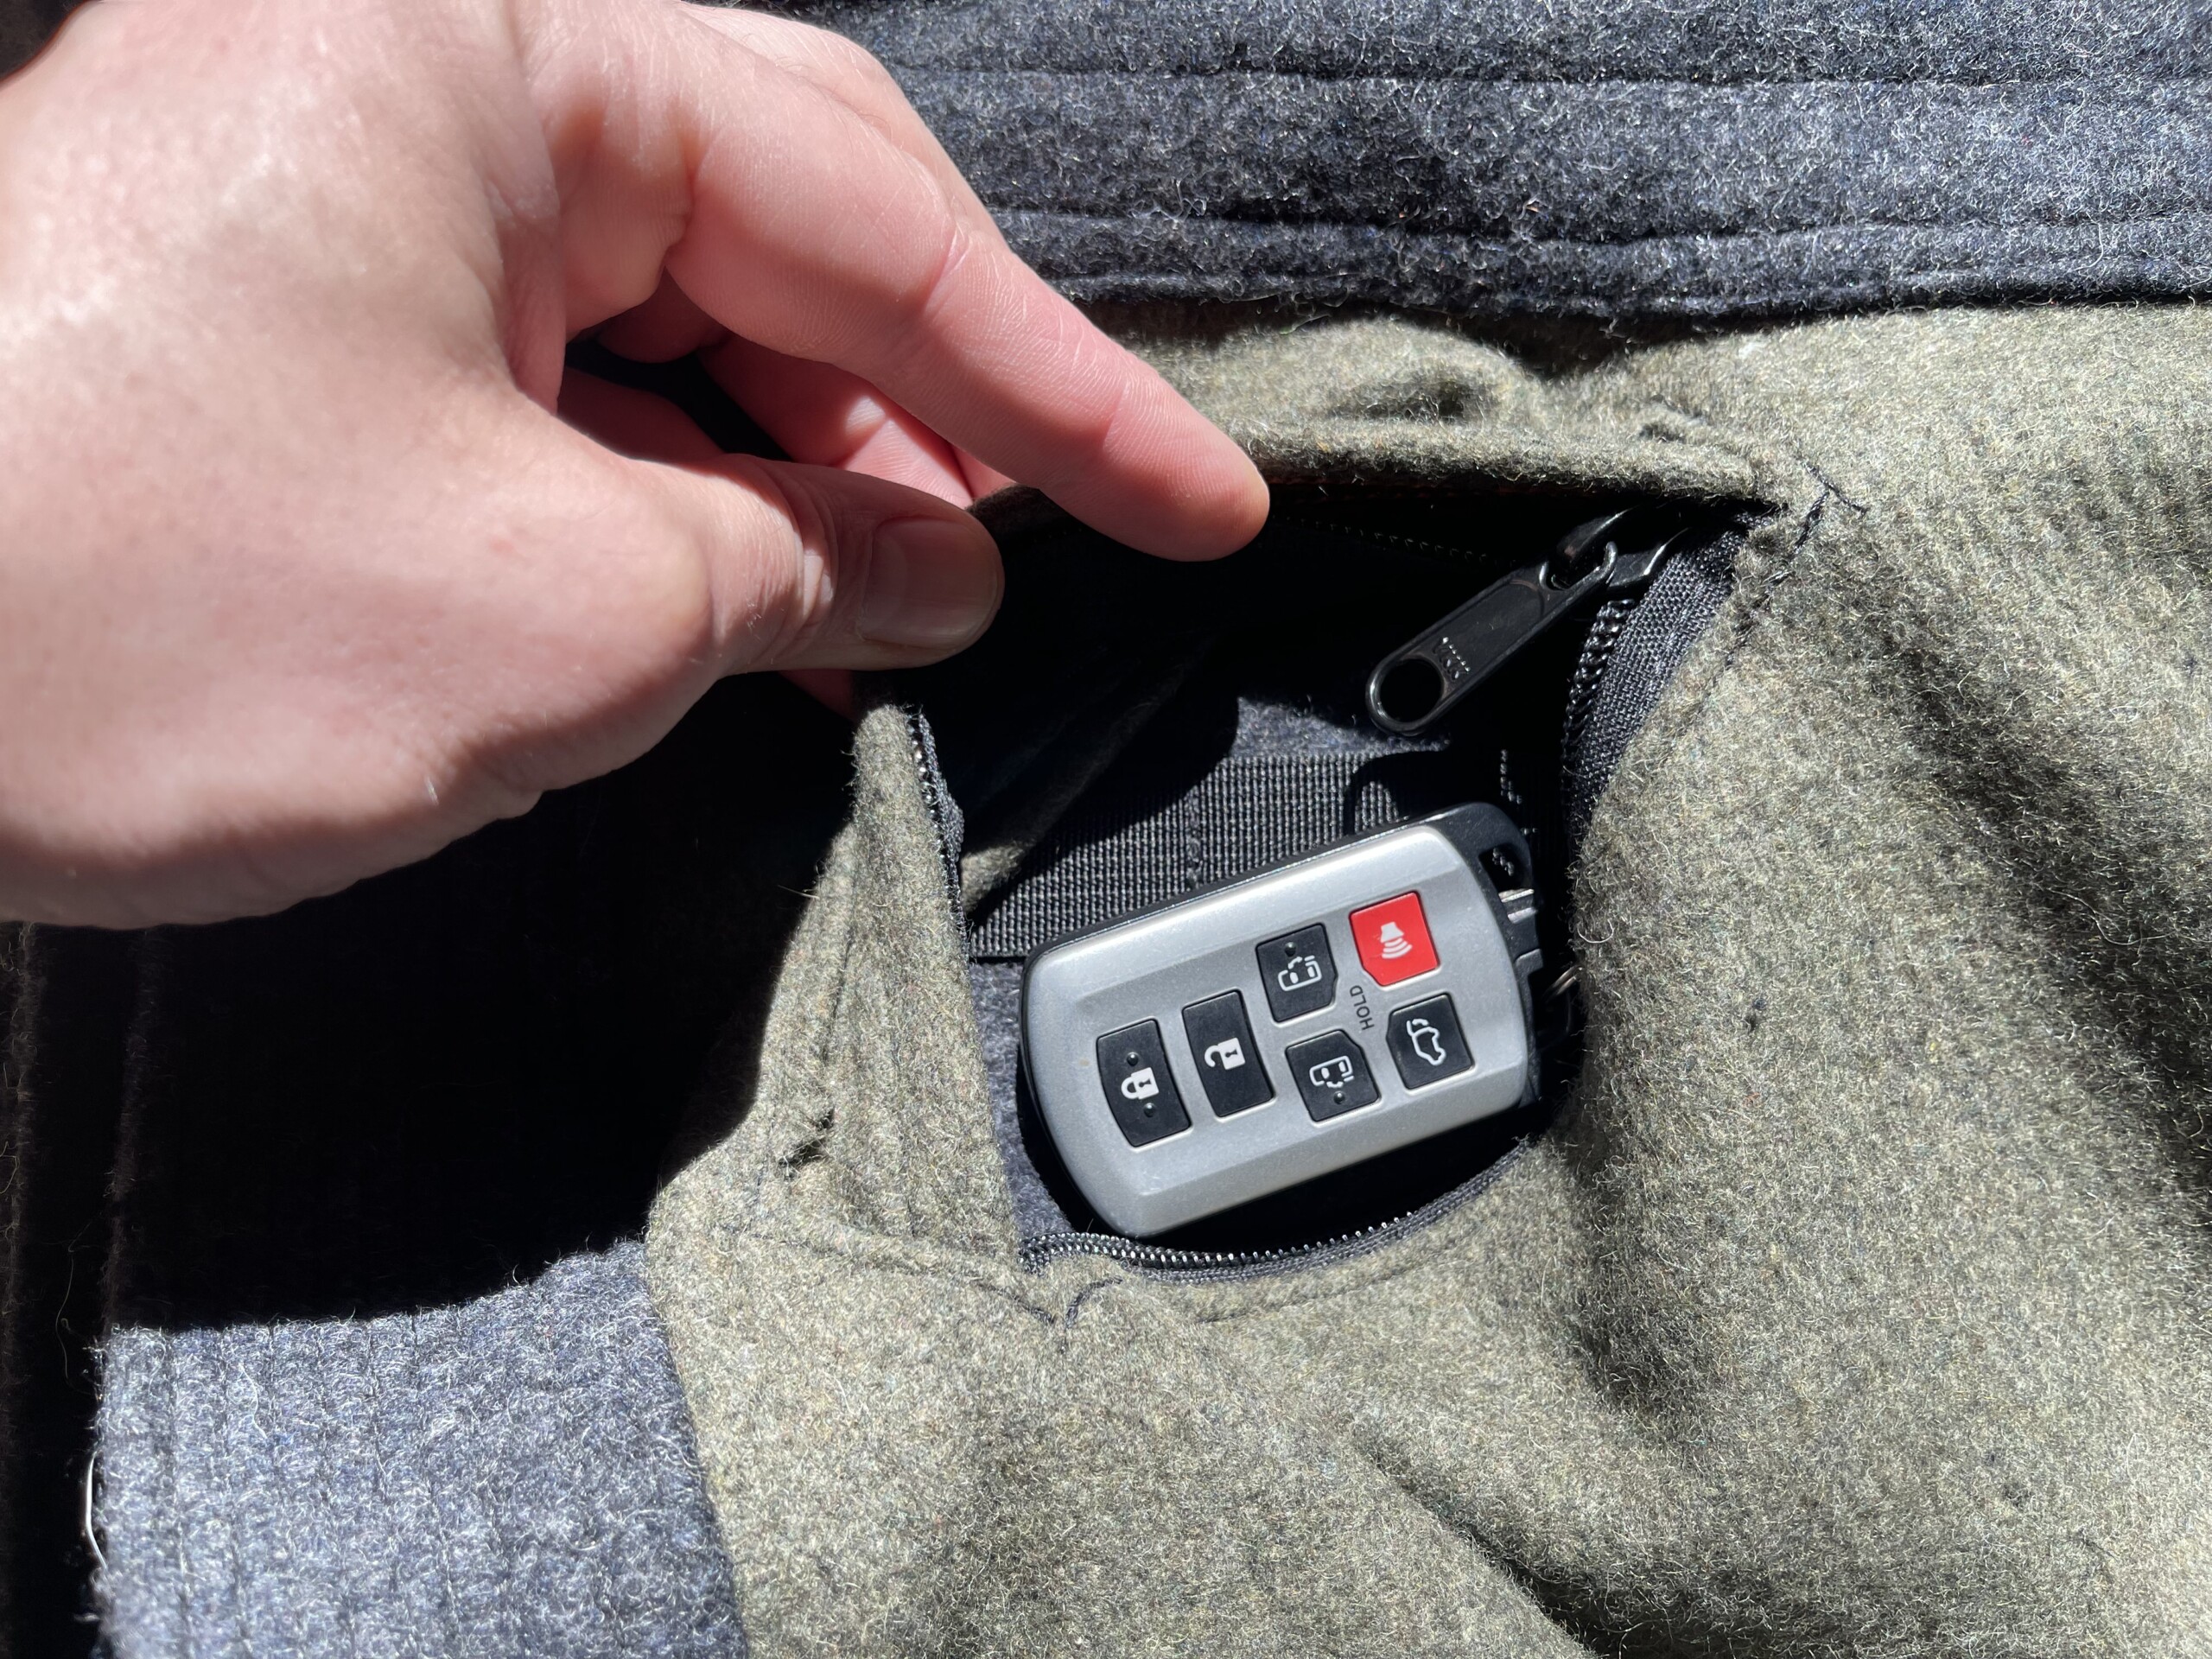
I ran a row of webbing so I could hang items, like my keys, inside. Normally my keys would be in my bag, but I don’t wear the bag when I snowboard, so I need a place to hold my bare minimum critical items. I thought about adding a line of stitching on this whole lower front panel to make the pocket less of a bottomless pit, but decided I wasn’t a fan of the way that would look. So the whole front panel is one giant pocket which right now contains a head “Buff” cover thing, some glove liners, and some tissues. At some point I’ll make little sleeves for each of those things that can hang from the webbing and be more accessible.
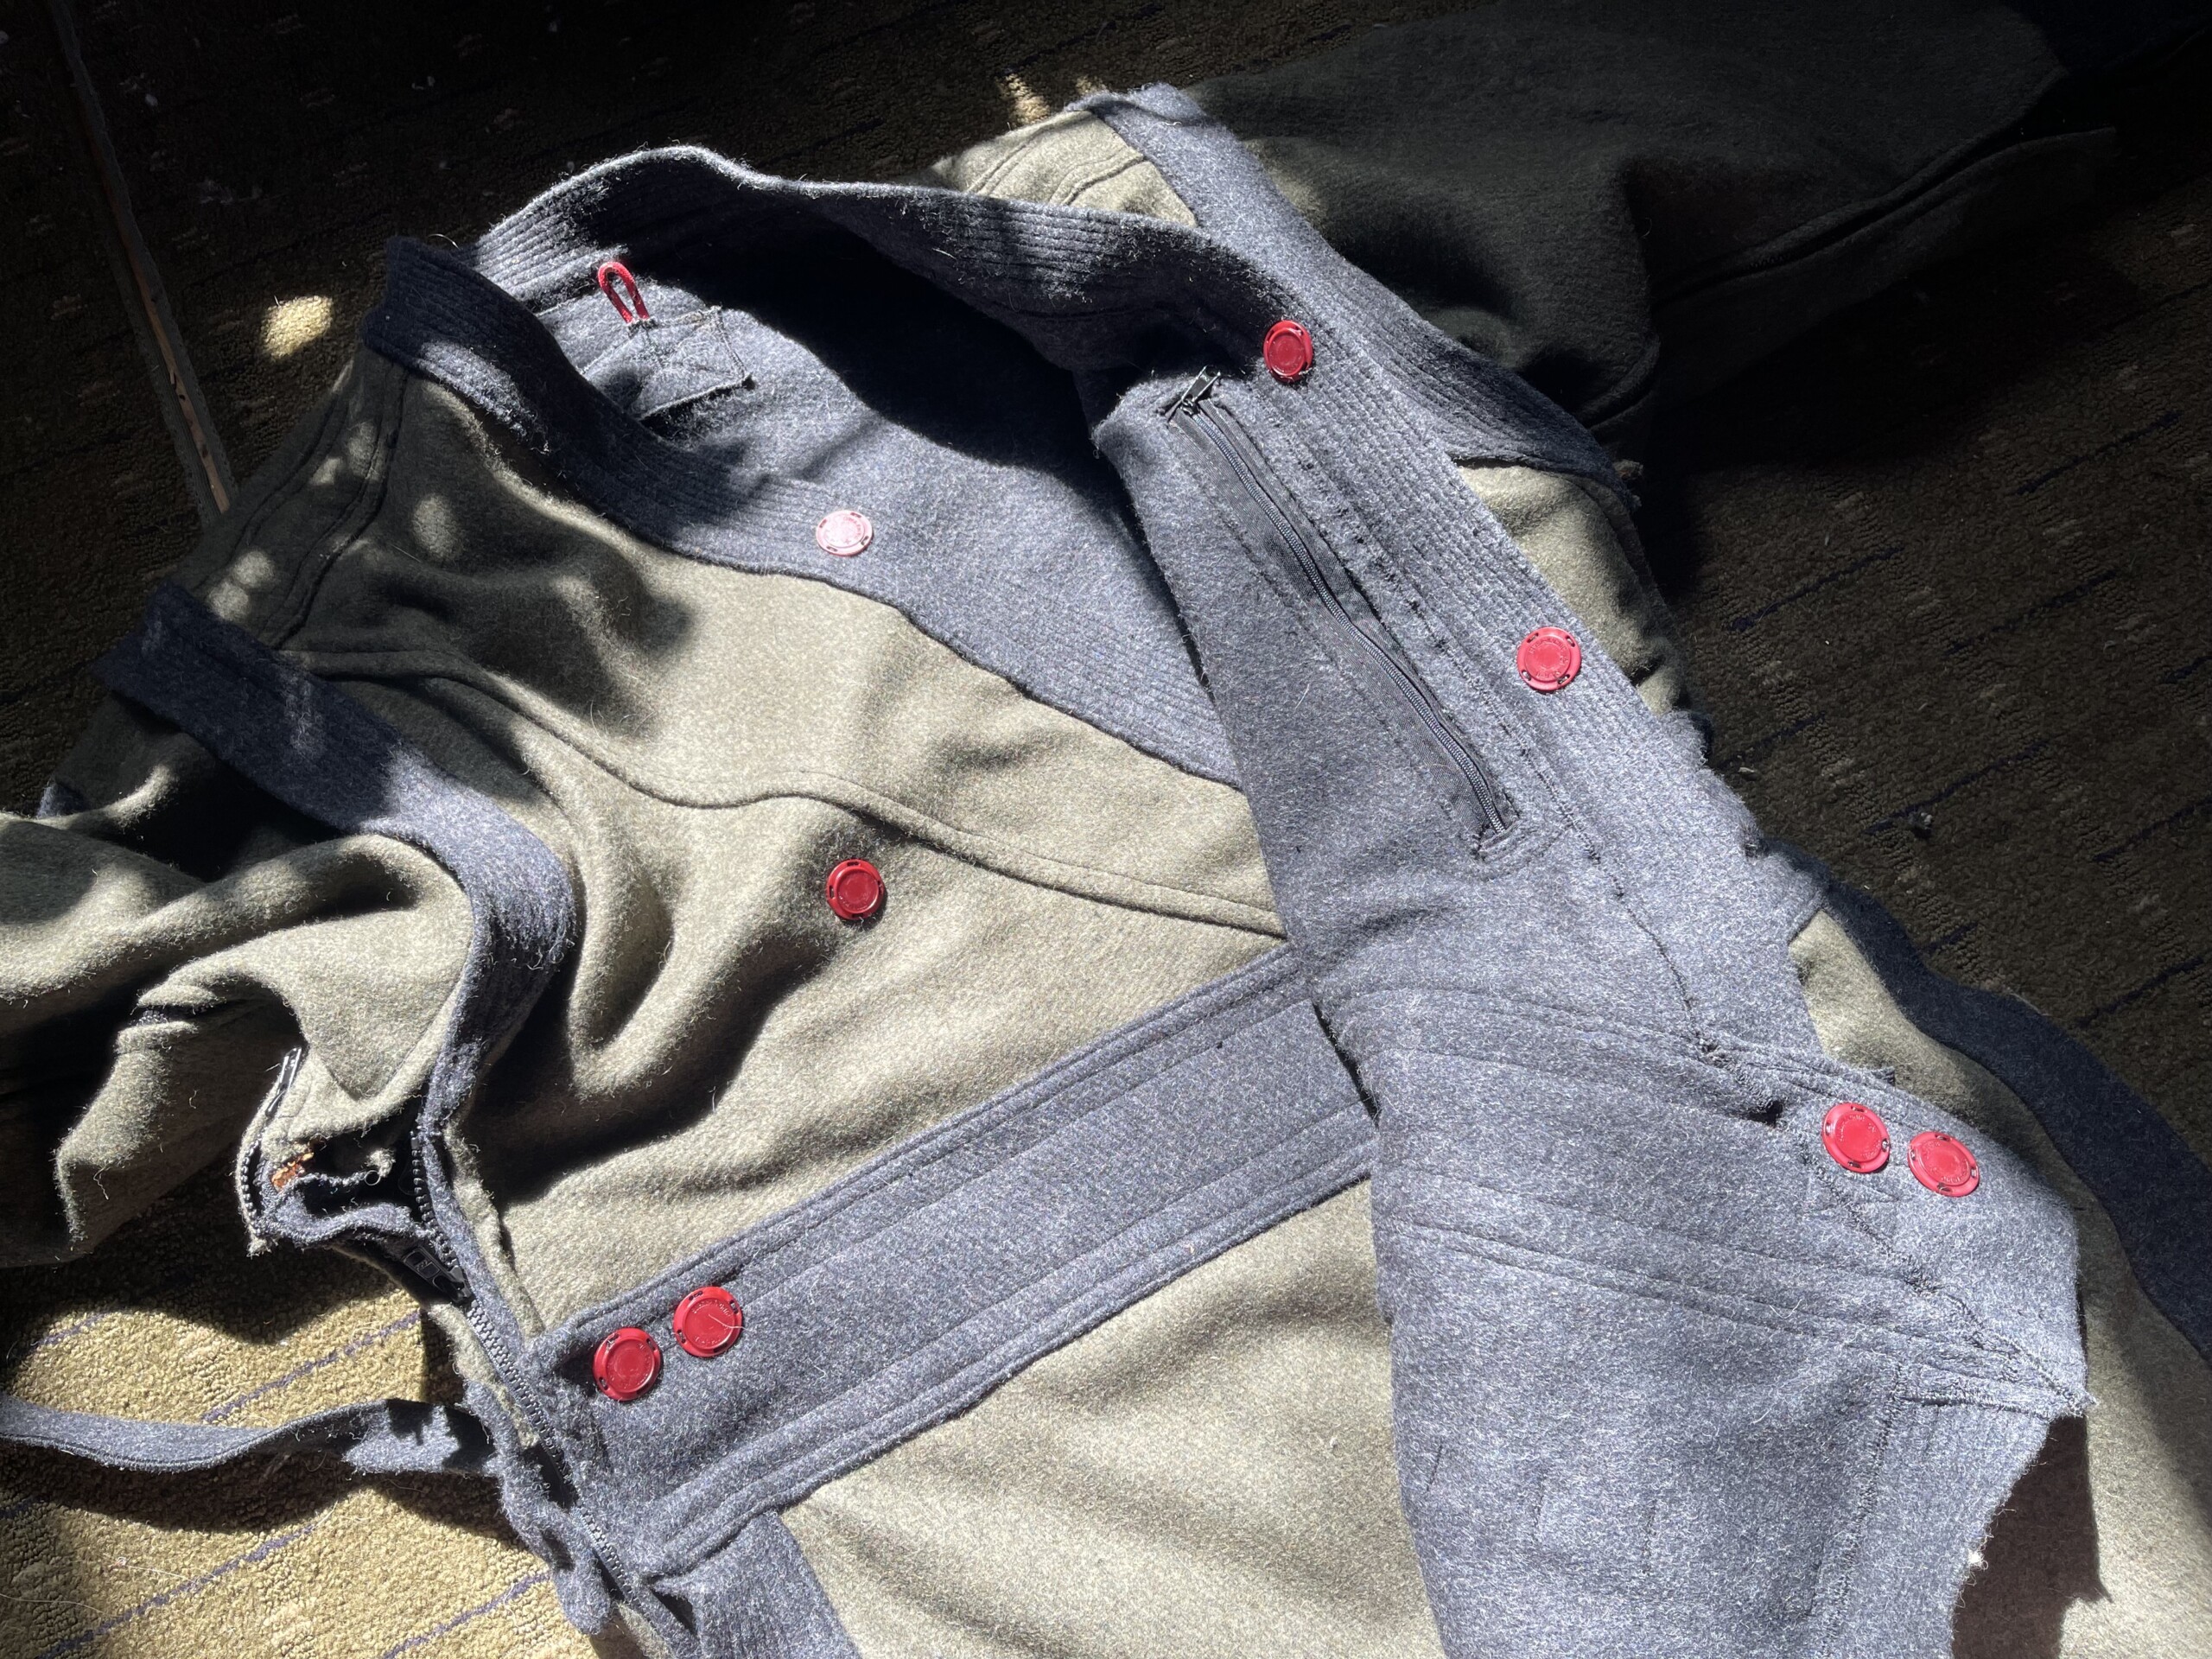
I added a bunch of magnetic snaps (red) to help keep things closed and lined up right. You can also see the location of the left chest pocket.
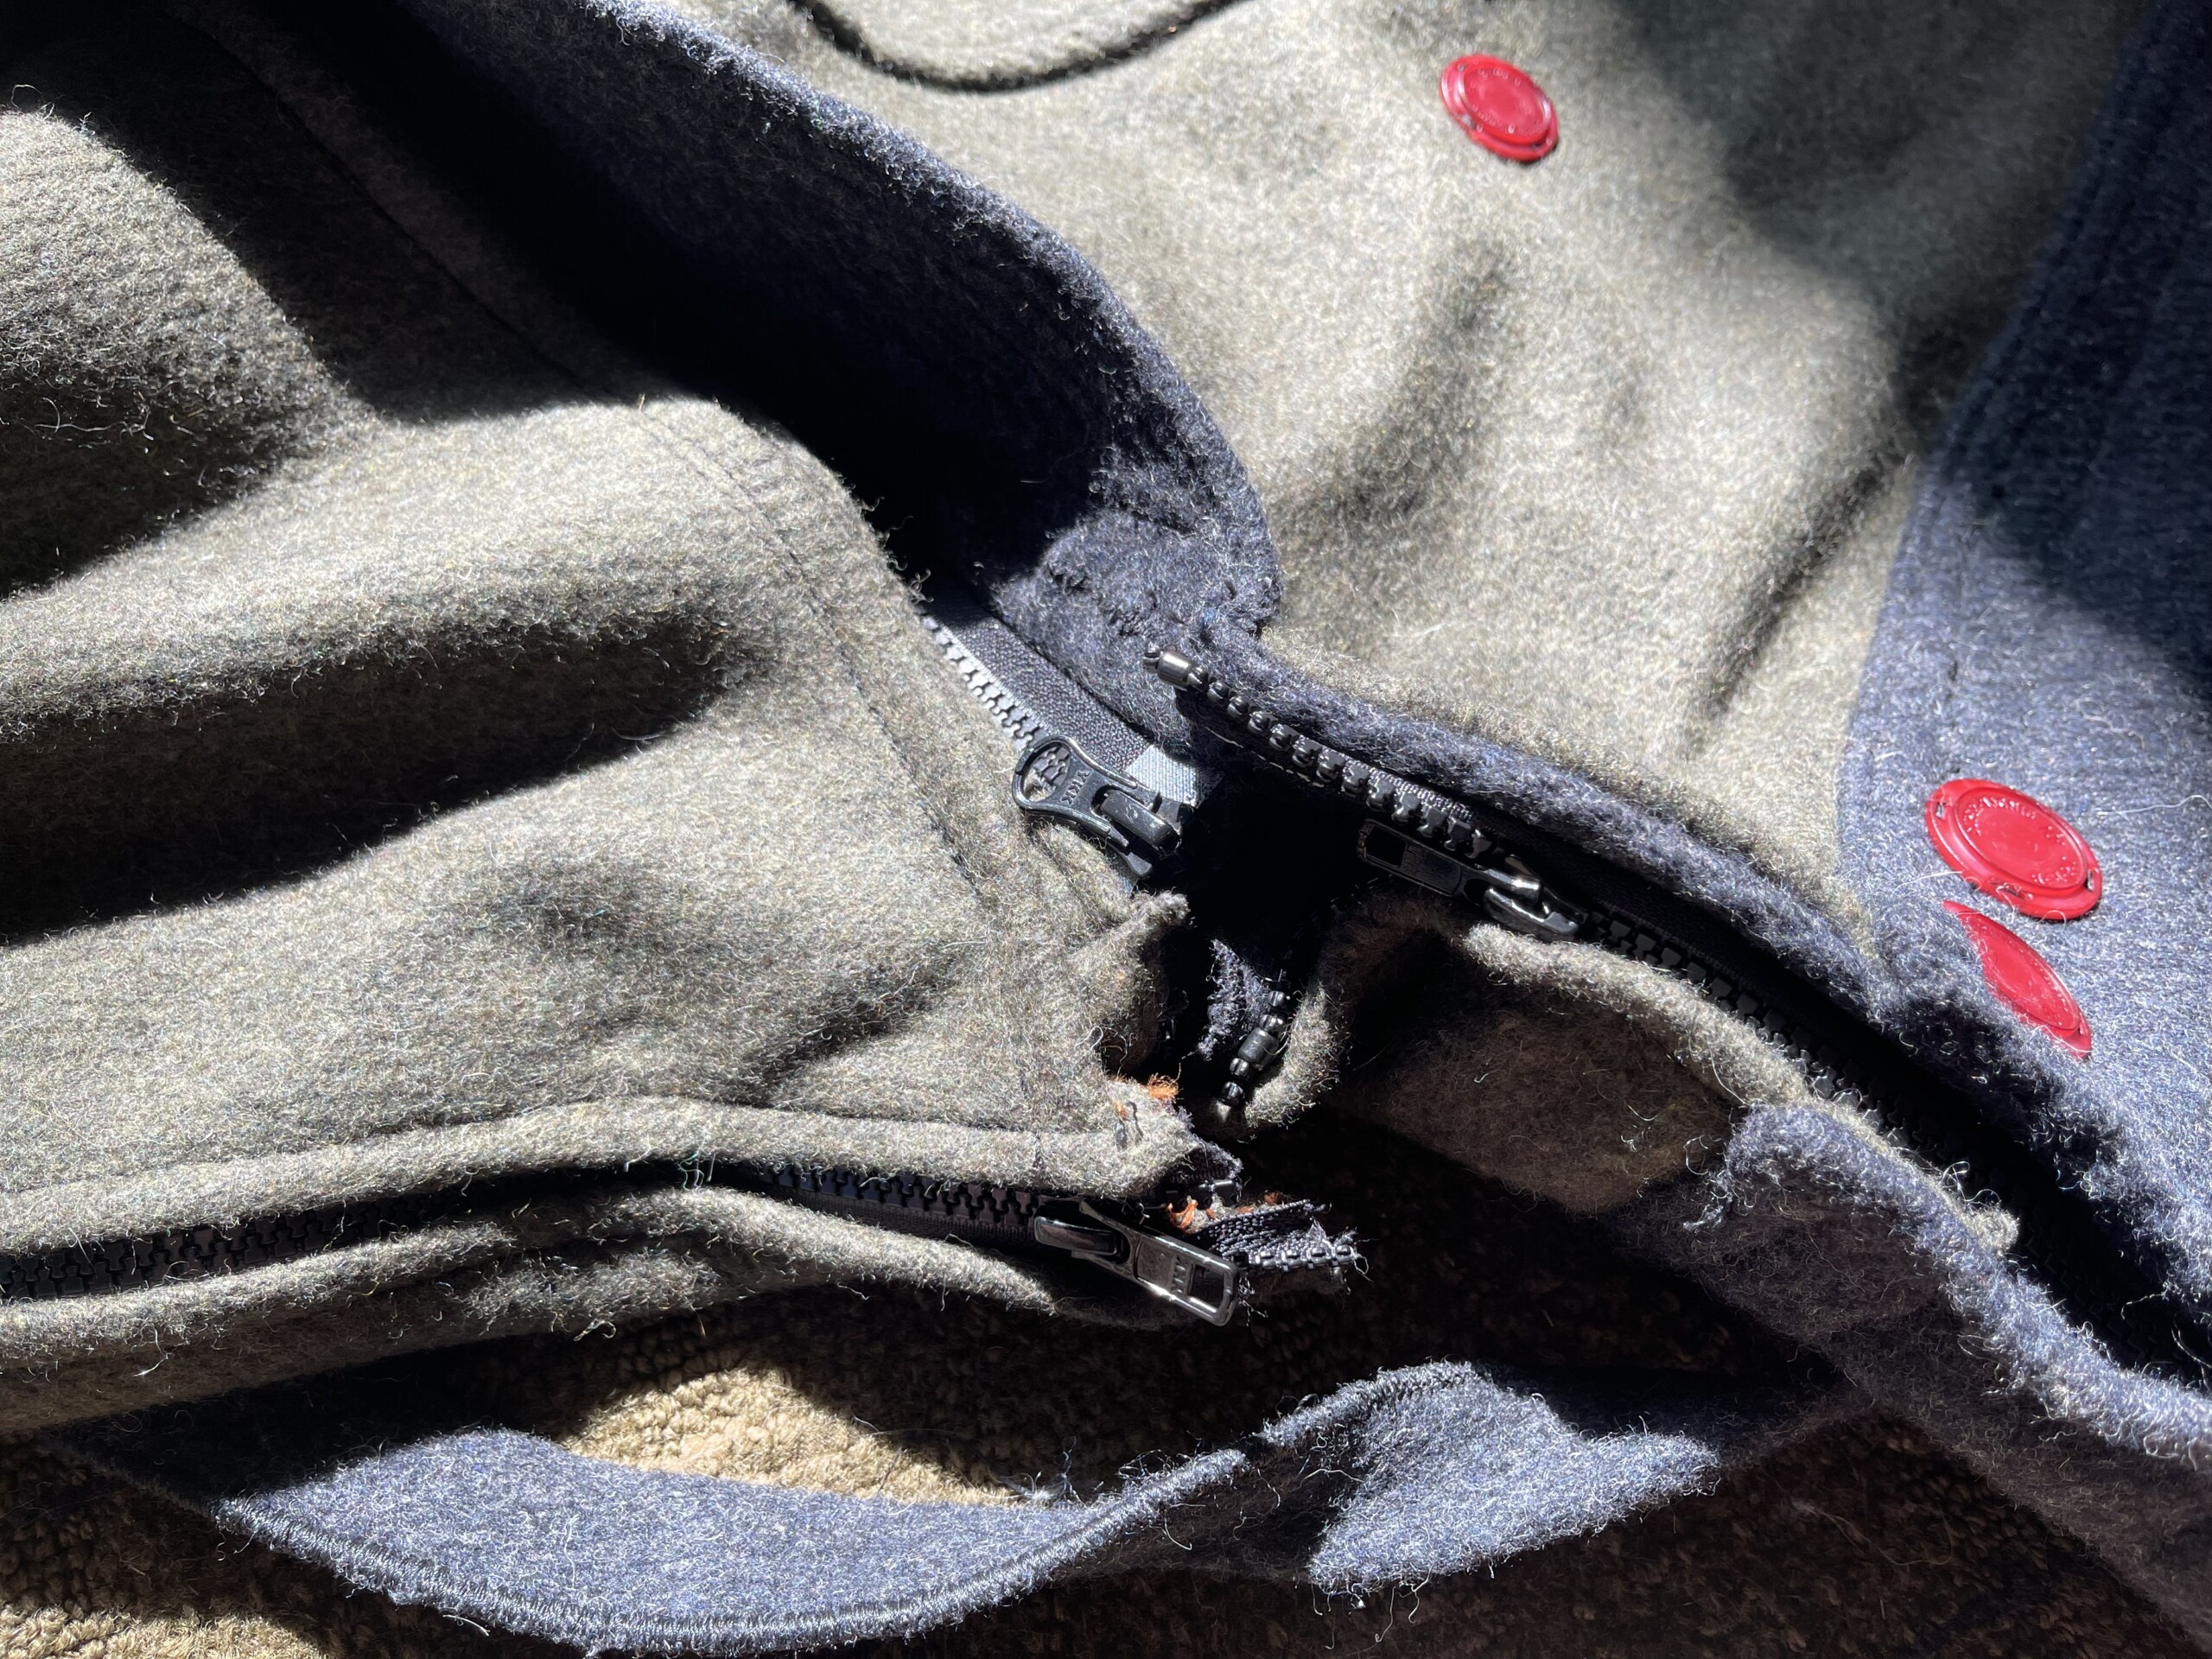
There’s a confluence of zippers in the armpits, but I don’t notice them. They are all 2 way separating zippers, so the sides fully unzip, the sleeves can come off completely, and the outer sleeve (It’s a two layer sleeve) can fully unzip along the seam and become semi-cape-like.
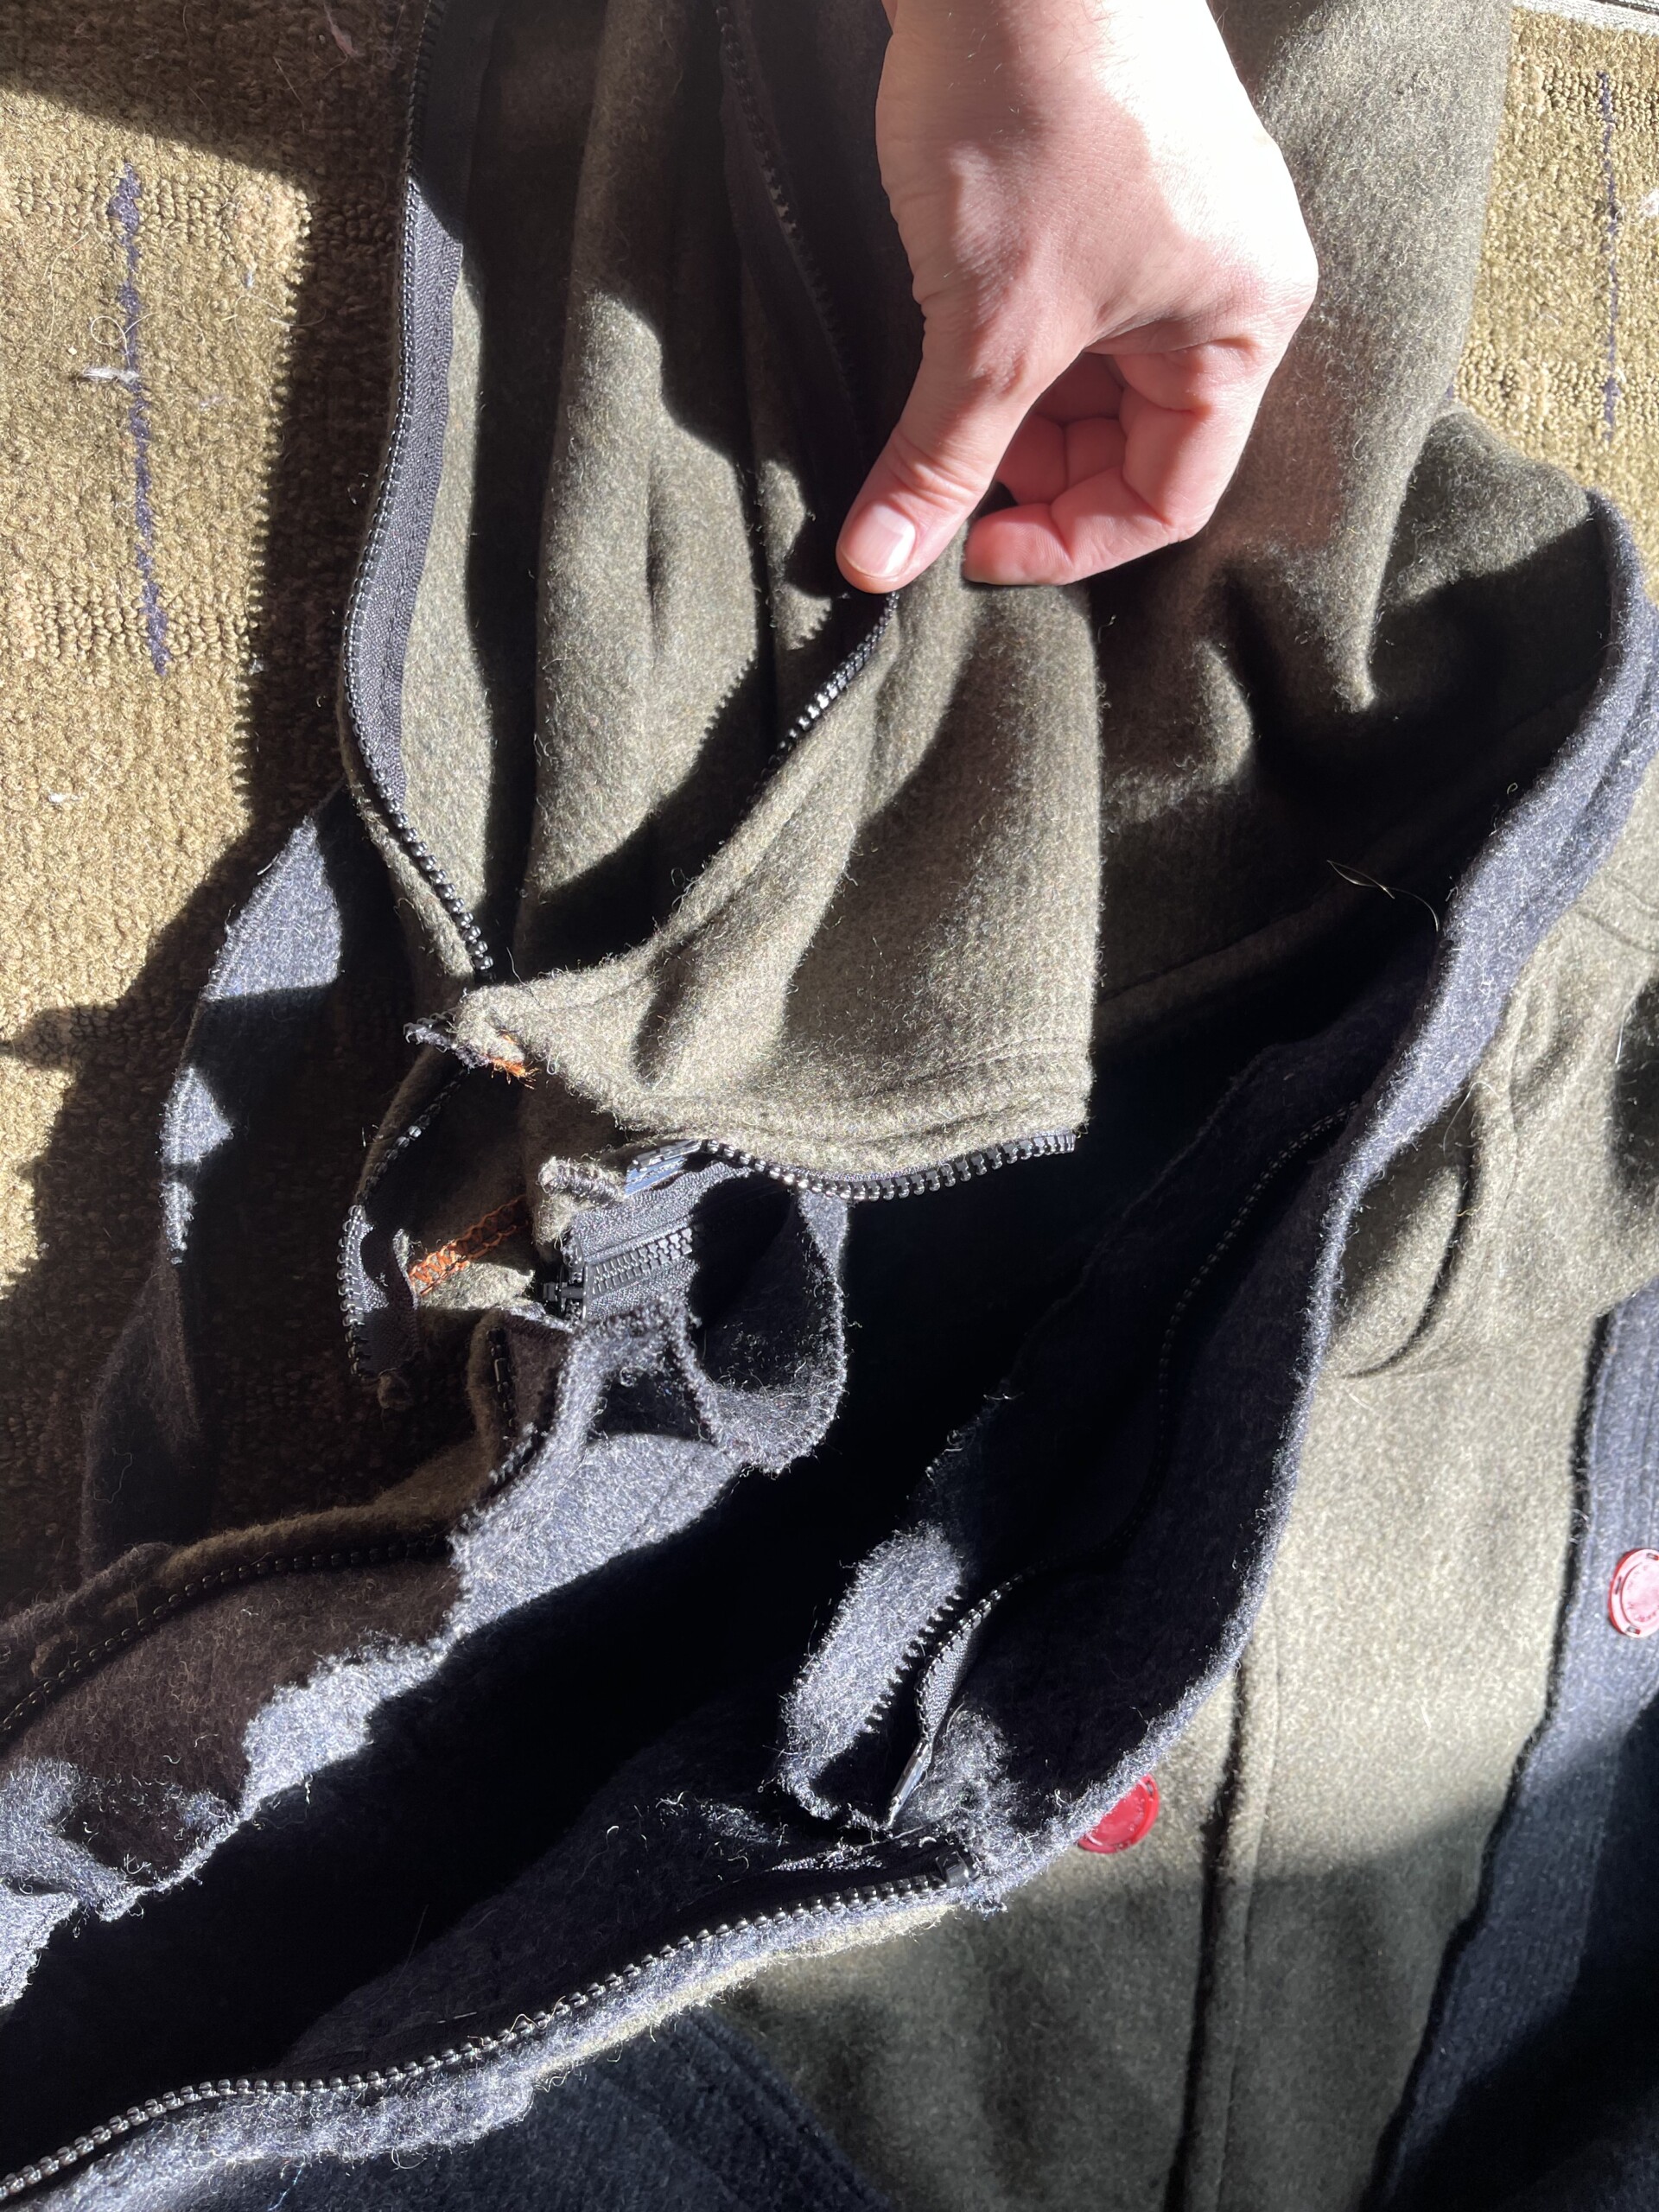
Opening some of the zippers.

Outer sleeve opened up and unrolled (at full length it covers my hands, so I can stuff my hands together to keep them warm when I sleep). The inner sleeve is really just one layer, despite looking like a short sleeve and forearm wraps.
The lower section of the inner sleeve unzips. I originally thought the cuff would be too tight to get my hands through, or might pose problems if I wore thicker base layers when it’s really cold, so I wanted to make sure none of that was an issue. It turns out my hands fit through the cuffs fine. I had to add the snap strap because movement causes the zipper to unzip.
I added a little storm flap in the sleeve because the zipper was scratchy when I had bare arms underneath.

A little pop of color for a hanging loop.
The chest pocket…or a face, now that I’m looking at it…
Tough to get a good picture that illustrates it, but the chest pocket fits my phone easily and has a sleeve for my license and credit card. There is a small divided section that holds my Leatherman multi-tool as well. Those items and my keys are the bare minimum I keep on me when I hit the slopes snowboarding, so I wanted organized, convenient places for them all.
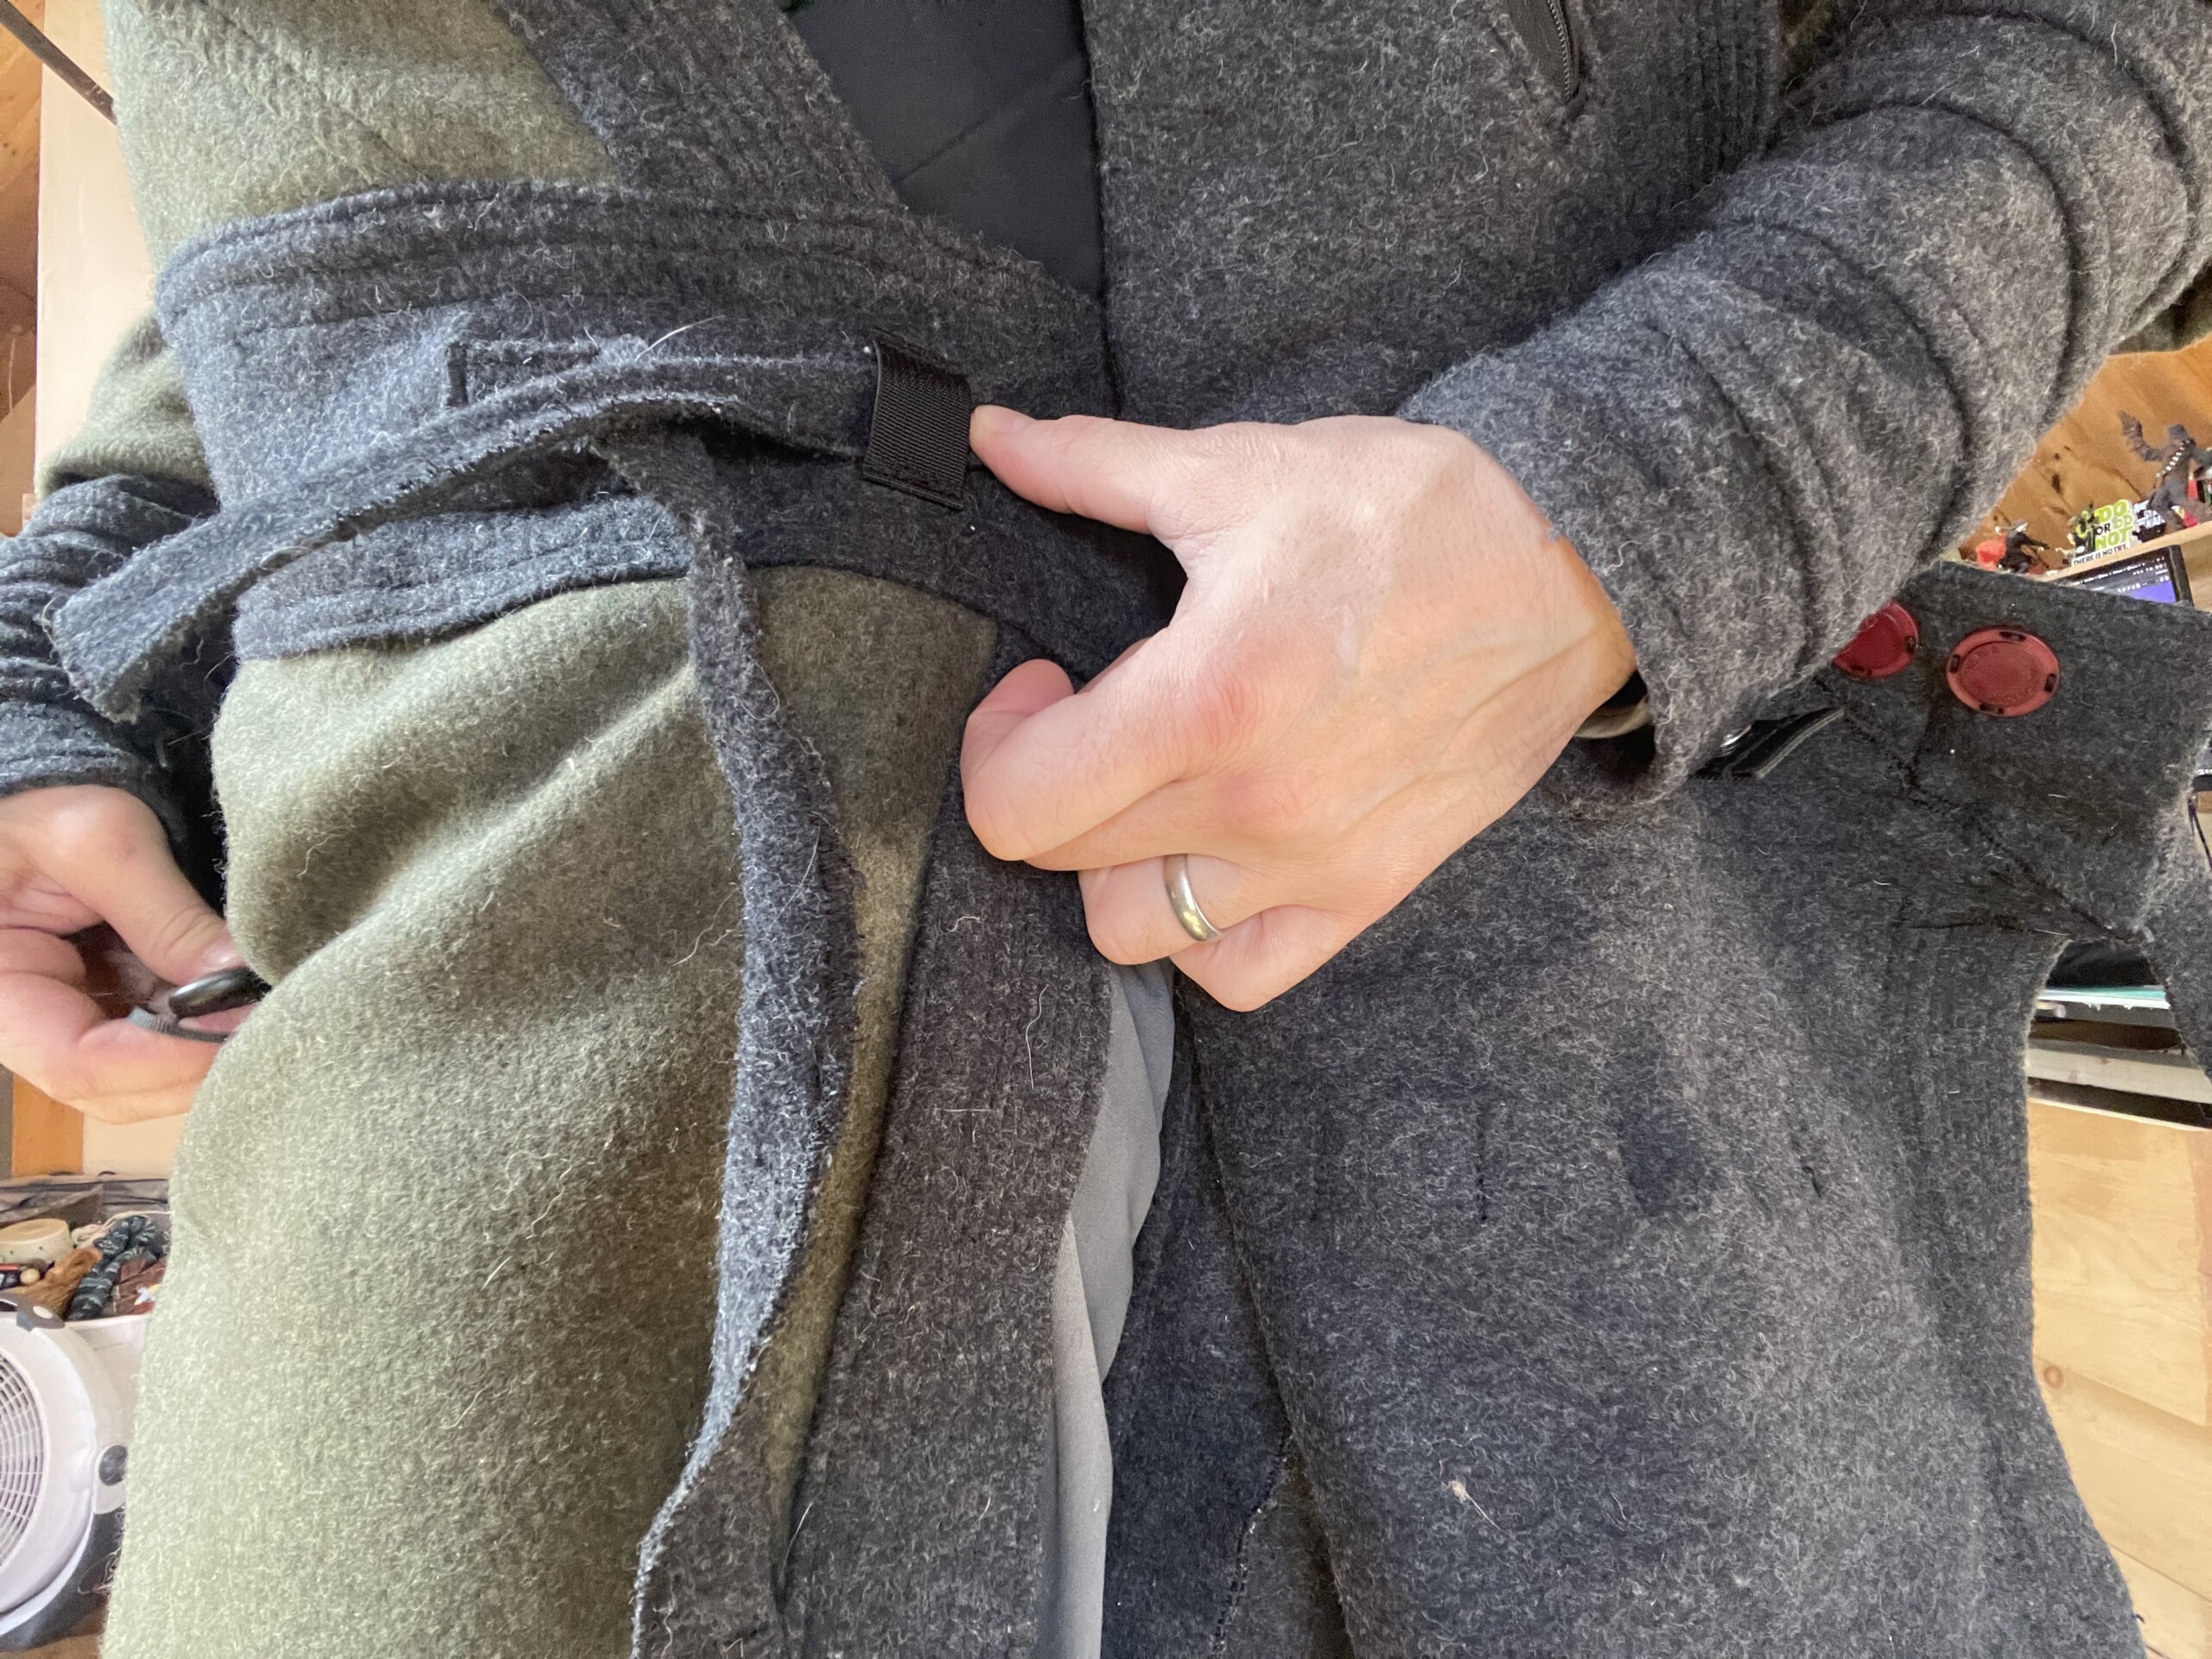
I added a single belt loop on the inside to help keep the two front halves lined up and in place. It also helps me tighten things down better.
The Leg Duffle Bag
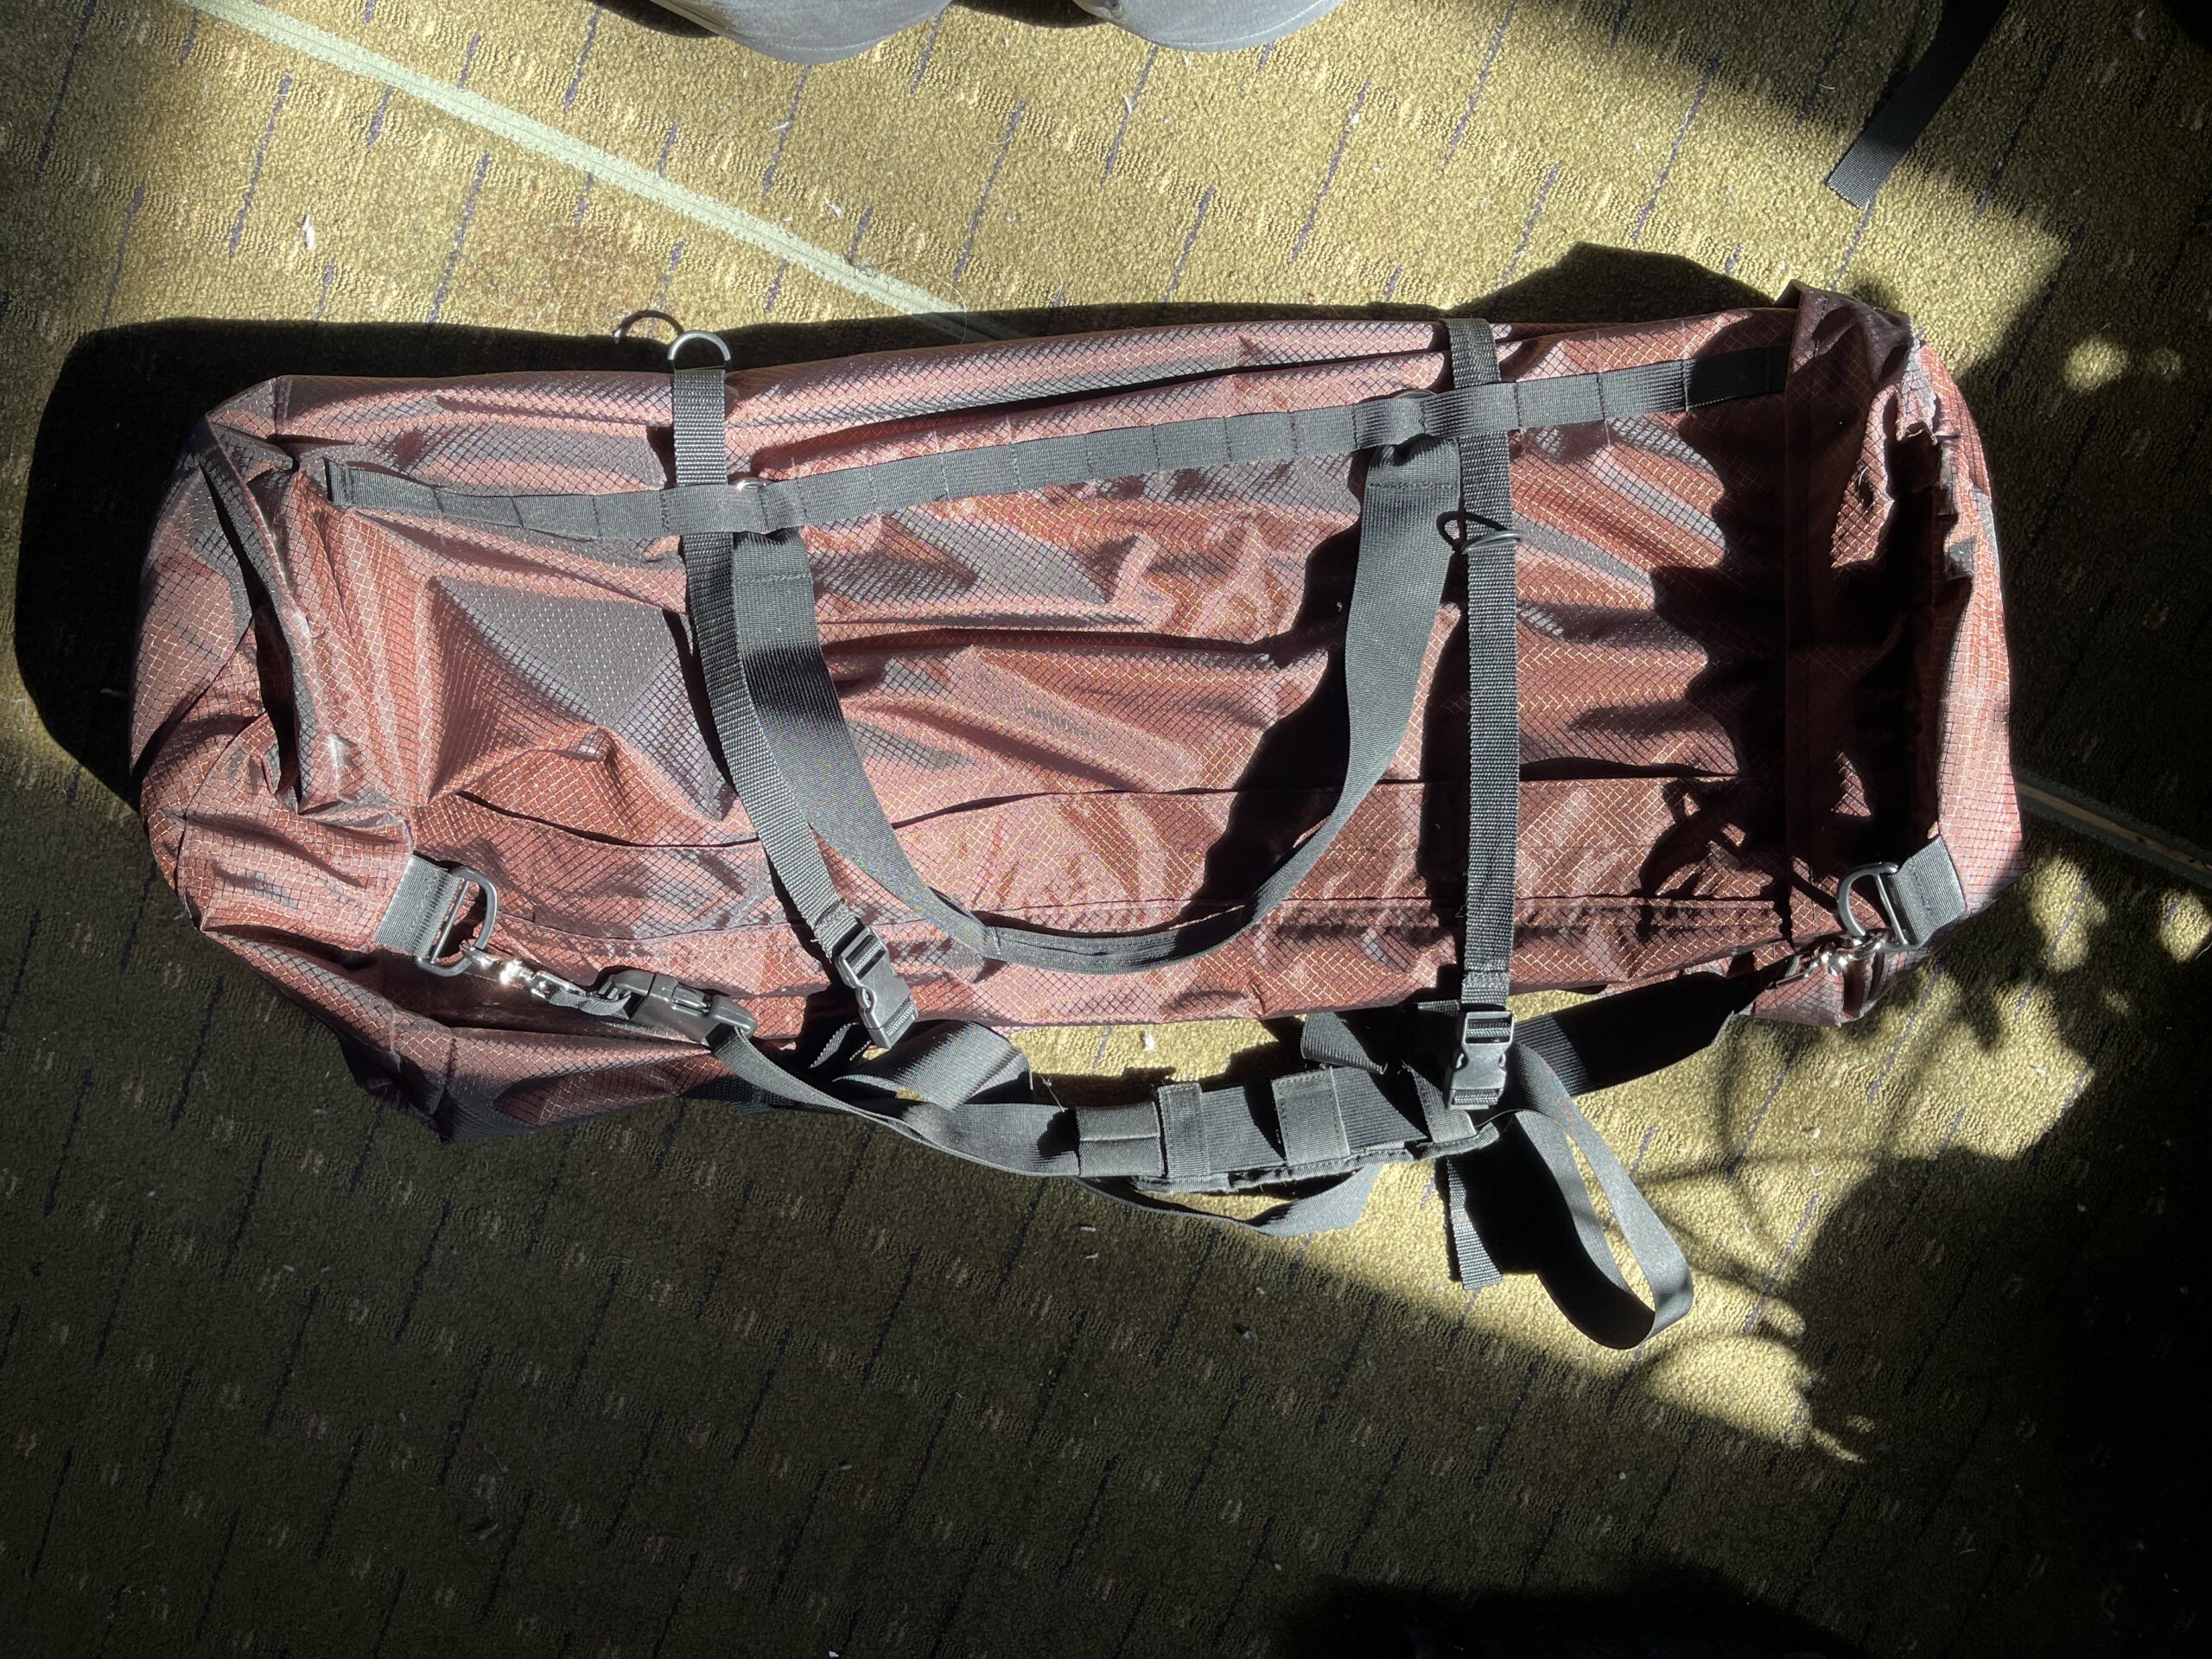
My first duffle bag. It was supposed to be a quick, simple project, but, as usually happens, it quickly got out of hand as I kept coming up with new ideas and functions and features I could add. Years ago, when I started making long wool coats, I decided they’d be great to sleep outside in when I’m camping, removing the need to carry a sleeping bag. To complete the sleep system, I used some wool scraps and made big bag (more of a giant pillow case) that I could carry my gear in, and then once camp was established and it was empty, I could stuff my legs in to sleep. The concept worked well, if not my specific design at the time. It was just a top loading sack, so getting items in and out was a challenge. It didn’t close well, the cinch straps weren’t located right, and the carry straps were a problem. My idea was to use this ripstop material I bought years ago and never used to make an outer shell with a full length zipper as well as a top zipper and some webbing and proper attachment points for straps. It ballooned into this giant duffle bag that I’m itching to try out.
I added a giant pocket on the top and bottom for stuff I want quicker access to, or things I don’t want to empty out in order to use the bag as a half sleeping bag. There’s also a D ring to hook a strap to for one of several different carrying methods.
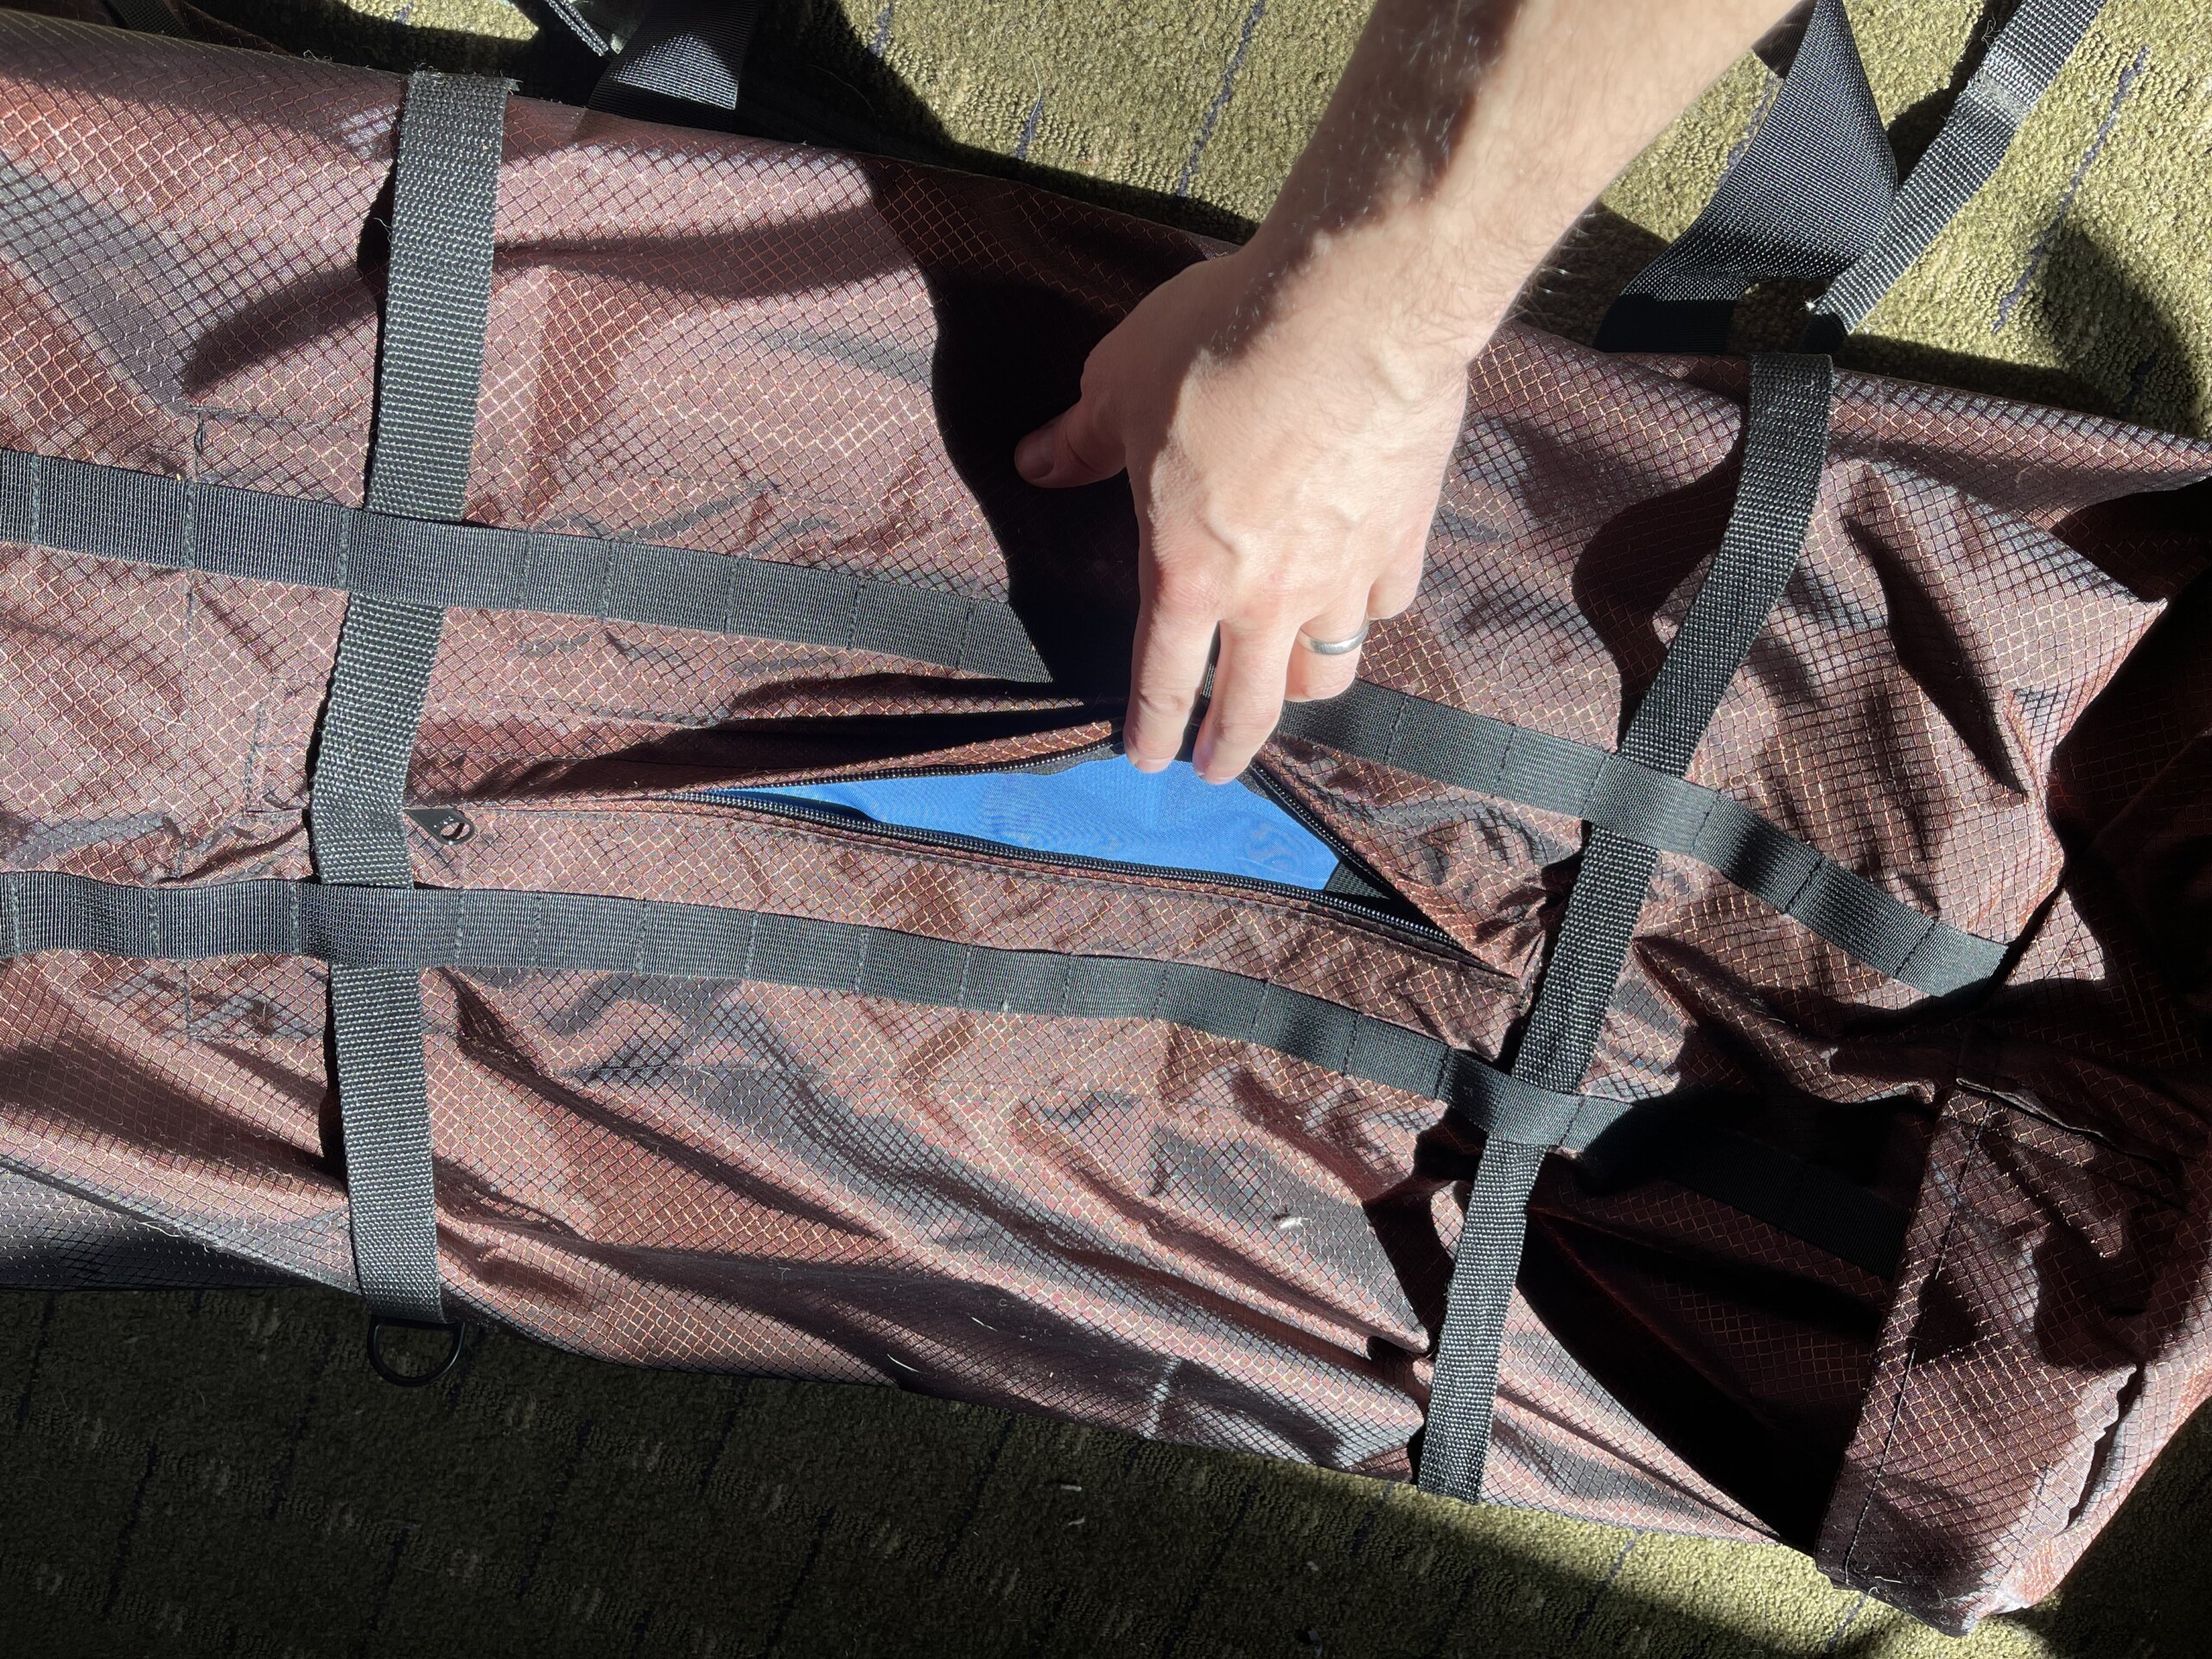
This is the “bottom” of the bag. I want to be able to wear it like a backpack sometimes, so there’s two long rows of webbing I can connect backpack straps to (I haven’t made those yet) and get some pretty good adjustment to fit my body (with whatever coat I may or may not be wearing) or depending on what’s in the bag. I also created a lined pocket that will fit a water bladder.
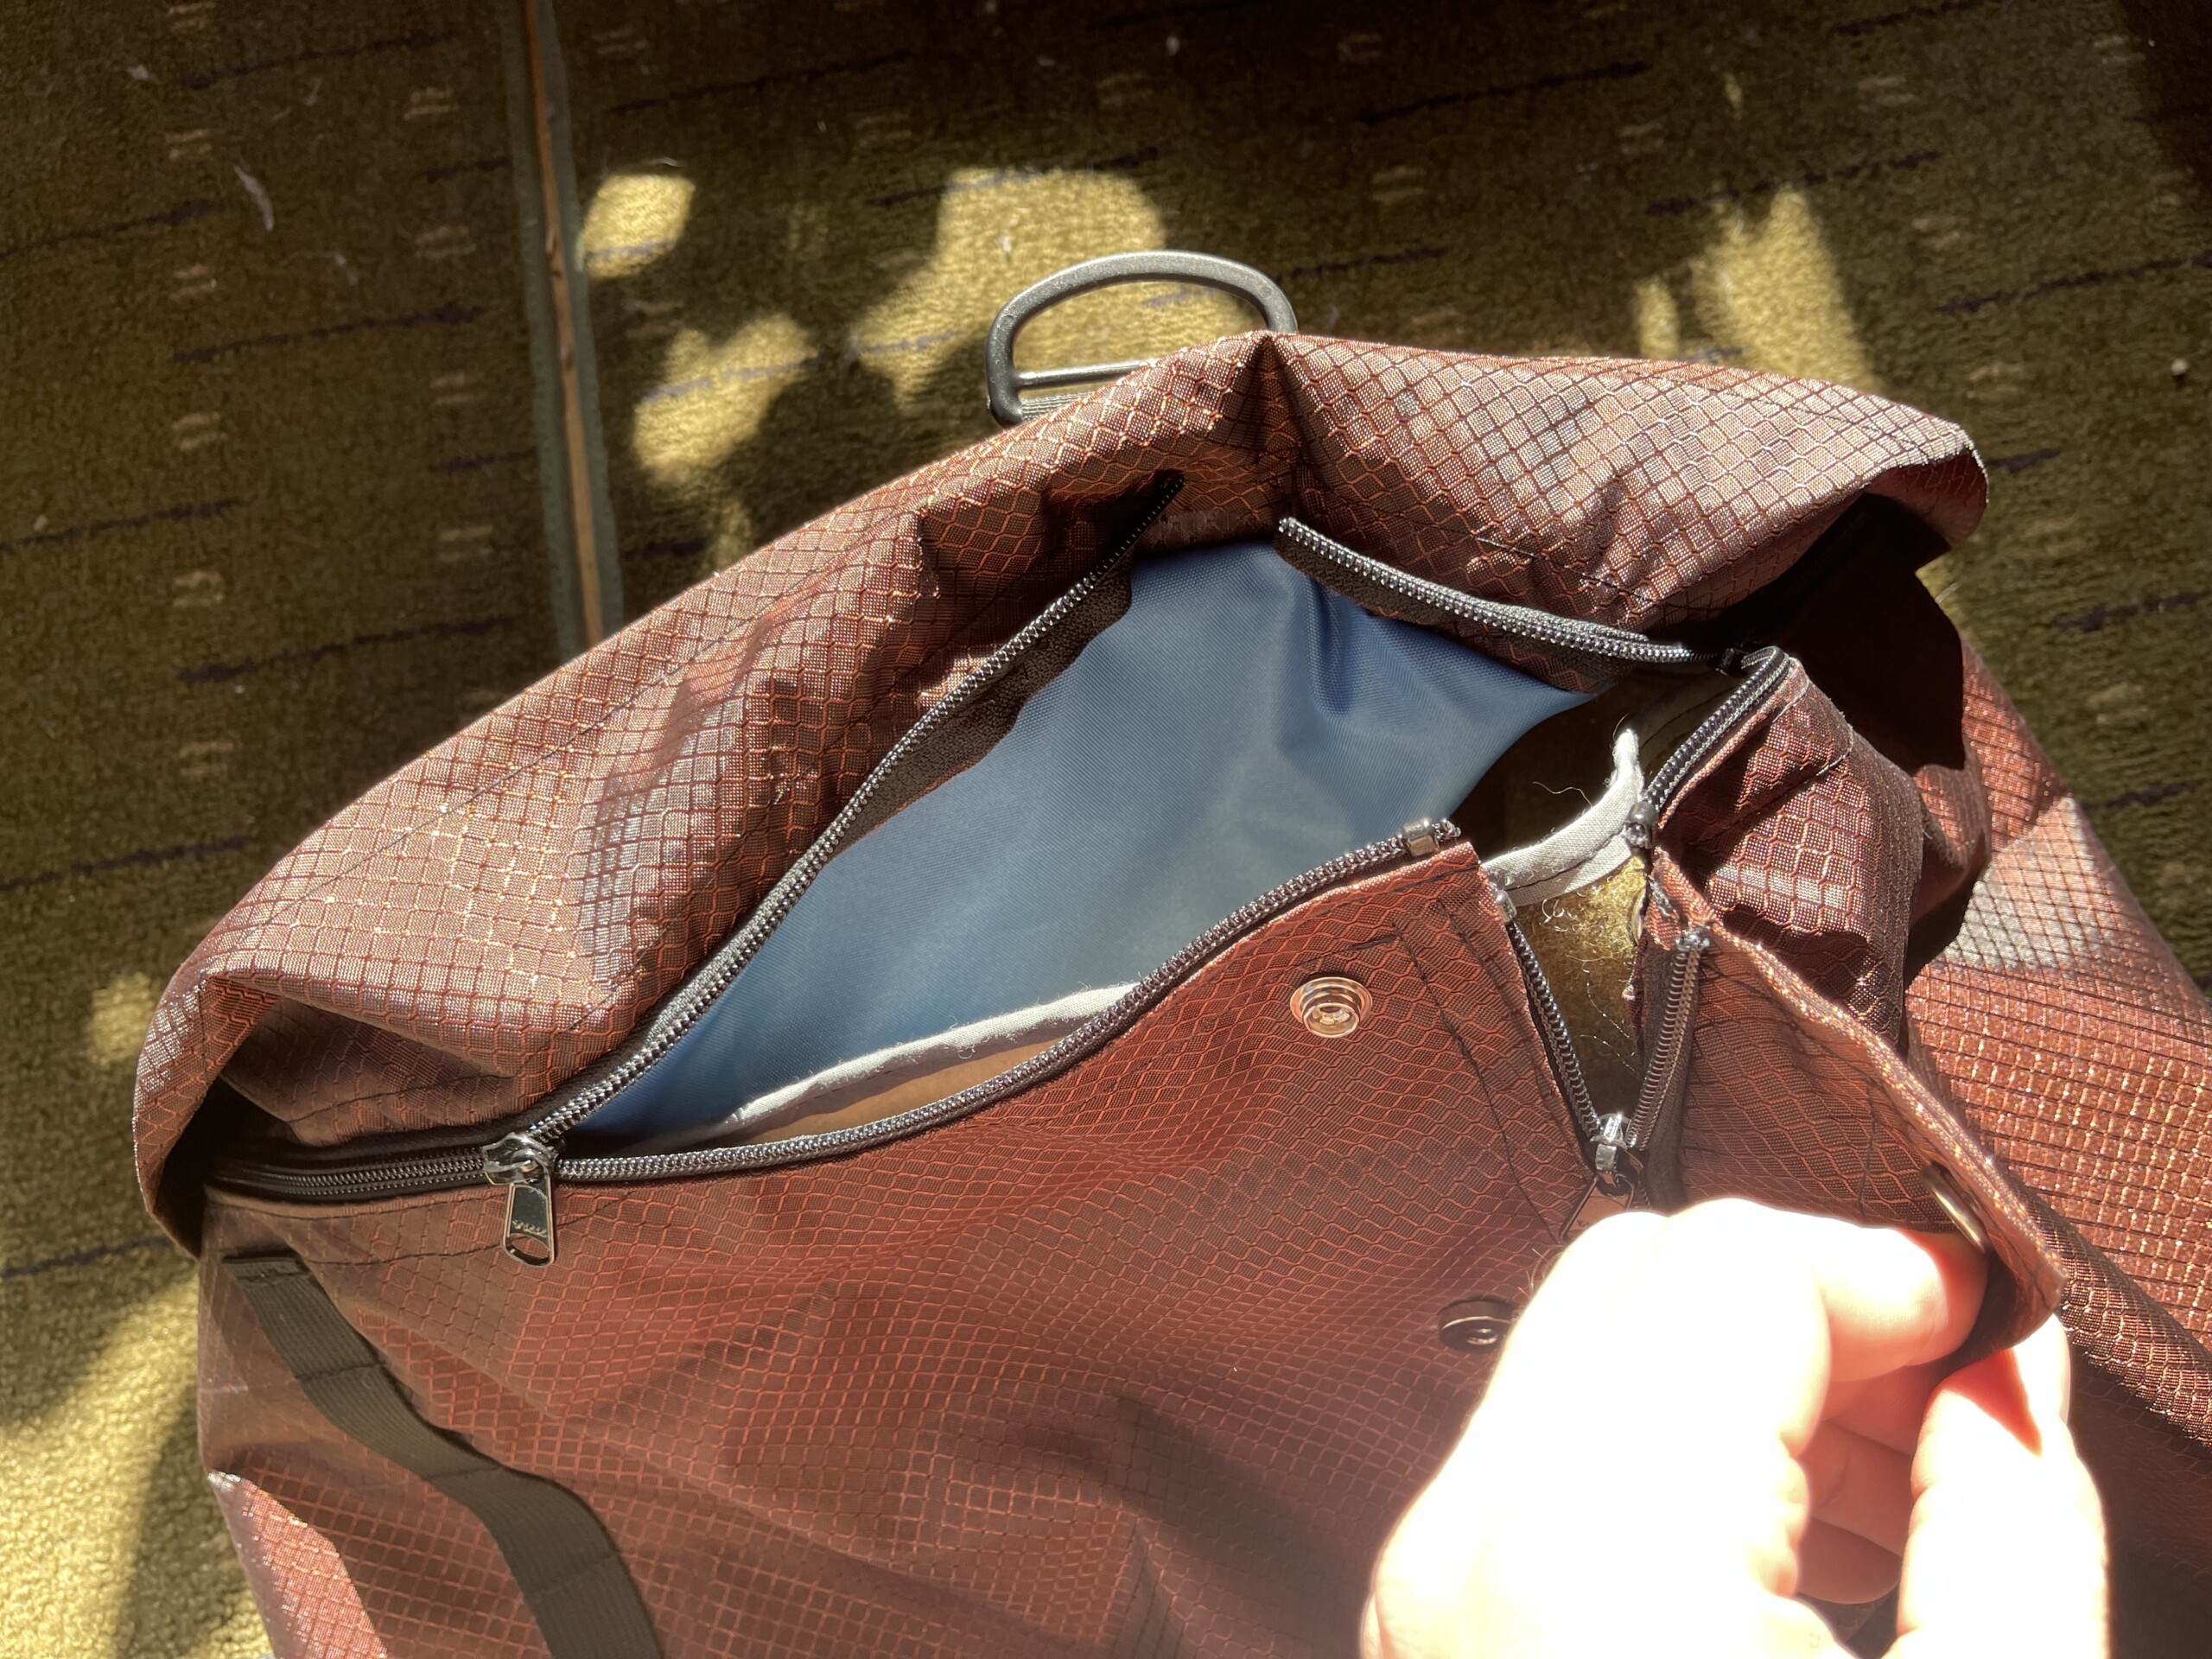
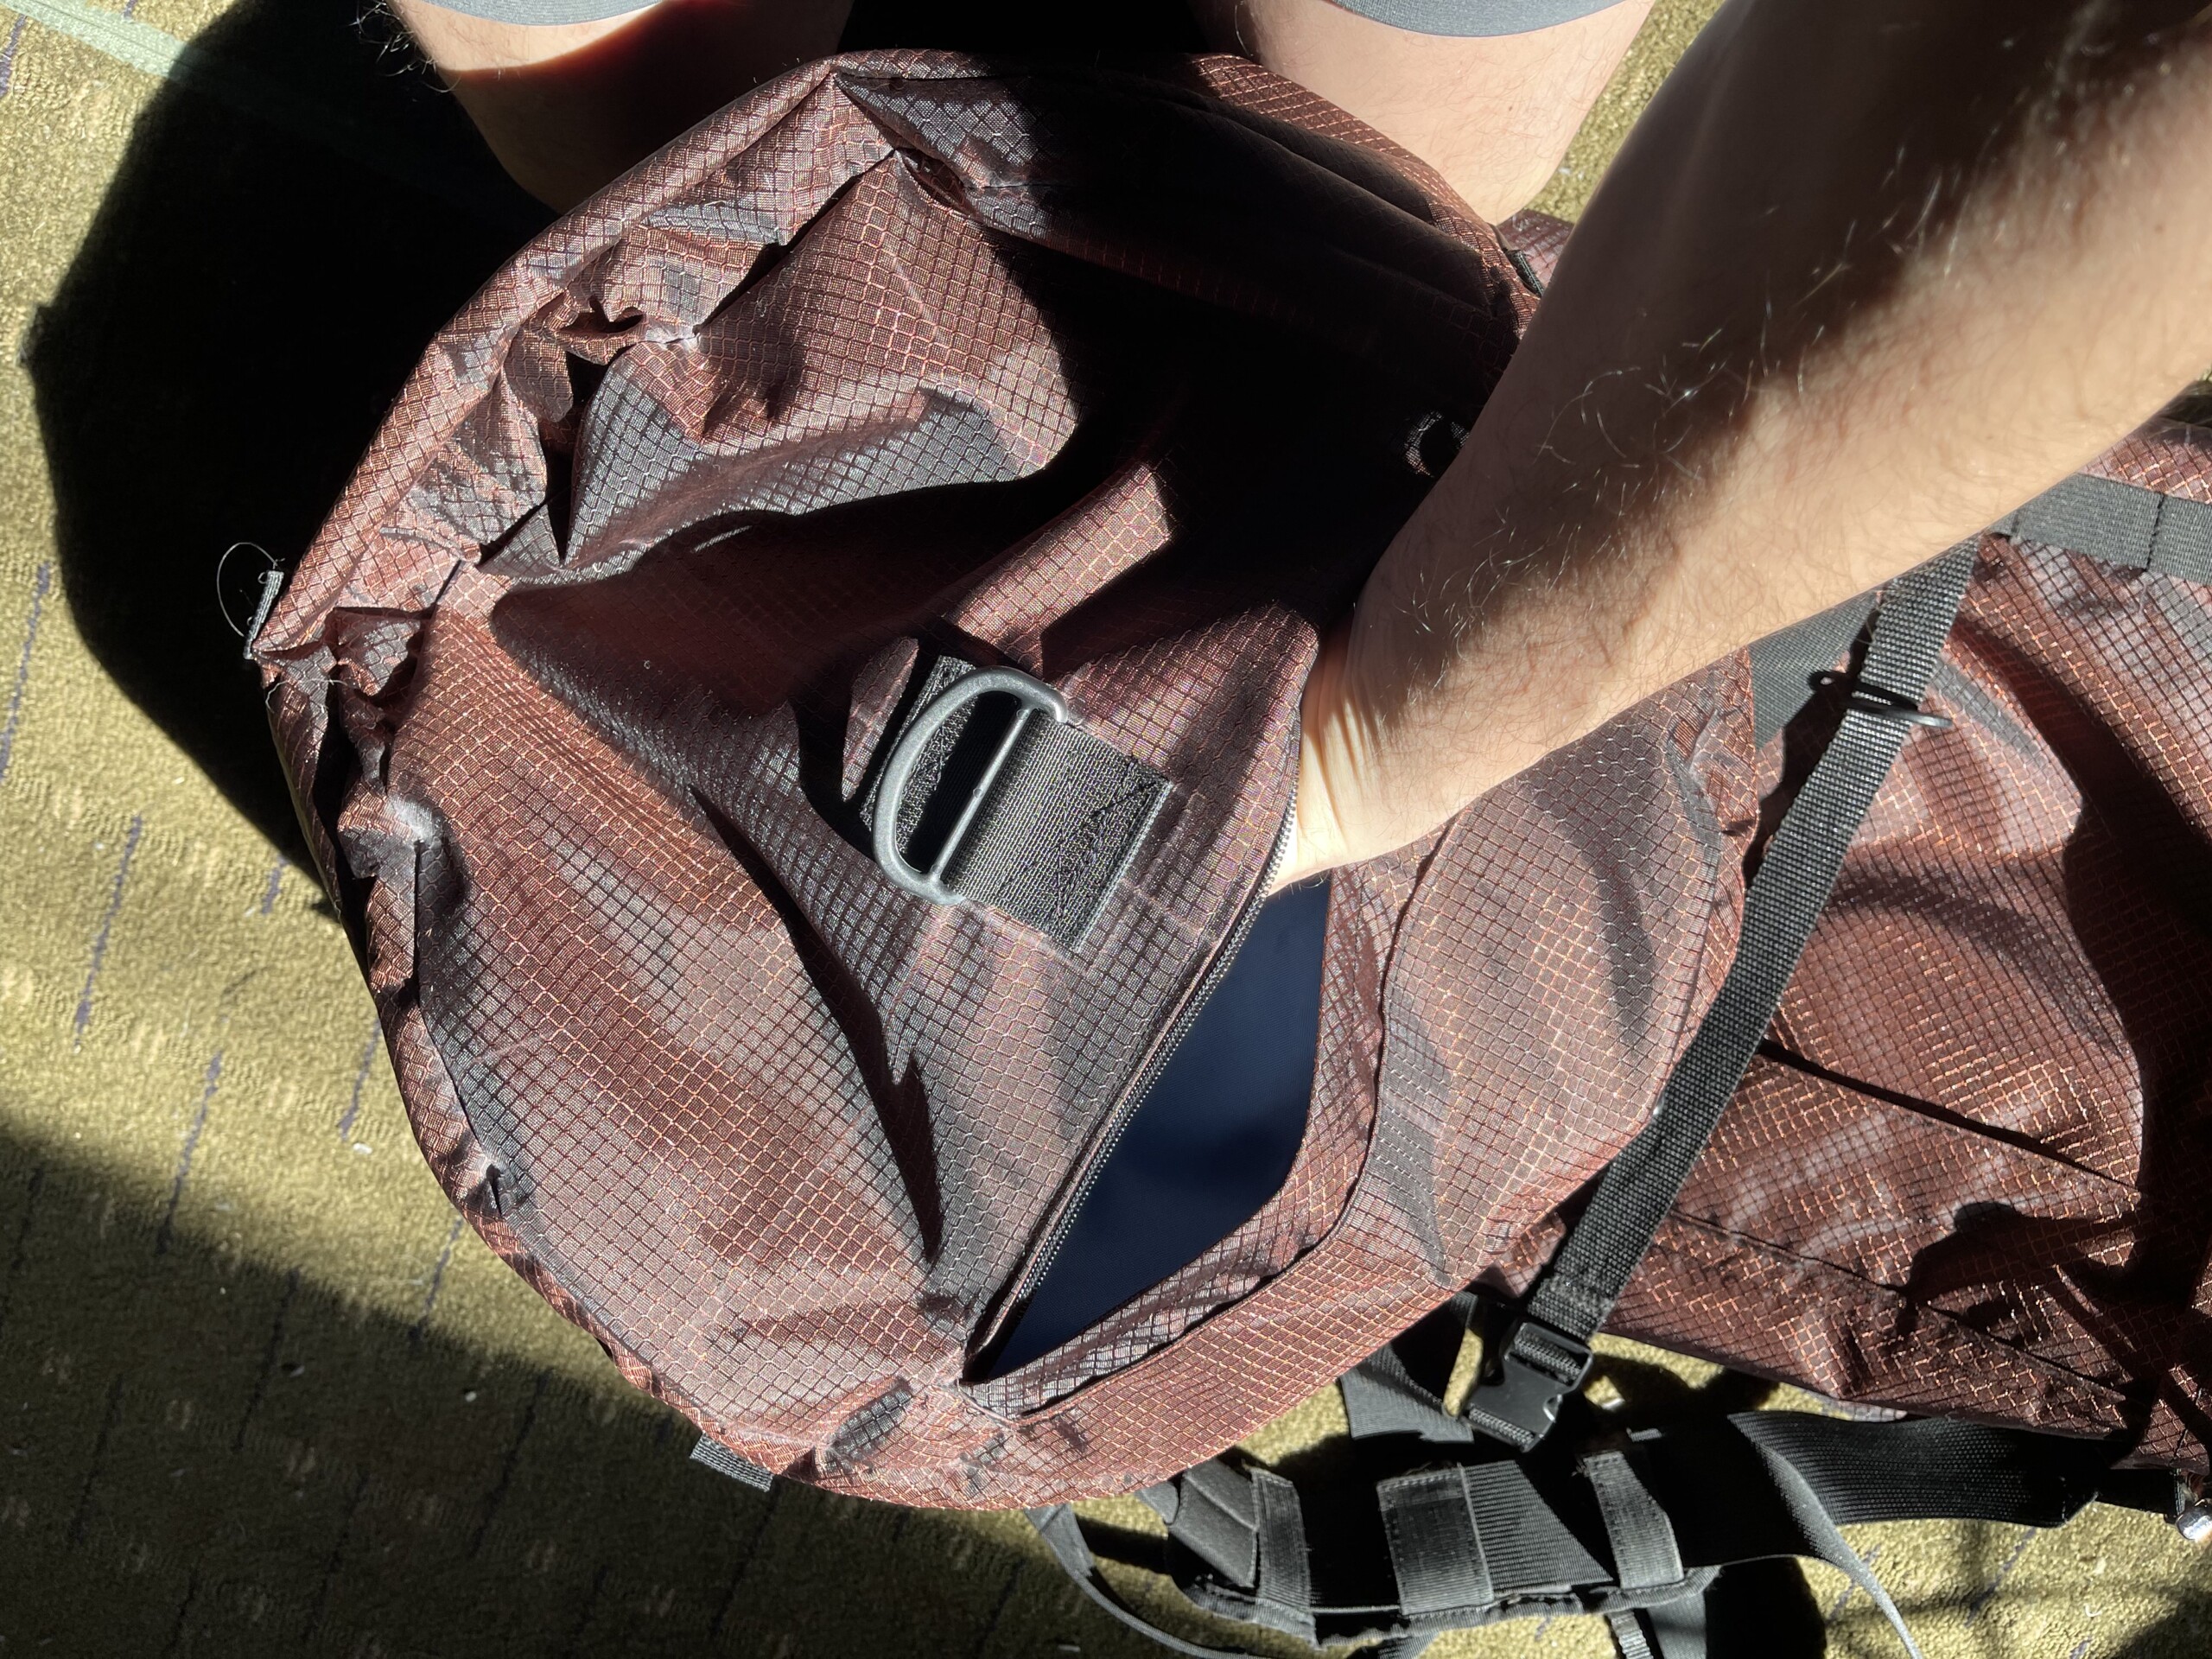
The top flap with the storm flap flipped out of the way and partially unzipped. I’ve seen a similar design on other packs and thought it was nifty, with the two top zips meeting in the middle where the long center zip ends.
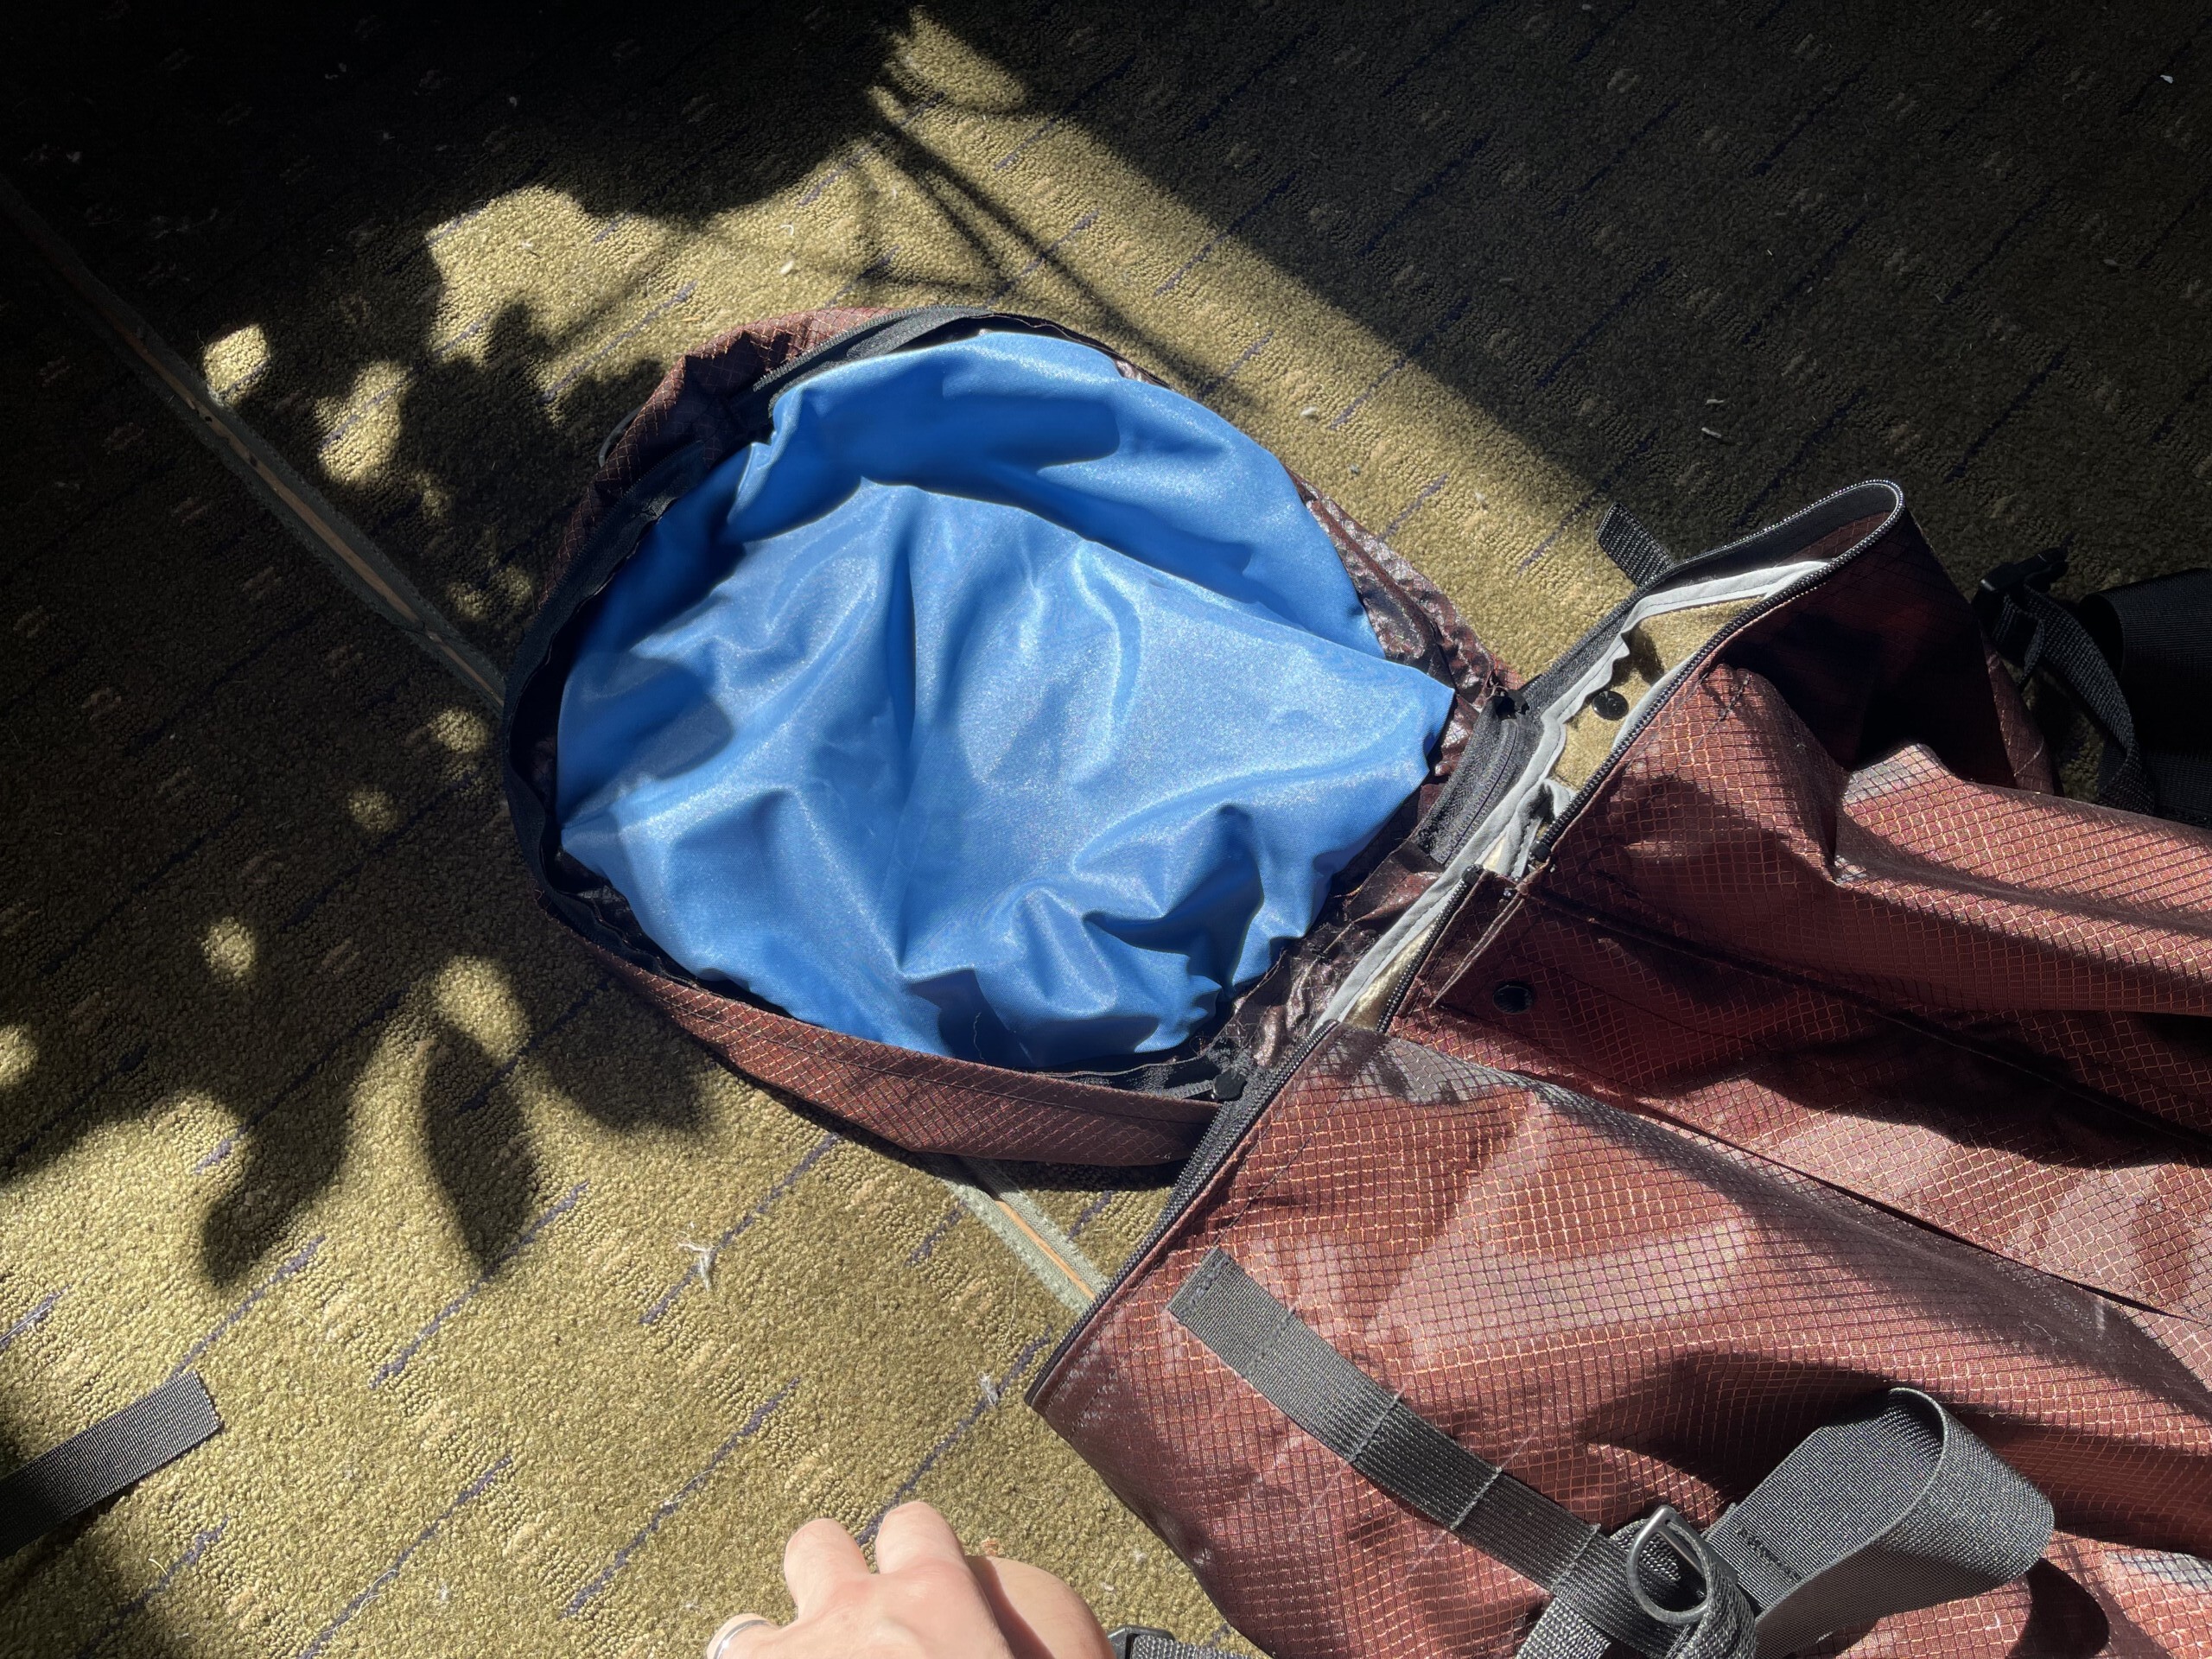
Inside of the top flap. I really like that electric blue, especially with the brown and black.
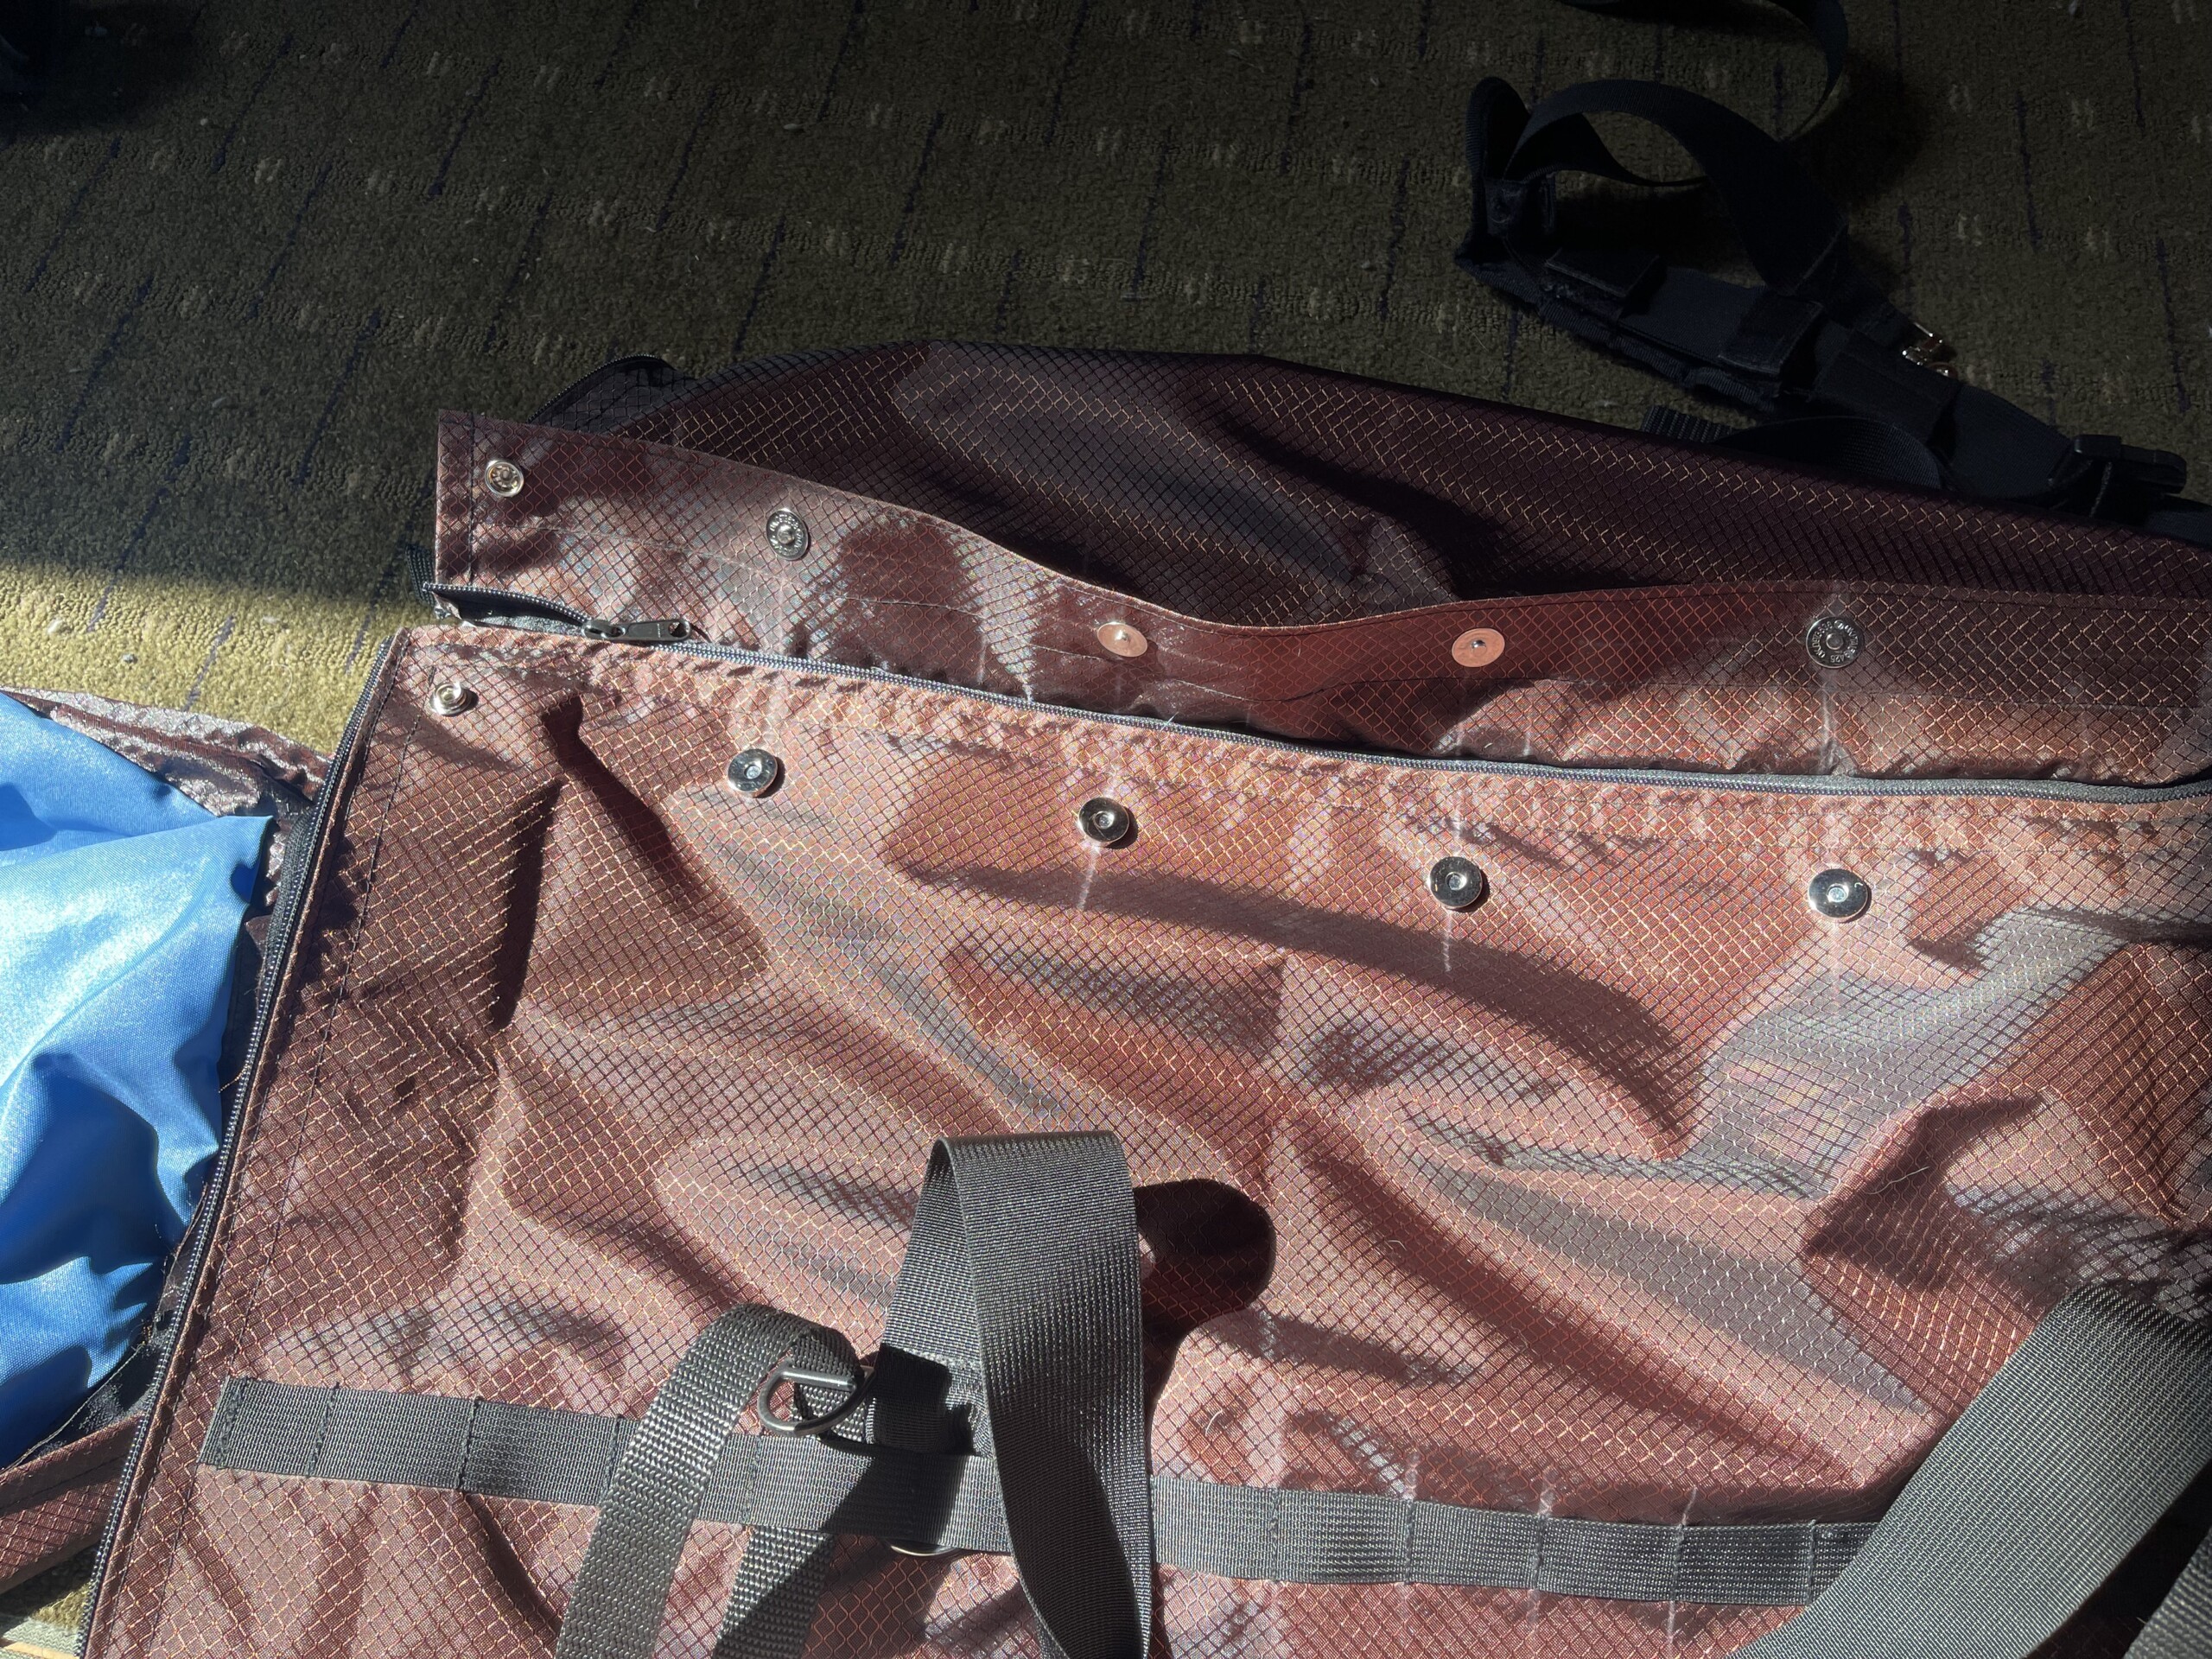
Given that I want to use the bag as a backpack sometimes, I thought covering the zipper might be good incase I get caught in the rain. I lined the flap with magnetic snaps to keep it closed.
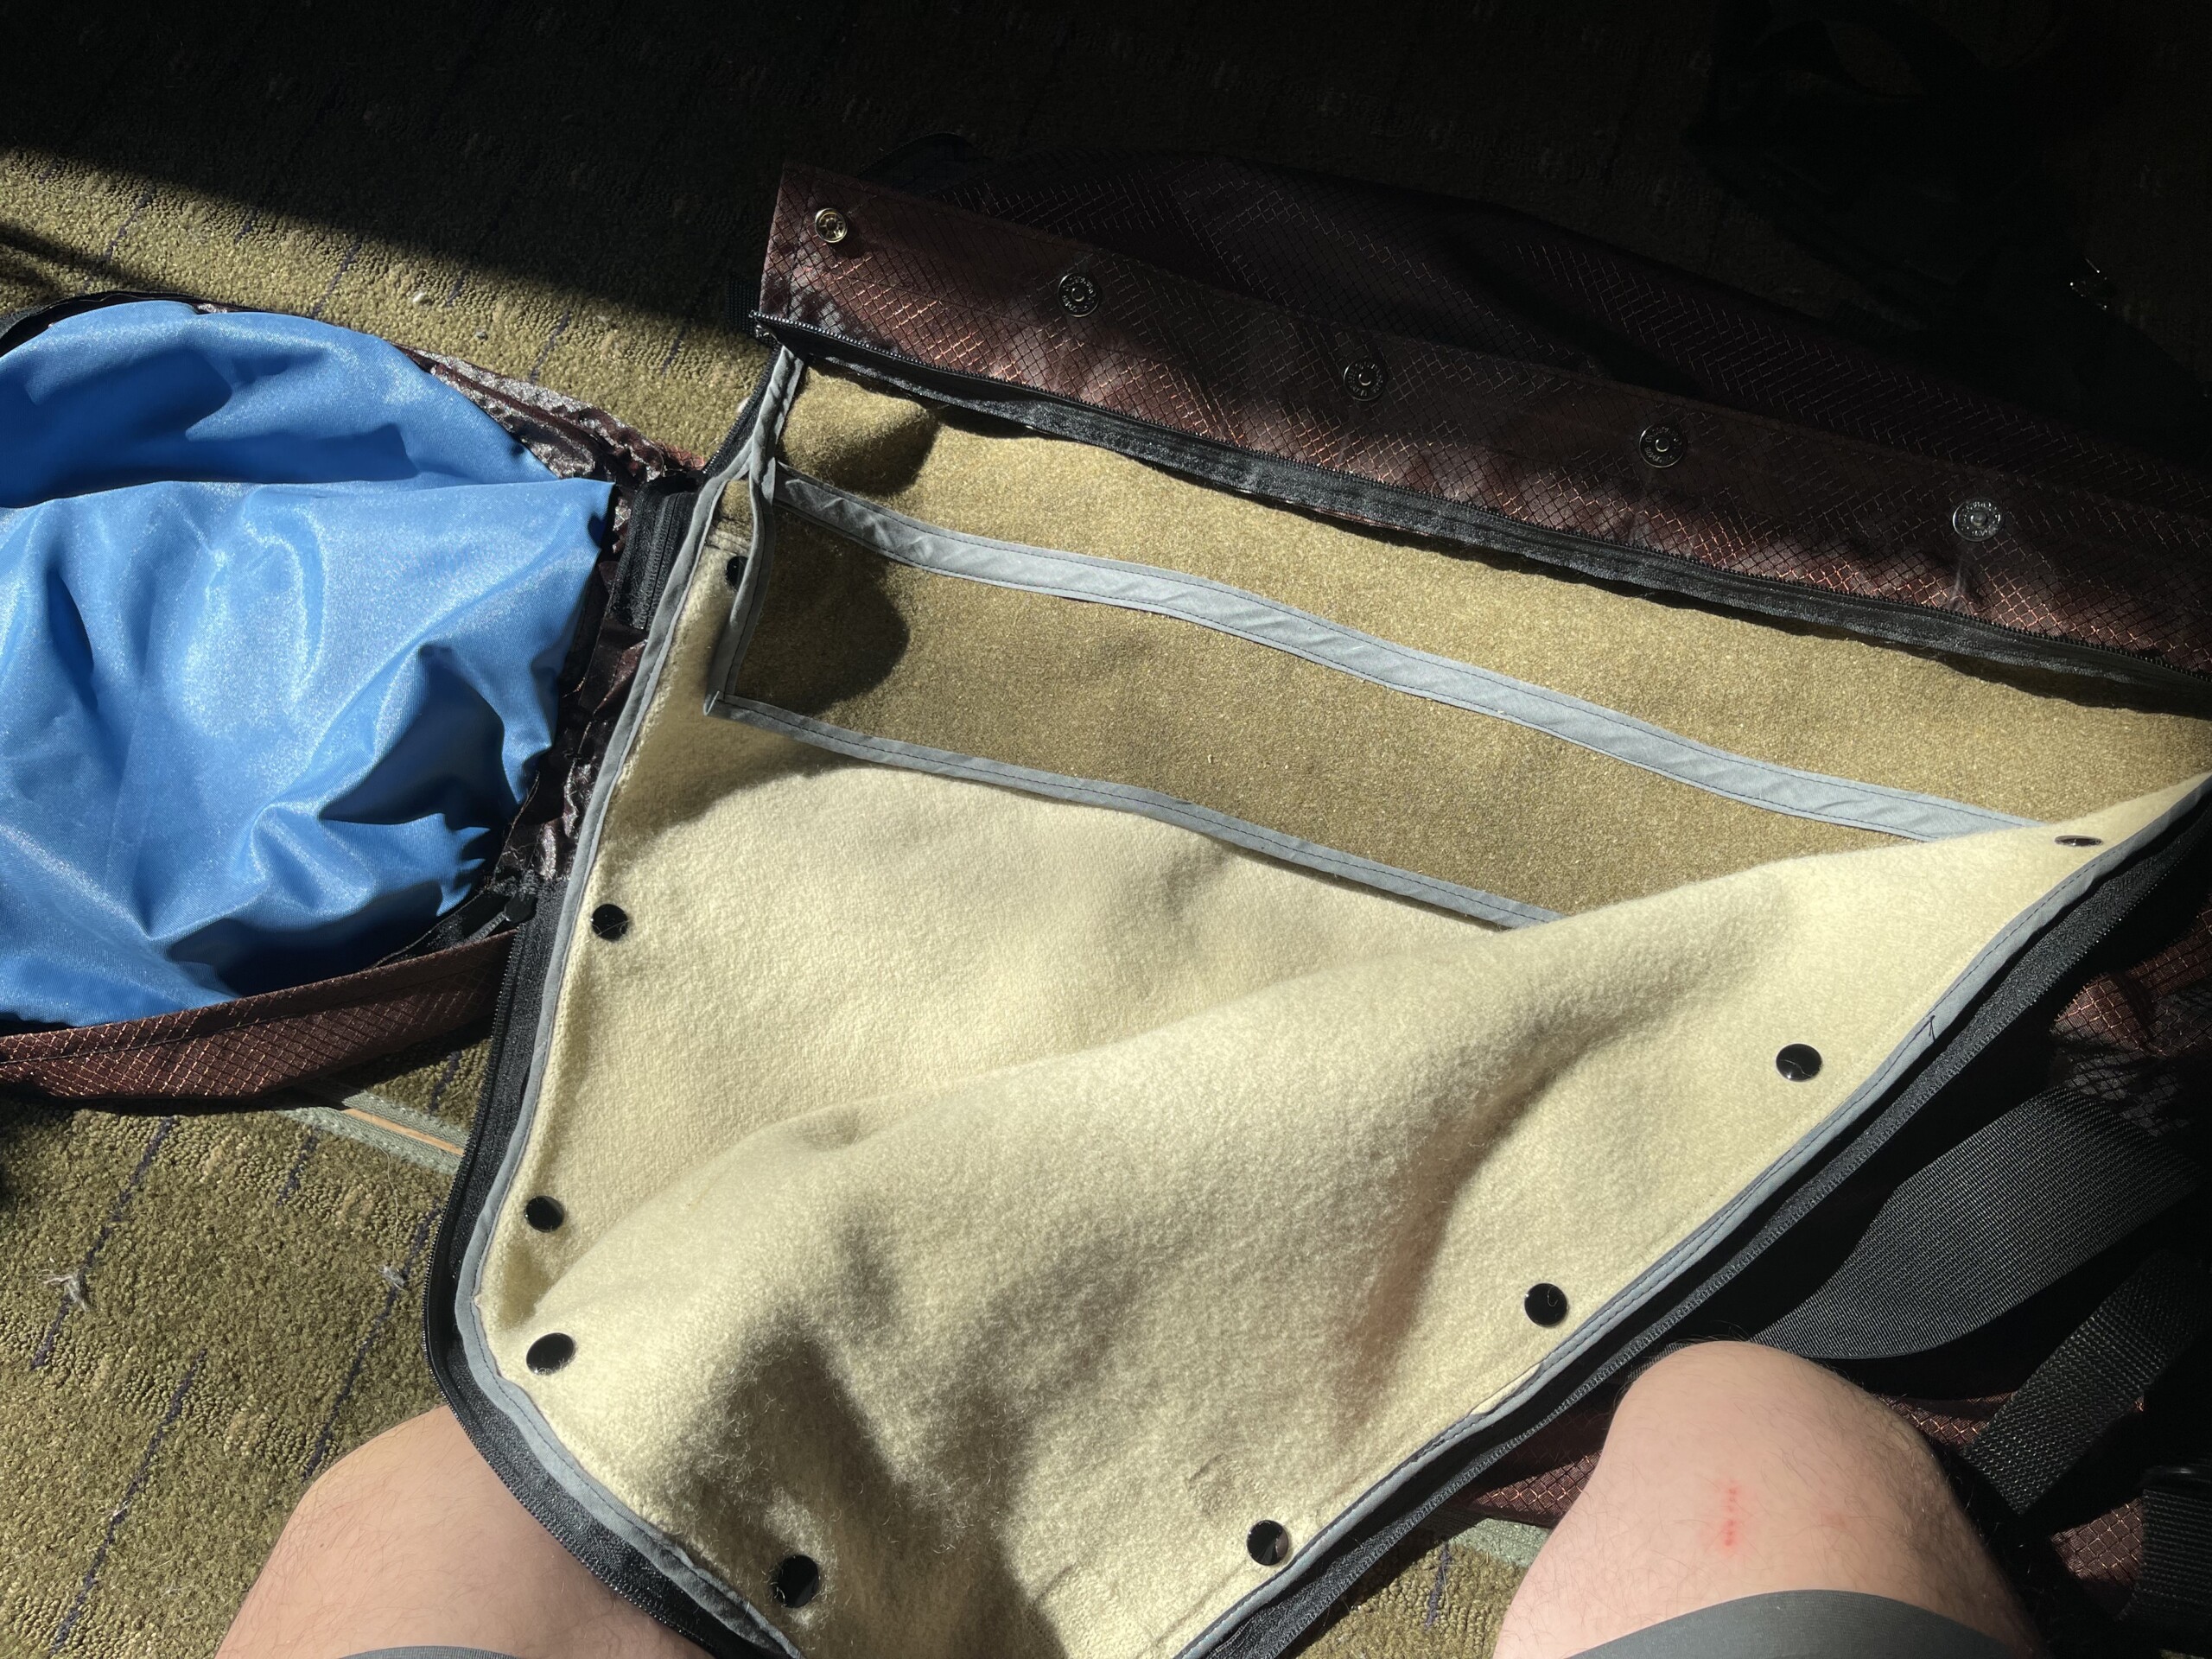
I ended up disassembling my former wool bag (not part of the original plan) so I could make it nicer (my sewing skills have improved a bunch since then…just don’t look too closely). I also wanted it to be removeable, in case I decide to use the two bags independently, or if I want a different liner with interior pockets, or I just want to access the inside of the bag so I can water seal all the punctures from the sewing process (the ripstop fabric itself is pretty water resistant).
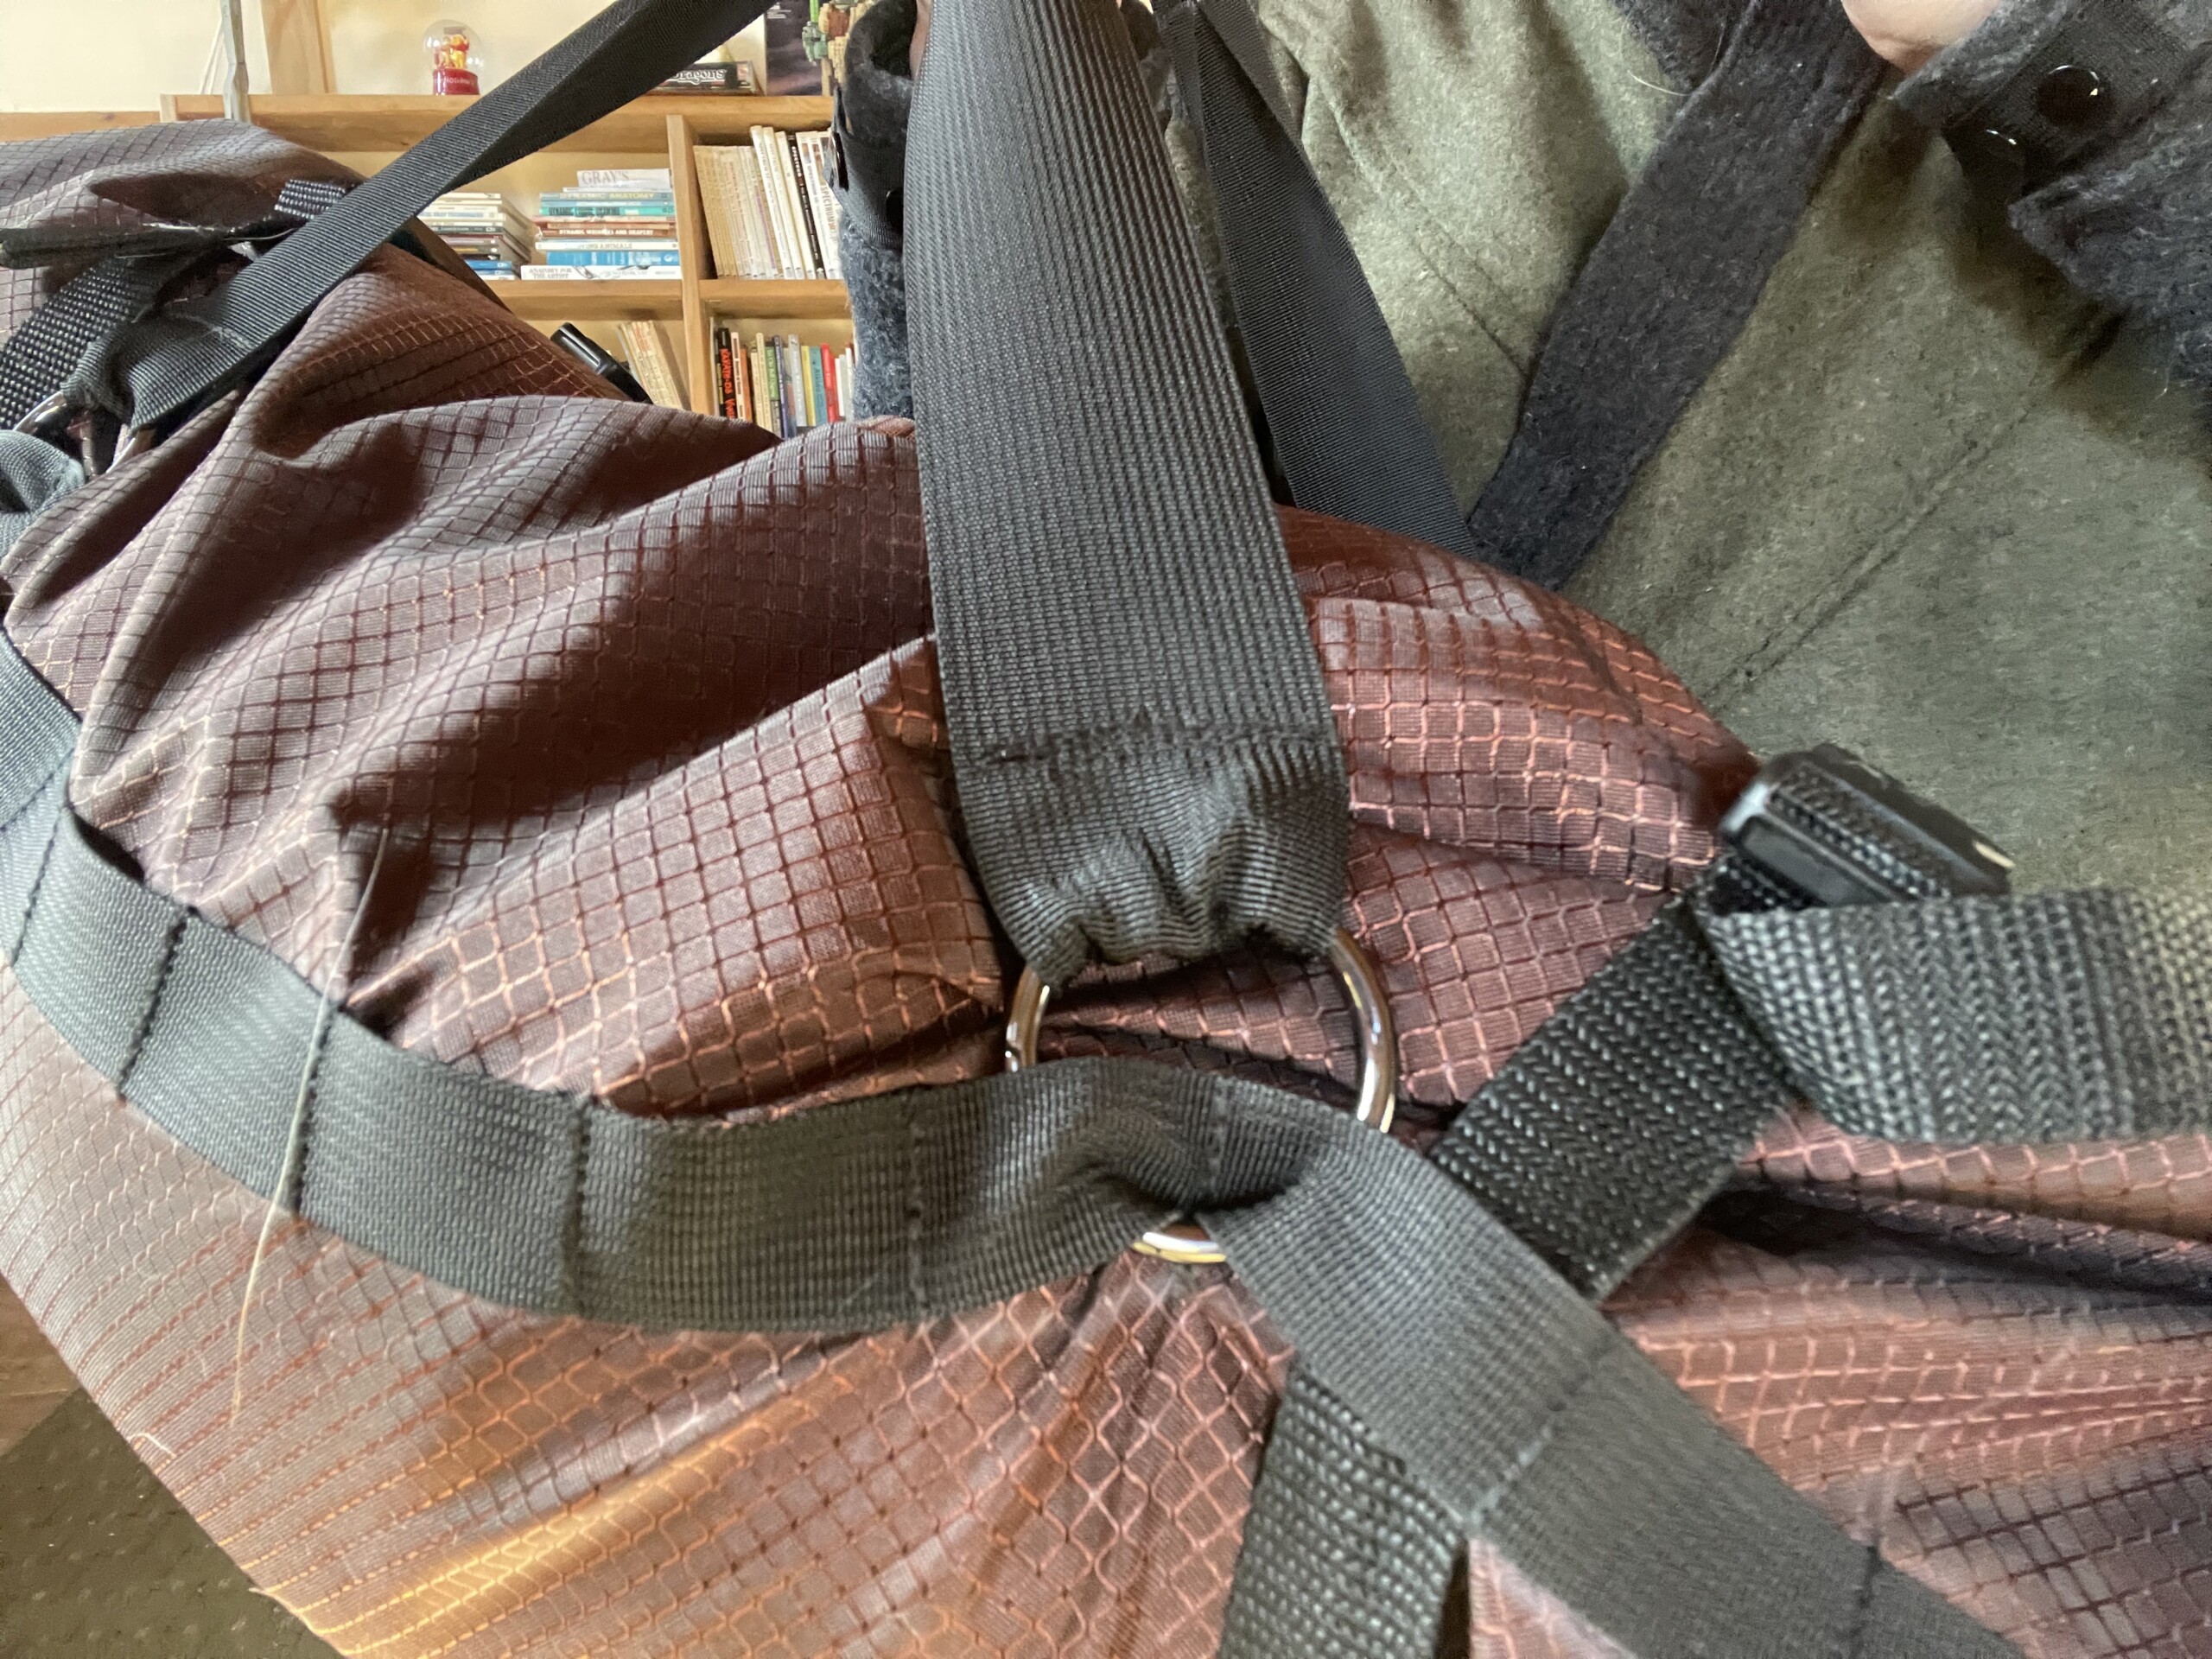
The duffle bag handles are removeable (with the cool circular carabiners) and I can adjust where they attach on the webbing to make them effectively shorter or longer.
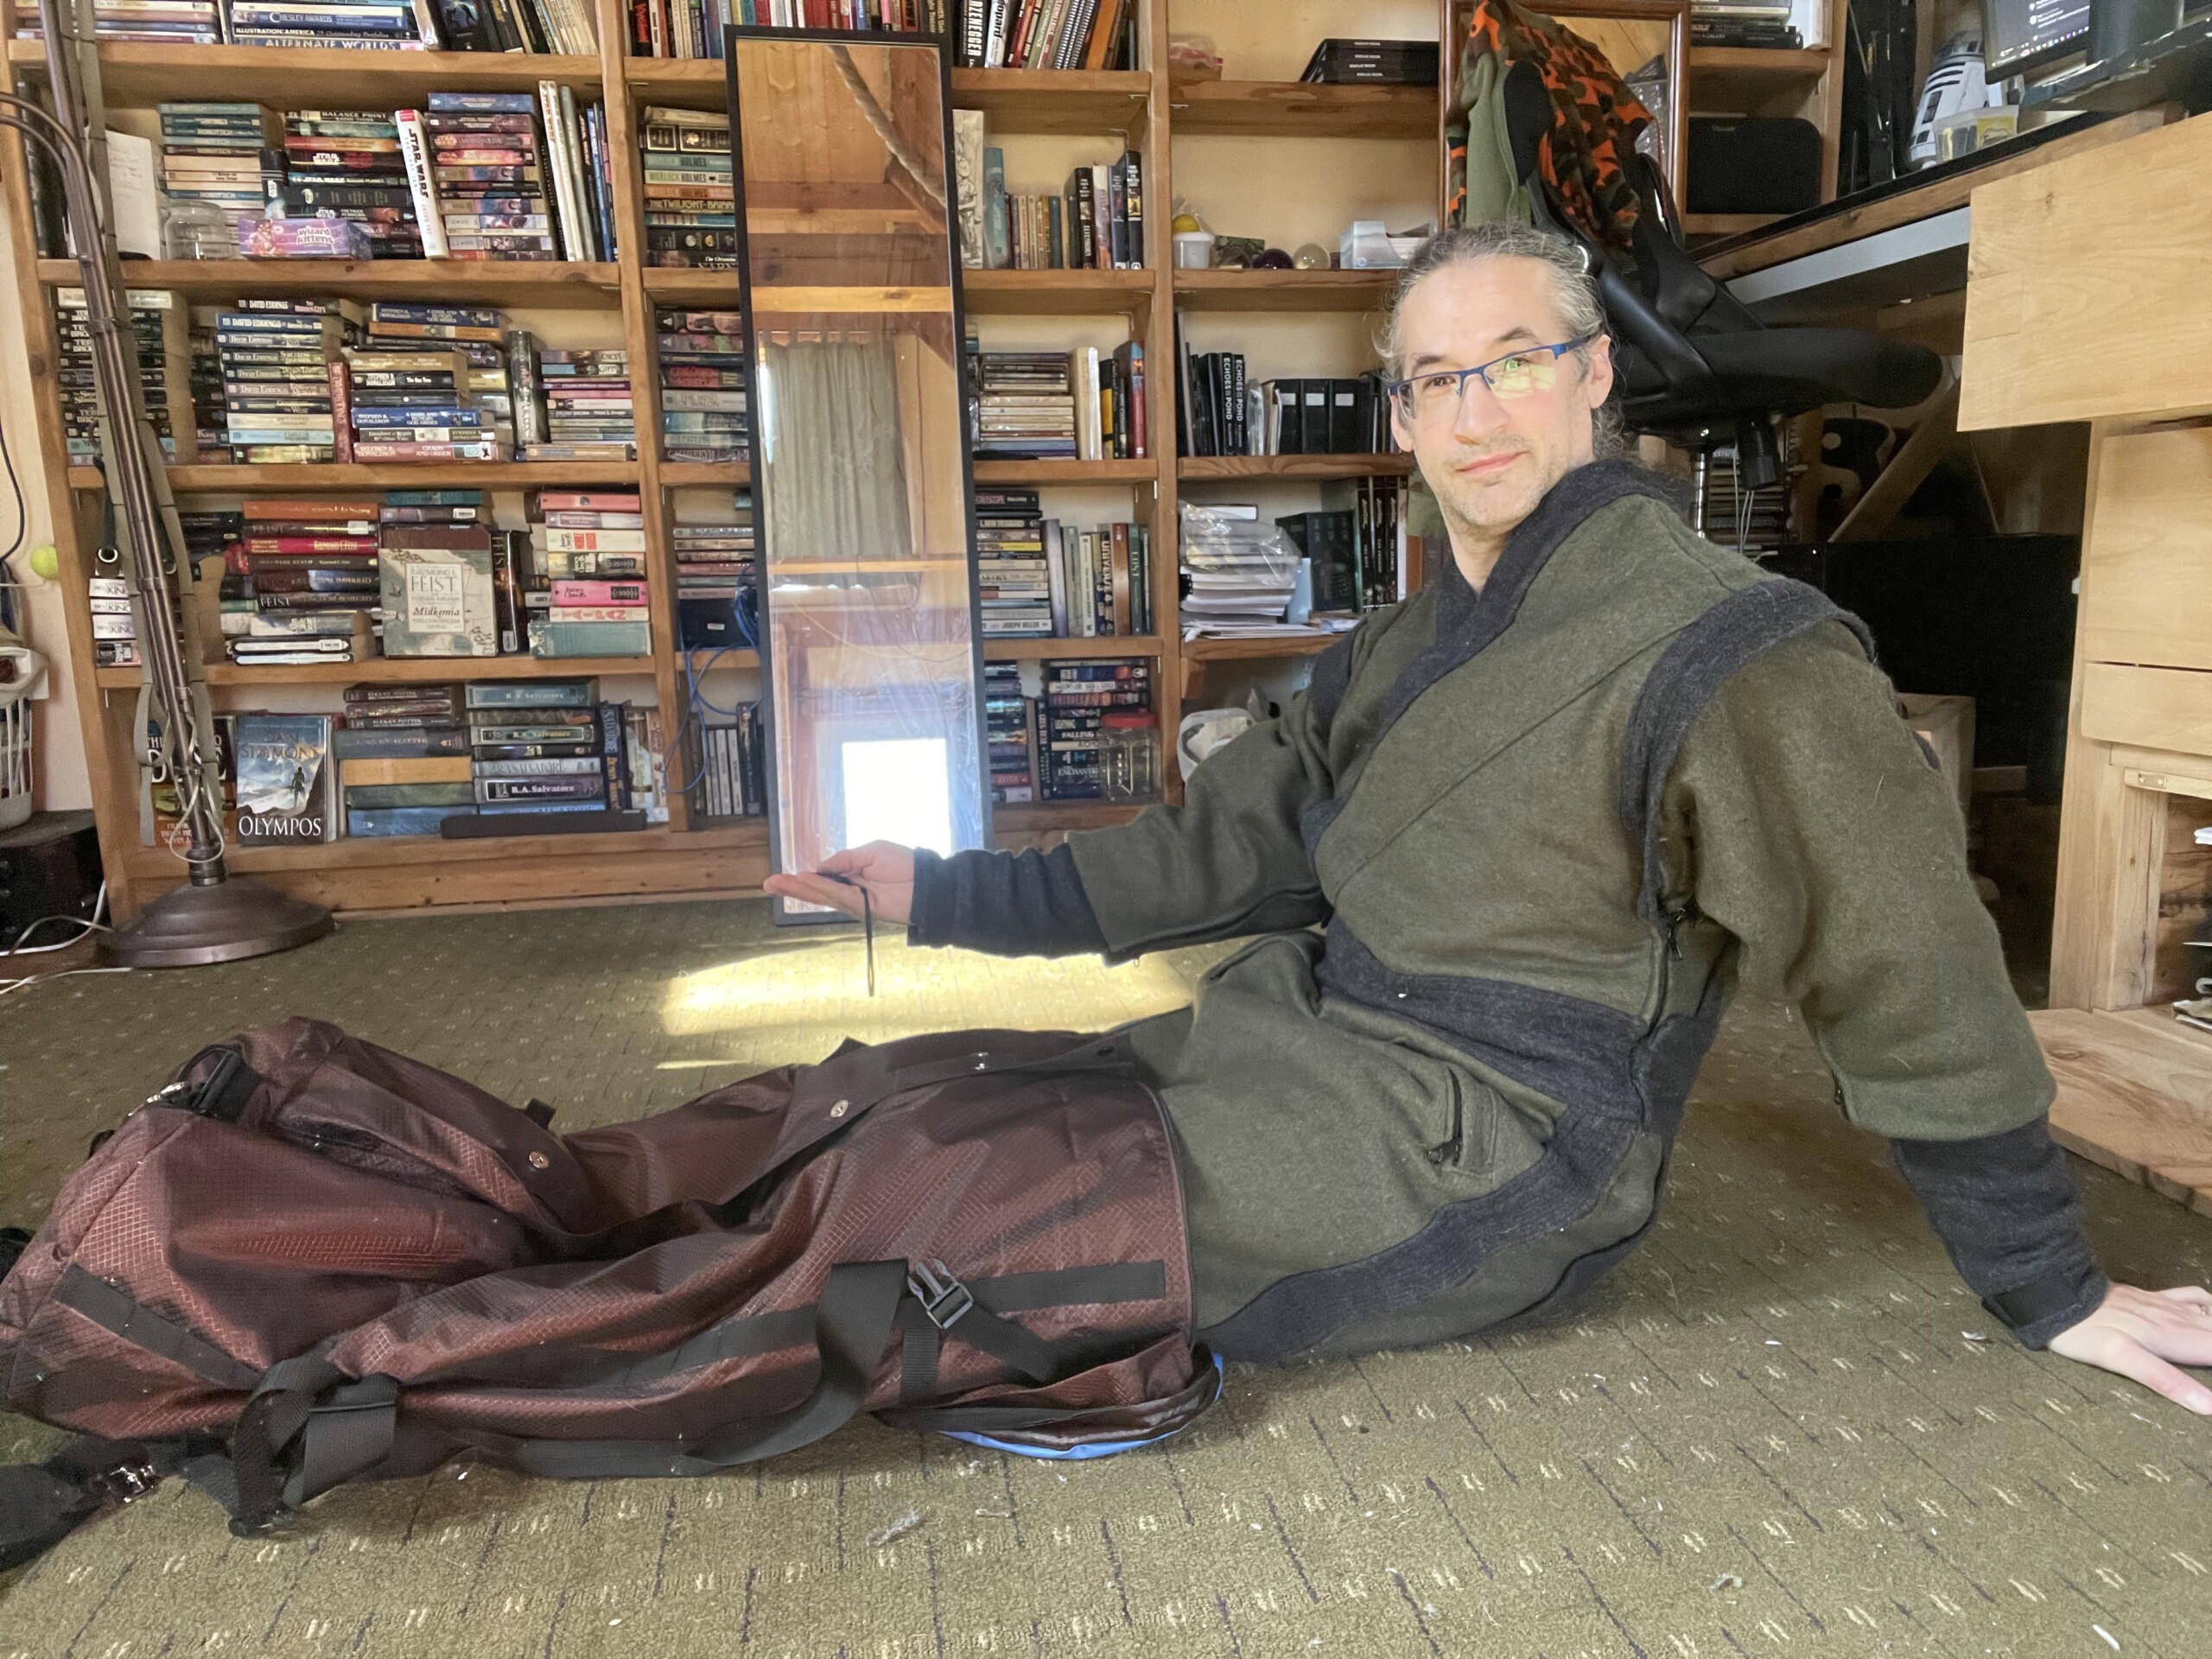
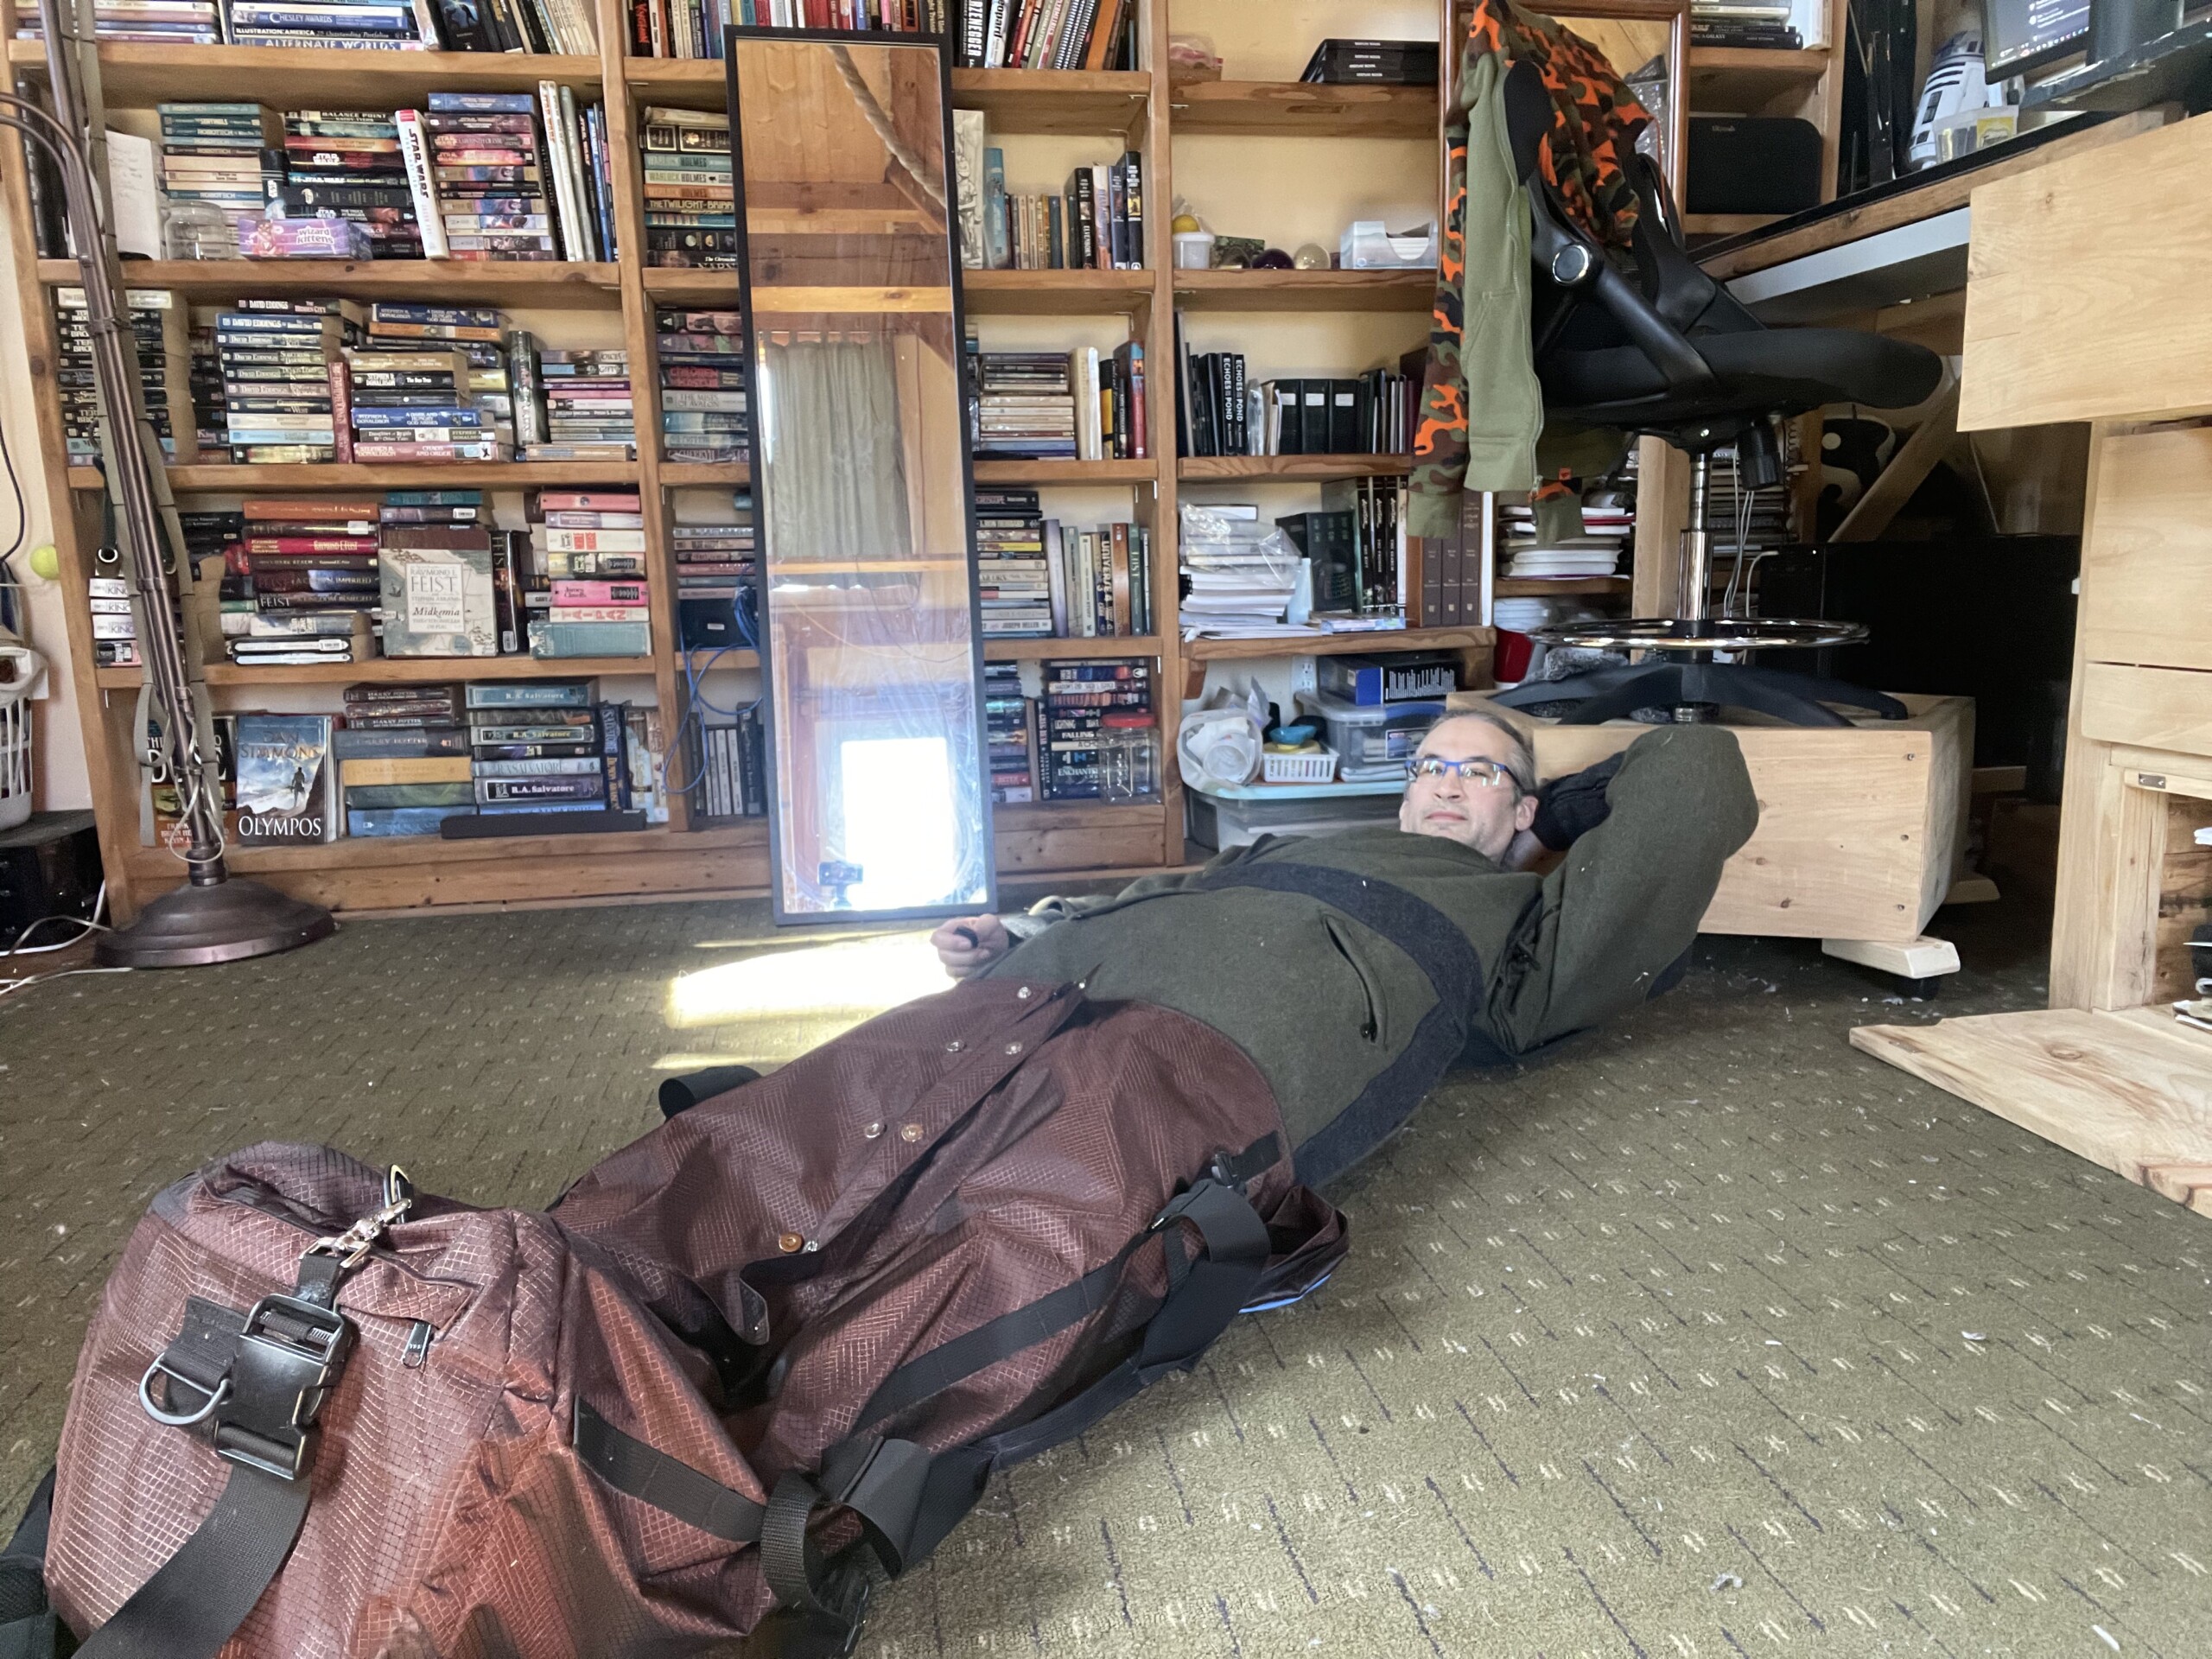
Nap time.
There you have it, my 2024 sewing projects (…so far…), presented in the order I worked on and completed them. I’ve used the bandolier bag for almost 2 months now, I think, and so far it’s functioning well. The coat has been great, such a night and day difference in mobility. It’s approximately one less wool layer everywhere compared to the Beast Coat, but it’s still plenty warm and I can fit more base layers underneath as needed (mostly due to having a bigger arm hole opening). The Leg Duffle Bag will get its first test in the next day or so when I have a scout overnight event, so I’m looking forward to that. Time to put the new gear through its paces.
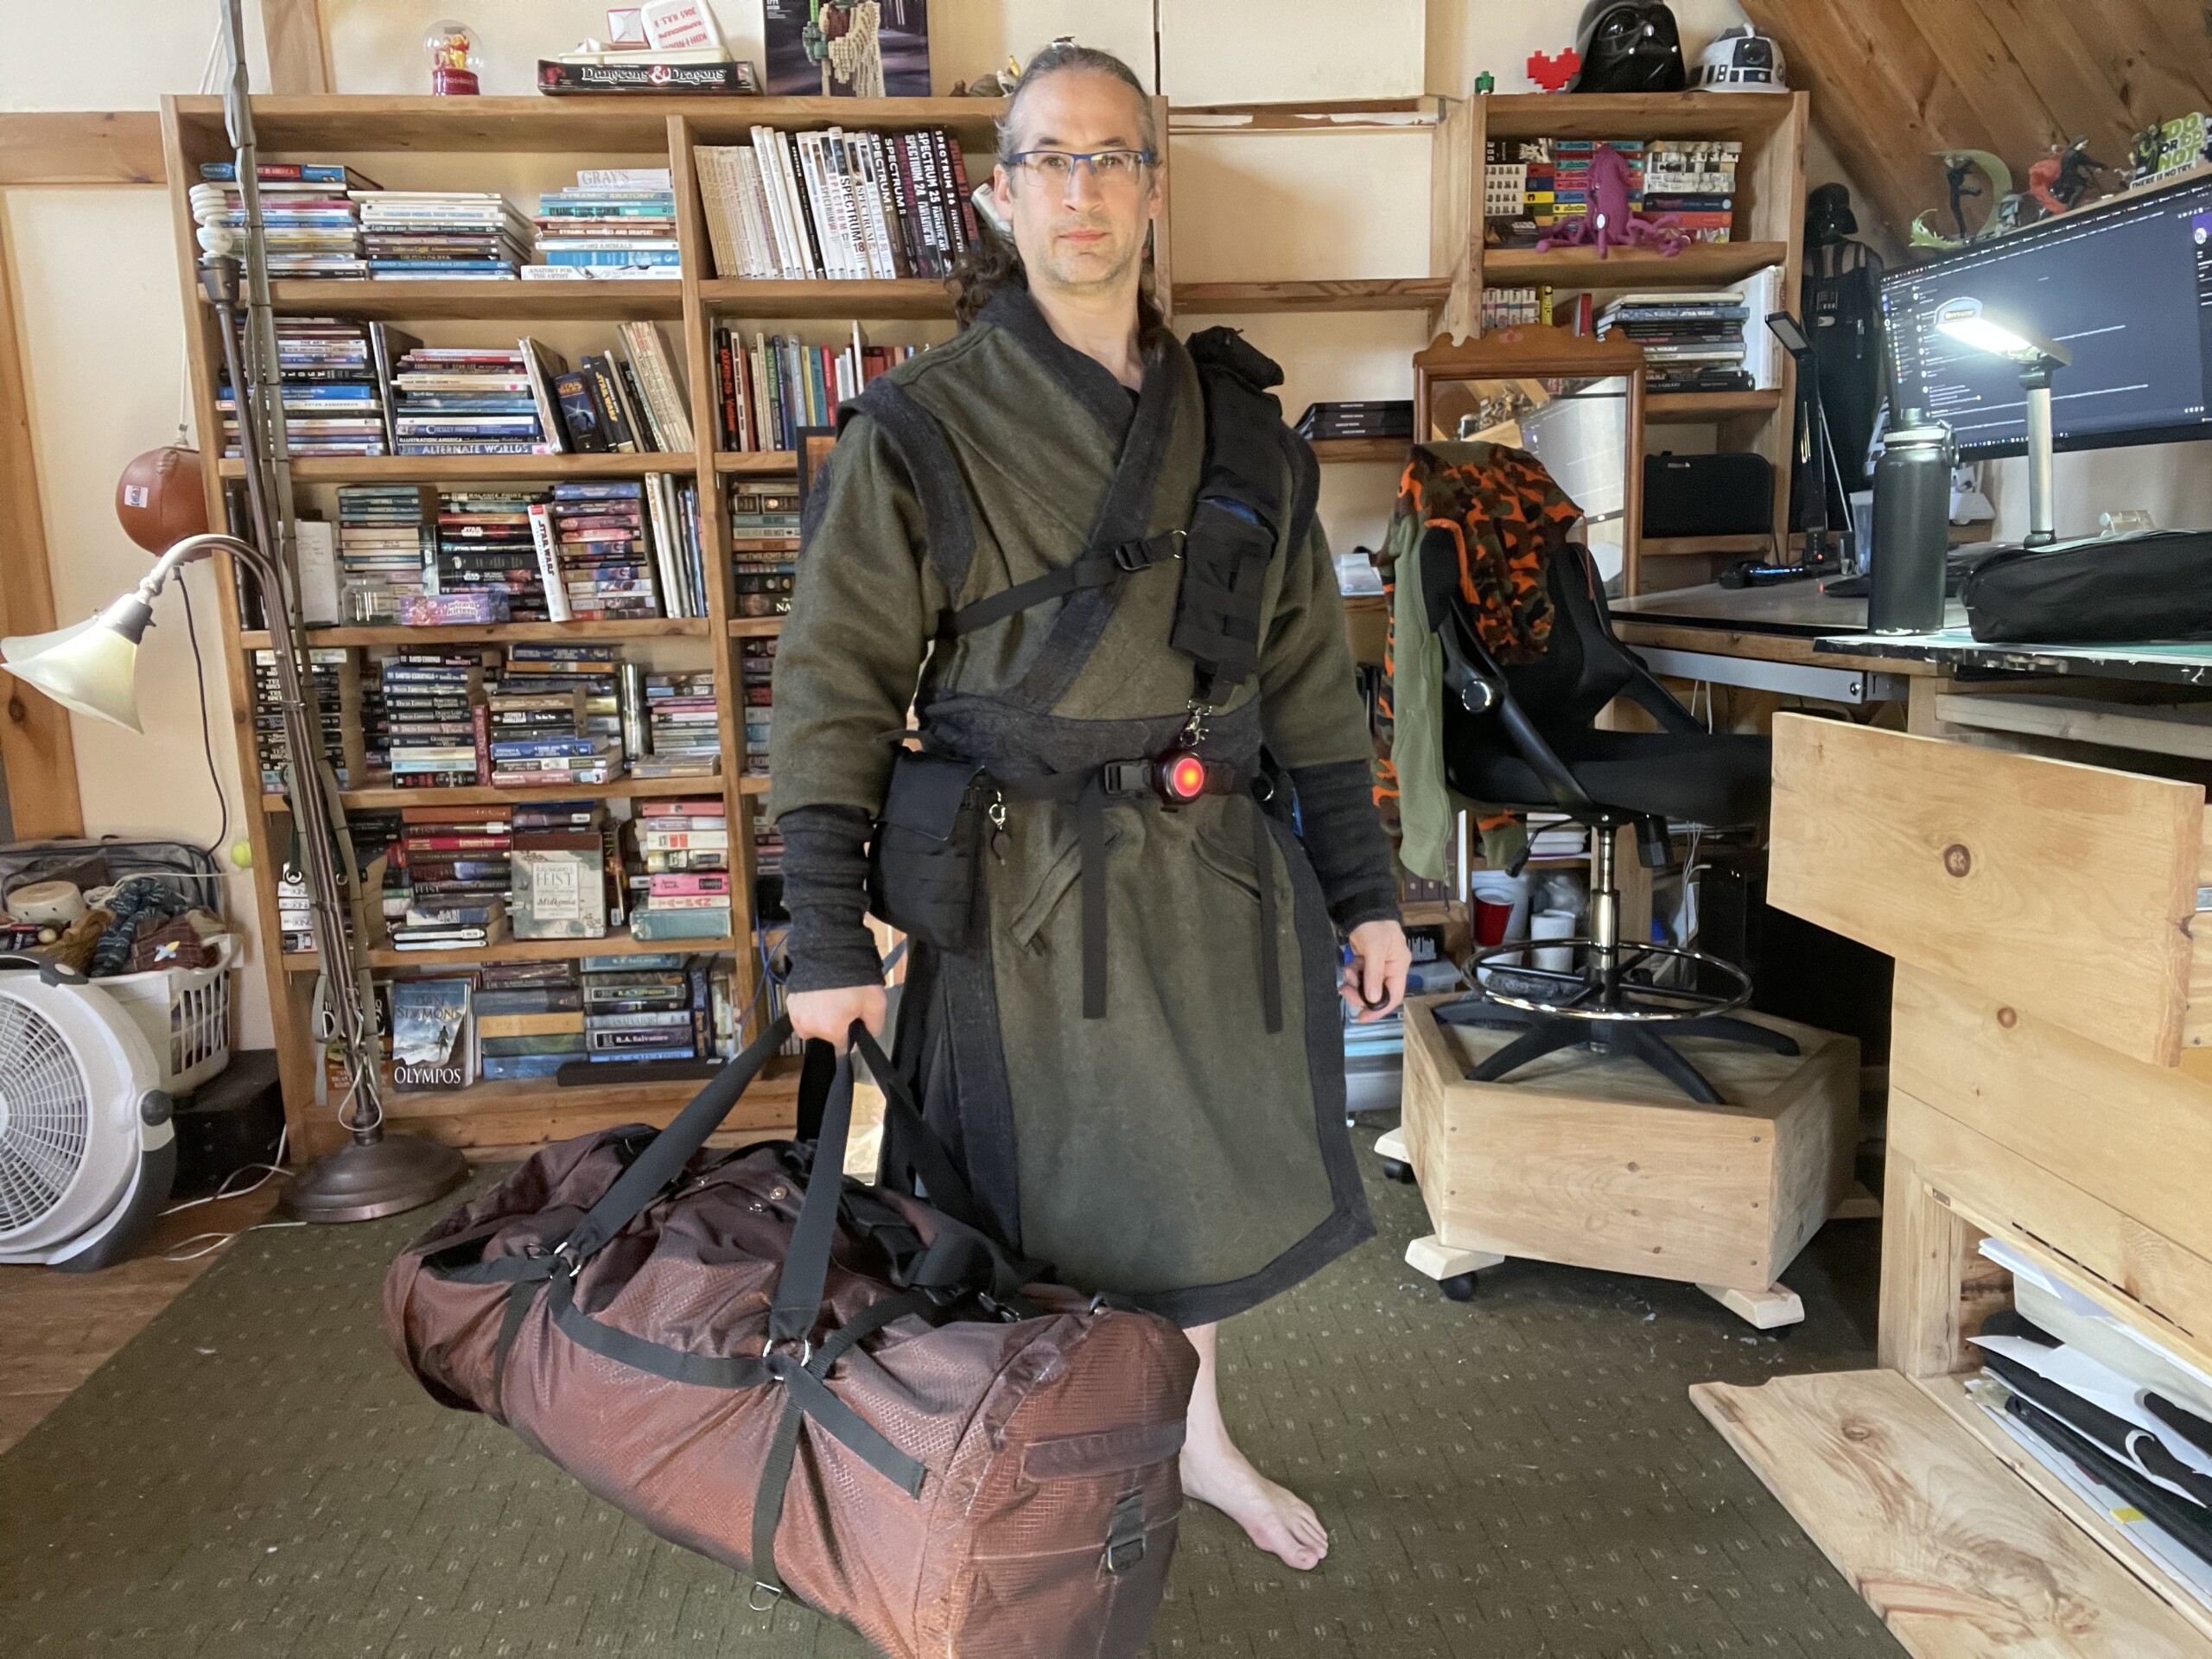
Ready for adventure (by the way, the belt buckle light has “regular” lighting plus red, green, and blue…depending on my Jedi/Sith mood…)

Now it’s time to switch gears and draw more.
Please let me know what you think, it makes my brain happy.